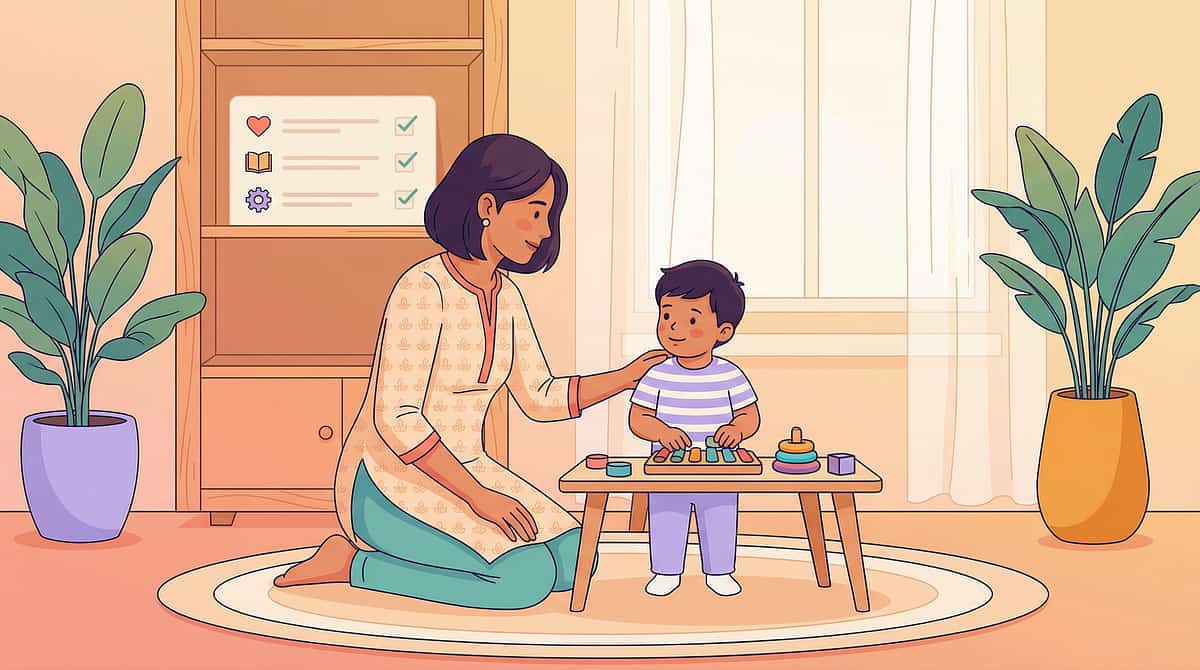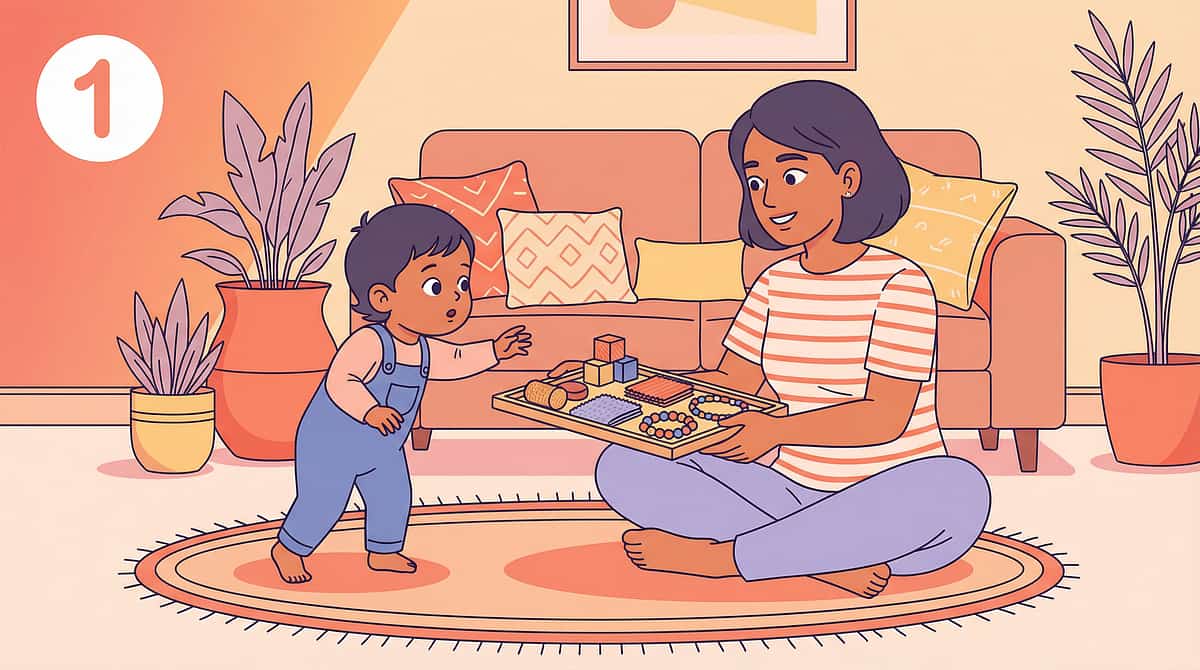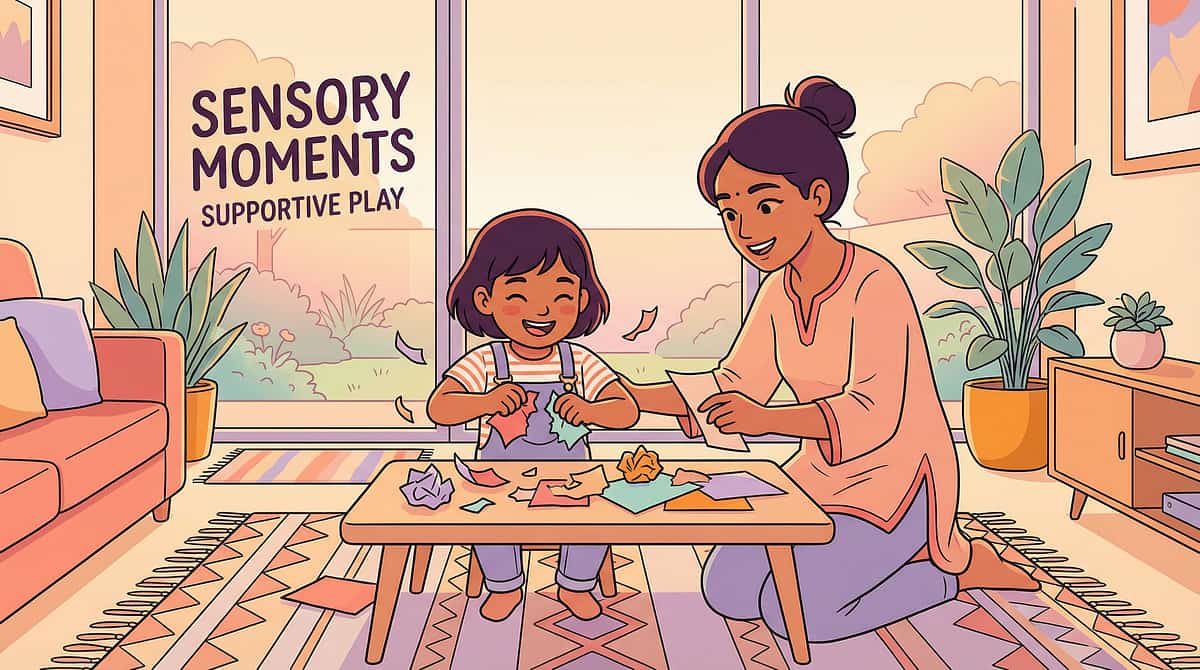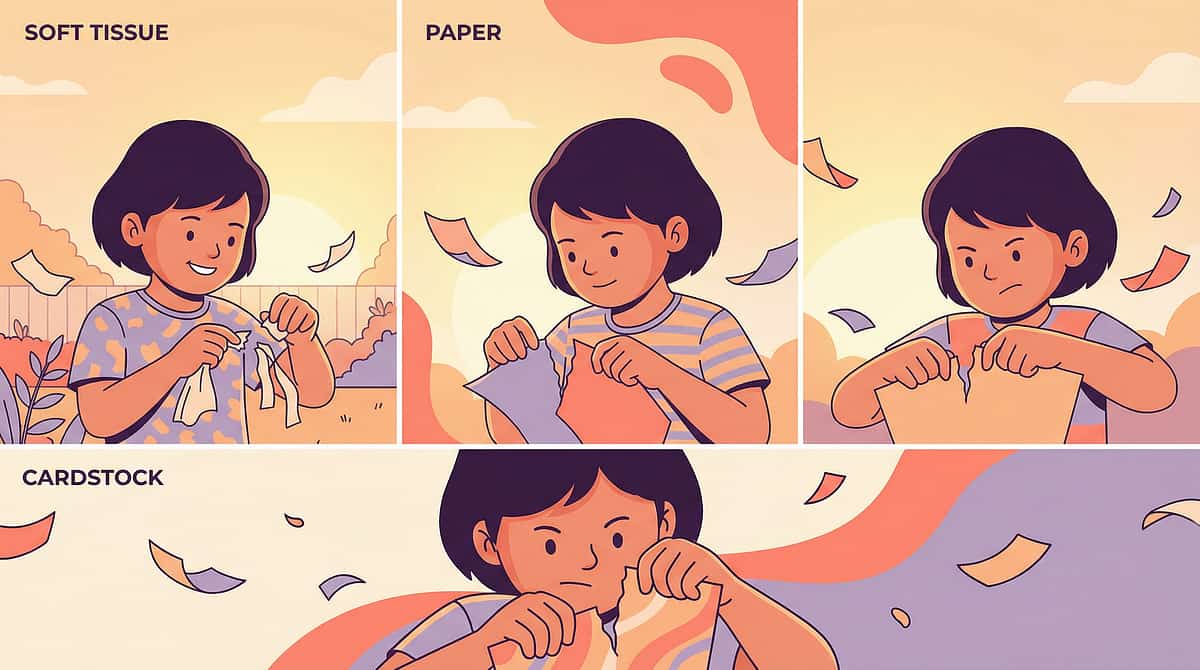


9 Materials That Help With Tearing and Crumpling
Pinnacle Blooms Network® | F-610 | Fine Motor Intervention Technique Library
Fine Motor Domain
Ages 3–8 Years
Home + Clinic
"She tries to tear the paper — and the whole sheet rips in half."
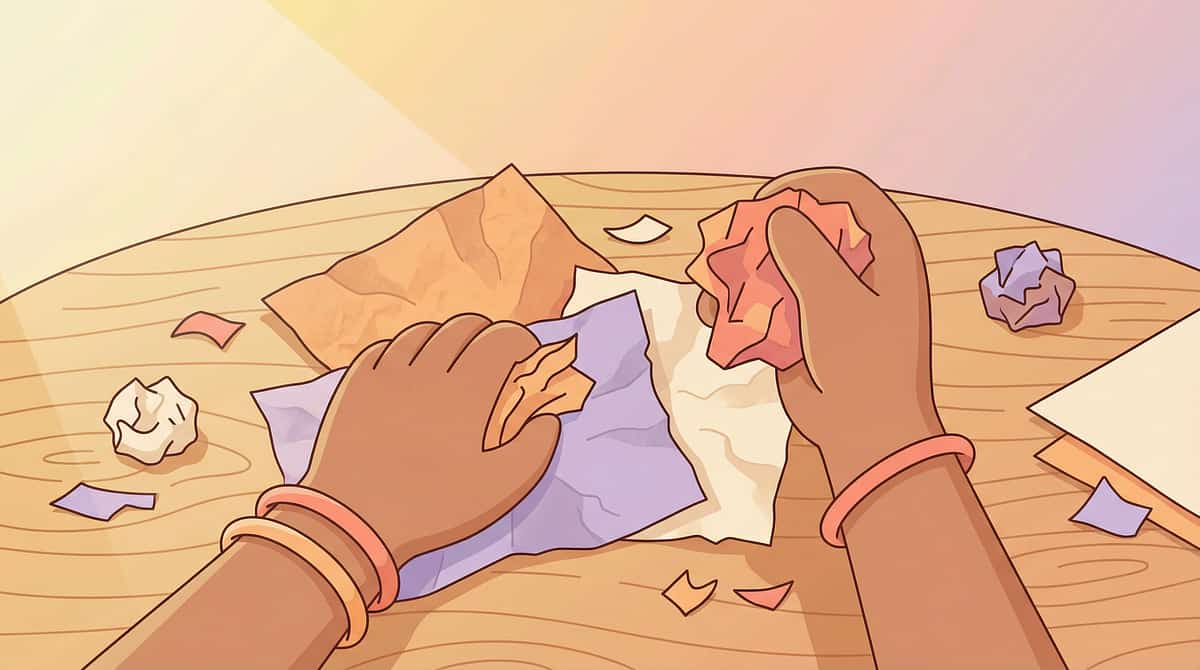
It's preschool craft day again. Your daughter comes home with a half-finished collage because she couldn't separate the tissue paper pieces — every attempt ended in frustrated tears or complete destruction. At home, even tearing open a ketchup sachet becomes an ordeal that ends in her walking away.

Tearing and Crumpling: 9 Materials That Build the Finger Control Your Child Needs. You are not failing. Your child's hands are speaking — and there is a precise, evidence-based answer.
🏛️ Pinnacle Blooms Consortium
👐 Fine Motor Domain
🎯 Ages 3–8 Years
📍 Home + Clinic
You Are Not Alone: The Numbers
Every day, tens of thousands of parents watch their child struggle with the same paper. Here is what the research says about why.
30–50%
Show fine motor difficulties
Of children with developmental delays — affecting paper manipulation and craft participation
80%
Experience coordination challenges
Of children diagnosed with autism spectrum disorder — impacting daily activities
2–4 yrs
Developmental window
When tearing and crumpling skills typically emerge — and when targeted intervention has maximum neural impact
"Tearing and crumpling are not trivial crafts. They are the first measurable test of bilateral coordination, finger isolation, and graded force control — the same systems that will later power writing, scissors, and self-care." — Pinnacle Blooms OT Consortium

PMC11506176 | PRISMA Systematic Review (2024)
PMC10955541 | Meta-analysis (2024)
What's Happening in Your Child's Brain
The Neuroscience of Paper Handling — Explained in Parent Language
Neural Pathway — What Fires When Paper Tears
Somatosensory Cortex — Processes tactile feedback from fingertips (texture, resistance, edge position)
Motor Cortex (bilateral) — Commands asymmetric hand roles: one hand stabilises, the other acts
Cerebellum — Calibrates precise force — too little, paper bends; too much, it shreds
Corpus Callosum — Coordinates left and right hemispheres for bilateral hand cooperation
In Plain Language
Your child's brain hasn't yet learned to assign different jobs to each hand while precisely controlling how much force each finger uses. This is not a strength problem — a child who can carry heavy toys may still lack the refined finger control needed for paper tasks.
It is a wiring and coordination problem, and it is highly responsive to targeted practice with the right materials.

"Fine motor paper manipulation requires the most sophisticated finger coordination a young child will perform — more demanding per movement than most gross motor tasks." — Sensory Integration Theory, A. Jean Ayres
Where This Sits in Development
Your Child's Developmental Trajectory — This Challenge Has a Precise Location
1
Age 18m
Grasping objects — palmar grasp
2
Age 2y
Crumpling begins to emerge with whole hand
3
Age 3y
Tearing paper into strips with guidance
4
Age 4y
Controlled tearing into pieces, basic crumpling
5
Age 5–6y
Integrated paper skills: mosaics, collage, craft

Your child is here — skills emerging but not yet consolidated. This is a waypoint, not a destination. The 9 materials on these cards address the exact foundation skills that move development forward.
Common co-occurring challenges: difficulty with pencil grip, challenges with self-care fasteners, avoidance of messy or textured materials, resistance to craft activities.
The Evidence Behind This Technique
Clinically Validated. Home-Applicable. Parent-Proven.
LEVEL II EVIDENCE
Systematic Review + Meta-analysis + Clinical RCT | Fine Motor Material Intervention for Pediatric Populations
PRISMA Systematic Review (2024) | PMC11506176
16 studies confirm sensory-motor material interventions meet criteria for evidence-based practice in children with ASD and developmental delays.
Meta-analysis, World J Clin Cases (2024) | PMC10955541
Across 24 studies, fine motor material interventions effectively promoted motor skills, adaptive behaviour, and social participation.
Indian RCT | Indian J Pediatr (2019)
Home-based fine motor interventions with structured materials demonstrated significant measurable outcomes in Indian pediatric populations.
WHO/UNICEF CCD Package (2023) | PMC9978394
Caregiver-led structured activity programmes show evidence across 54 low- and middle-income countries.

🏛️Validated by the Pinnacle Blooms Consortium: OT • SLP • ABA/BCBA • SpEd • NeuroDev Pediatrics
The Technique: What It Is
F-610
Fine Motor Paper Manipulation Intervention
Parent-Friendly Alias: "The Hands-That-Tear Programme"
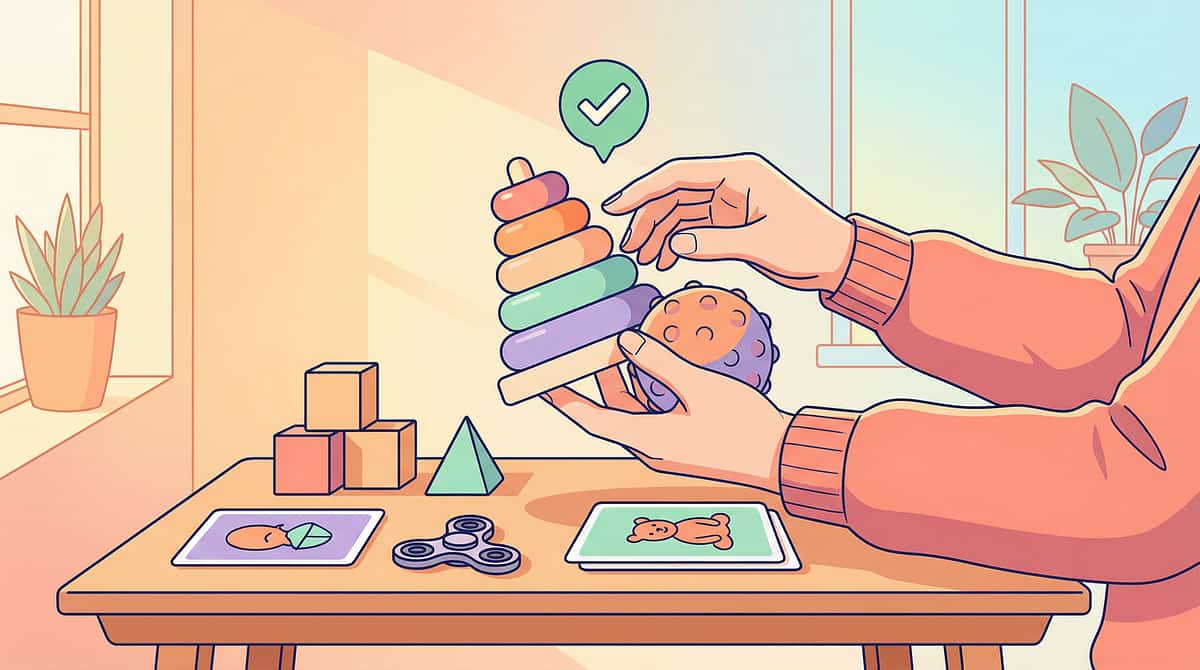
This technique involves the systematic use of 9 clinically selected therapy materials to build the foundational hand skills required for controlled tearing and crumpling. Each material addresses a specific underlying skill — bilateral coordination, finger isolation, graded force control, and in-hand manipulation. Structured, progressive practice across a 5–8 week home programme produces measurable improvement in paper manipulation and builds the foundation for writing, scissor use, and academic participation.
🖐️ Fine Motor / Hand Manipulation
Domain
📅 Ages 3–8 Years
Target Range
⏱️ 10–15 Minutes
Per Session
📆 Daily or 5×/week
Frequency
Who Uses This Technique
This Technique Crosses Therapy Boundaries — Because the Brain Doesn't Organize by Therapy Type
Occupational Therapist (OT) — Primary Lead
The OT leads this technique, addressing bilateral coordination, finger isolation, graded force control, and in-hand manipulation. The OT designs the graded material progression and monitors for compensatory patterns.
ABA Therapist / BCBA — Reinforcement Architecture
The BCBA designs the reinforcement schedule — crumpling targets become games with immediate rewards, graded paper progression becomes a mastery-based token system. Data collection follows ABA measurement standards.
Special Educator (SpEd) — Academic Bridge
The SpEd maps tearing and crumpling skills to classroom readiness indicators: collage projects, paper-craft activities, and the fine motor foundations of early writing.
NeuroDev Pediatrician — Clinical Oversight
Provides diagnostic context: whether the fine motor challenge reflects DCD, autism profile, or low muscle tone. Clinical escalation pathways are physician-informed.
What This Technique Targets
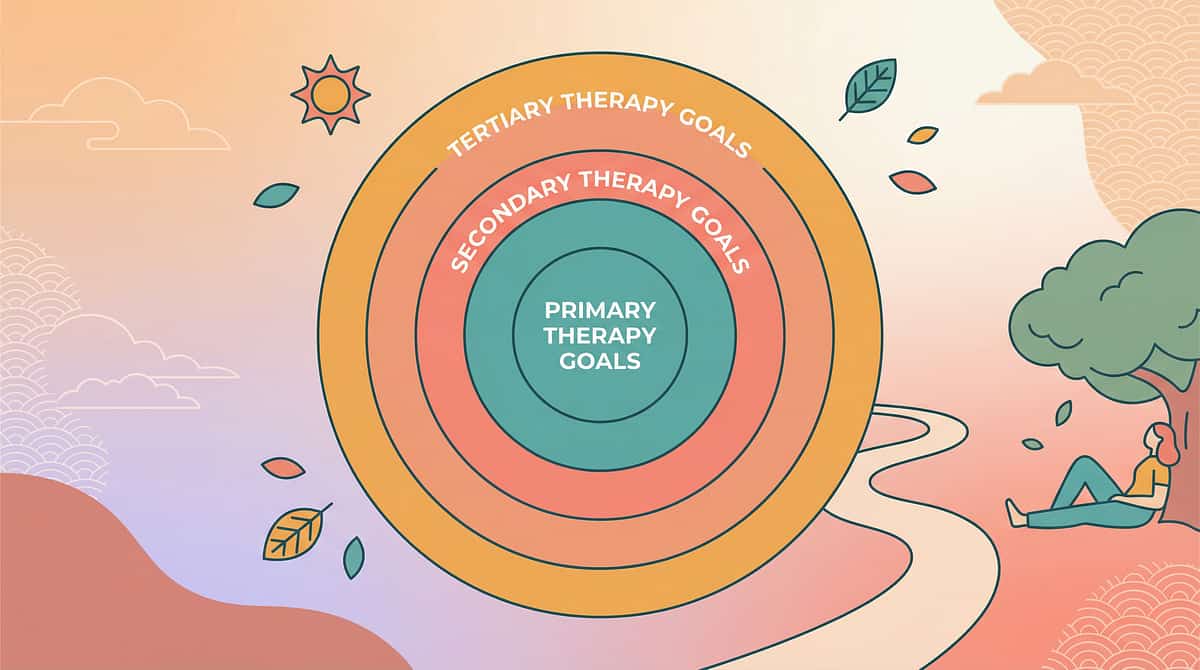
This Is a Precision Tool — Not a Random Activity
Primary Target
Bilateral Coordination + Finger Isolation + Graded Force Control — the three underlying motor systems that produce controlled tearing and crumpling.
Secondary Targets
  • Pre-Writing Hand Control — pincer grip, finger strength, precision movements
  • In-Hand Manipulation — adjusting paper position within the palm
  • Sensory Processing — tactile discrimination of texture and resistance
Tertiary Targets
  • Scissor Skill Readiness
  • Academic Participation — craft table, collage, classroom art
  • Self-Care Independence — managing packaging, clothing, food wrappers
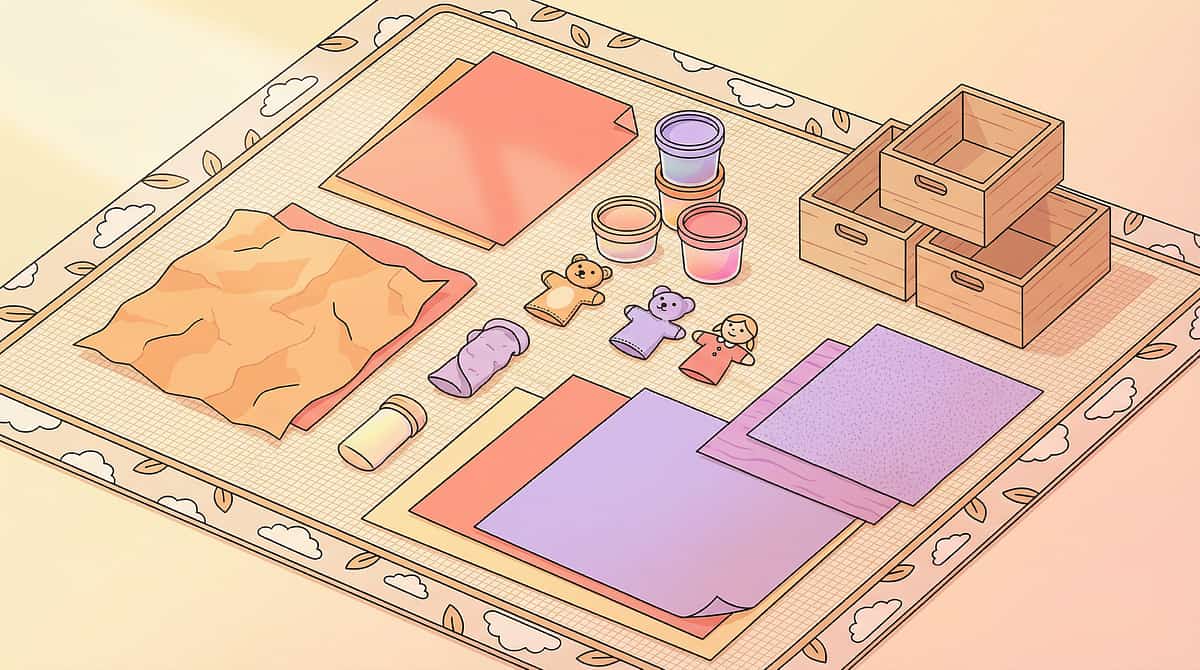
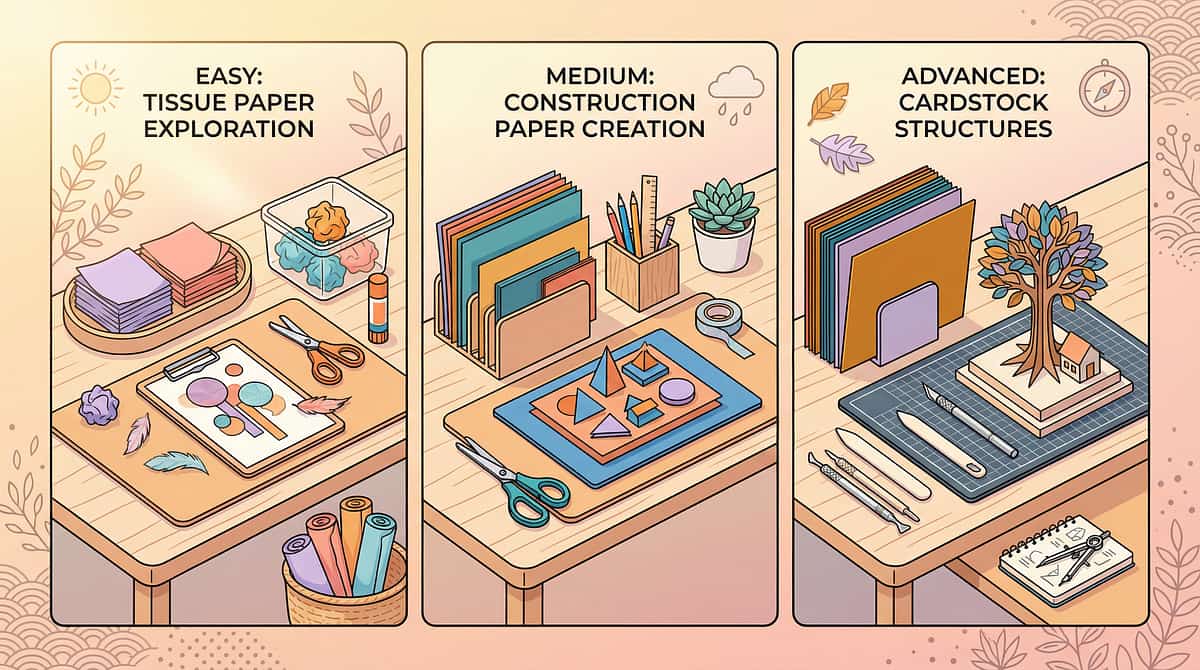
Material 1: Graded Paper Collection
Pinnacle Recommends
Canon Material
What it is: Papers from tissue-weight to cardstock in 5 progressive resistance levels — the progression system for skill-building.
Why it works: Each weight requires different force, coordination, and control. The progression mirrors your child's growing skill, ensuring a "just-right challenge" at every stage.
Level 1
Tissue paper — easiest
Level 2
Crepe paper
Level 3
Newsprint
Level 4
Construction paper
Level 5
Cardstock — hardest
Price range: ₹100–400 | Where to find: Stationery shops, art supply stores | Ask for: tissue paper, crepe paper, newsprint, construction paper, cardstock
Material 2: Tearing Guides & Templates
Pinnacle Recommends
Canon Material
What it is
Papers pre-drawn with lines, dotted borders, and shape outlines to guide precise tearing. Visual targets transform random ripping into purposeful, controlled tearing practice.
Why it works
When a child has a visual target to follow, the brain's premotor cortex can plan the tear direction before the fingers begin — dramatically improving accuracy and reducing frustration.
DIY Option — Free
Draw bold marker lines on any scrap paper. A thick marker line is as effective as a printed template. Start immediately, at zero cost.
Price Range
₹50–200 (DIY) | ₹200–600 (purchased)
Key Teaching Cue

"Eyes on the line. Fingers next to each other. Now pull sideways." — Use this exact script every time for consistency.
Progression
  • Begin: Straight horizontal lines on tissue paper
  • Advance: Diagonal lines on newsprint
  • Mastery: Shape outlines on construction paper
Material 3: Crumpling Targets & Containers
Pinnacle Recommends
Canon Material
What it is: Baskets, buckets, or decorated boxes that turn crumpling into a throwing game. Game format creates motivation for high-repetition practice that builds skill through volume.
Why it works: The goal of "getting the ball into the target" provides immediate natural reinforcement, keeping motivation high across many repetitions — far more than a structured drill alone.
Commercial Option
Toy basket or decorated container — ₹100–400
DIY — ₹0
Any household basket or box. Decorate with marker to create a "monster mouth" for engagement — the theme dramatically increases repetitions.
Game Protocol
Crumple 10 balls, aim for the target from seated position (50–100cm away). Count successful shots — beat yesterday's score.

Therapeutic goal: Tight ball using fingers only (no body/table/palm). The crumpling is the therapy — the throwing is the motivation.
Material 4: Theraputty / Resistance Putty
Pinnacle Recommends
Canon Material
What it is
Graded-resistance therapy putty that builds intrinsic hand muscle strength — the small palm and finger muscles that power controlled paper manipulation. Theraputty is used as a warm-up before paper tasks and as a standalone strengthening exercise.
Why it works
Strengthening the intrinsic muscles of the hand is the prerequisite for all fine motor paper work. Without adequate finger strength, no amount of technique coaching will produce consistent tearing control.
Price range
₹400–1,200 | Available in clinical-grade and general retail versions
Resistance Grades (in order)
Extra-Soft
Entry level — begin here for most children
Soft → Medium
Standard home programme range
Firm → Extra-Firm
Advanced — clinician guided

For children with very low muscle tone, specific resistance grades are non-negotiable. Consult your OT before selecting grade.
Material 5: Finger Puppets & Isolators
Pinnacle Recommends
Canon Material
What it is
Individual finger puppets and silicone finger sleeves that build finger independence awareness. Each finger becomes a character — moving one at a time builds the neural pathways for finger isolation.
Why it works
Finger isolation — the ability to move individual fingers independently of the whole hand — is the single most important prerequisite for controlled tearing. Puppets make the training feel like play rather than therapy.
Example Activities
  • "Only the puppet on your pointer finger waves hello"
  • "Middle finger puppet bows — all others stay still"
  • "Which puppet can pick up the tissue paper piece?"

Price range
₹150–600 | DIY: Paper cones on fingers, cloth scraps tied with rubber bands
Material 6: Bilateral Coordination Task Materials
Pinnacle Recommends
Canon Material
What it is: Bead stringing sets, lacing cards, sewing cards — activities requiring two hands in clearly different roles simultaneously.
Why it works: The stabilising-hand/acting-hand coordination built here transfers directly to tearing success. When one hand learns to hold steady while the other acts, the motor programme for controlled paper tearing is already forming.
Lacing Cards
One hand holds the card, other threads — identical bilateral pattern to tearing
Bead Stringing
One hand holds string, other places bead — builds helper-hand steadiness
Sewing Cards
Progressive difficulty — builds both bilateral coordination and finger precision
Price range: ₹200–800 | DIY: Old shoes for lacing, dried pasta for stringing, punched cardboard for threading — identical therapeutic value

Safety note: Age-appropriate bead size required. No choking hazard for children under 3 years.
Material 7: Graduated Activity Kits
Pinnacle Recommends
Canon Material
What it is
Structured craft kits with built-in progression — tissue mosaics → newsprint collages → construction paper art. Children build skills while making art they're proud of.
Why it works
The craft outcome (a beautiful finished piece) provides powerful intrinsic motivation. Unlike isolated exercises, a completed collage gives the child visible evidence of their growing capability — which sustains engagement across the full 8-week programme.
Price range
₹300–1,500 (commercial) | DIY: Old magazine tear-and-paste collage on cardboard — therapeutically equivalent
Built-In Progression
Week 1–2
Tissue paper mosaic — tear squares, paste on cardboard
Week 3–4
Newsprint collage — tear shapes, build a scene
Week 5–8
Construction paper art — guided shapes, complex projects
Material 8: Visual / Verbal Cueing Cards
Pinnacle Recommends
Canon Material
What it is
Step-by-step illustrated cards showing exactly how to hold, pinch, and tear — or gather and crumple. Posted at eye level during sessions, they give children a model to reference without needing verbal reminders every few seconds.
Why it works
Many children don't struggle with ability — they struggle with technique. Seeing the HOW enables copying. For children who process visual information more readily than verbal instructions, cueing cards are often the single most impactful support tool in the programme.
Price range
₹50–200 purchased | ₹0 DIY
DIY Instructions
Take photos of your child's hands in the correct tearing position
Print and laminate (or cover with clear tape)
Post on wall at child's seated eye level, beside the work table

Personalised photos of your child's own hands are more engaging and motivating than generic illustrations.
Material 9: Sensory Feedback Materials
Accessible Option
What it is: Textured papers (sandpaper, corrugated cardboard, foil), crinkly materials that provide enhanced tactile and auditory feedback during manipulation.
Why it works: More sensory input = more precise motor control. For children with sensory processing differences, the enhanced feedback from these materials helps the brain form a clearer picture of what the fingers are doing — enabling better control.
Sandpaper
Fine-grit only. Provides strong tactile resistance feedback. Hardware store standard — identical to clinical OT practice. ₹20
Aluminium Foil
Auditory crinkle feedback. Highly engaging for sensory seekers and children who resist visual/tactile paper. Use folded pieces — not sharp-cut edges. ₹0
Corrugated Cardboard
Medium resistance with strong texture. From household boxes. Bridges newsprint and construction paper in the resistance progression. ₹0
Price range: ₹100–500 (specialty pack) | Complete DIY version: ₹0 using household materials
DIY & Substitute Options
Every Family Can Start Today — Regardless of Budget
WHO/UNICEF Equity Principle: No child's therapy should be gated by household income.
Material
Commercial Option
₹0 DIY Version
Graded Paper
Art supply pack ₹200
Old newspapers, magazines, tissue paper from gift bags — same graded resistance principle
Tearing Guides
Template pads ₹300
Bold marker lines on any scrap paper — a thick line is as effective as a printed template
Crumpling Target
Toy basket ₹300
Large cardboard box, old bucket — decorate with marker faces for engagement
Theraputty
Clinical grade ₹600
Homemade play dough (flour + salt + water + oil) — functional for home practice between professional sessions
Finger Puppets
Set of 5 ₹400
Paper cones on fingers — individual finger awareness is the goal
Bilateral Tasks
Lacing kit ₹500
Old shoes for lacing, dried pasta on string — identical bilateral coordination principle
Activity Kit
Commercial ₹800
Old magazine tear-and-paste collage on cardboard — therapeutically valid
Cueing Cards
Printed set ₹200
Phone photos of your child's hands in correct position, stuck to wall
Sensory Materials
Specialty pack ₹400
Hardware-store sandpaper ₹20, kitchen foil, corrugated cardboard from boxes

A complete tearing and crumpling intervention programme can be built for ₹0 using household materials. The clinical-grade versions are upgrades — not requirements.
Safety First: Before You Begin
Read This Before Every Session — Not Just the First One
🟢 GREEN — Proceed Normally
Child is well-rested, has eaten, is in a calm/alert state. Space is prepared, no fever or illness. Materials are age-appropriate and free of sharp edges.
🟡 AMBER — Modify the Session
Child is slightly dysregulated → start with theraputty warm-up only. Difficult day → use tissue paper only. Low energy → 5-minute maximum, game format. Sensory-seeking today → 2 minutes heavy hand input first.
🔴 RED — Do Not Proceed Today
Child is in full dysregulation. Child is visibly unwell. Child explicitly communicates "no" or shows clear avoidance — respect this and try tomorrow. Materials contain staples or sharp wires.
Material-Specific Safety Notes
  • Newspaper: Ink transfers to hands — wash after. Not for children who mouth materials.
  • Theraputty: Not edible — supervise under-5s. Store airtight.
  • Aluminium foil: Use folded pieces only — fine edges can cut.
  • Beads: Age-appropriate size — no choking hazard for under-3s.
📞 Safety concerns: 9100 181 181 (FREE National Autism Helpline | 16+ languages)
Set Up Your Space
The Right Environment Prevents 80% of Session Failures
Setup Checklist
Table height: Child's elbows at or slightly above surface — use cushion if needed
Seating: Feet flat on floor (not dangling — core stability supports hand function)
Lighting: Natural light or bright overhead — no shadows on work surface
Noise: TV off, background below 45dB, siblings in another room if possible
Materials: Only this session's items on the table — remove all other objects
Cueing cards: Posted at eye-level for reference throughout session
Is Your Child Ready? Pre-Flight Check
60 Seconds Before You Begin — The Readiness Assessment
Observable Indicator
Yes
No
Child is physically present, sitting, or near the table
GO factor
Invite first
Child makes eye contact or acknowledges your presence
GO factor
Warm-up first
Child's breathing is calm and regular
GO factor
POSTPONE
Child has eaten in the last 1–2 hours
GO factor
Feed first, 20 min pause
Child is not actively engaged in a preferred activity
GO factor
5-min transition warning
Child has not had a major meltdown in the last 2 hours
GO factor
POSTPONE to tomorrow
Parent is calm and not rushed for time
GO factor
Reschedule session
🟢 5–7 YES
GO — Begin Step 1 now
🟡 3–4 YES
MODIFY — Tissue paper only, 5-minute session maximum
🔴 0–2 YES
POSTPONE — "Not ready today" is valid data
Step 1: The Invitation
STEP 1 OF 6
⏱️ 30–60 Seconds
What this step achieves: Brings the child into the activity through play, not demand. This is pairing — associating you and the materials with positive experience before any therapeutic demand.
"Hey! I found this cool paper. Want to see what happens when I tear it? Watch —" [dramatically tear tissue paper in half] "Your turn?"
Acceptance Cues (YES)
  • Child reaches for or touches the paper
  • Child looks at the paper or at your hands
  • Child moves closer to the table
Resistance Cues (NO)
  • Pushes paper away → back off, try again in 2 minutes with different colour
  • Ignores → tear paper dramatically 3 times, making satisfying sound
  • Walks away → follow gently; if second refusal, use theraputty only today

Step 2: The Engagement
STEP 2 OF 6
⏱️ 1–3 Minutes
What this step achieves: Child is now interacting with materials. Introduces the therapeutic material with purpose, begins the reinforcement cycle.
"Hold this end. I'll hold this end. Now we both pull — ready? 1, 2, 3, PULL!"

Start with tissue paper in portrait orientation (top-to-bottom tears are easier). Keep initial pieces large (A4 size) — smaller pieces are harder to grip. Position your hands as the model first, then hand the paper to the child.
Engagement 🟢
Child grabs paper enthusiastically → Proceed to Step 3
Tolerance 🟡
Child holds paper but looks unsure → Model tearing first, then hand back
Avoidance 🔴
Child holds paper then drops it → Try foil first — the crinkle sound draws attention

The moment the child holds the paper with intent, deliver immediate specific praise: "You're holding it just right! See how you're pinching? That's exactly it!"
Step 3: The Therapeutic Action
STEP 3 OF 6
⏱️ 5–8 Minutes
Session A — Tearing Protocol
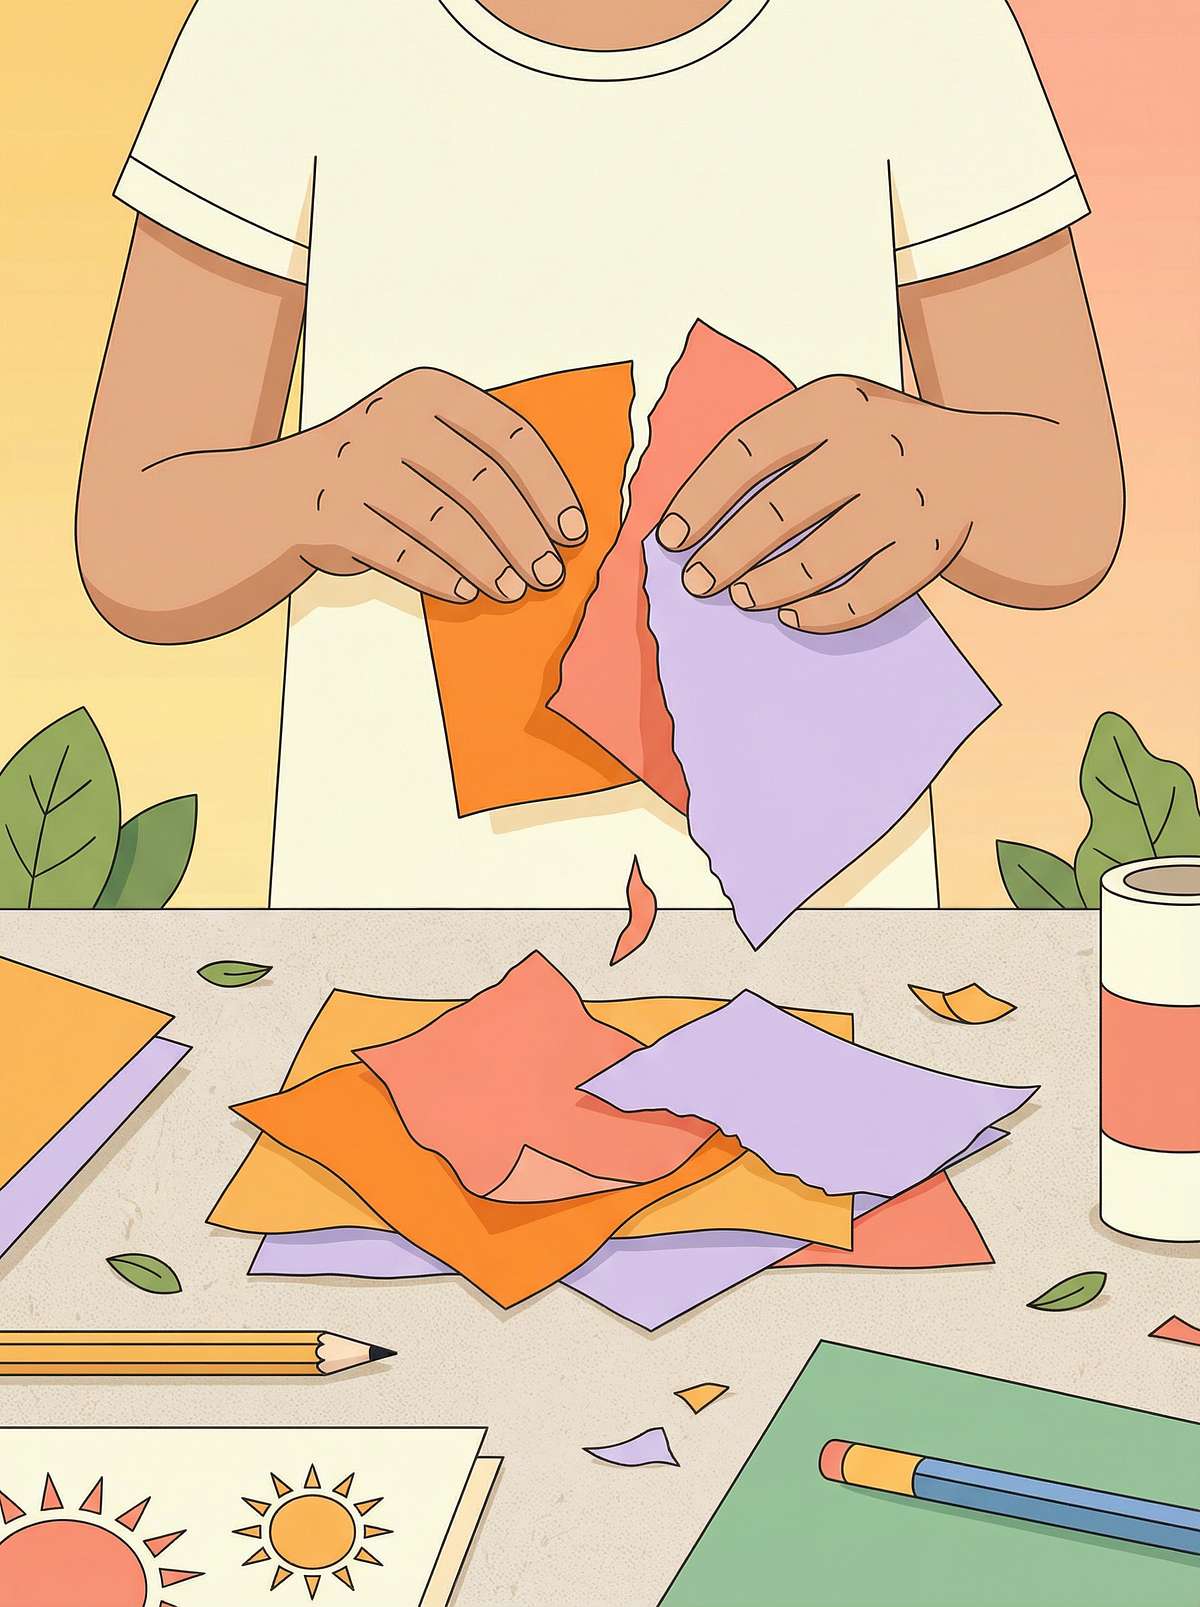
Place paper on table. Child holds steady with non-dominant hand (helper hand). Dominant hand pinches the paper very close to the helper hand. Both hands pull in opposite directions — sideways. Fingers do the work, not arms.
Common Errors
Error
Correction
Paper bends, no tear
Hands too far apart — move them until touching before pulling
Rips whole sheet
"Tiny fingers, not big arms" — demonstrate with exaggerated slow finger movement
Uses table to help
Hold paper in air with both hands — remove the surface
Session B — Crumpling Protocol
Give child a small piece of paper (A5 or smaller). Place in palm of dominant hand. "Use only your fingers — not your palm, not the table — push the paper into a ball."
Common Errors
Error
Correction
Pushes against body/table
Remove all surfaces — complete in air
Uses full palm
"Only fingertips — can you feel the paper?"
Loose ball
"Make it tight as a marble — squeeze and twist"

Active tearing/crumpling practice should occupy 40–60% of session time = 5–8 minutes.
Step 4: Repeat & Vary
STEP 4 OF 6
⏱️ 3–5 Minutes

The Golden Rule: 3 high-quality repetitions with correct technique > 10 repetitions with compensation
5–8
Successful tears
Per session — count the "good ones" with correct technique only
8–12
Paper balls
Per session — game format into crumpling target
10–15
Putty pinches
As warm-up or standalone strengthening
Variation Options to Maintain Engagement
Tear coloured paper into a rainbow — colour sorting + fine motor + creative outcome
Crumple paper balls, throw into "monster basket" — very high motivation, immediate feedback
Tear paper to "feed" a toy animal — narrative context, imaginative play
Tear strips to make paper chains — tangible craft product sustains engagement
Satiation indicator: When quality deteriorates, child looks away more, or becomes passive — that is the session length today. Do not force additional reps.

Step 5: Reinforce & Celebrate

STEP 5 OF 6 ⏱️ 1–2 Minutes Timing matters more than magnitude. Immediate, specific, enthusiastic reinforcement delivered within 3 seconds of the target behaviour is 10× more effective than delayed praise. For first controlled tear: "YES! Did you FEEL that? Your fingers did that — not your arms. THAT is the tear. That's exactly what we're building!" For a tight crumpled ball: "Look at that ball! Can you feel how tight it is? Your fingers made that happen. That is finger power!" For persistence: "You kept trying even when it was hard. That right there — that is how skills get built. I'm proud of you." Celebrate the ATTEMPT, not just the success. When a child makes a genuine effort — even unsuccessful — reinforce the effort explicitly: "I love how you tried that!"

Step 6: The Cool-Down
STEP 6 OF 6
⏱️ 2–3 Minutes
The Rule: No session ends abruptly. The cool-down is as important as the active practice.
"Two more, and then we're all done for today." [Hold up two fingers]
This sequence builds a predictable closing ritual that makes children willing to engage again tomorrow. Abrupt endings create resistance to the next session.

If child resists ending: use visual timer to show time is complete. Offer one "goodbye tear" — then done. Never abruptly remove materials.
Capture the Data: Right Now
60 Seconds of Data Now Saves Hours of Guessing Later
Record immediately after session ends — memory degrades within 20 minutes.
F-610 Session Tracker
Tearing Level (1–5)
1 = Paper bends, no tear | 3 = Controlled tear on newsprint | 5 = Freehand controlled tearing
Crumpling Level (1–4)
1 = Uses arm/body/table | 2 = Partial fingers | 3 = Mostly fingers, loose ball | 4 = Tight ball, fingers only
Session Notes
Duration, engagement level (1–5), whether session was full / modified / postponed
Why Data Matters
Data transforms intuition into evidence. When you show your child's therapist 8 weeks of tearing level progression, they can adjust the programme precisely. Without data, sessions are guesswork. With data, they are a science.

Track daily. Even a quick note like "Tearing: Level 2, 8 min session, high engagement" is powerful clinical data after 8 weeks.
📞 For data-guided guidance from a Pinnacle OT: 9100 181 181
What If It Didn't Go As Planned?
Session Abandonment Is Not Failure — It's Data
Problem 1: Refused to touch paper at all
Why: Tactile defensiveness. Next time: Start with theraputty → foil (crinkle sound engages) → paper. Use gloves for initial contact if needed.
Problem 2: Tore one piece and walked away
Why: Low engagement or too-hard material. Next time: Use tissue paper, start with crumpling target game. "3 and done" — visible shorter session.
Problem 3: Paper kept bending — no tear
Why: Hands too far apart, or paper weight too heavy. Next time: Move hands until touching before pulling. Drop to tissue paper.
Problem 4: Tore whole sheet in half
Why: Too much arm force. Next time: Use tearing guide (draw a thick line). Cue "tiny fingers." Practice finger puppets first.
Problem 5: Crumpling ball fell apart
Why: Whole-hand crumpling, not finger-based. Next time: Start with foil (satisfying feedback). Demo slow motion: "fingers in, rotate, squeeze." Practice finger push-ups on table.
Problem 6: No visible progress after 2 weeks
Why: Level too hard or too easy. Action: Reassess paper level. Check bilateral coordination — may need more lacing practice before paper work.

If problems persist beyond 3 weeks of consistent practice, consult your OT. 📞 Book a teleconsult: 9100 181 181
Adapt & Personalise
No Two Children Are Identical — Adjust the Technique to Your Child's Profile
1
Tissue Paper
Start here if any session feels too hard
2
Crepe Paper
Standard starting point for most children
3
Newsprint
Advance when current level is automatic
4
Copy Paper
Midpoint mastery marker
5
Construction Paper
Near-mastery level
6
Cardstock
Full mastery benchmark
Sensory Profile Adaptations
Sensory Seeker
More textured papers (sandpaper, foil), increase crumpling reps, use firmest theraputty
Sensory Avoider
Theraputty only first, introduce paper through gloves, use cueing cards for predictability
Low Muscle Tone
More theraputty strengthening first, tissue paper only, shorter sessions with frequent breaks
High Distractibility
Game format every session, visual timer, clear endpoints ("3 and done")
Week 1–2: What to Expect
Progress Phase 1
15% Progress
Set the Right Expectations — Early Signs Are Subtle and Real
Increased Tolerance
Child stays with paper activity 30–60 seconds longer than Day 1 — neural system beginning to accept input. This IS progress.
Reduced Compensation
Child uses arm/body slightly less often — finger system starting to come online.
Engagement with Target Game
Child voluntarily crumples more balls — intrinsic reward cycle starting to form.
Theraputty Acceptance
Child stops resisting theraputty exercises — sensory habituation and trust building.
"If your child tolerated tissue paper for 3 seconds longer today than yesterday — that is real neural change. This is what progress looks like at the start: not dramatic breakthroughs, but measurable increments in tolerance and engagement."

Session frequency Week 1–2: Daily if possible, 10–15 minutes. Focus exclusively on tissue paper and theraputty. Don't rush the progression.
Week 3–4: Consolidation Signs
Progress Phase 2
40% Progress
The Neural Pathways Are Forming — These Are the Signs
Anticipation: Child moves toward table or asks for "the paper game" — unprompted
Bilateral role clarity: Helper hand visibly steadier — less sliding
Controlled tear on tissue: Paper tears where intended at least 50% of the time
Crumpling quality: Balls noticeably tighter than Week 1
Spontaneous generalisation: Child tears stickers off sticker sheet independently
"What you're seeing between Week 3 and 4 is synaptic strengthening. Repeated structured input is literally building new neural connections in the motor cortex, cerebellum, and somatosensory processing areas. This is neuroplasticity at work — measurable, predictable, and reproducible."
You may also notice that you feel more confident running sessions. You've stopped second-guessing the script. That parent confidence is real — and it predicts better outcomes for your child.
Week 5–8: Mastery Indicators
Progress Phase 3
75% → Mastery
Mastery Unlocked — These Are the Specific, Measurable Criteria
Skill
Mastery Criterion
Tearing — tissue paper
Controls tear direction on guide line in 8/10 attempts
Tearing — construction paper
Tears approximately to intended size in 6/10 attempts
Crumpling
Produces tight ball using fingers only (no body/table) in 8/10 attempts
Bilateral coordination
Helper hand consistently stabilises without cueing
Finger isolation
Can move individual fingers on request in puppet game
Technique persistence
Completes 10-minute session without compensation or abandonment
Generalisation Indicators (Skill Appearing Outside Sessions)
  • Child independently tears paper at school or during play
  • Child crumples wrapping paper on their own at gift opening
  • Teacher notes improvement in craft table participation
  • Child engages with craft activities voluntarily
Celebrate This Win
You Did This. Your Child Grew Because of Your Commitment.
You spent 5–8 weeks showing up. Day after day, you set up the table, prepared the materials, ran the script, captured the data, and adapted when it didn't work. That is not a small thing. That is parenting as therapeutic infrastructure.
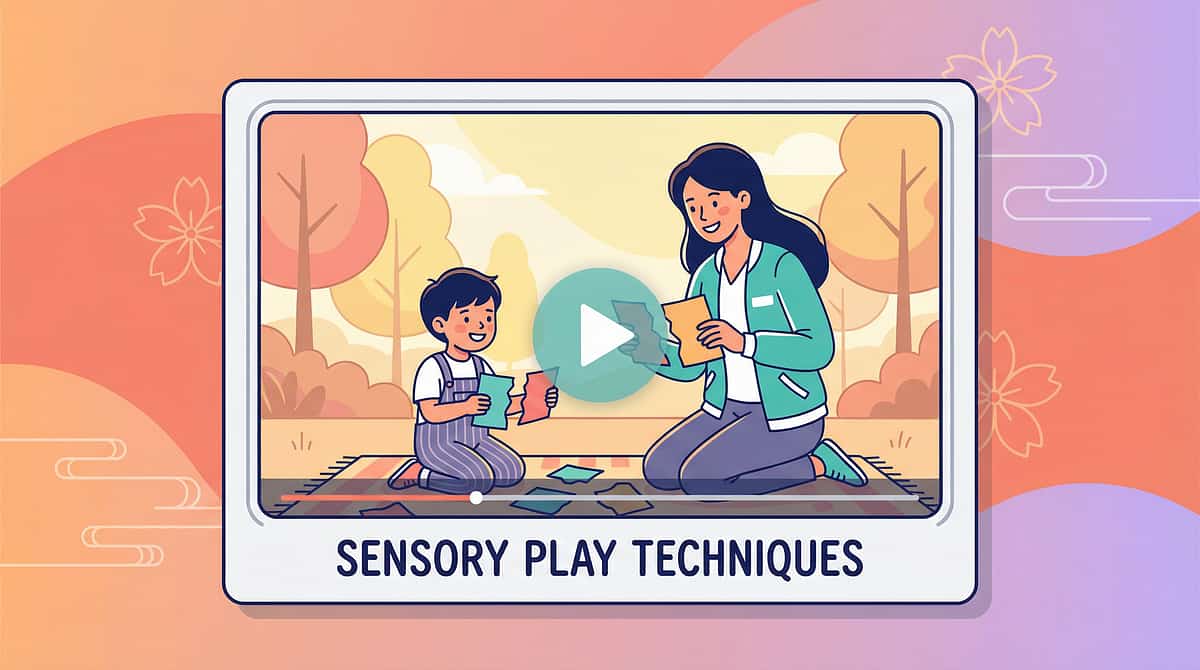
Your child can now tear paper in a way they couldn't 8 weeks ago. Their fingers have new strength. Their brain has new connections. Their school participation — the craft table they used to avoid — is now accessible. That is the change you made.

Family Celebration: Create a "Tear Art" masterpiece together — freely tear paper of all levels into a collage. Put it on the wall as a permanent record of what their hands can now do.
📸"Week 8 — [Child's name] can now tear paper into pieces and crumple tight balls. This is what commitment looks like."
Red Flags: When to Pause
Even in the Win Zone — Know When to Pause and Ask
🔴 Regression After Mastery
Child who was tearing well suddenly cannot — across 3+ sessions. Possible new stressor or neurological change. Consult physician.
🔴 Persistent Pain Complaints
Child consistently reports hand/finger pain during or after sessions. Stop all sessions. OT evaluation immediately.
🔴 Increasing Avoidance
6–8 weeks of practice with escalating avoidance, not decreasing. Functional assessment needed.
🔴 Motor Tremors
Visible hand trembling during fine motor tasks. Neurological evaluation required.
🔴 No Progress at 8 Weeks
Zero measurable improvement on all tracking metrics. OT reassessment — may need clinic-based intervention before home programme continues.
"If something feels wrong, pause and ask. You know your child better than any algorithm does. Parental instinct, combined with professional expertise, is the most powerful clinical tool available."


📞 Free consultation: 9100 181 181 — Concern → Self-monitor 3 sessions → Persists? Call us.
The Progression Pathway
You Are Not Done — You Are on a Journey
The long-term developmental goal this feeds into: academic readiness for writing and drawing, self-care independence, full classroom craft participation — the foundation of all fine motor academic tasks.
↑ F-611
Scissor Skill Development — if tearing mastered first
↑ F-612
In-Hand Manipulation — if crumpling is the primary advancement
↑ F-615
Pre-Writing Fine Motor Foundations — the convergent goal
Related Techniques in the Fine Motor Domain
More Techniques — Materials You May Already Own
F-608: Pincer Grasp
⬤ Foundation | Theraputty + Small Objects
F-609: Hand Strength
⬤ Foundation | Resistance Tools
F-611: Scissor Skills
⬤⬤ Core-Advanced | Scissors + Templates
F-612: In-Hand Manipulation
⬤⬤ Core-Advanced | Putty + Coins + Manipulatives

If you have theraputty for F-610, you can use it immediately for F-608 and F-609. If you have graded paper, use it for F-611 scissor skill templates.
Frequently Asked Questions
My child can carry heavy bags but can't tear paper. How?
Carrying uses gross motor strength (large muscle groups). Tearing requires intrinsic hand muscle strength combined with precise bilateral coordination and graded force control — entirely different systems. A child can be gross-motor strong and fine-motor weak simultaneously.
At what age should my child tear paper independently?
Basic tearing emerges around age 2.5–3. Controlled tearing into pieces and tight crumpling should be emerging by age 4. If your child is 4+ and consistently struggles with both, a brief OT screening is worthwhile. Call 9100 181 181.
How long should I practice each day?
10–15 minutes daily is optimal. Short, consistent, daily practice outperforms longer sessions twice a week significantly. If 15 minutes is too long, start with 5–7 minutes. Consistency matters more than duration.
My child with autism refuses to touch paper. What do I do?
Do NOT begin with paper. Start with theraputty → foil (crinkle sound is often appealing) → corrugated cardboard → newsprint. Build motor skills with tolerable materials first. Paper tolerance often follows motor confidence.
How do I know when to move to the next paper level?
Move up when the current level feels automatic and effortless — not when the child can do it, but when they can do it without thinking about it and without compensation (no arm force, no body, no table). Automatic performance is the signal.
Can both parents run this programme?
Both parents can and should run sessions — consistency across caregivers multiplies impact. Use the same cueing language ("helper hand," "tiny fingers"). Inconsistent instructions from different adults is a common reason home programmes plateau.

Didn't find your answer? 📞 Book a teleconsultation: 9100 181 181 | pinnacleblooms.org/consult

Preview of 9 materials that help with tearing and crumpling Therapy Material

Below is a visual preview of 9 materials that help with tearing and crumpling therapy material. The pages shown help educators, therapists, and caregivers understand the structure and content of the resource before use. Materials should be used under appropriate professional guidance.

Page 1
Page 2
Page 3
Page 4
Page 5
Page 6
Page 7
Page 8
Page 9
Page 10
Page 11
Page 12
Page 13
Page 14
Page 15
Page 16
Page 17
Page 18
Page 19
Page 20
Link copied!
Your Next Step: Start Now
The craft table your child avoids today can become the one they run toward.
🚀 Start This Technique Today
Open GPT-OS® and launch your first F-610 session — pinnacleblooms.org/start/F-610
📞 Book a Free Consultation
Speak with a Pinnacle OT specialist about your child's specific profile — Call 9100 181 181 | pinnacleblooms.org/consult
➡️ Explore the Next Technique
F-611: Scissor Skill Development — the natural next step — techniques.pinnacleblooms.org/fine-motor/scissor-skills-F-611
20M+
Sessions
97%+
Measured Improvement
70+
Centers Nationwide
70K+
Techniques in Library

🏛️Validated by the Pinnacle Blooms Consortium — OT • SLP • ABA/BCBA • SpEd • NeuroDev Pediatrics • WHO/UNICEF Aligned

📞 FREE National Autism Helpline (24×7 | 16+ Languages): 9100 181 181

© 2025 Pinnacle Blooms Network®, a unit of Bharath Healthcare Laboratories Pvt. Ltd. All rights reserved. GPT-OS®, AbilityScore®, TherapeuticAI®, EverydayTherapyProgramme™, and FusionModule™ are proprietary systems. This page is educational and informational. It does not replace individualised assessment, diagnosis, or intervention from licensed healthcare professionals. Individual outcomes vary.