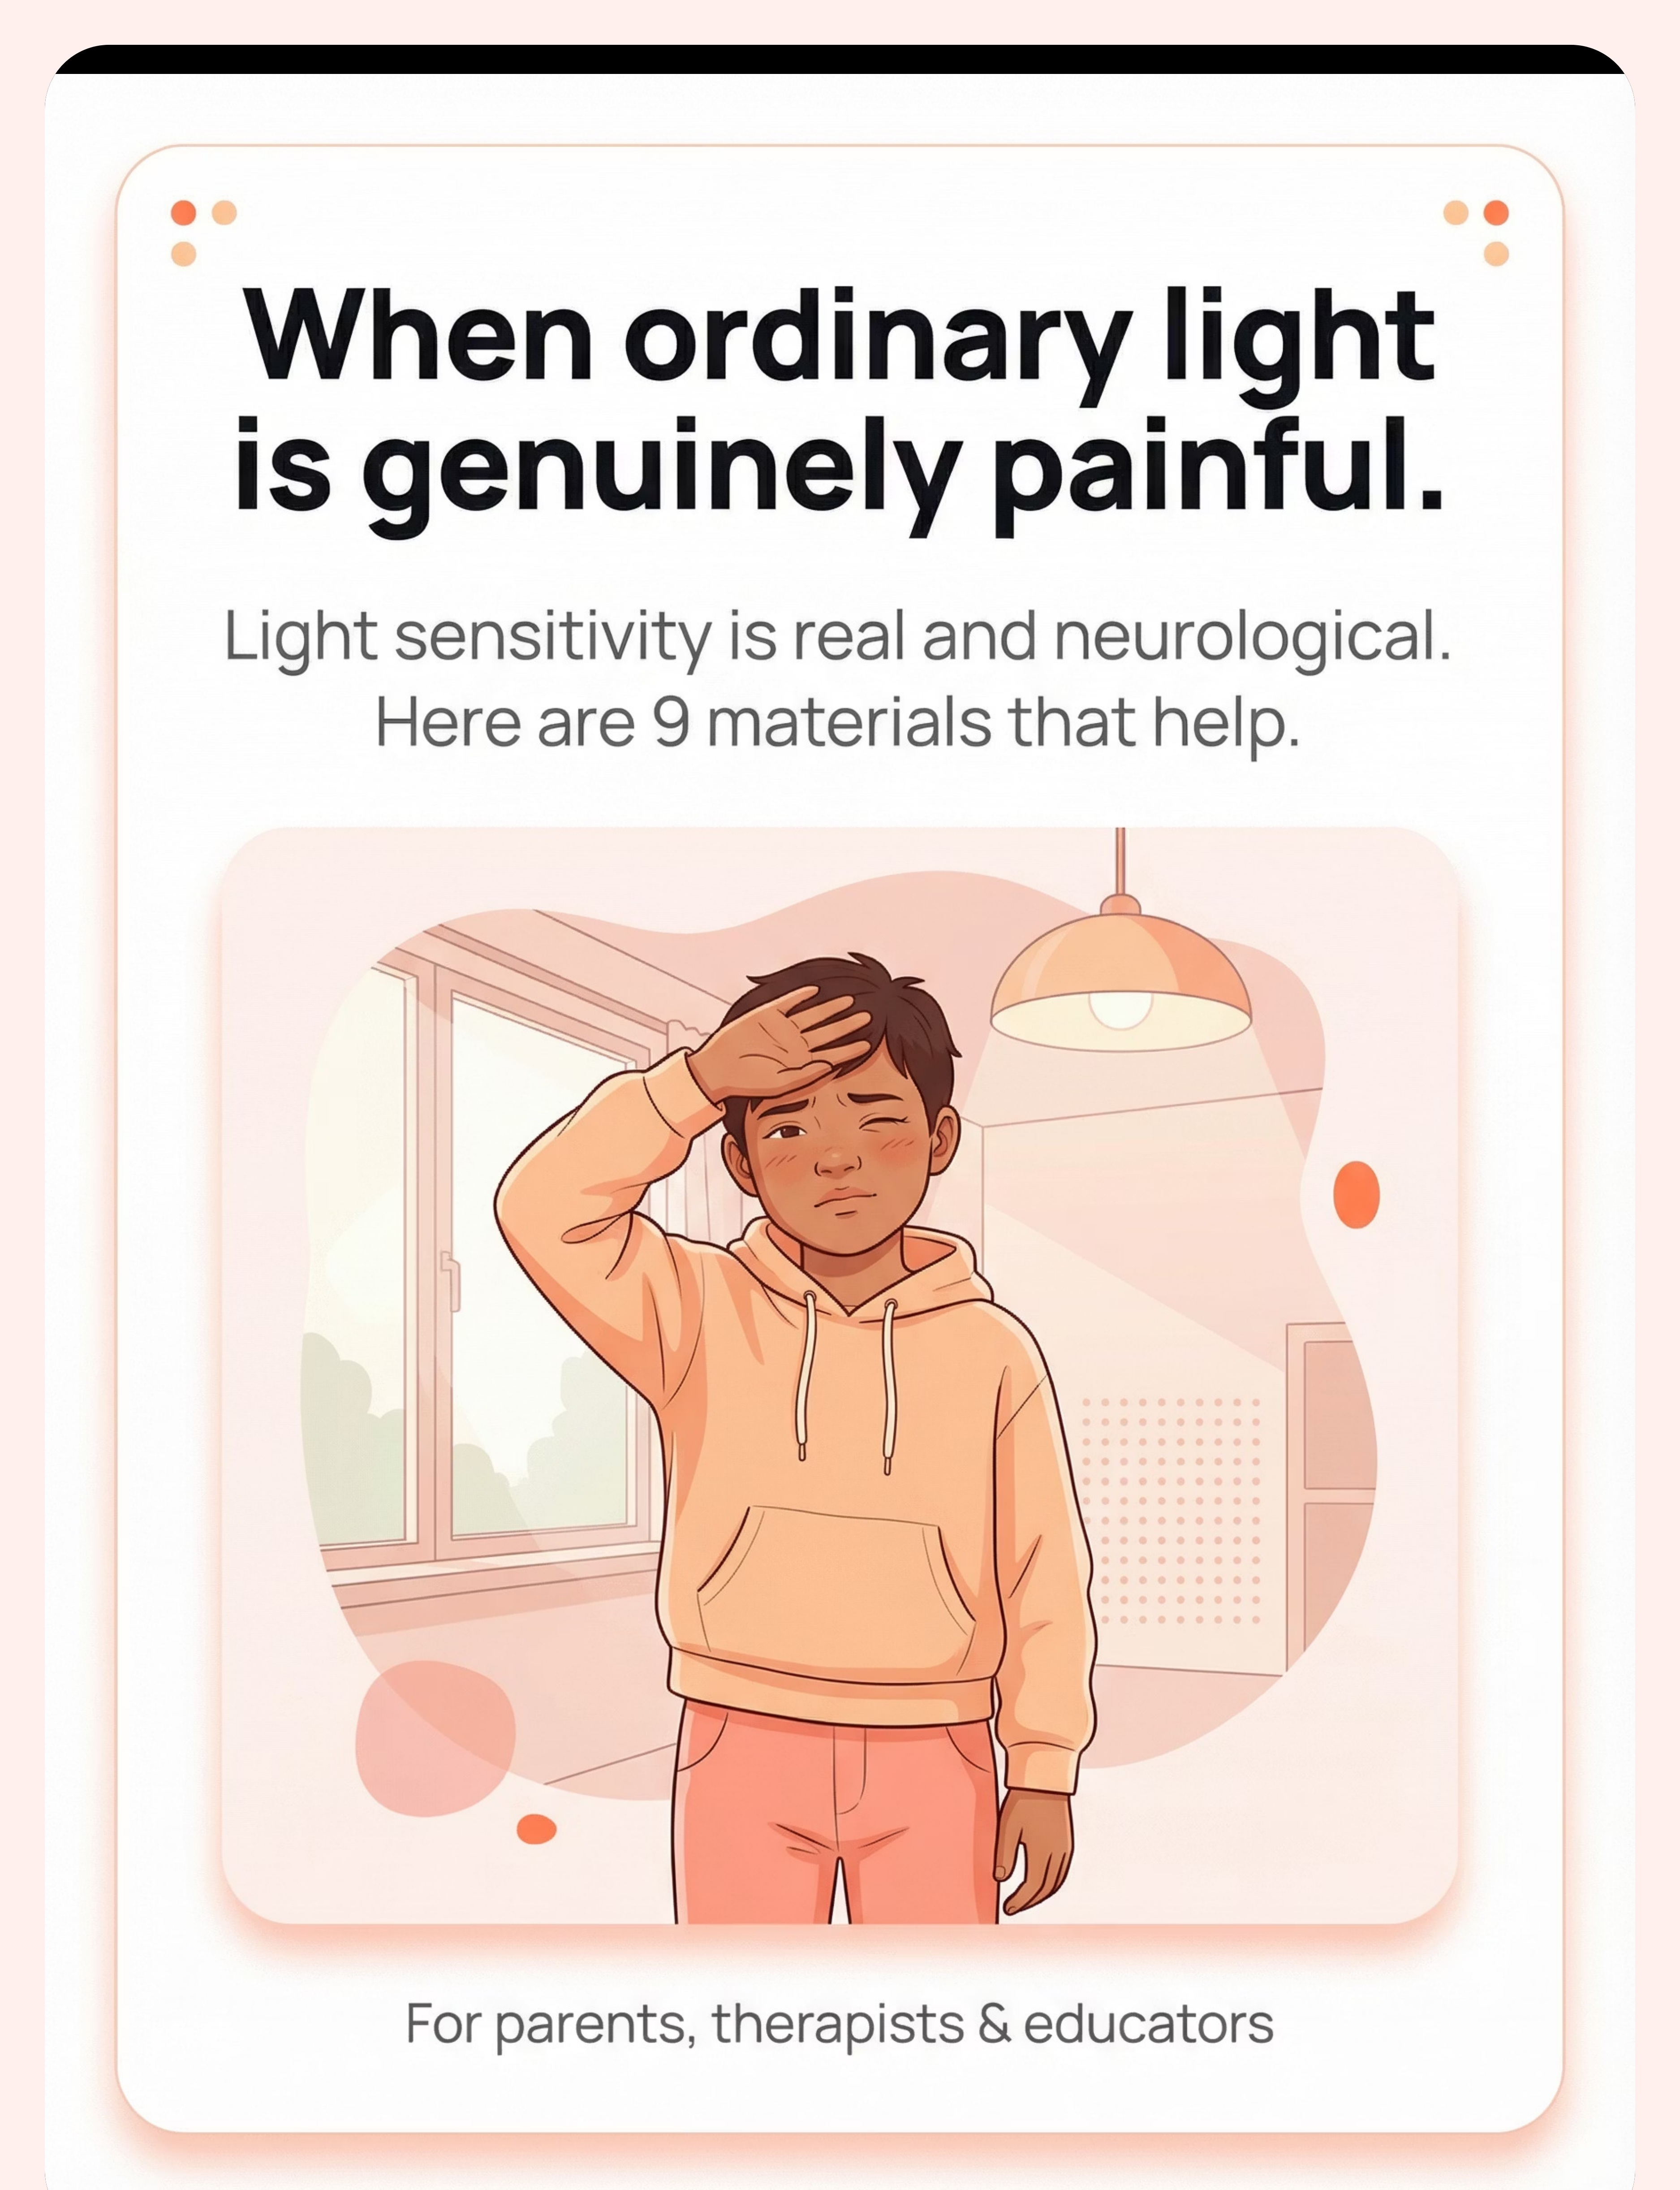
When Ordinary Light Is Genuinely Painful.
Your son squints constantly — even indoors. He shields his eyes from lights that don't bother anyone else. Fluorescent lights at school give him headaches within minutes. Sunny days that other children love send him searching for shade. He says the light "hurts" and "is too loud." Teachers think he's being difficult. But he's protecting himself from light that causes him real, physical discomfort.
You are not failing. Your child's nervous system is processing light differently. This is neurological, not behavioral. And there are materials that help.
Pinnacle Blooms Consortium® | Sensory Solutions Series — A-058
For parents, therapists & educators | Ages 2–12
You Are Among Millions.
Light sensitivity in children is documented across every continent, every income level, every culture. Your child's experience is real, recognised, and researched. You are not alone in navigating this — millions of families around the world are walking this exact path.
80%
Children with Autism
of children diagnosed with autism experience sensory processing differences. (PRISMA Systematic Review, Children, 2024 | PMC11506176)
1 in 6
Visual Over-Responsivity
children with ASD show significant visual sensory over-responsivity — light sensitivity being among the most functionally impairing challenges. (World J Clin Cases, 2024 | PMC10955541)
54
Countries Acting
implementing the WHO Care for Child Development Package — recognising sensory challenges as a global developmental priority. (WHO/UNICEF CCD Package, 2023 | PMC9978394)

The Neuroscience — In Plain Language
What the Research Tells Us
Your child's eyes are likely structurally normal. The difference is in how the brain processes the light signal after the eyes receive it.
In typical visual processing, the brain filters and modulates light input — adjusting to intensity changes smoothly. In visual sensory over-responsivity, this modulation system is calibrated differently. Ordinary light triggers a pain or threat response that is disproportionate to the actual light intensity.
The Key Insight
This is a wiring difference, not a behaviour choice. The discomfort is as real as pain from a physical injury. When your child says light "hurts" — it does.
The visual pathway runs: Retina → Optic Nerve → Thalamus → Visual Cortex → Sensory Integration Areas. The amplification of signal processing happens in the brain — not the eye itself.
Reference: Frontiers in Integrative Neuroscience (2020) | DOI: 10.3389/fnint.2020.556660
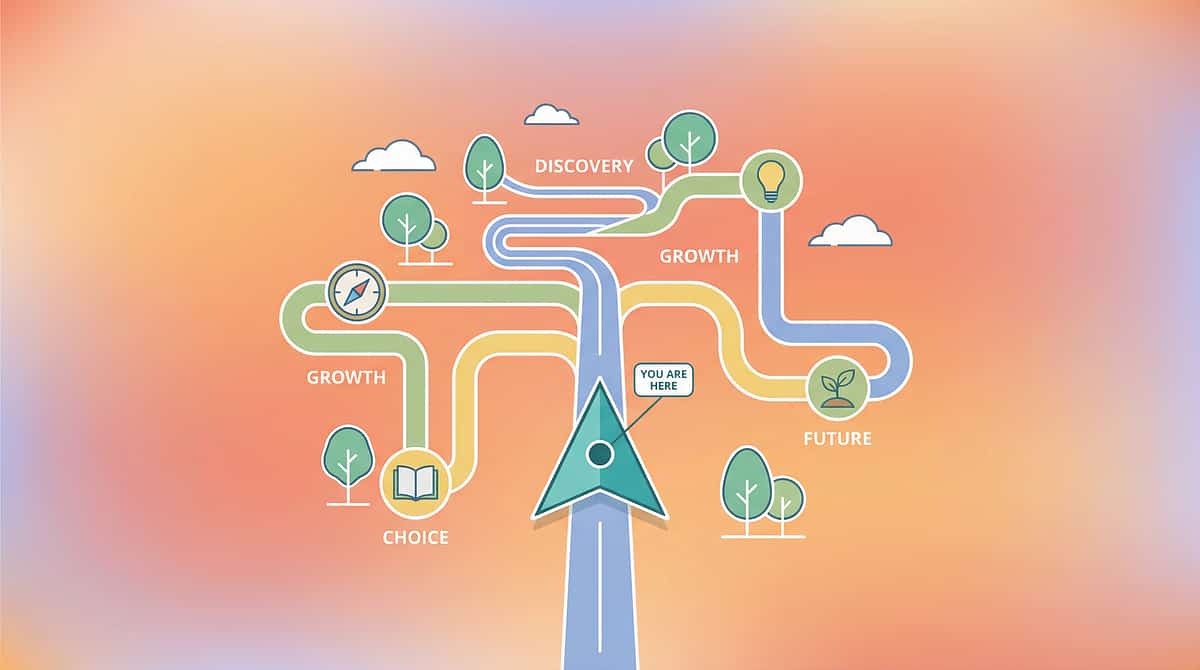
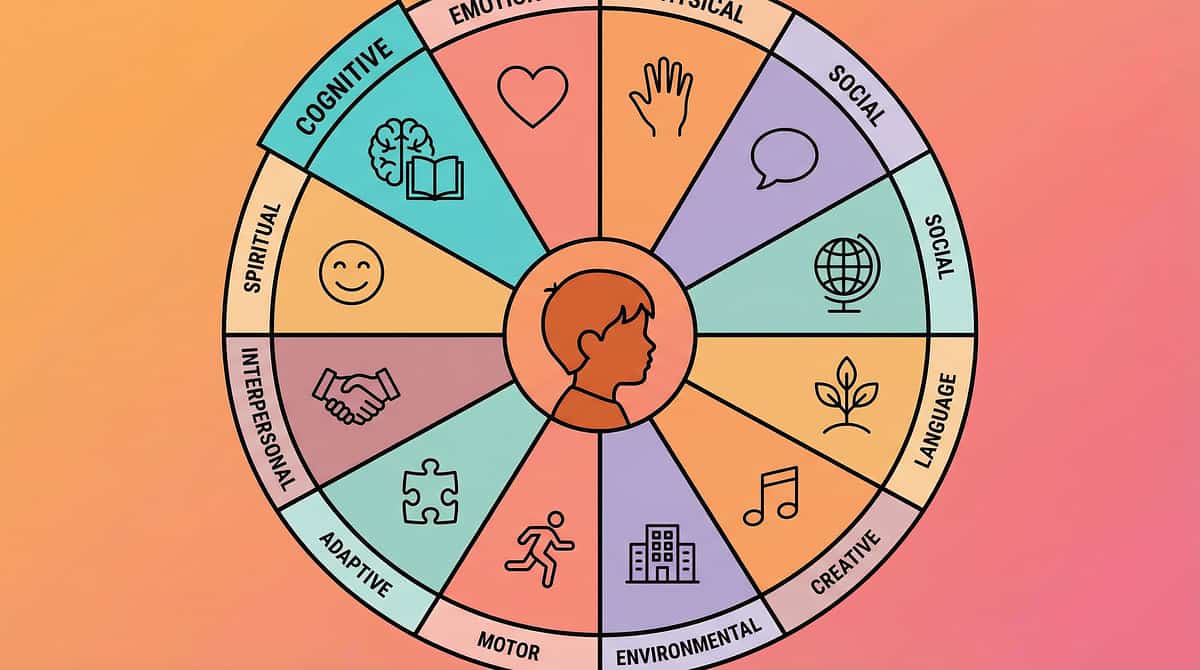
Your Child's Developmental Map
Light sensitivity typically emerges and evolves across early childhood. Understanding where your child sits on this map helps you choose the right interventions at the right time. The materials on this page are designed to meet your child exactly where they are — and move them forward.
0–12 Months
Visual system developing basic light/dark discrimination. Early signs: excessive eye-closing, turning away from light sources.
12–24 Months
Visual processing refining. Sensitivity may emerge as increased fussiness in bright environments, resistance to outdoor play.
2–4 Years ⭐
Common Emergence Zone. Verbal children begin describing light as "too bright" or "hurting." Behavioural patterns solidify: seeking shade, requesting sunglasses, hood-wearing.
4–8 Years
School environment exposes sensitivity to fluorescent lighting. Academic and social impact becomes measurable. Headaches, fatigue, avoidance behaviours.
8–12 Years
Self-advocacy emerging. Child develops coping strategies (some adaptive, some avoidant). Intervention at this stage builds toward independent management.
Reference: WHO Care for Child Development Package | WHO/UNICEF Developmental Milestones | PMC9978394
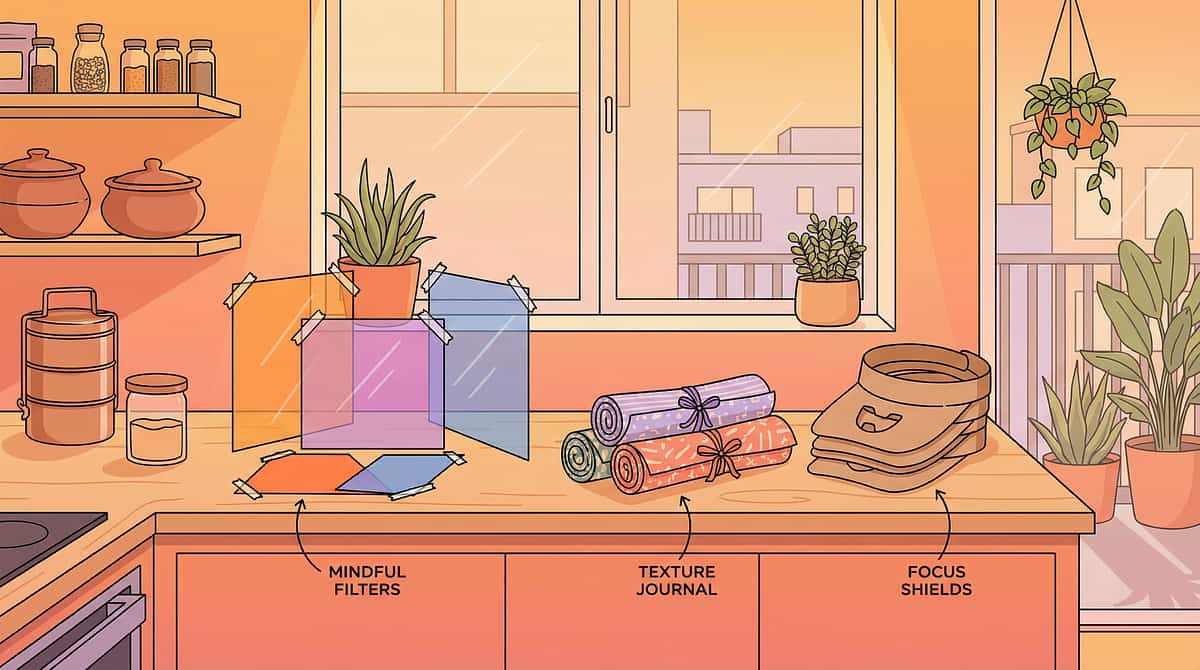
Light Sensitivity Environmental Protection Protocol
Parent-Friendly Name: "Making Light Manageable"
A multi-material approach to reducing, filtering, and managing light input for children whose visual system responds to ordinary light with discomfort, pain, or distress. This protocol combines personal protective equipment, environmental modifications, institutional accommodations, and — where appropriate — gradual tolerance-building. The goal is functional participation in daily life, not complete light avoidance.
Domain
Sensory Processing / Visual System (SEN-VIS-LIGHT)
Age Range
2–12 years
Duration
Ongoing + 10–15 min structured sessions
Frequency
Daily environmental application + 2–3 structured sessions/week
Setting
Home + School + Outdoor + All Lit Environments

The Consortium Behind This Protocol
Light sensitivity doesn't belong to one discipline. The brain doesn't organise by therapy type — so neither does effective intervention. This protocol is designed and implemented by a cross-disciplinary consortium, each specialist addressing a different dimension of the child's experience.
Occupational Therapist (OT) — Primary Lead
Sensory processing assessment, environmental modification design, protective equipment recommendation, gradual desensitisation protocols, school consultation.
NeuroDevelopmental Paediatrician
Differential diagnosis (ruling out ophthalmological vs. neurological vs. sensory origin), medication review, referral coordination with optometry/ophthalmology.
Board Certified Behaviour Analyst (BCBA)
Functional analysis of light-avoidance behaviours, reinforcement strategies for tolerance-building, data collection systems for tracking progress.
Special Educator
Classroom accommodation design, IEP/504 documentation support, teacher training on sensory needs, learning environment optimisation.
"This technique crosses therapy boundaries because the brain doesn't organise by therapy type. Light sensitivity impacts learning, daily function, behaviour, and medical status. The consortium approach treats the whole child." — Adapted from WHO/UNICEF Nurturing Care Framework (2022)
Precision Targets
Effective intervention requires knowing exactly what you're aiming for. This protocol targets visual comfort first, then expands outward into participation, learning, and long-term independence — each level building on the last.
Reference: Meta-analysis (World J Clin Cases, 2024) | PMC10955541
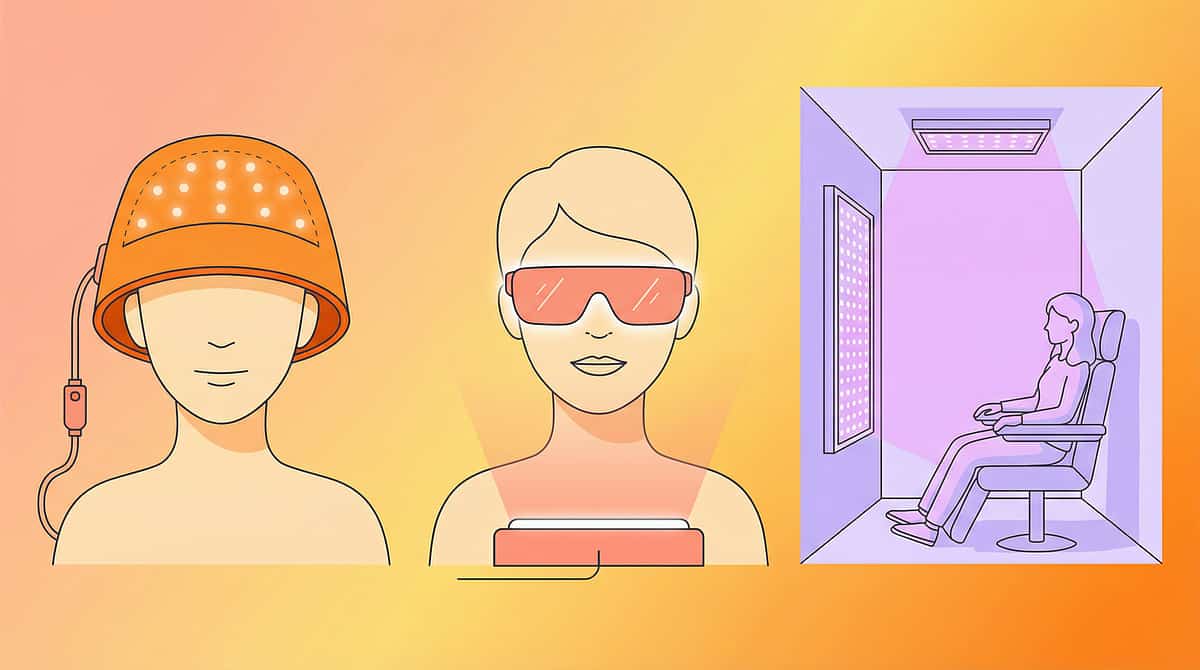
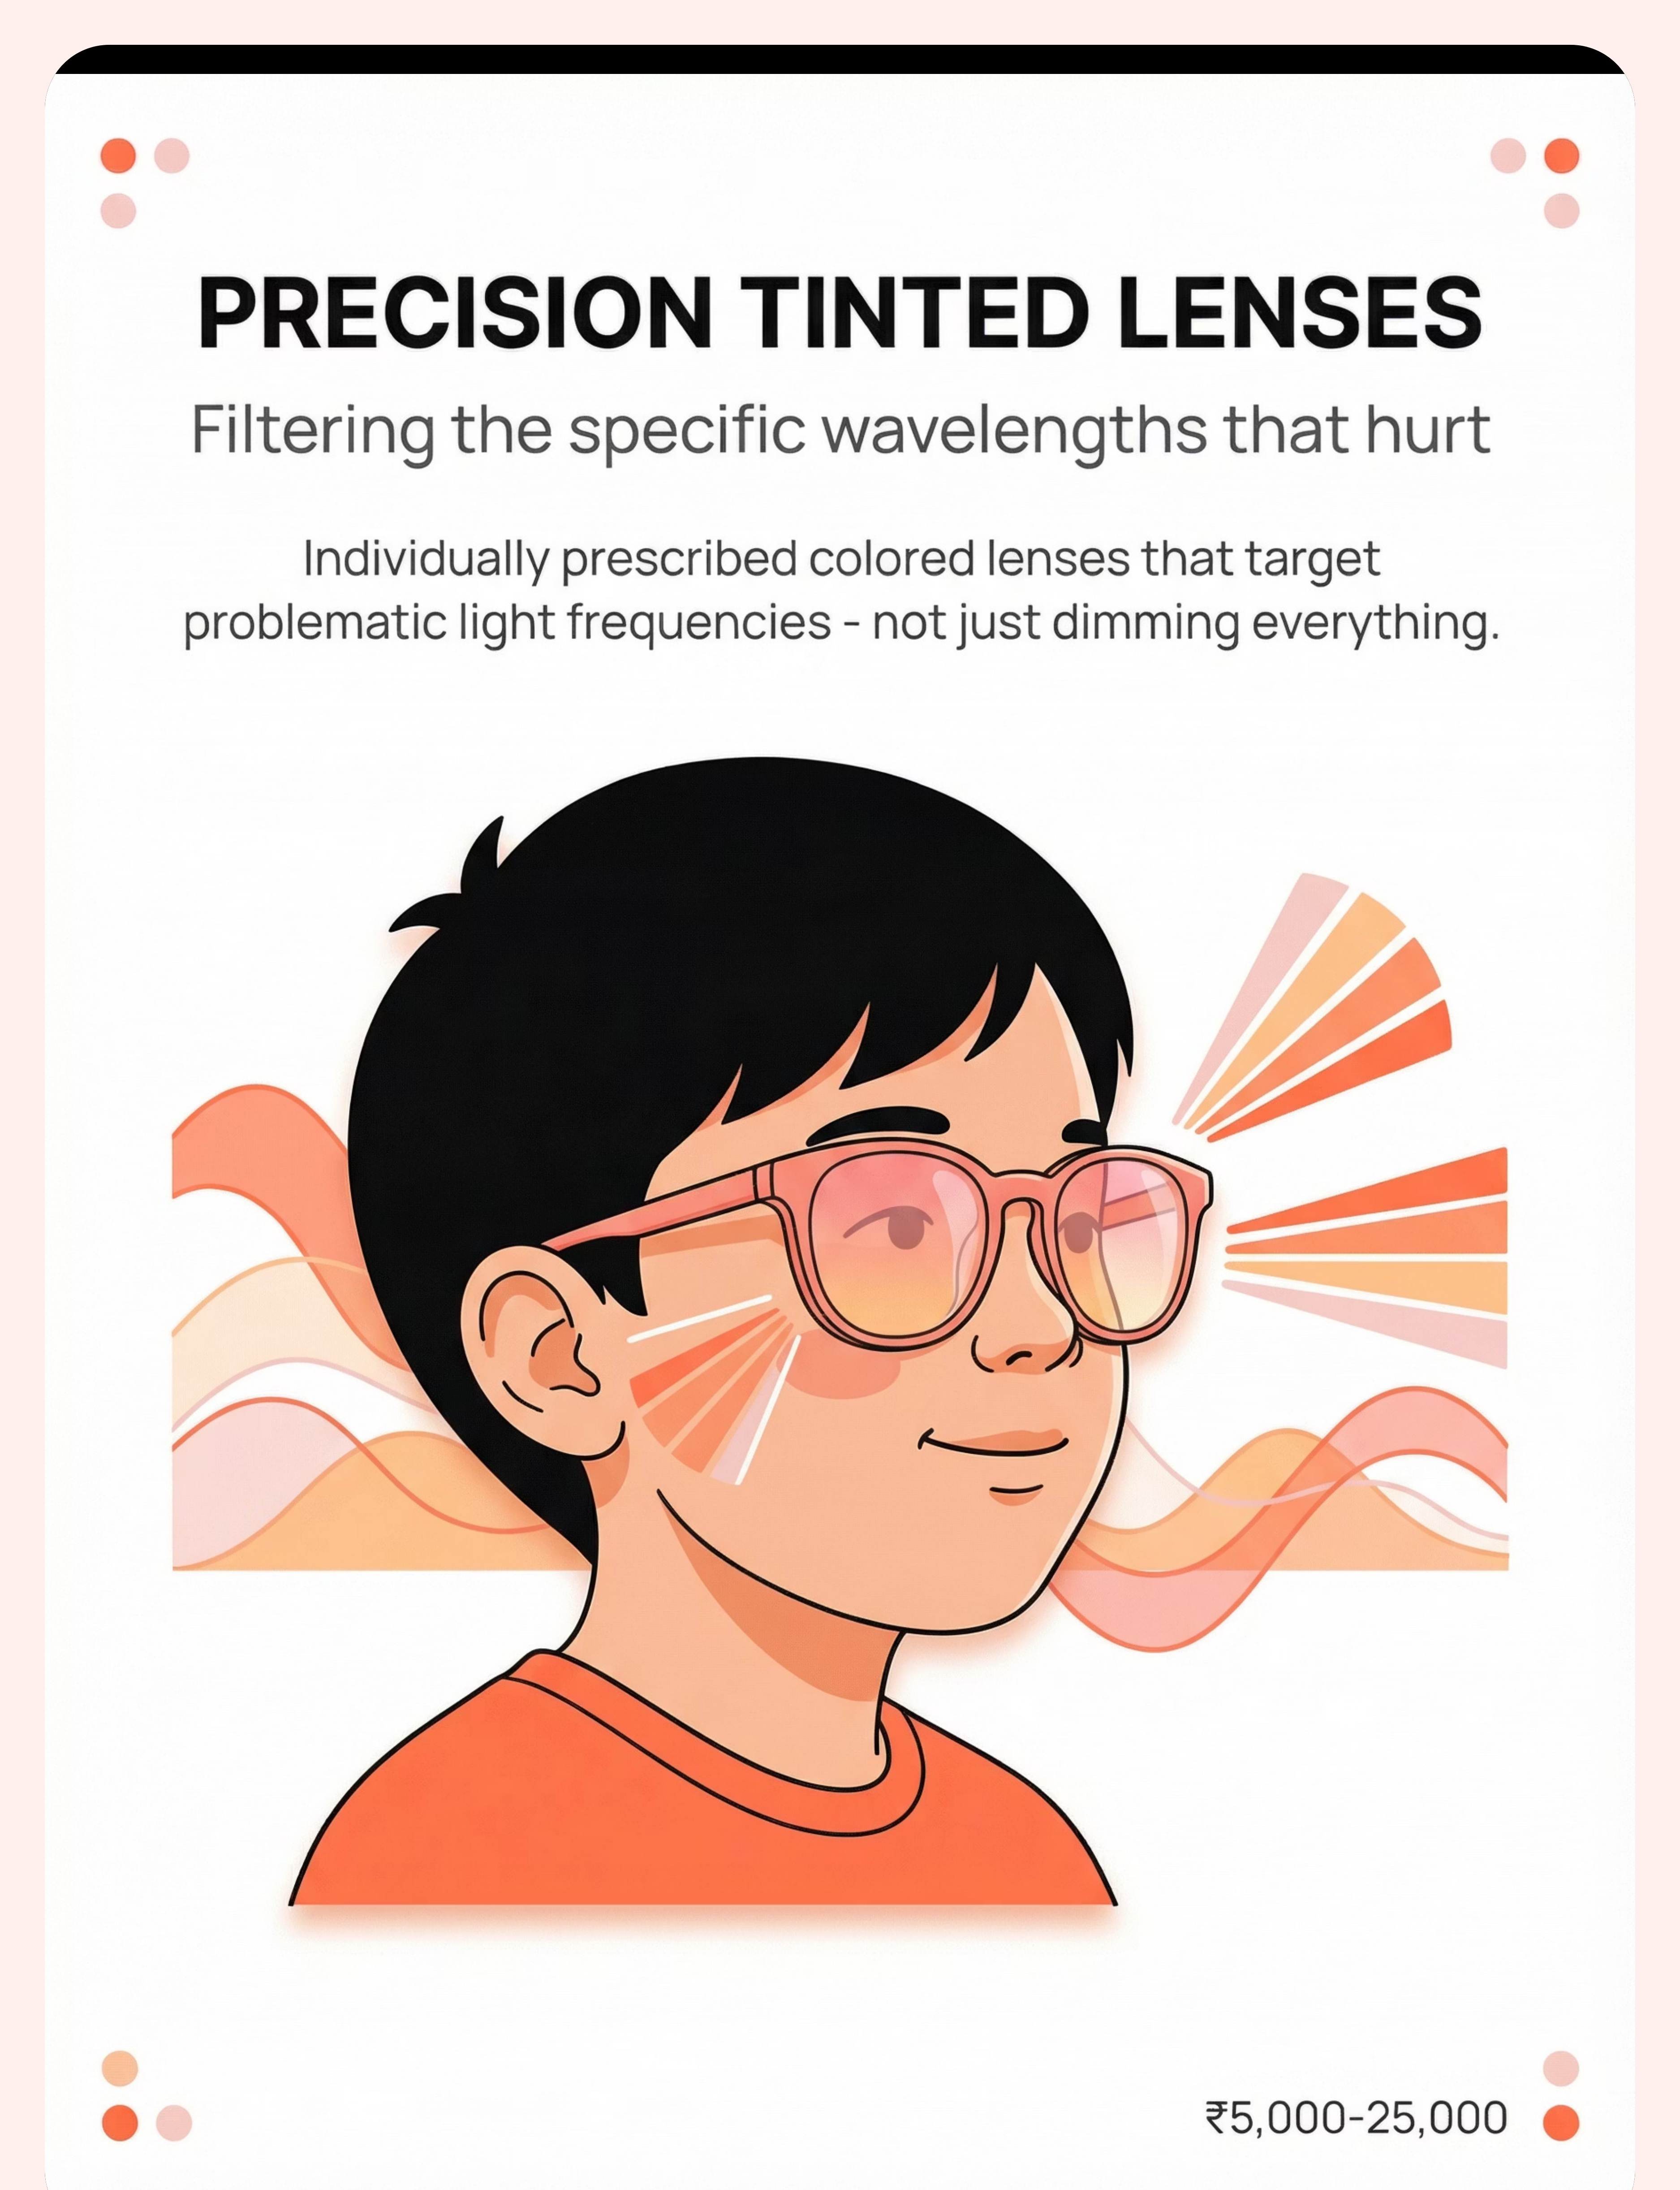
Material 1: Precision Tinted Lenses
Precision tinted lenses — including Irlen and Chromagen lenses — are professionally prescribed spectacle lenses with a specific wavelength-filtering tint calibrated to the individual child's visual system. They are the gold standard for children with Irlen Syndrome or significant wavelength-specific sensitivity.
Clinical Details
Price: ₹5,000–25,000
Category: Eyewear (Professional)
Requires: Professional Irlen screening or Chromagen assessment
Category: Eyewear (Professional)
Requires: Professional Irlen screening or Chromagen assessment
If coloured overlays provide significant relief, this investment is strongly warranted. Precision tinting filters problematic wavelengths without excessive darkening.
When to Use
Try coloured overlay screening first (₹200) to identify helpful colour families before committing to prescription lenses. If the child shows strong overlay preference, book a professional Irlen assessment.
Non-negotiable clinical case: When overlay screening confirms significant benefit, precision lenses are the appropriate next step — this is the one material where the professional-grade version cannot be substituted.
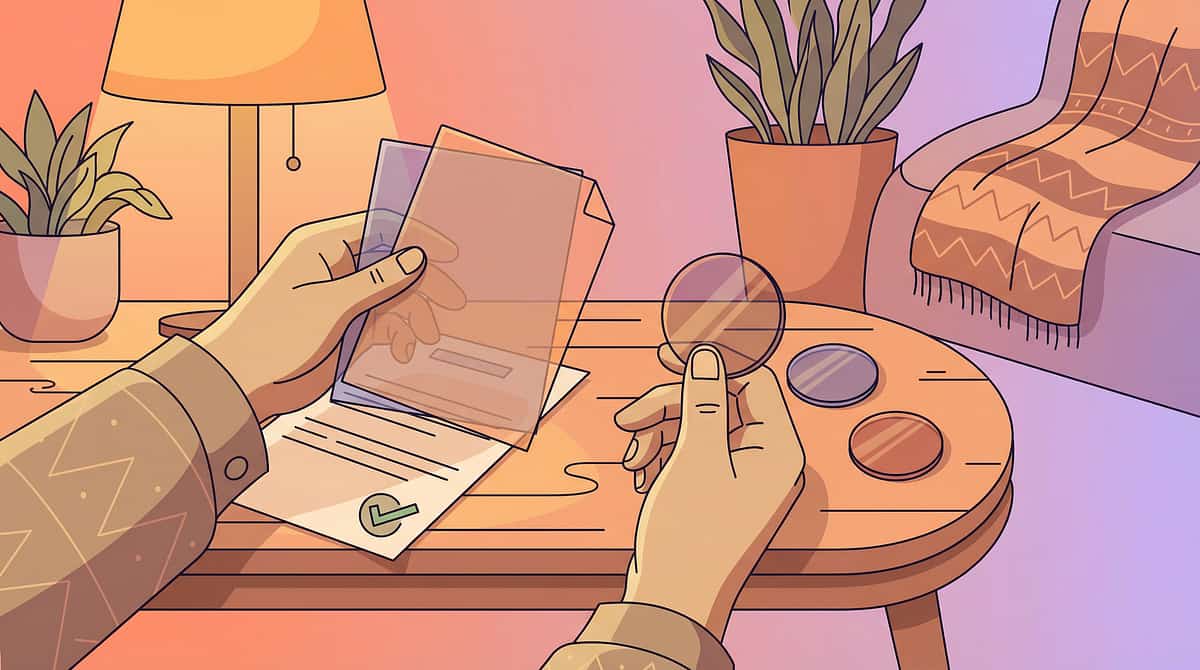
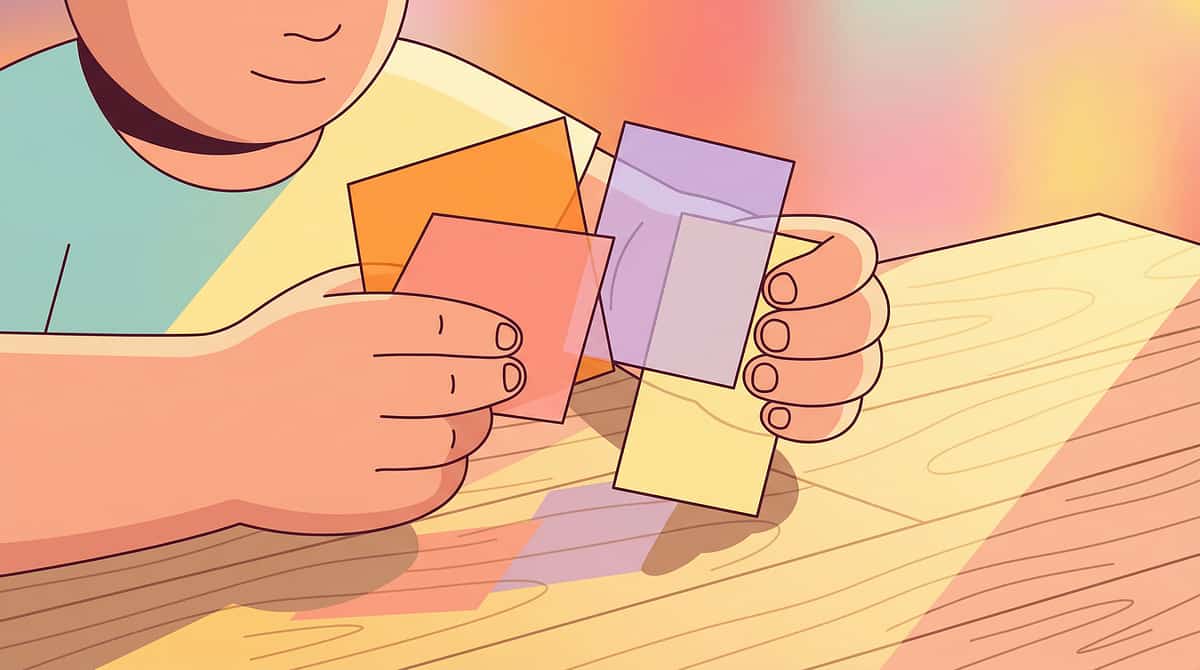
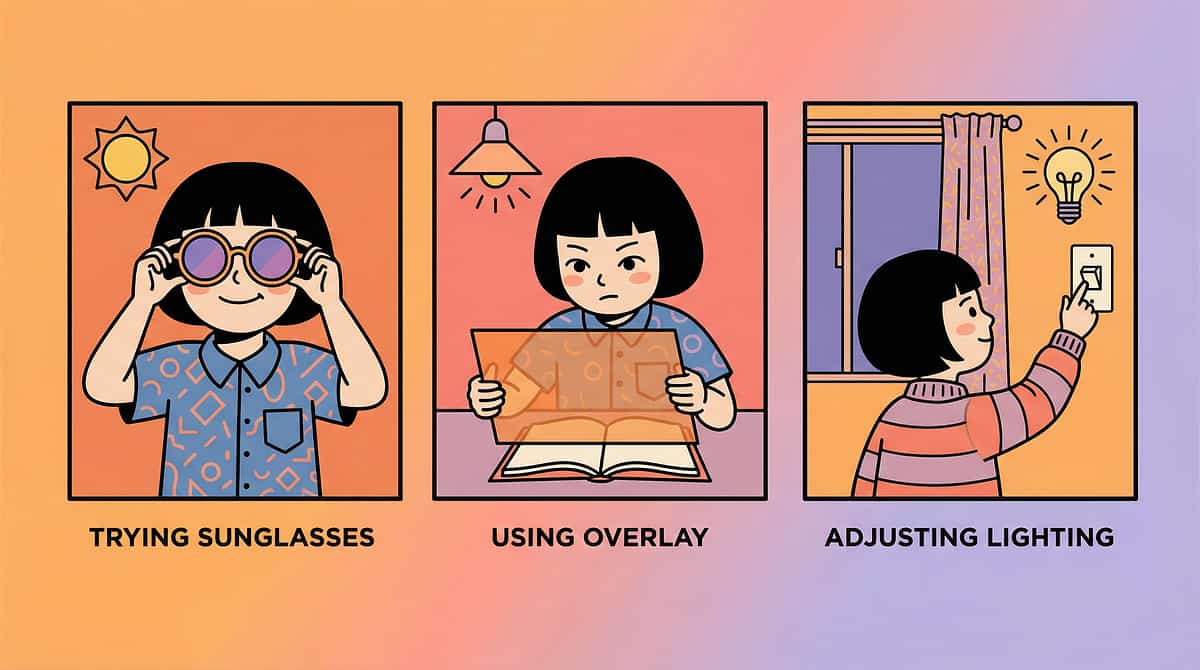
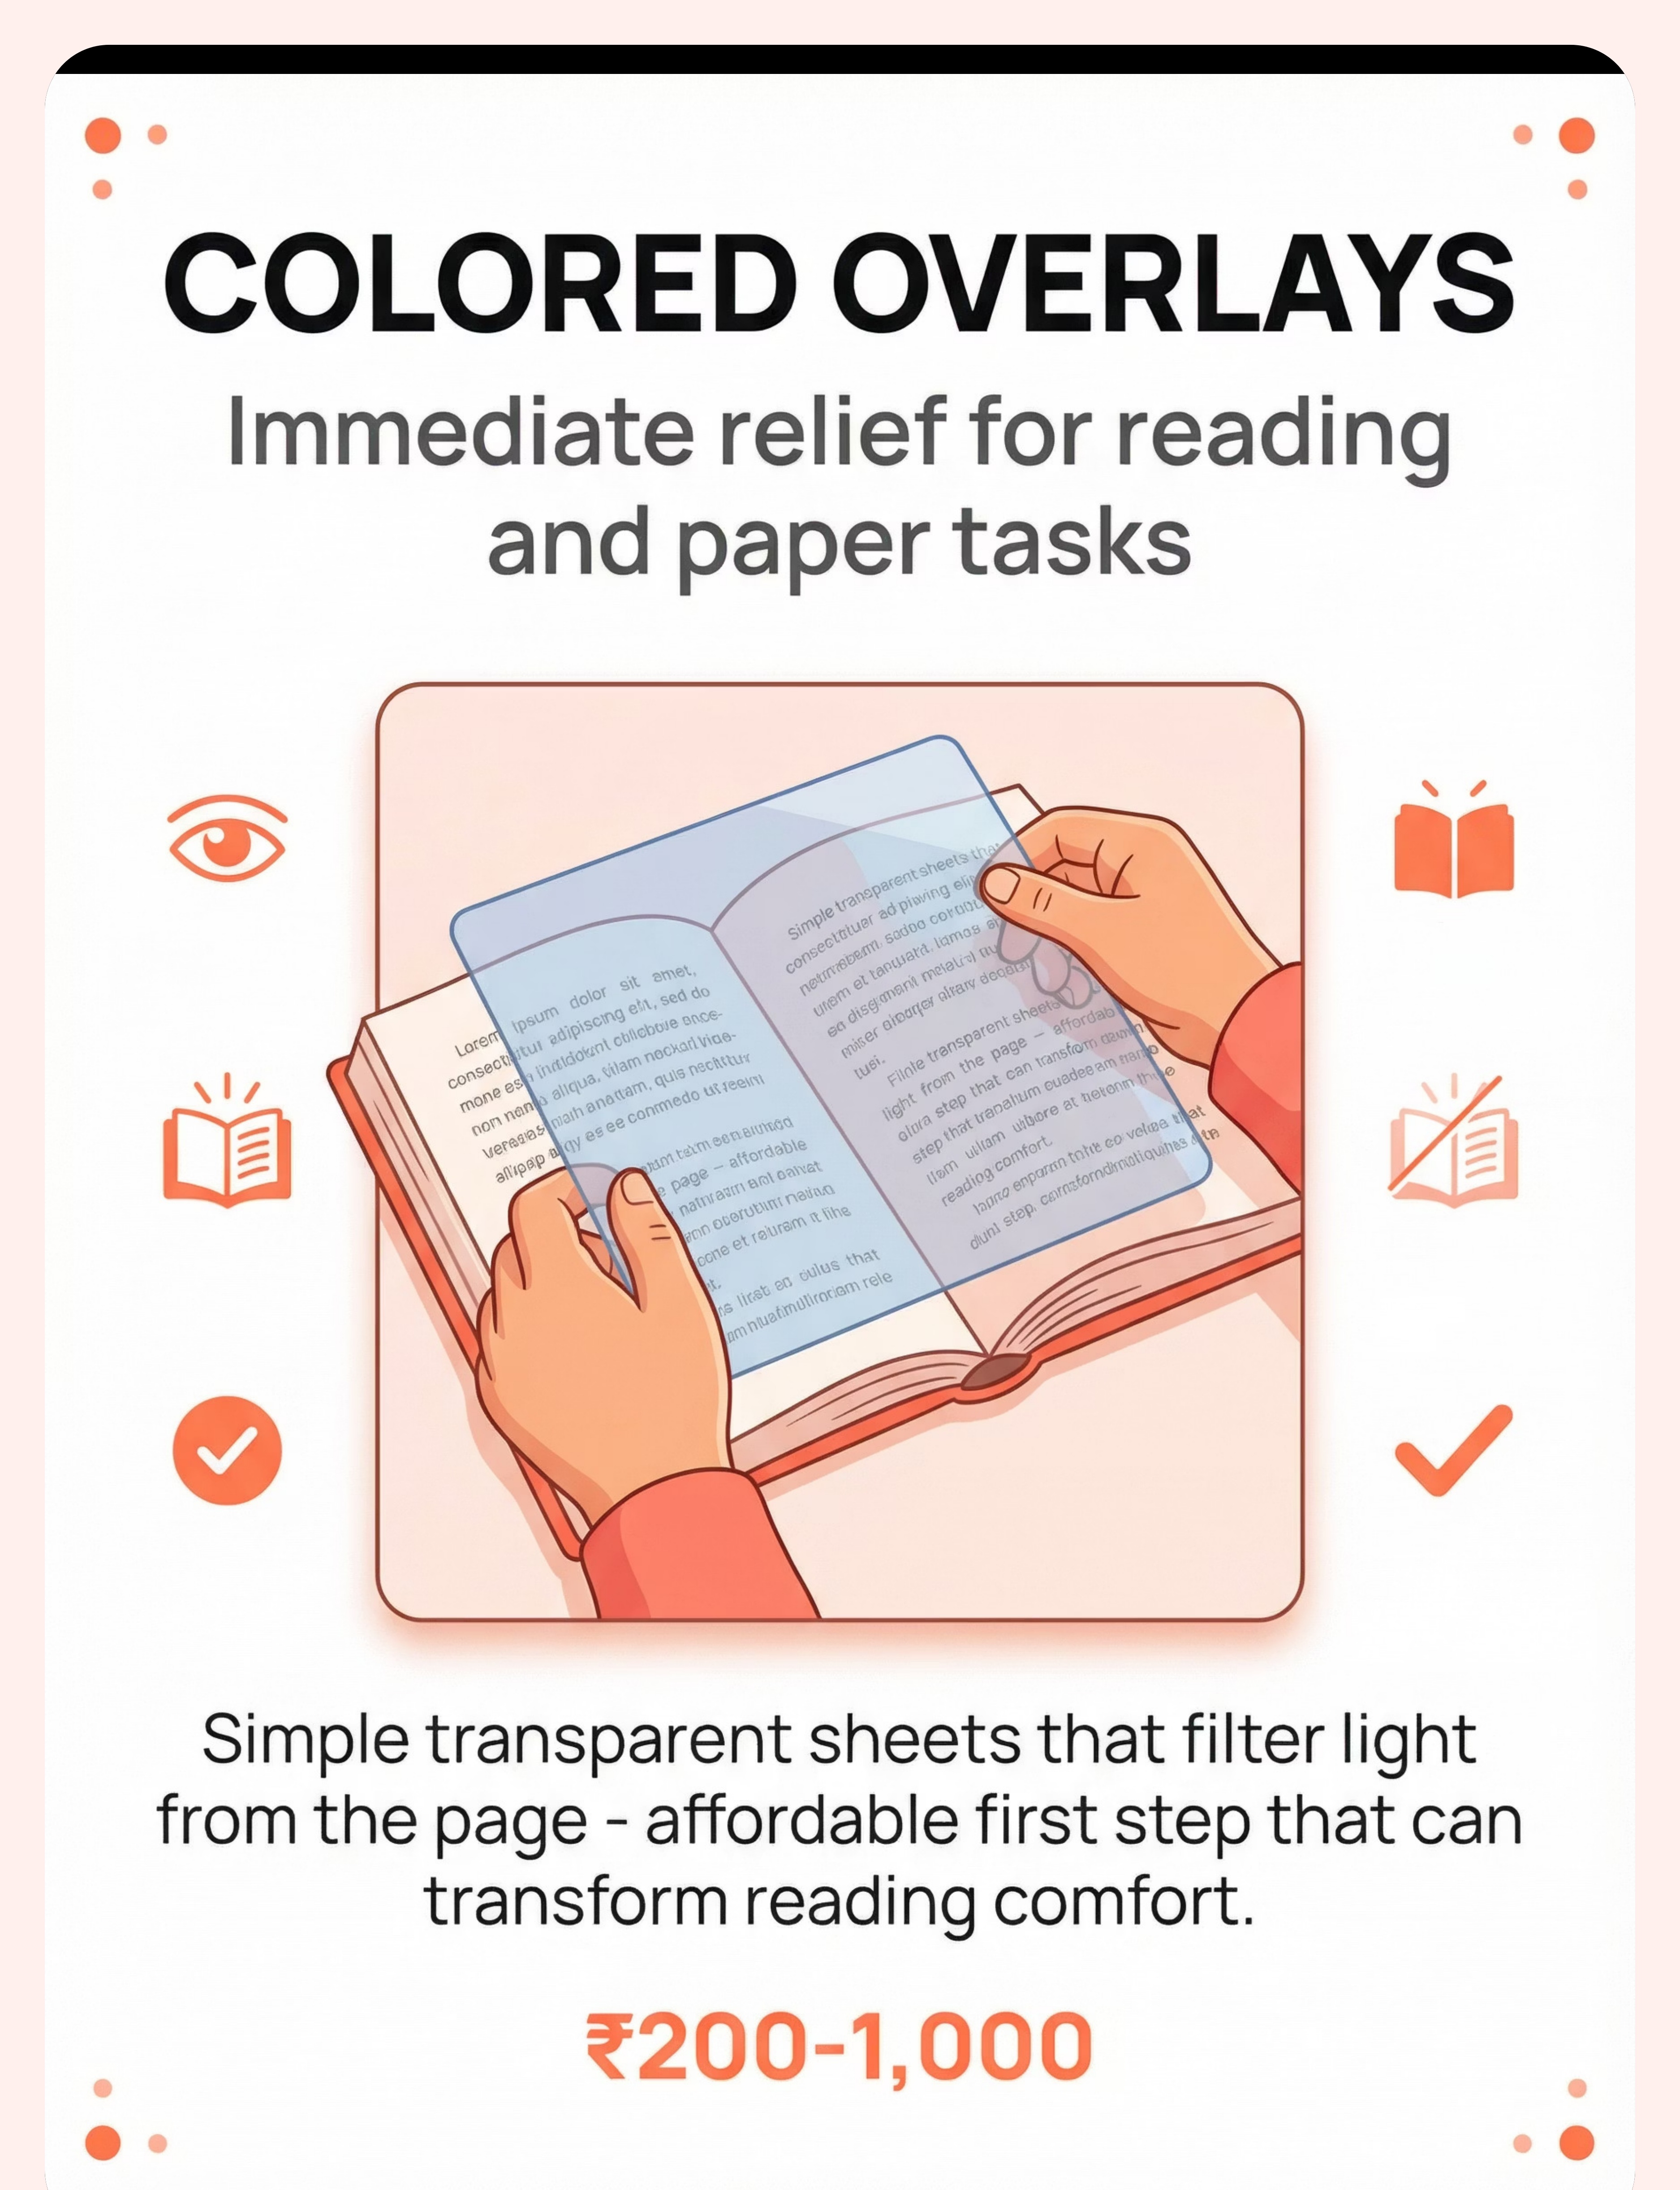
Material 2: Coloured Overlays
Coloured overlays are transparent sheets placed over text or worksheets to reduce visual discomfort during reading. They are the most accessible, lowest-cost entry point into tint-based intervention — and a critical screening tool for identifying whether precision tinted lenses will help.
Clinical Details
Price: ₹200–1,000
Category: Reading Support
DIY Alternative: Coloured cellophane or transparency sheets from any stationery store
Category: Reading Support
DIY Alternative: Coloured cellophane or transparency sheets from any stationery store
How to Use
Place the overlay on a page of text or a worksheet. Ask the child to look at the text with and without the overlay. "Which way feels better for your eyes?" Try 2–3 different colours. There is no right answer — the child's comfort determines the choice.
Common helpful colours: rose/pink, blue, yellow, green — but every child is different. Trust what they tell you.
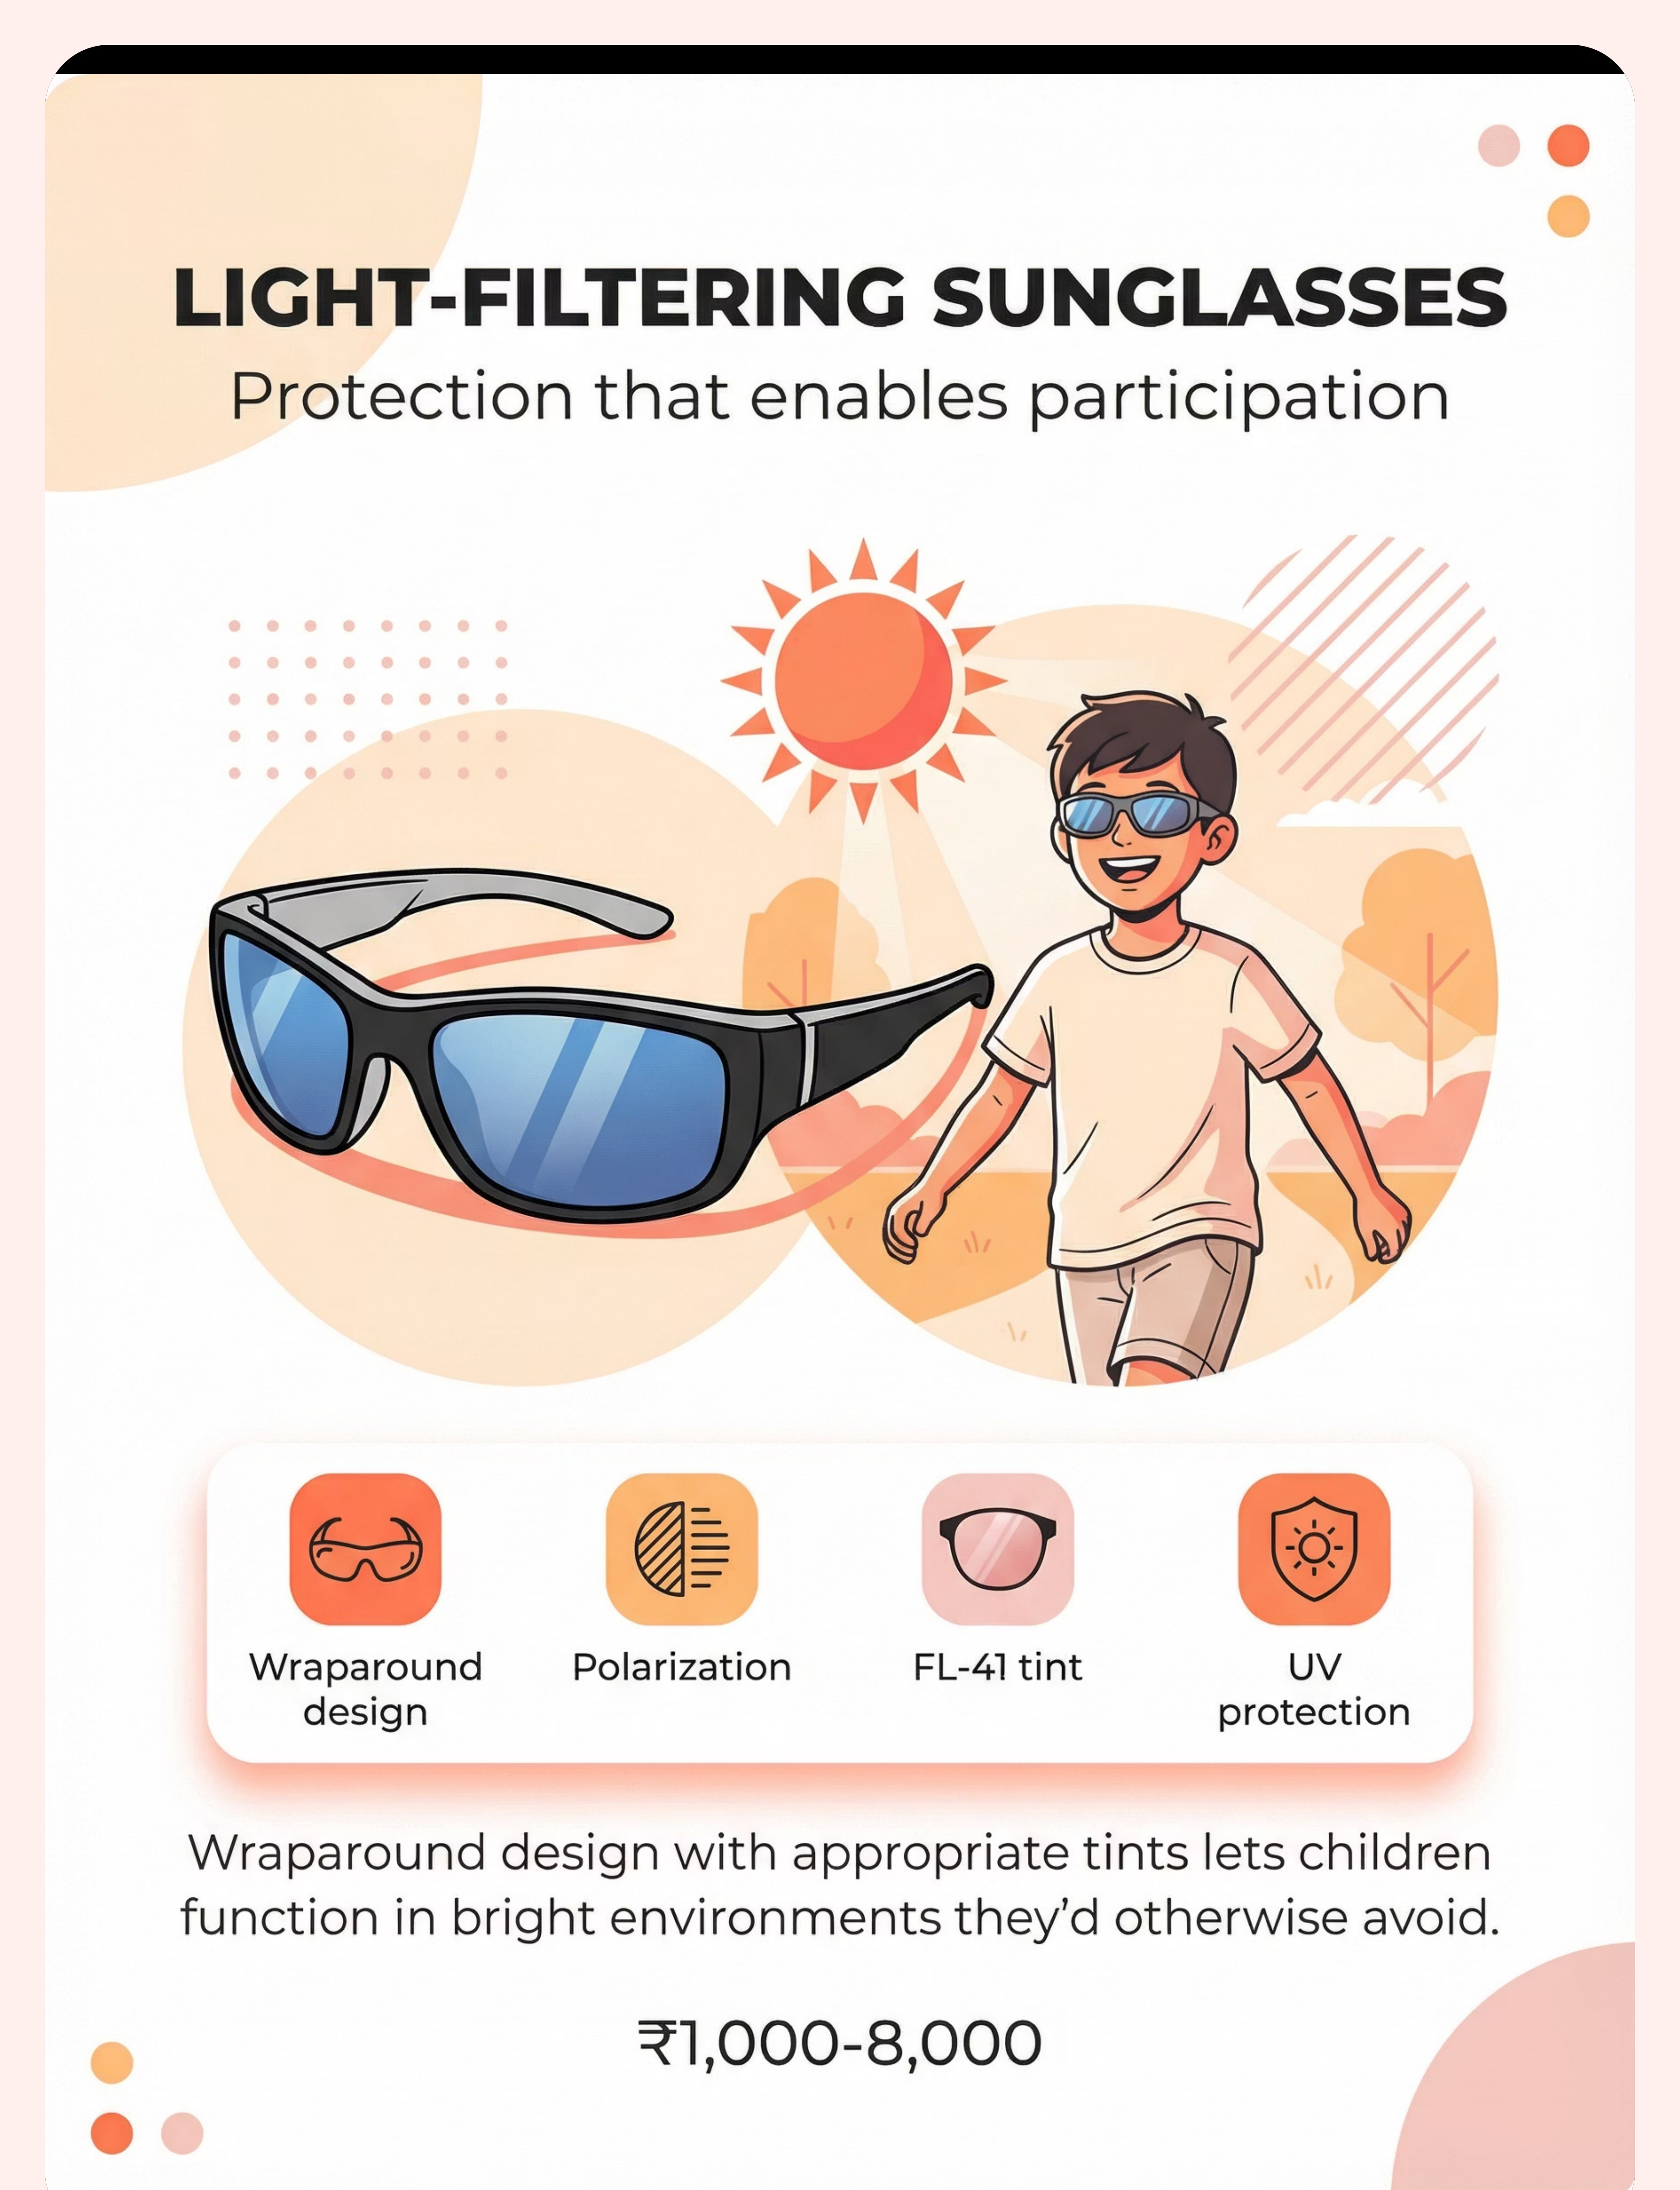
Material 3: Light-Filtering Sunglasses
Light-filtering sunglasses — particularly FL-41 tinted and wraparound styles — are the most immediately practical protective tool for most light-sensitive children. FL-41 lenses filter the blue-green wavelengths most commonly implicated in migraine and photophobia, making them far more effective than generic dark lenses.
Clinical Details
Price: ₹1,000–8,000
Category: Eyewear (Accessible)
DIY Alternative: Any quality wraparound polarised sunglasses (not novelty fashion glasses)
Category: Eyewear (Accessible)
DIY Alternative: Any quality wraparound polarised sunglasses (not novelty fashion glasses)
Important Safety Note
Avoid excessively dark lenses — they cause dark adaptation, making eyes more sensitive overall. FL-41 tinted lenses filter problematic wavelengths without excessive darkening. Lighter indoor-appropriate tints are preferable for classroom and home use. Wraparound style is important — side light entry defeats the purpose.
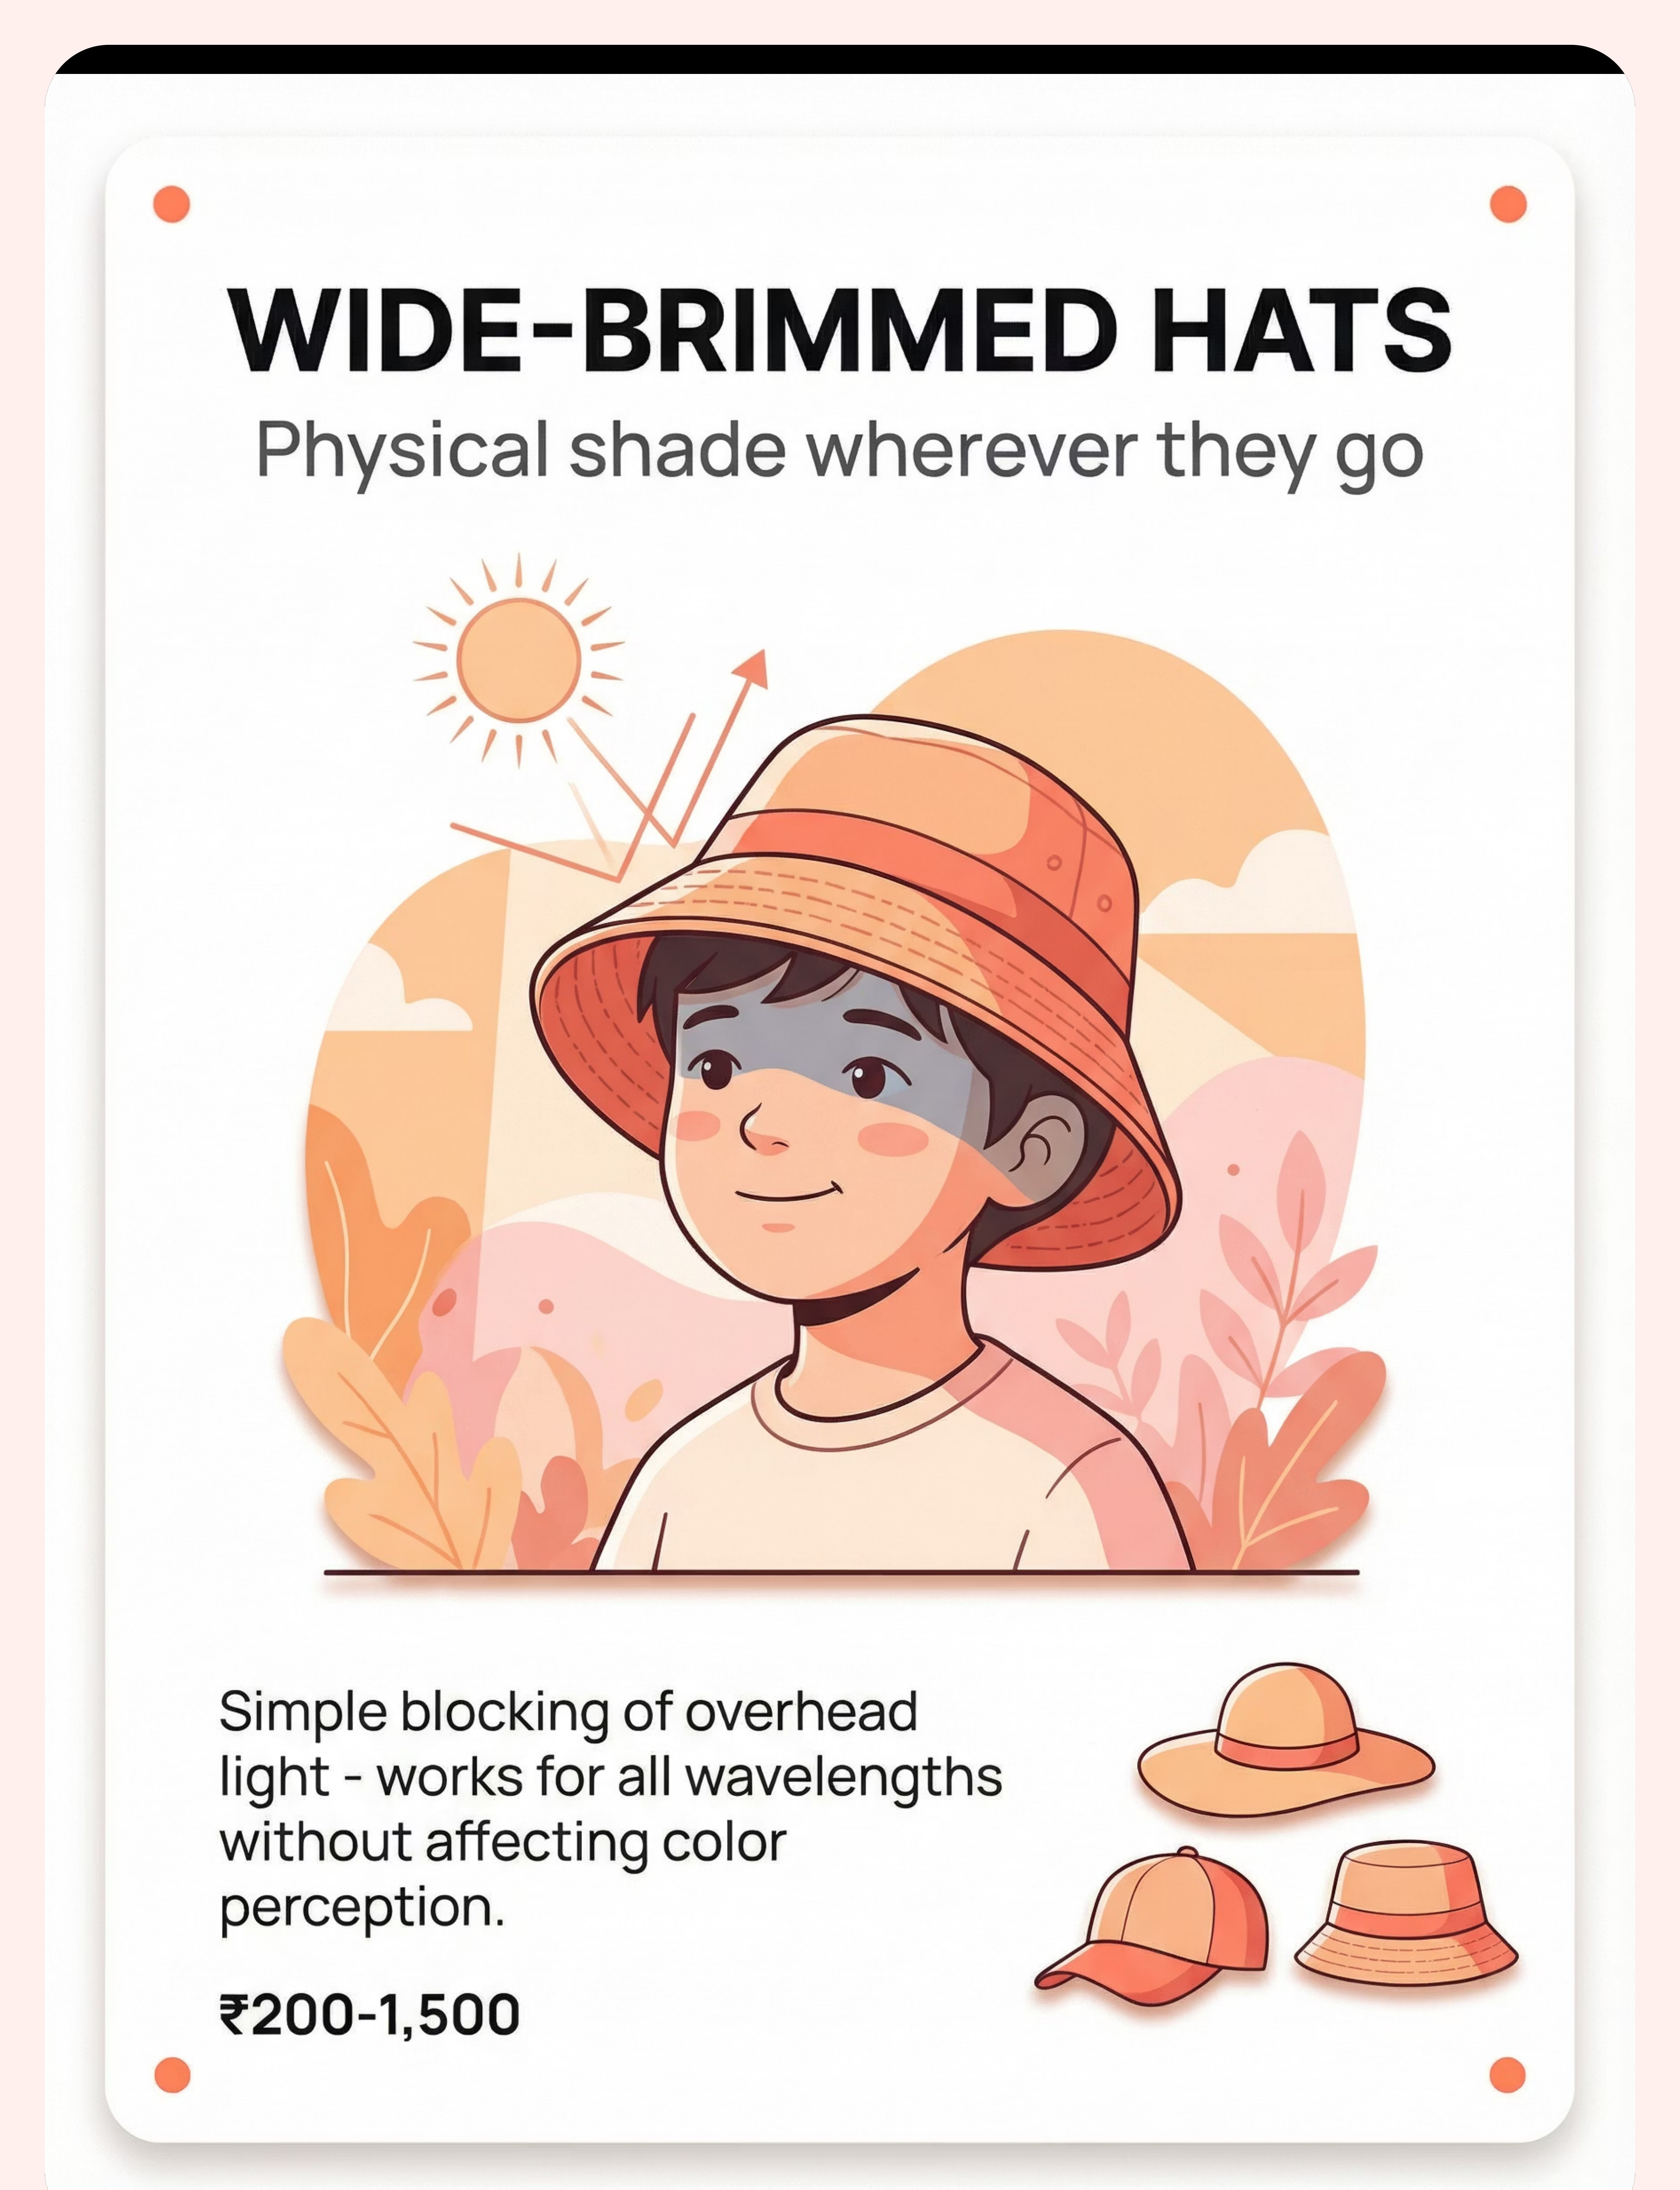
Material 4: Wide-Brimmed Hats & Caps
Wide-brimmed hats and caps provide physical light shielding — blocking overhead light, reducing glare from above, and creating a natural visual "buffer zone" around the child's eyes. They are the simplest, most culturally accepted, and most portable protective tool available.
Clinical Details
Price: ₹200–1,500
Category: Physical Protection
DIY Alternative: Any hat with adequate brim — bucket hat, cricket hat, dupatta worn as a hood
Category: Physical Protection
DIY Alternative: Any hat with adequate brim — bucket hat, cricket hat, dupatta worn as a hood
How to Use
Introduce the hat indoors first, in a low-stakes context. Then progress to wearing it near an open door, then outdoors. Pair with sunglasses for maximum protection in bright outdoor environments. Give the child ownership — let them choose their hat style to increase willingness to wear it consistently.
Safety: Ensure secure fit that won't obstruct vision or hearing.
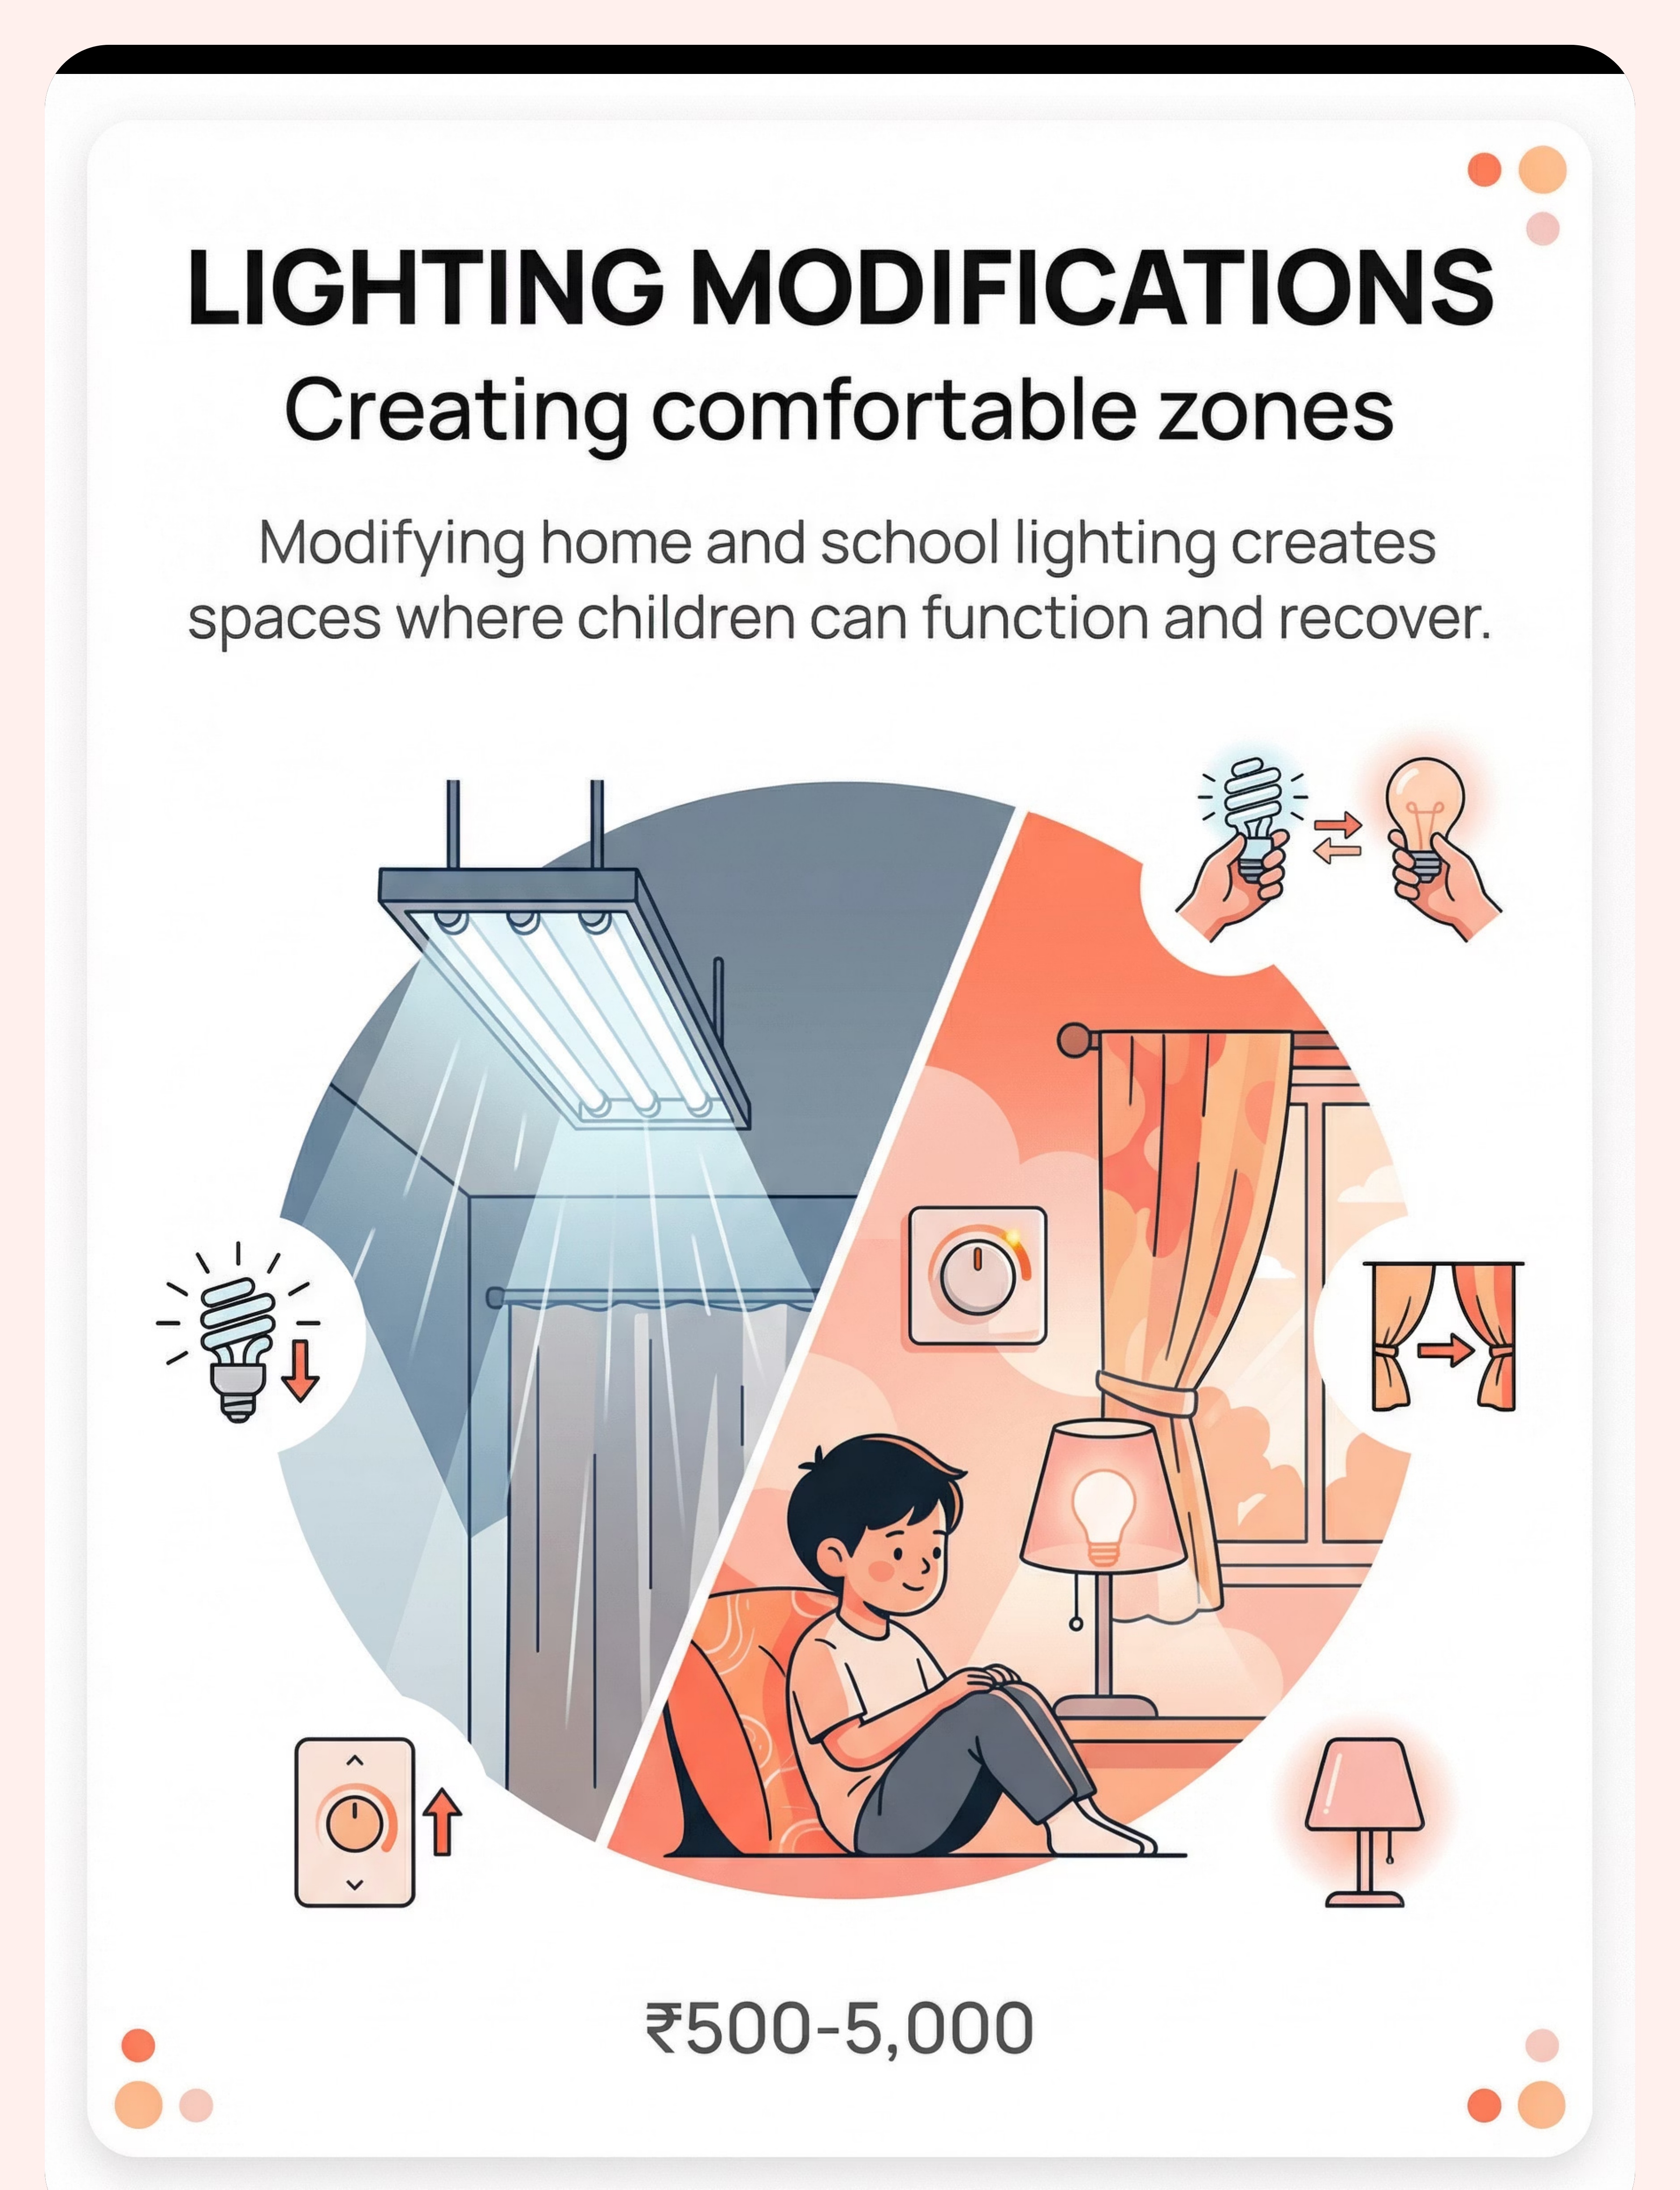
Material 5: Environmental Lighting Modifications
Environmental lighting modification means changing the light sources around your child rather than — or in addition to — changing what your child wears. It is often the highest-impact, most sustainable intervention because it reduces the sensory load at its source. A child shouldn't have to wear armour to survive their own home.
Clinical Details
Price: ₹500–5,000
Category: Environmental Modification
DIY Alternative: Replace harsh bulbs with warm LEDs (₹100 each), use existing curtains or dupattas as light filters, use multiple small lamps instead of one bright overhead light
Category: Environmental Modification
DIY Alternative: Replace harsh bulbs with warm LEDs (₹100 each), use existing curtains or dupattas as light filters, use multiple small lamps instead of one bright overhead light
Key Modifications
- Replace fluorescent tubes with warm LED panels (2700K–3000K colour temperature)
- Use curtains, blinds, or blackout liners on windows
- Switch from single overhead light to multiple soft side lamps
- Use dimmer switches wherever possible
- Remove or cover highly reflective surfaces (glossy tables, mirrors in play areas)
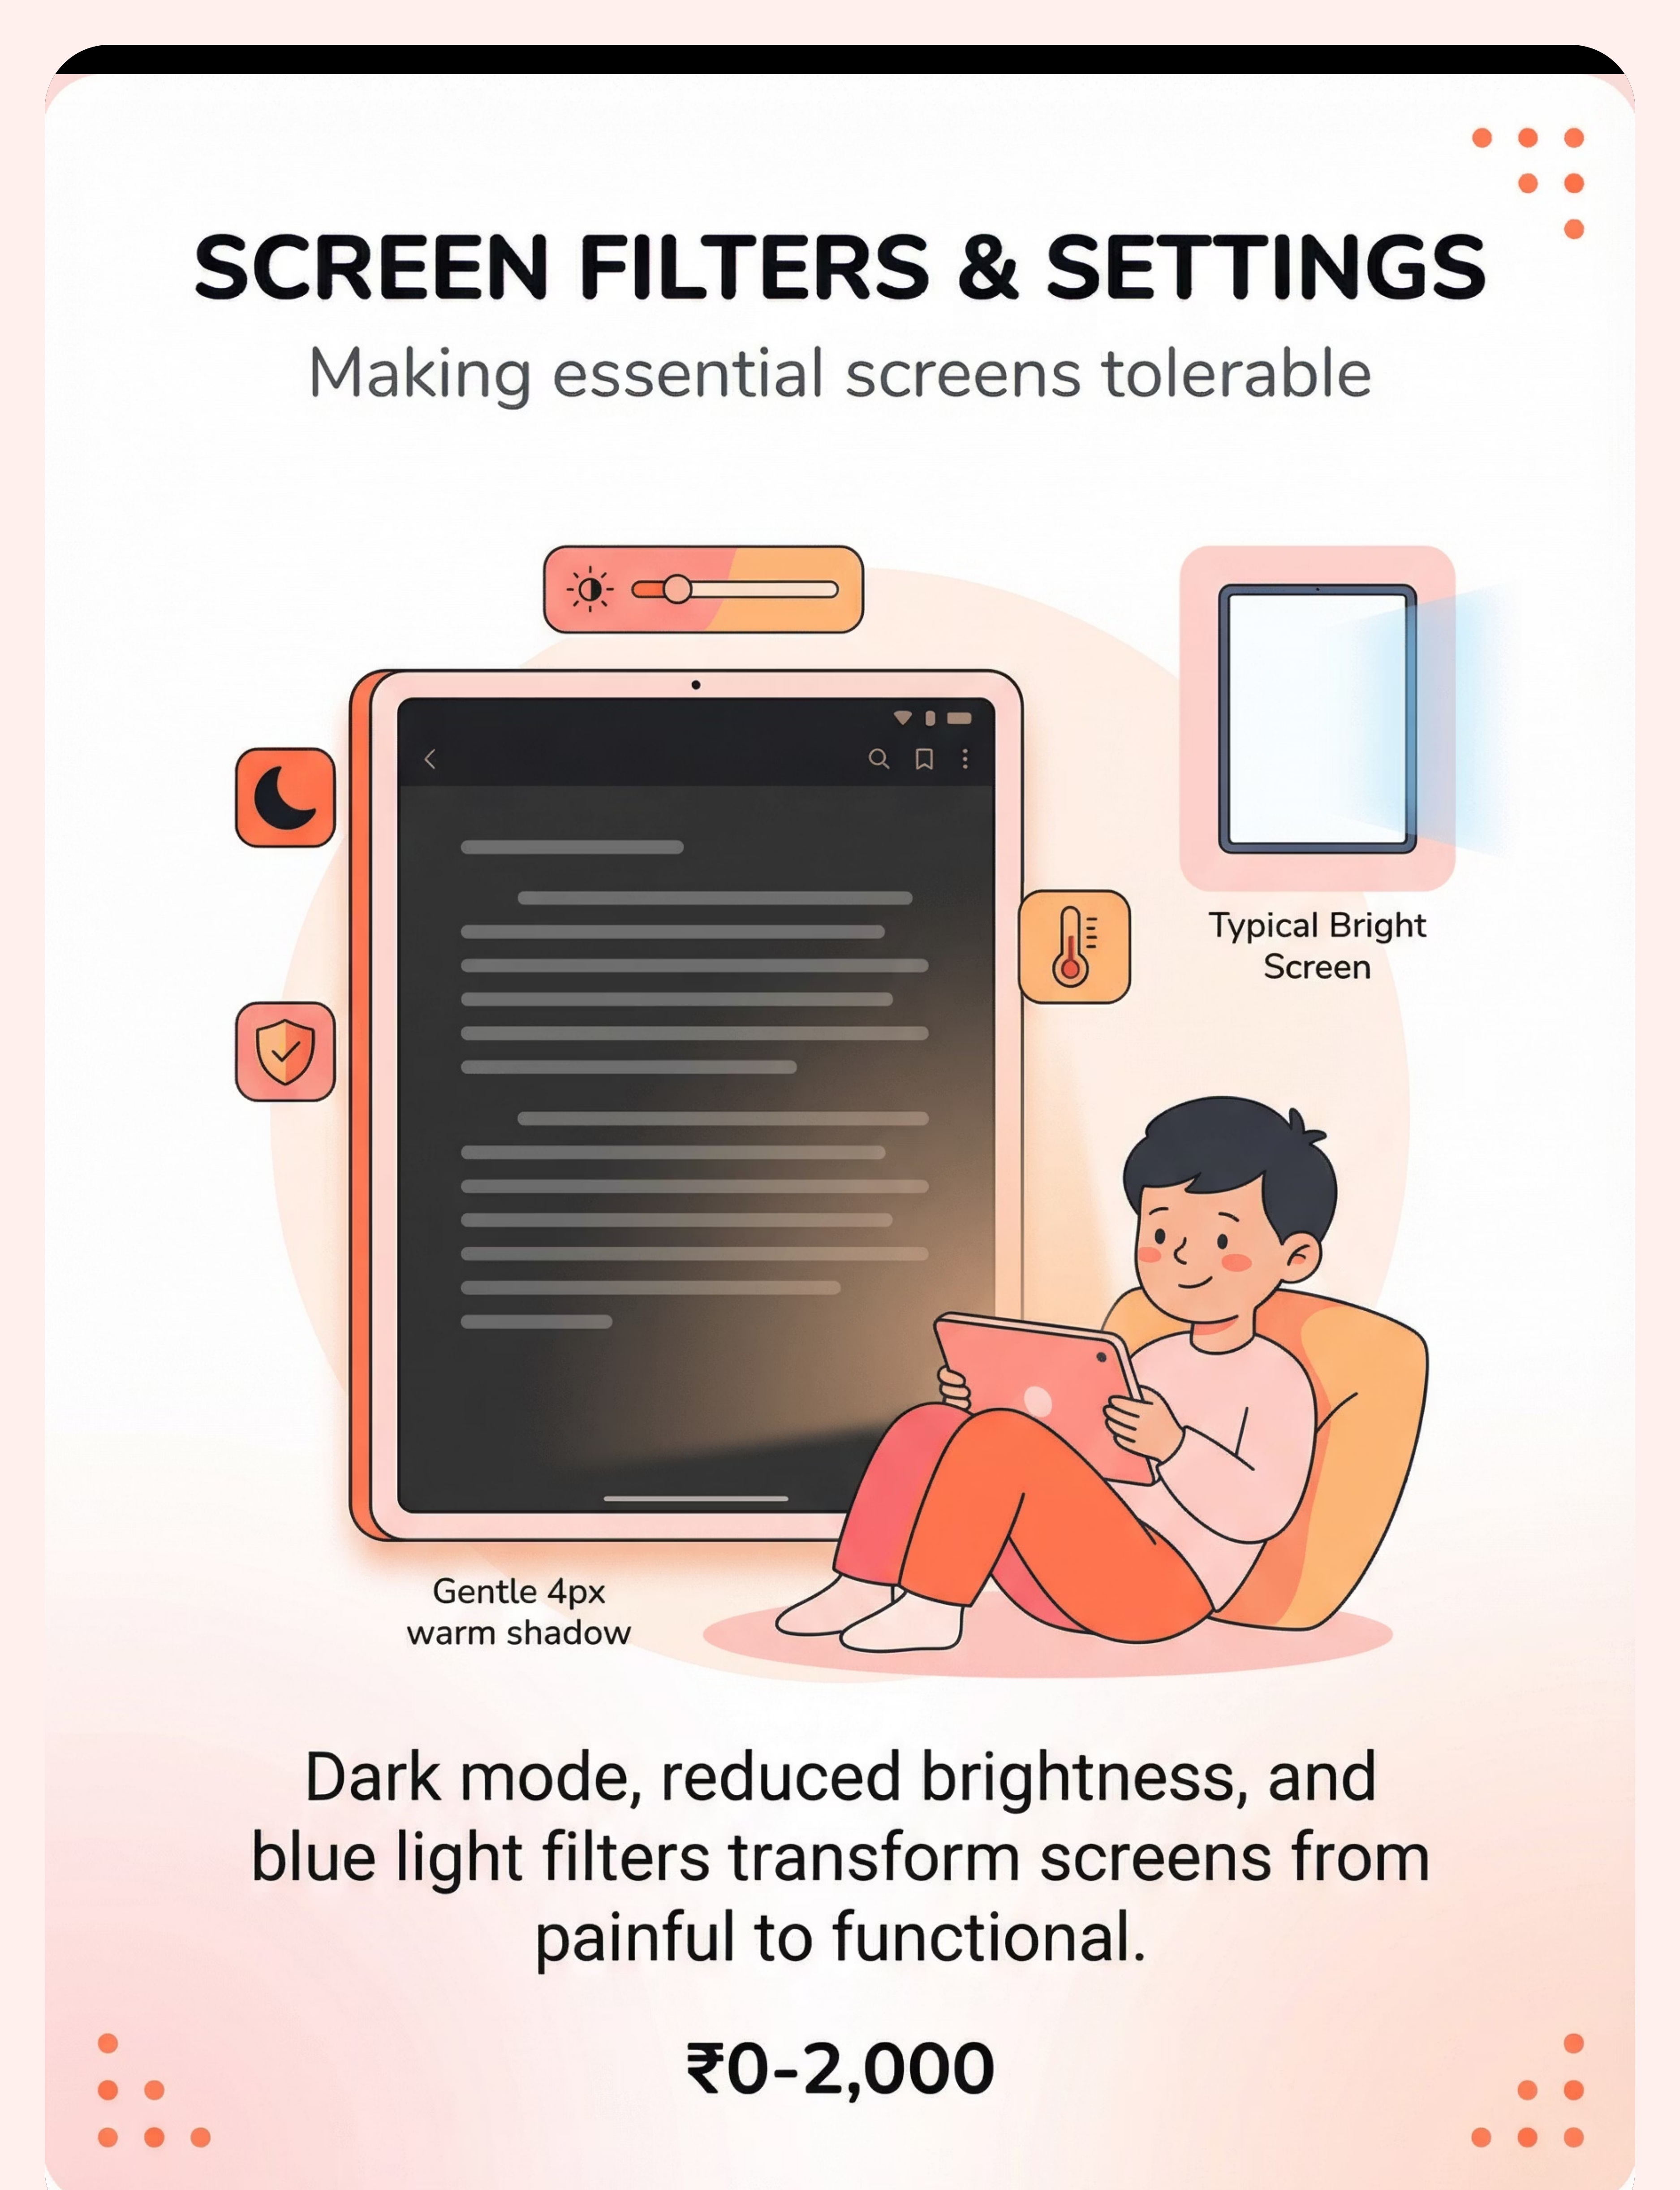
Material 6: Screen Filters & Settings
Screens are one of the most common light-sensitivity triggers for children — and screen filter adjustments are completely free and immediately available on every device. This is the first intervention every family should implement, today, before spending a single rupee on anything else.
Clinical Details
Price: ₹0–2,000
Category: Environmental Modification
Free DIY: Built-in settings on all devices — dark mode + reduced brightness + night shift/warm colour filter
Category: Environmental Modification
Free DIY: Built-in settings on all devices — dark mode + reduced brightness + night shift/warm colour filter
Settings Checklist
- Brightness: Reduce to 30–50% of maximum
- Dark Mode: Enable on all apps and system-wide
- Night Shift / Warm Colour Filter: Enable to reduce blue light emission
- Blue light filtering screen protectors: Physical overlay option (₹500–2,000)
Important: Very dim screen in a dark room can cause contrast eye strain. Ensure ambient room lighting is also at a comfortable level — screen and room should be balanced.

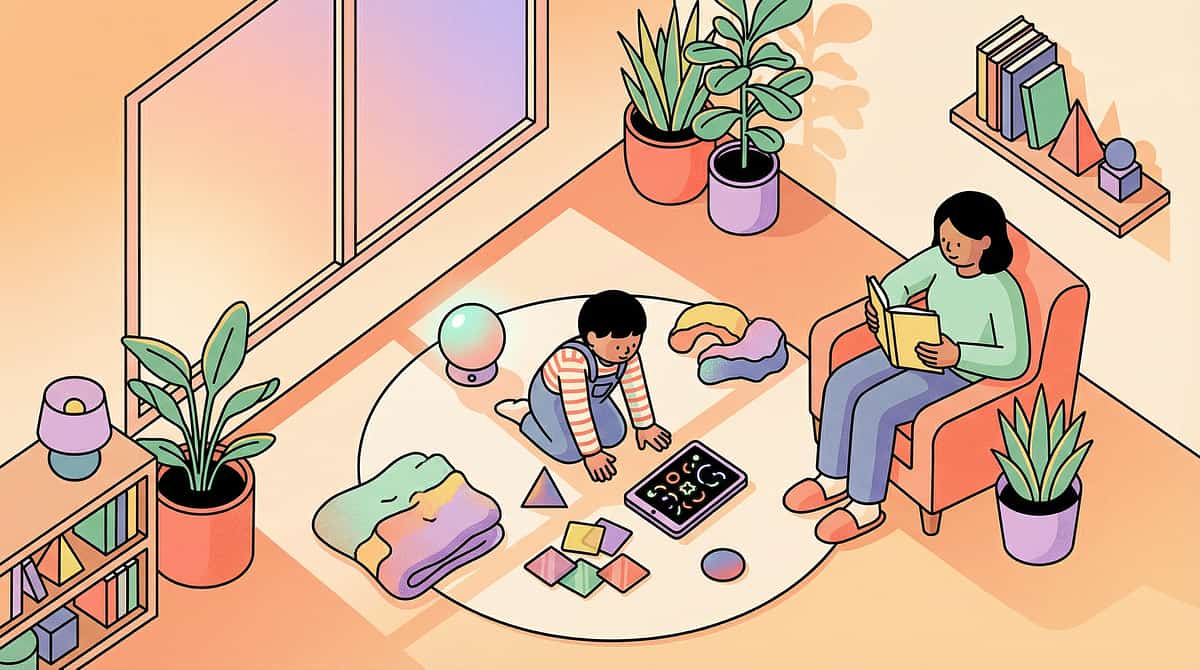
Material 7: Sensory Retreat Space
A sensory retreat space is a designated low-light, low-stimulation area where the child can recover from sensory overload. It is not a punishment or a time-out — it is a regulated, safe haven that the child controls. Having a reliable retreat space reduces anxiety, because the child always knows relief is available.
Clinical Details
Price: ₹1,000–8,000
Category: Recovery Space
DIY Alternative: Blanket fort, converted closet corner, bed canopy made from old sari or curtain + fairy lights for gentle ambient light
Category: Recovery Space
DIY Alternative: Blanket fort, converted closet corner, bed canopy made from old sari or curtain + fairy lights for gentle ambient light
Design Principles
- Child must be able to enter and exit freely — no entrapment
- Adequate ventilation at all times
- Lighting: warm, dimmable, gentle — no overhead fluorescent
- Visible from the main activity area so child feels connected
- Child's preferred comfort items inside (soft toys, blanket)
- Retreat space is visible from session area so child knows they can always go there
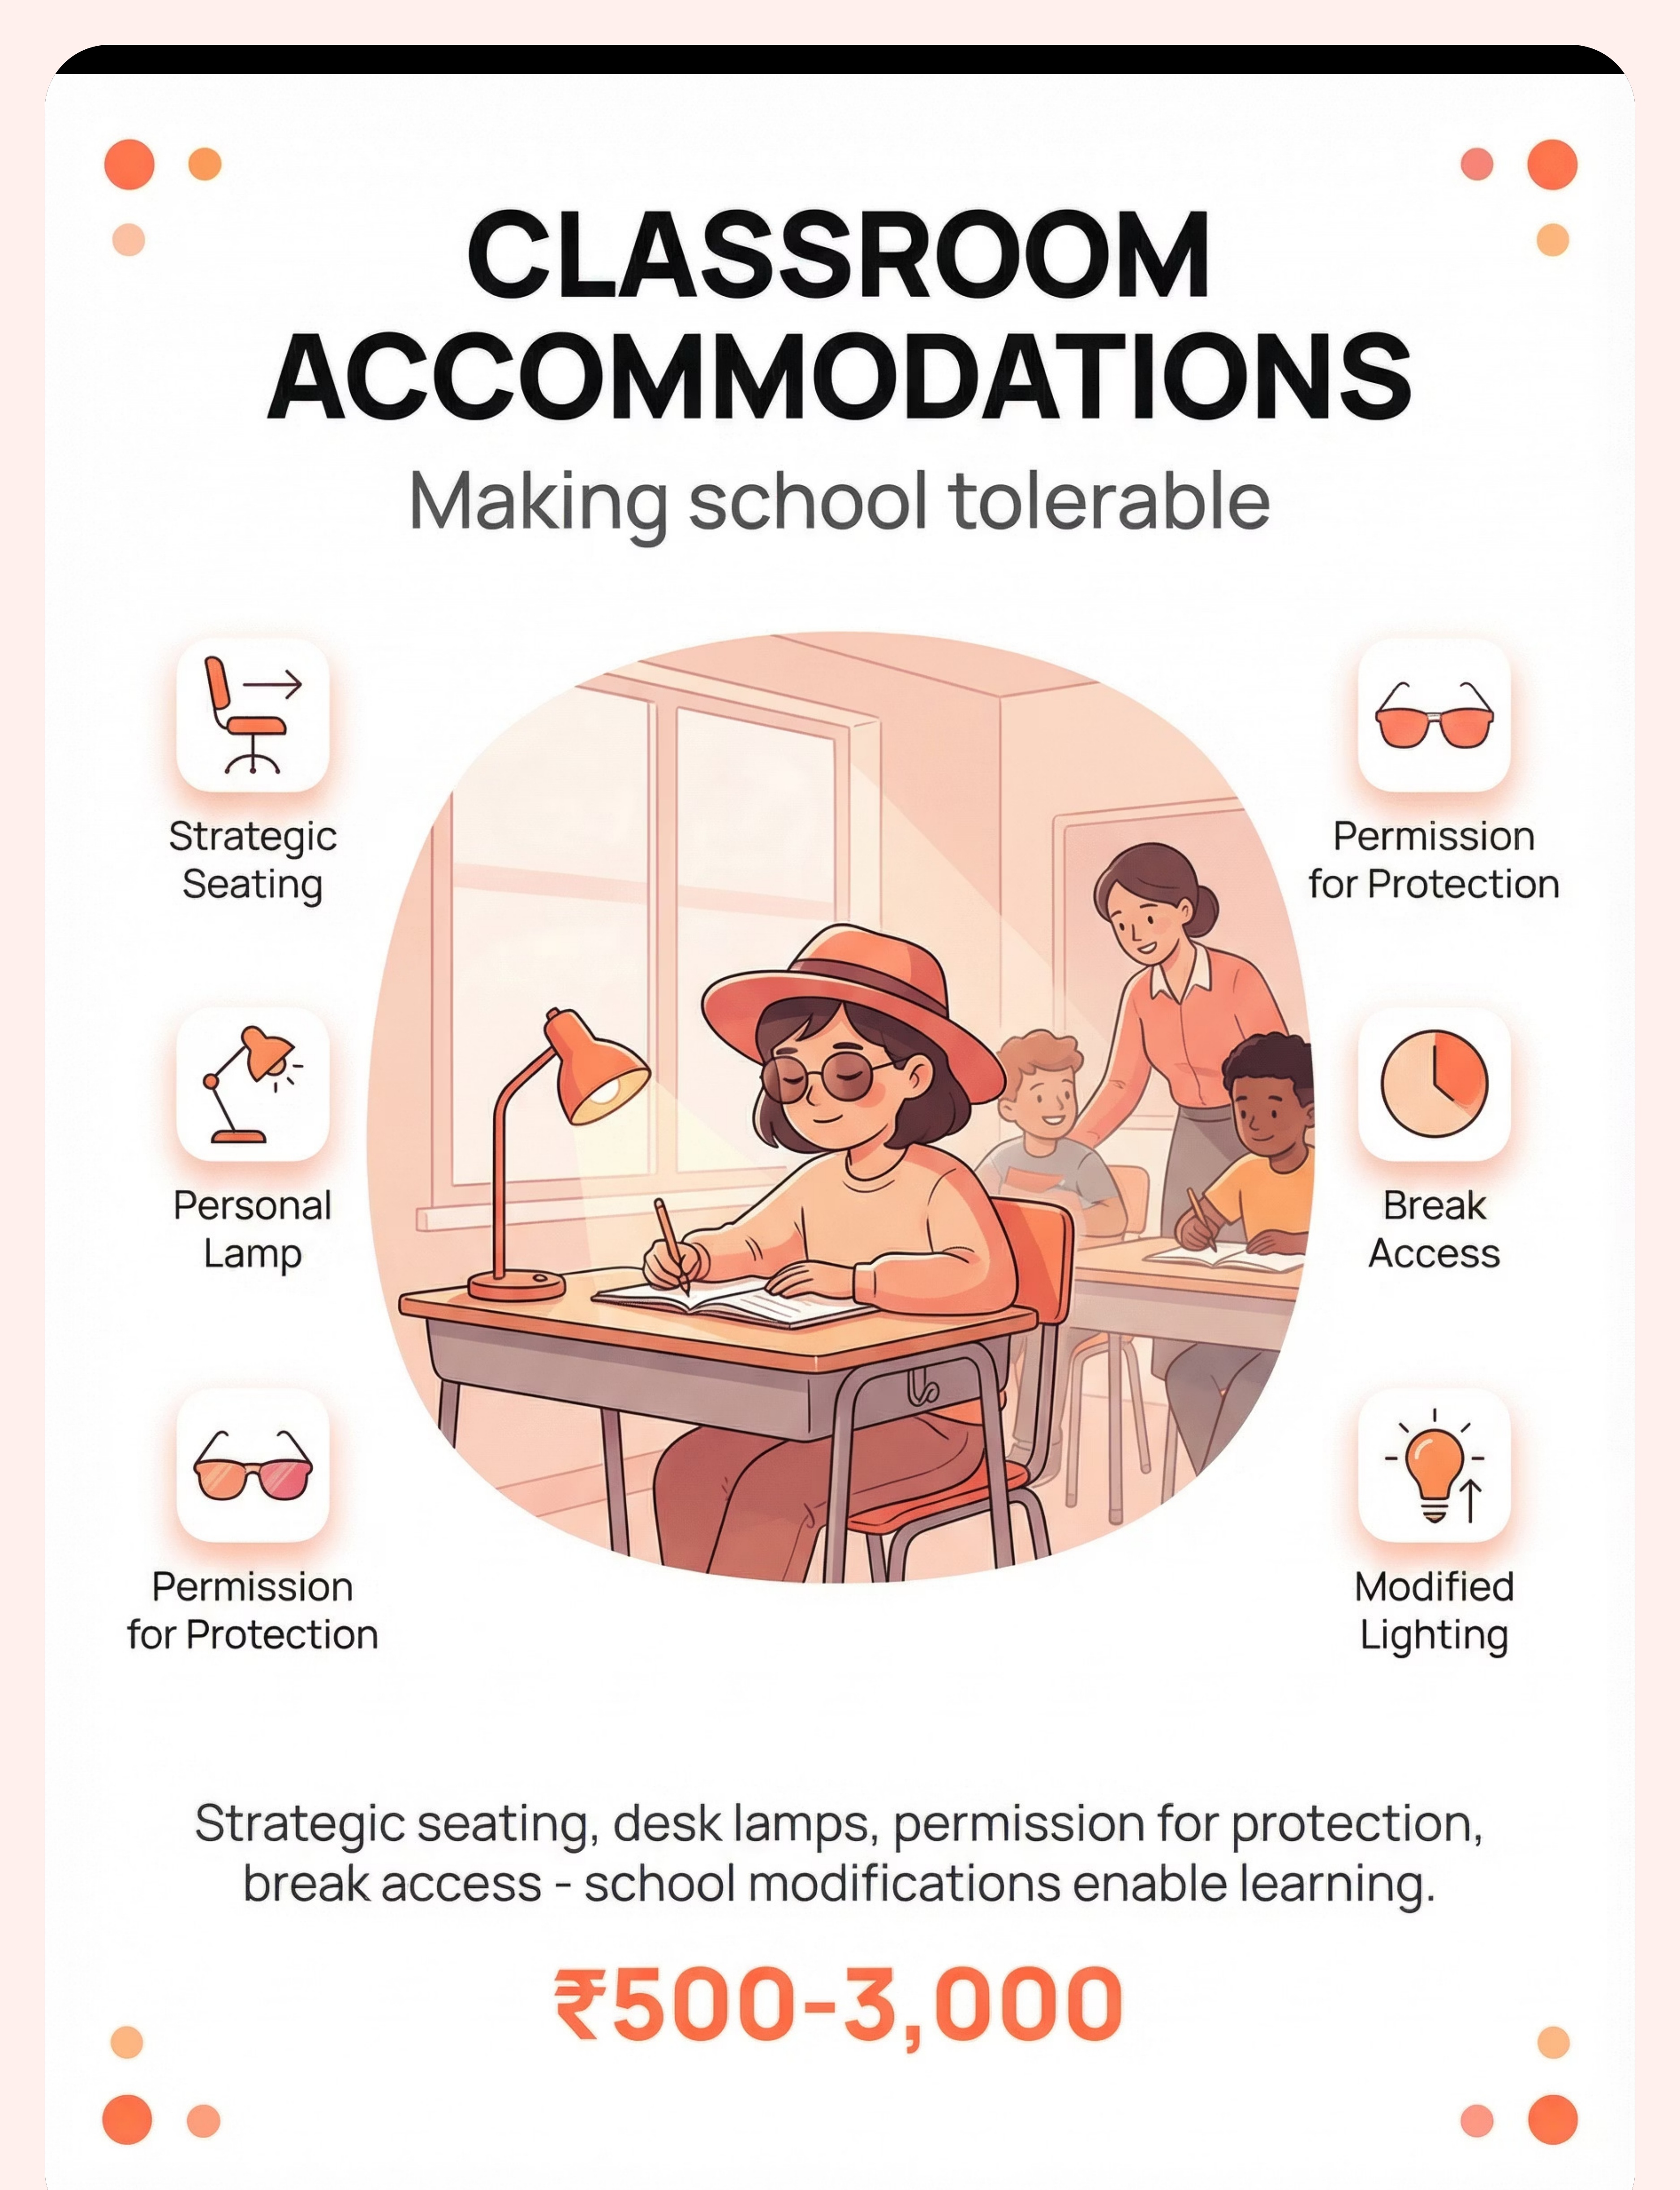
Material 8: Classroom Accommodation Tools
School environments are often the most challenging settings for light-sensitive children — fluorescent lighting, white walls, glossy whiteboards, and unpredictable light changes create a near-constant sensory burden. Classroom accommodations are not special favours — they are access provisions that enable learning.
Clinical Details
Price: ₹500–3,000
Category: School Support
Free DIY: Write a letter to the teacher explaining the neurological basis; request seating away from windows (zero cost)
Category: School Support
Free DIY: Write a letter to the teacher explaining the neurological basis; request seating away from windows (zero cost)
Key Accommodations to Request
- Seating away from windows and direct overhead lights
- Permission to wear tinted glasses and a hat indoors
- Access to a dimmer space for recovery breaks
- Screen brightness and colour settings adjusted on school devices
- Coloured overlays for reading materials
- Printed materials on cream/pastel paper rather than bright white
Pinnacle can provide formal support documentation — call 9100 181 181.
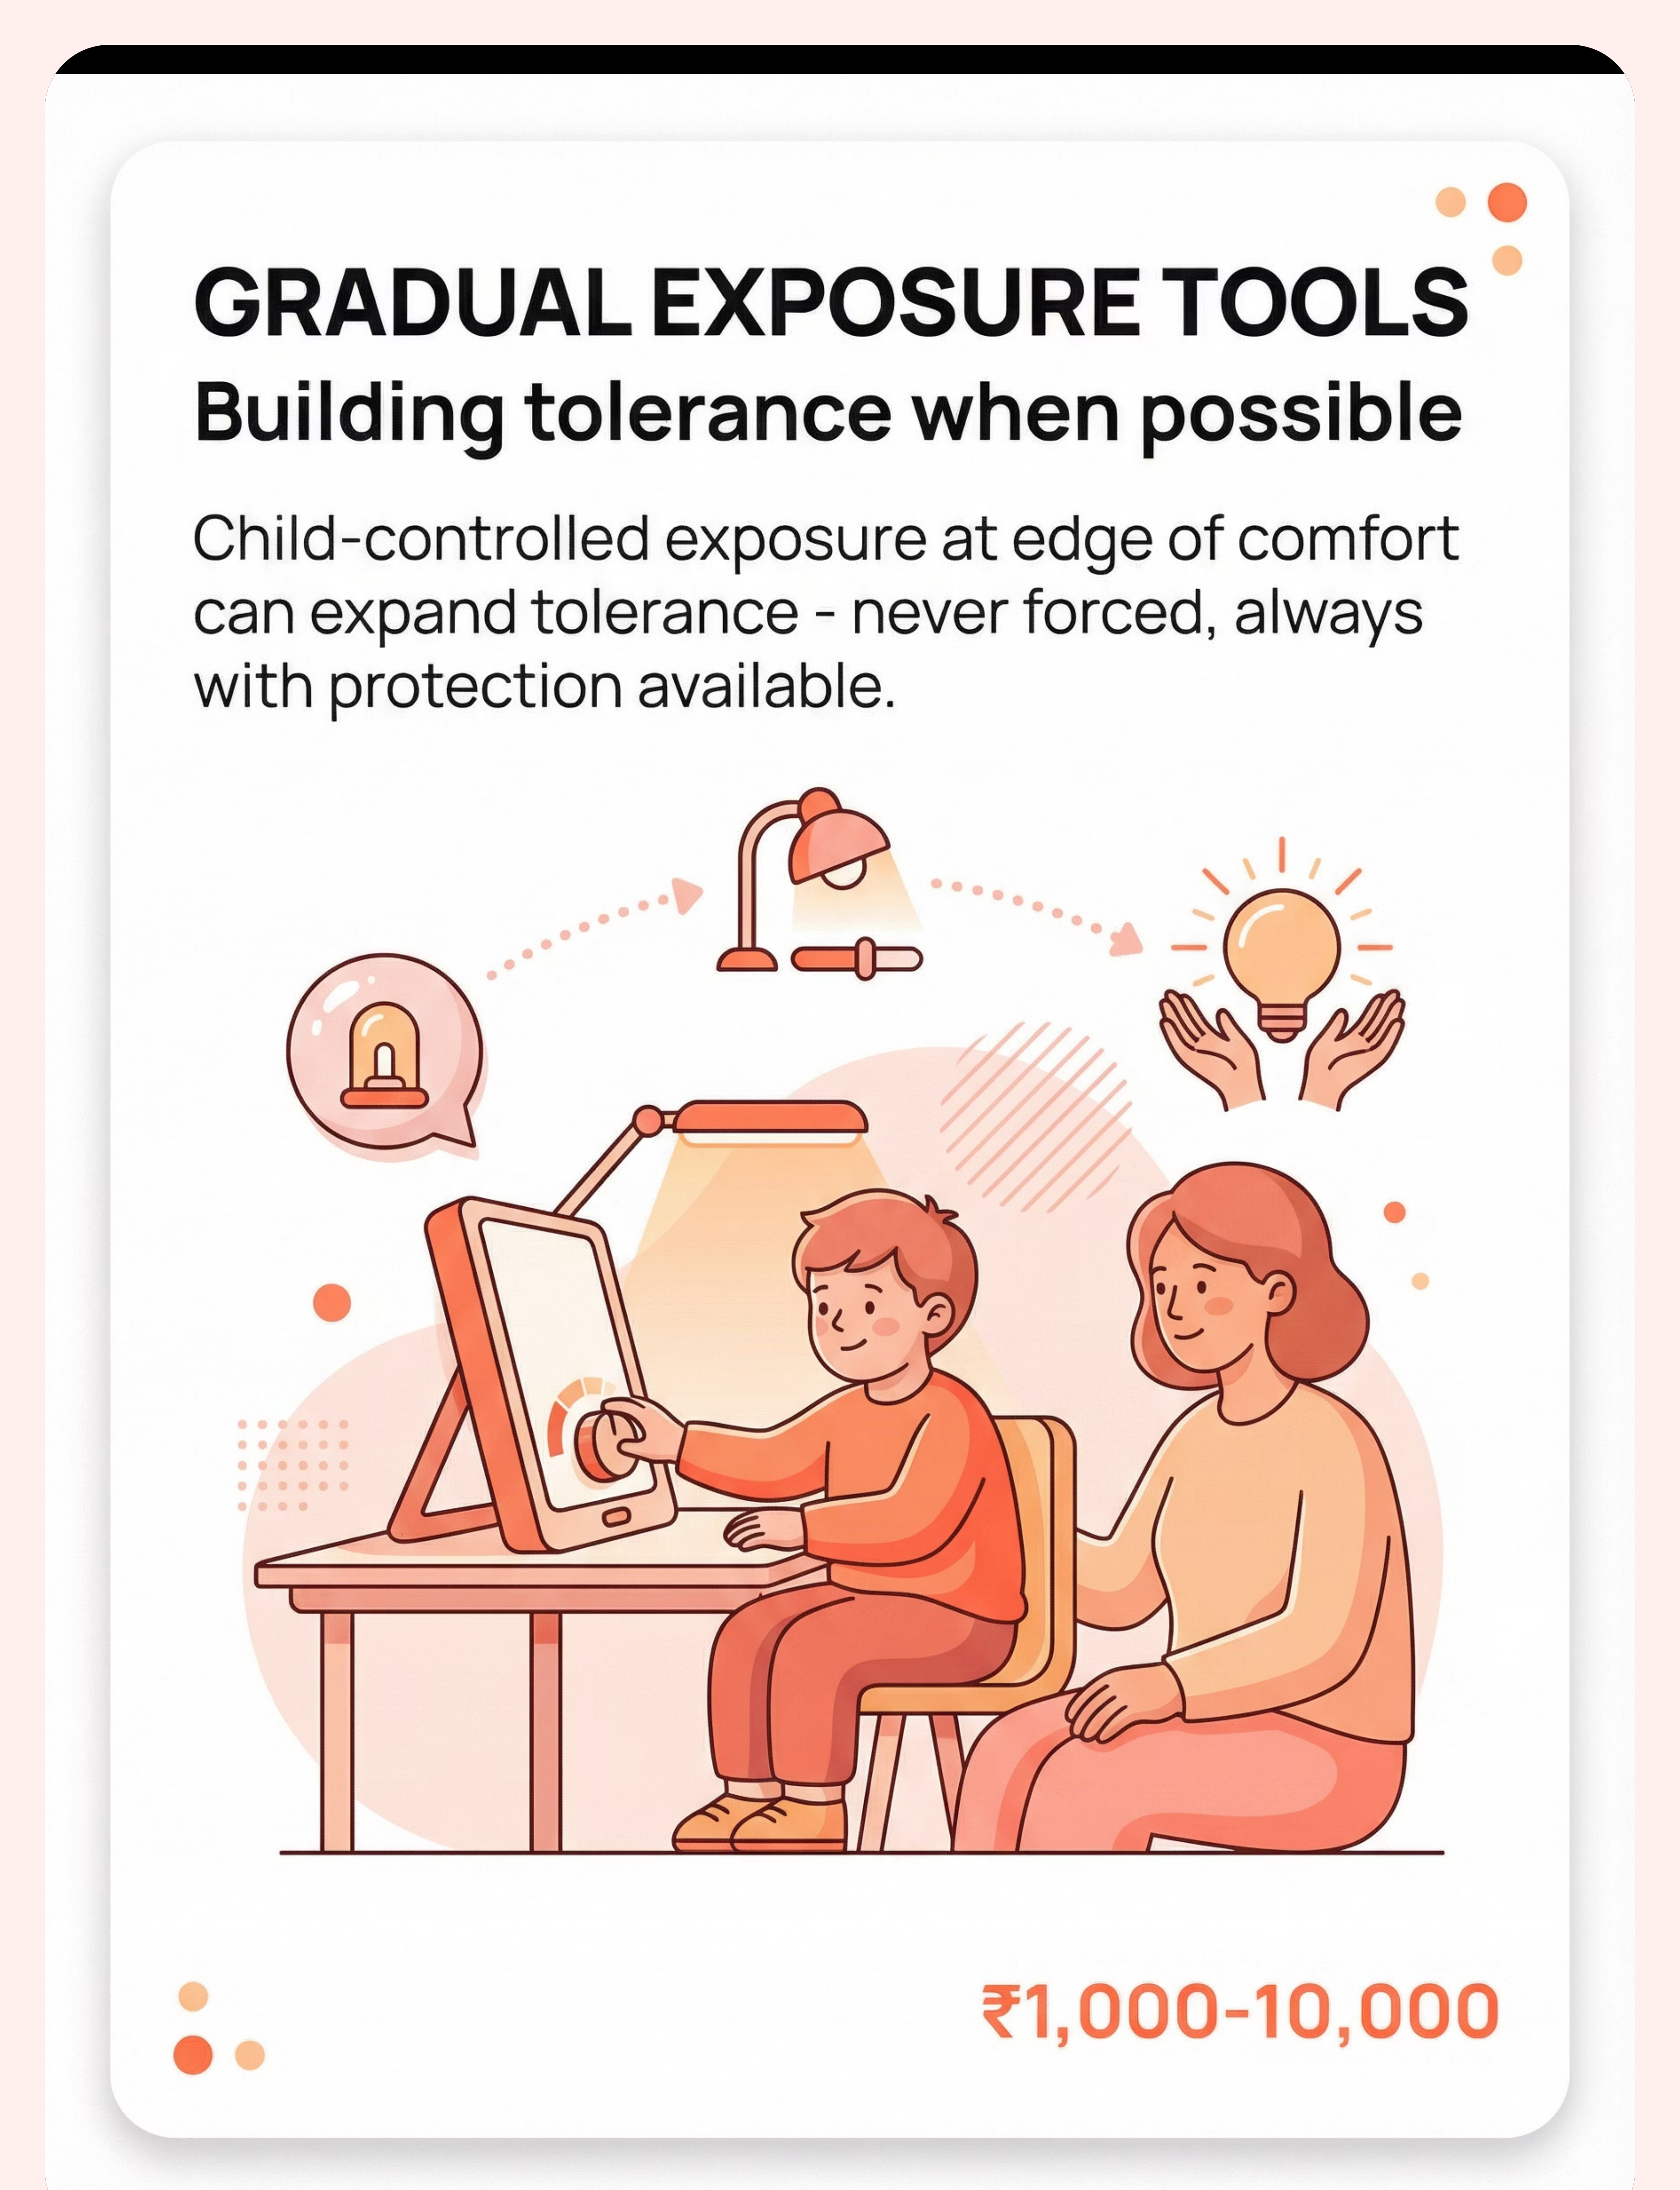
Material 9: Gradual Light Exposure Tools
Gradual light exposure tools support the process of systematically and gently expanding a child's light tolerance over time — not by forcing exposure, but by creating controlled, incremental steps that the child's nervous system can adapt to at its own pace. This is desensitisation, done carefully.
Clinical Details
Price: ₹1,000–10,000
Category: Tolerance Building
DIY Alternative: Adjustable curtains — open gradually over days; outdoor time with decreasing hat brim coverage over sessions
Category: Tolerance Building
DIY Alternative: Adjustable curtains — open gradually over days; outdoor time with decreasing hat brim coverage over sessions
The Golden Rule of Gradual Exposure
If the child is comfortable at Level 3, try Level 3.5 — never Level 5. The increment must be small enough that the nervous system doesn't detect a threat. Progress is measured in millimetres of curtain, not metres.
- Dimmer switches (controllable brightness increments)
- Adjustable curtains or blinds
- Layered lighting (add one additional lamp per session)
- Gradual outdoor exposure with hat/sunglasses, reducing intensity of protection over weeks
Zero-Cost & DIY Alternatives — Start Today
Not every family can order from Amazon. Not every village has same-day delivery. Every parent, regardless of economic status, can begin this intervention today with household items. This is the WHO/UNICEF inclusion principle in action.
Buy This | Make / Do This Instead | |
Precision Tinted Lenses | Try coloured overlay pack first (₹200) to identify helpful colours before investing in prescription lenses | |
Coloured Overlays | Coloured cellophane or transparency sheets from any stationery store | |
FL-41 Sunglasses | Any quality wraparound polarised sunglasses (not novelty fashion glasses) | |
Wide-Brimmed Hat | Any hat with adequate brim — bucket hat, cricket hat, dupatta | |
Lighting Modifications | Replace harsh bulbs with warm LEDs (₹100 each); use existing curtains as light filters; multiple small lamps instead of one bright overhead | |
Screen Filters | Dark mode + reduced brightness + Night Shift — FREE on all devices | |
Sensory Retreat Space | Blanket fort, converted closet corner, bed canopy from old sari/curtain + fairy lights | |
Classroom Tools | Write a letter to the teacher explaining the neurological basis; request seating away from windows (free) | |
Gradual Exposure Tools | Adjustable curtains — open gradually over days; outdoor time with decreasing hat brim coverage |
Caveat — when clinical-grade is non-negotiable: Precision tinted lenses require professional assessment. If overlay screening suggests significant benefit, invest in professional Irlen screening. This is the one area where the DIY version is a starting point, not a substitute.
Safety Protocol — Read Before Starting
Safety is the foundation of every effective intervention. Please read this card in full before your first session. When in doubt, pause and consult a professional.
🔴 RED — Do NOT Proceed If:
Child has recently had eye surgery or active eye infection. Child has epilepsy triggered by light patterns (consult neurologist first). Child shows sudden onset of light sensitivity (new symptom) — seek immediate medical evaluation. Child has eye pain with redness, swelling, or discharge — see ophthalmologist.
🟡 AMBER — Modify Approach If:
Child is currently in a meltdown or severely dysregulated (wait for baseline). Child is ill, fatigued, or has not eaten. Child has had a particularly overwhelming sensory day. Environmental conditions are extreme.
🟢 GREEN — Proceed When:
Child has had a comprehensive eye exam ruling out structural issues. Child is in a regulated, calm-alert state. Materials have been checked for fit, comfort, and age-appropriateness. Environment is prepared.
🛑 RED LINE — Stop immediately if: Child reports sudden vision changes (blurring, spots, double vision). Child develops severe headache unresponsive to light reduction. Eyes show persistent redness, excessive tearing, or swelling. Child becomes severely distressed despite maximum protection. Reference: Indian Journal of Pediatrics RCT (2019) | DOI: 10.1007/s12098-018-2747-4
Prepare the Environment
Before your first session, set up the physical space deliberately. The environment itself is an intervention tool. A well-prepared room reduces sensory load before the session even begins — and signals to your child that this is a safe, comfortable space built for them.
Windows
Curtains or blinds drawn or filtered. No direct sunlight falling on the child's face or seating area.
Overhead Lighting
Off or dimmed. Use side lamps with warm LEDs (2700K). No fluorescent flicker.
Child Position
Seated facing away from windows and direct light sources.
Parent Position
Seated beside the child — not across from them. This reduces the need for the child to look toward light.
Materials Table
Within arm's reach. No bright light reflecting off surfaces. Lenses, overlays, hat, and tracker all prepared.
Retreat Space
Visible from session area. Child knows they can go there at any time, for any reason, without asking permission.
Remove
Reflective surfaces, screens at full brightness, white or glossy paper in the child's line of sight.
Noise Level
Low. Sensory systems interact — loud + bright = compounded overload. A quiet room reduces total sensory demand.
Reference: Sensory Integration Theory (Ayres) | PMC10955541
Pre-Session Readiness Check (60 Seconds)
The best session is one that starts right. Forcing a session when the child isn't ready teaches them that their signals don't matter. Take 60 seconds to run through this check before every session.
Fed
Child has eaten within the last 2 hours.
Rested
Not overtired or approaching nap/bedtime.
Regulated
No meltdown in the past 30 minutes.
Healthy
No illness, headache, or eye discomfort beyond baseline.
Light Baseline
Current environment is at the child's comfortable level.
Willing
Child is not resistant to engagement (neutral or positive state).
Materials Ready
All needed items within reach, tested for fit.
✅ All Checked → GO
Begin Step 1: The Invitation.
⚠️ 1–2 Missed → MODIFY
Use simplified version: just practise putting on/taking off protective gear, or 2 minutes in retreat space.
⛔ 3+ Missed → POSTPONE
Offer a calming alternative activity. Try again when conditions improve.

Step 1: The Invitation (30–60 Seconds)
Protocol Step 1 of 6
"Hey [child's name], I have something interesting to show you. Remember how we talked about lights being too bright sometimes? I found some things that might help. Want to check them out with me?"
Body Language
- Get to the child's eye level
- Keep your voice soft and unhurried
- Have materials visible but not pushed toward the child
- Smile — this is exploration, not medicine
Reading the Response
Acceptance looks like: Child looks at materials, approaches, reaches, asks a question, nods, or gives verbal consent. Even neutral tolerance is acceptance.
Resistance: "That's okay. They'll be here when you're ready. Want to see from far away first?" If the child says no — accept completely. Try again next session. If anxious, model wearing the material yourself first.
Reference: ABA Pairing Procedures + OT Just-Right Challenge Principle

Step 2: Material Introduction (1–3 Minutes)
Protocol Step 2 of 6
For today's session, choose ONE material to introduce. Do not overwhelm with all 9. One material, explored well, is worth more than nine materials rushed through.
"These are special glasses. They make bright light feel softer. You know how the light sometimes hurts your eyes? These help with that. Want to hold them first?"
Engagement ✅
Reaches for material, asks questions, tries it on → Continue to Step 3.
Tolerance 👍
Holds material, watches demonstration, allows it near them → Stay here, extend exploration time.
Avoidance ↩️
Pushes away, turns head, says no → Return to Step 1 with a lighter touch, or postpone.
Presentation protocol: Let the child touch/hold the material before wearing/using it. Demonstrate on yourself first. No pressure to use it — exploration first. Let the child control the pace. Reinforce any positive interaction: "You're checking that out! That's great."
Reference: PMC11506176 — Sensory integration intervention with structured material introduction

Step 3: The Therapeutic Application (3–5 Minutes)
Protocol Step 3 of 6
The core action depends on which material you are introducing today. Follow the guide for your chosen material.
Sunglasses / Tinted Lenses
Have child wear them in a slightly brighter environment than their current comfort zone. Open one curtain slightly. Turn on one additional lamp. Watch their response — are they squinting less? More relaxed? Can they look toward the light source?
Coloured Overlay
Place overlay on a page of text or worksheet. Ask child to look with and without the overlay. "Which way feels better for your eyes?" Try 2–3 colours. No right answer — the child's comfort decides.
Hat
Go to a brighter area (porch, garden, well-lit room) with hat on first, then gradually spend time in the brighter space. "How do your eyes feel with the hat on?"
Lighting Modifications
Together with the child, adjust the room lighting. "Let's make this room feel right for your eyes." Give them the dimmer control. Let them find their comfort level.
Screen Settings
Sit with child at their device. Adjust brightness down, enable dark mode, enable warm colour filter. "Does this feel better? Let's find the setting that works for your eyes."
Ideal Response
Visible relief, relaxation, verbal confirmation ("This is better").
Acceptable Response
Neutral tolerance, willingness to continue, no distress signs.
Concerning Response
Increased squinting, complaint of discomfort, pulling off/away → Back off. The setting may be too bright, or this material may not be right for this child.
Reference: Meta-analysis (World J Clin Cases, 2024) | PMC10955541
Step 4: Build the Experience (3–5 Minutes)
Protocol Step 4 of 6
Target repetitions: 2–3 meaningful exposures per session. Variety within the same material across sessions builds neural pathways without monotony.
Day 1
Sunglasses — indoors, controlled light
Day 2
Hat — indoors, near open door
Day 3
Overlay — for reading, book or worksheet
Day 4
Sunglasses + Hat — combined in brighter environment
Day 5
Screen settings — together on all devices
The Golden Rule: 3 good interactions > 10 forced ones. When the child signals "enough" — looking away, removing the material, saying "done," becoming restless — the practice portion ends immediately. Their signal is data, not defiance.

Step 5: Reinforce & Celebrate
Protocol Step 5 of 6
Reinforce within 3 seconds of the desired behaviour. Specific praise teaches the child exactly what helped — vague praise ("good job!") teaches nothing.
Child Does This | You Say This | |
Puts on sunglasses | "You put your glasses on! Your eyes look so comfortable now." | |
Tries an overlay | "You're finding out what helps your eyes. That's really smart." | |
Wears hat in bright area | "Look at you — outside with your hat! Your eyes are doing great." | |
Adjusts screen settings | "You figured out the brightness that works for you. That's taking care of yourself." | |
Tells you "it's too bright" | "Thank you for telling me. That's exactly what I need to hear so I can help." |
Critical principle: Celebrate the attempt, not just the success. Child tries glasses but removes them after 10 seconds? → "You tried them! That's a great start." Child tests an overlay and says it doesn't help? → "Thanks for testing that one. Let's try a different colour."
Step 6: Cool-Down Transition (1–2 Minutes)
Protocol Step 6 of 6
The cool-down is not just courtesy — it is a neurologically important transition that allows the child's sensory system to recover and signals the end of the session clearly.
Transition Warning Script
"We have one more thing to try, and then we're all done for today."
Then transition to the retreat space or the child's comfortable dim area. 1–2 minutes of quiet time with no demands. The child recovers from any light exposure during the session.
Material Put-Away Ritual
"Let's put your glasses in their special spot so they're ready for next time."
Give the child ownership of their protective materials. A designated spot for glasses, hat, and overlays. This is their toolkit.
If child resists ending: This is a positive sign — they enjoyed the session. Offer one more brief interaction, then close firmly but kindly: "I'm glad you liked that. We'll do more tomorrow."
Reference: NCAEP Evidence-Based Practices Report (2020) — Visual supports and transition strategies
Record This — 60 Seconds (Do It Now)
60 seconds of data now saves hours of guessing later. Your observations are clinical data. Every record you make helps GPT-OS® generate more precise recommendations for your child over time.
Which Material Was Used
Circle or write the material name. Be specific — "rose-tinted sunglasses" not just "glasses."
Child's Comfort Rating (1–5)
😣😕😐🙂😊 — child points or you estimate based on observable behaviour.
Duration of Comfortable Use
Timer or estimate: "Wore sunglasses for 4 minutes before removing."
Child's Words
Direct quotes are gold for tracking. "He said 'the blue one makes it stop hurting.'" Write it verbatim.
Optional bonus data: Environment (home, school, outdoors, store) + Light condition (dim, moderate, bright, fluorescent, sunlight)
Recording tools: Downloadable tracking sheet (PDF) → GPT-OS® tracker | In-app GPT-OS® tracker | Simple notebook: Date + Material + Duration + Rating. Any format that you will actually use is the right format. Reference: BACB Data Collection Standards | Cooper, Heron & Heward (Applied Behaviour Analysis)
It Didn't Go Perfectly? That's Normal.
Session abandonment is not failure — it is data. Every "unsuccessful" session teaches you something about your child's needs. Here are the most common challenges and exactly what to do next.
Problem 1: Child Refused to Try Any Material
Why: New objects can trigger anxiety. The child may associate eye-related items with unpleasant medical experiences. Next time: Leave materials accessible but don't offer directly. Let child discover them. Model wearing/using them yourself. Try again in 2–3 days.
Problem 2: Sunglasses/Lenses Made It Worse
Why: Wrong tint, too dark (causing dark adaptation), uncomfortable fit, or child's sensitivity is to specific wavelengths not addressed by that tint. Next time: Try a lighter tint. Ensure the fit isn't causing pressure. Consider professional Irlen screening.
Problem 3: Child Became Distressed in the Brighter Environment
Why: Too much too fast. The step up in light intensity was beyond the child's current tolerance. Next time: Smaller increments. If comfortable at Level 3, try Level 3.5 — not Level 5.
Problem 4: Child Loved One Material But Won't Try Others
Why: That material works for them. This is success, not a problem. Next time: Build on what works. Add other materials gradually. There is no requirement to use all 9.
Problem 5: Works at Home But Not at School
Why: Social stigma, lack of permission, different environmental context. Next time: Role-play using materials at school. Ensure school has provided formal permission. Consider less visible options (lighter tinted lenses vs. dark sunglasses).
Problem 6: Progress Has Stalled After Initial Improvement
Why: Plateau is normal. The nervous system adapts in steps, not linearly. Next time: Maintain current level for 1–2 weeks. Don't push for more. Consolidation precedes the next breakthrough.
Problem 7: Family Members Disagree
Why: Light sensitivity is invisible. People who don't experience it struggle to believe it's real. Next time: Share Card 3 (neuroscience) and Card 5 (evidence). Consider having them wear the child's tinted lenses in bright light to experience the difference.
Make It Yours — Adapt to Your Child
No two children are alike. This protocol is designed to be adapted — not followed rigidly. Use the difficulty slider and sensory profile variations below to calibrate to your child's exact starting point and pace of progress.
1
Intro Level
One material, child's comfortable environment, 2 minutes, zero light increase.
2
Foundation
One material, slight brightness increase, 3–5 minutes, child controls pace.
3
Core
2 materials combined, moderate brightness, 5–10 minutes, structured protocol.
4
Advanced
Multiple materials, varied real-world environments (store, playground), 15+ minutes.
5
Independence
Child self-selects and self-manages materials across environments without parent prompting.
For the Sensory Avoider
- Start with maximum protection, reduce very gradually
- Retreat space is essential — ensure reliable access
- Never remove protection before child signals readiness
- Environmental modifications first, personal equipment second
For Variable Sensitivity
- Track which light types are worst (fluorescent? sunlight? LED?)
- Match material to environment (different gear for different settings)
- Teach child to self-monitor: "How are your eyes feeling right now?"
Ages 2–3
All modifications parent-managed. Focus on environmental changes and hat/sunglasses wearing.
Ages 4–6
Begin teaching self-advocacy ("My eyes need a break"). Introduce overlay screening.
Ages 7–9
Child participates in material selection. Begin gradual exposure if appropriate.
Ages 10–12
Child manages own materials toolkit. Self-advocacy at school. GPT-OS® self-tracking.
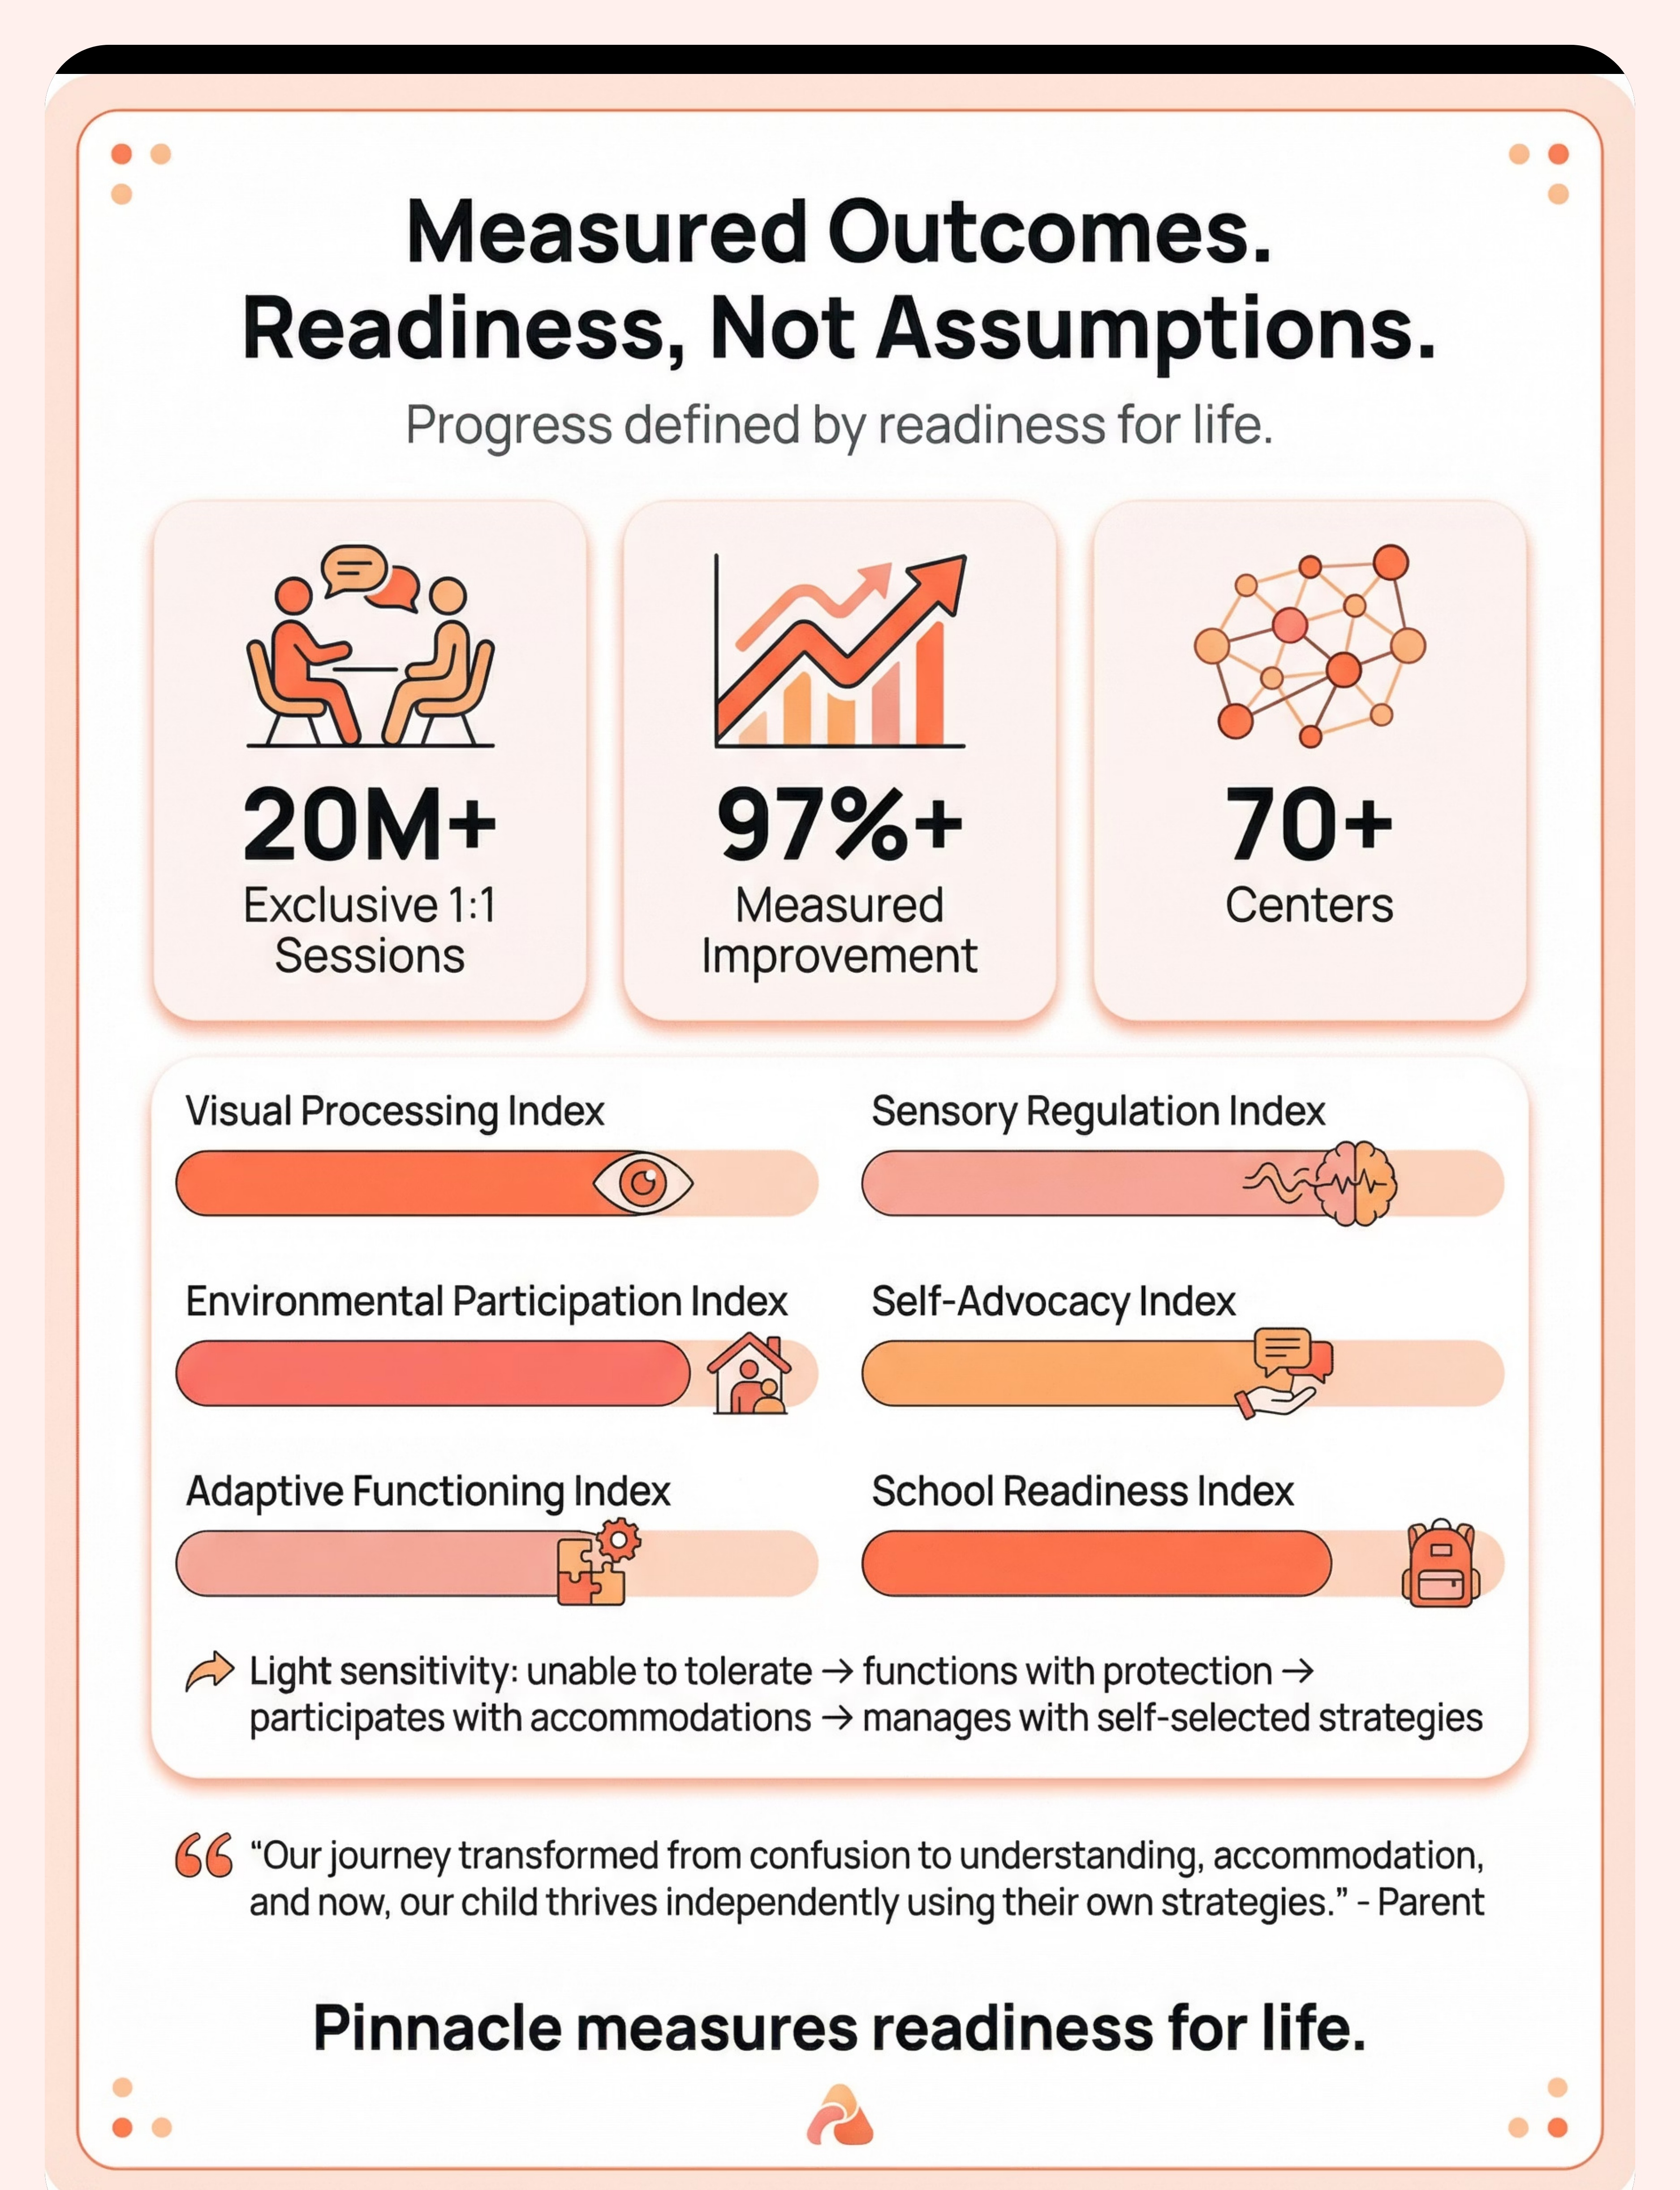
Weeks 3–4: Neural Pathways Forming
Progress: ~40%
Weeks 3 and 4 mark the shift from introduction to consolidation. The child begins to reach for protective materials rather than waiting to be offered them. Preferences emerge. The retreat space becomes a tool the child uses proactively rather than reactively.
Self-Initiated Material Use
Child begins reaching for protective materials independently (sunglasses before going outside).
Preference Emerging
Shows preference for specific overlay colour or lens tint. This tells you the intervention is working on a sensory level.
Self-Initiated Retreat
Retreat space use becomes self-initiated rather than parent-suggested. The child is self-regulating.
Verbal Precision Improving
"This is too bright but that lamp is okay." Specific descriptions signal neurological self-awareness developing.
Proactive Requests
Child may begin anticipating and requesting modifications ("Can we close that curtain?"). This is self-advocacy beginning.
Parent milestone:"You may notice you're more confident too — modifying environments proactively, advocating more naturally, reading your child's signals faster."

Weeks 5–8: Mastery Emerging
Progress: ~75%
Weeks 5–8 mark the emergence of genuine mastery — when skills transfer across environments and contexts without daily coaching. The child begins to own their sensory management.
1
Independent Material Selection
Child independently selects appropriate protective material for the environment without prompting.
2
Previously-Avoided Activity
Participates in at least one previously-avoided activity with protection in place.
3
External Self-Advocacy
Communicates light needs to at least one person outside the family (teacher, relative).
4
Independent Recovery
Uses retreat space for recovery and returns to activity independently — without parent guidance.
5
Consistent Improvement Trend
Comfort ratings show consistent improvement trend in tracking data across the 5–8 week arc.
🏆 Mastery: Child functions in typical environments with self-selected strategies and minimal parent support

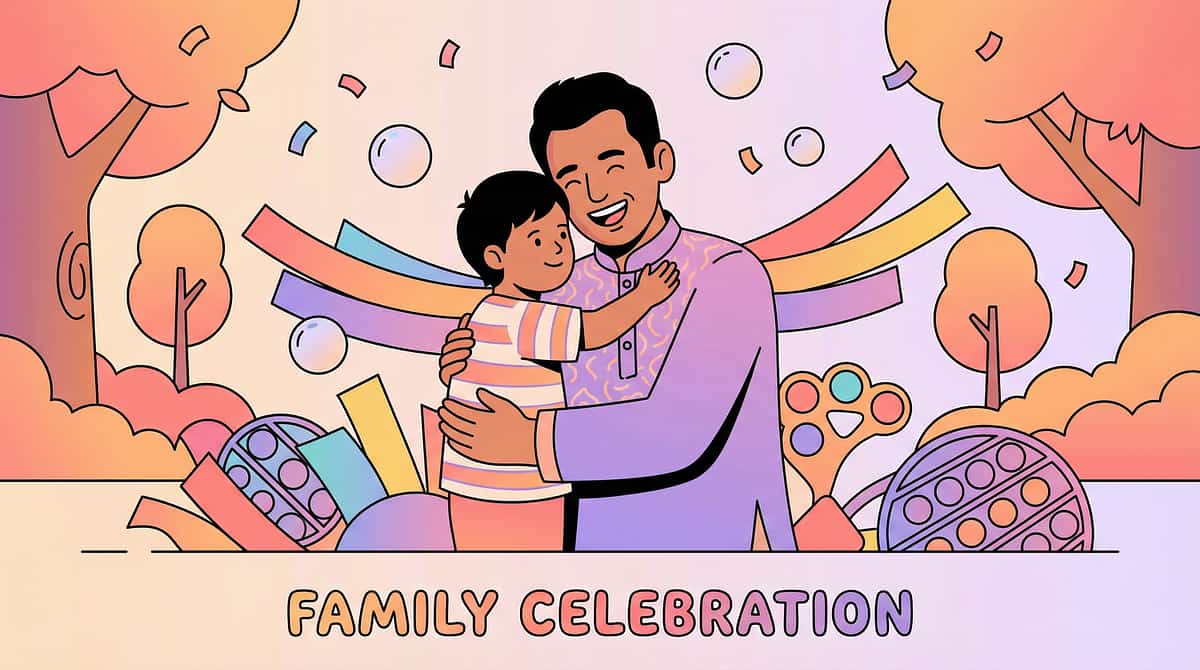
You Did This. Your Child Grew Because of Your Commitment.
Your Journey
- You noticed the signs when others dismissed them
- You researched when doctors said "vision is fine"
- You created a safe environment when the world was too bright
- You advocated at school when teachers thought it was defiance
- You tracked data when no one asked you to
- You showed up, session after session, for weeks
Your Child's Journey
- From hiding from light → to managing light
- From isolation → to participation
- From suffering → to functioning
- From depending on you for every modification → to self-managing their toolkit
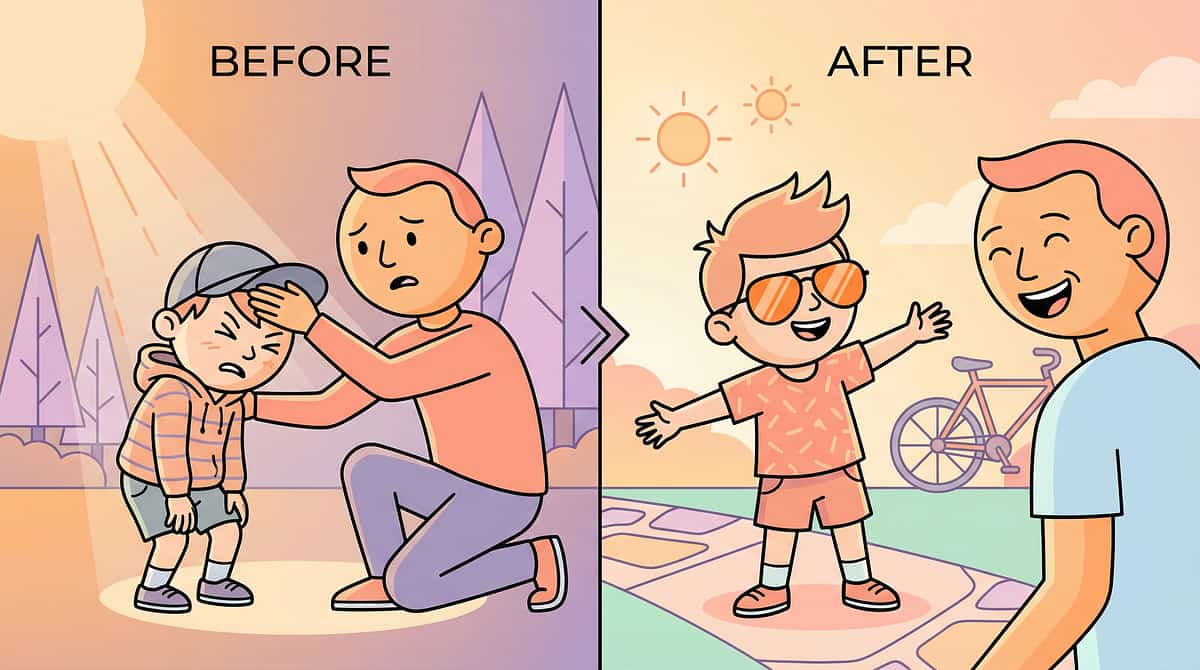
Family celebration suggestion: Do something your child previously couldn't do because of light sensitivity — with their protective gear in place. A sunny park visit. A shopping trip. A birthday party. Document it. This is the "after" photo.
"From fear to function. One material at a time."
"From fear to function. One material at a time."
Red Flags — When to Seek Professional Help
Trust your instincts. If something feels different or wrong — pause and ask. You know your child better than any protocol. The following signs require professional evaluation, not more home intervention.
🚩 Sudden Worsening
Light sensitivity suddenly worsens without any environmental cause.
🚩 New Visual Symptoms
Child develops double vision, spots, floaters, or any vision loss.
🚩 Severe Headaches
Headaches become persistent or are accompanied by nausea or vomiting.
🚩 Asymmetric Sensitivity
One eye is more sensitive than the other — always warrants ophthalmology review.
🚩 Multi-System Overload
Sensitivity extends simultaneously and intensely to sounds, touch, and smell.
🚩 Regression
Child is losing skills they previously had — any regression warrants immediate evaluation.
Reference: WHO Nurturing Care Framework — Early identification and referral pathways
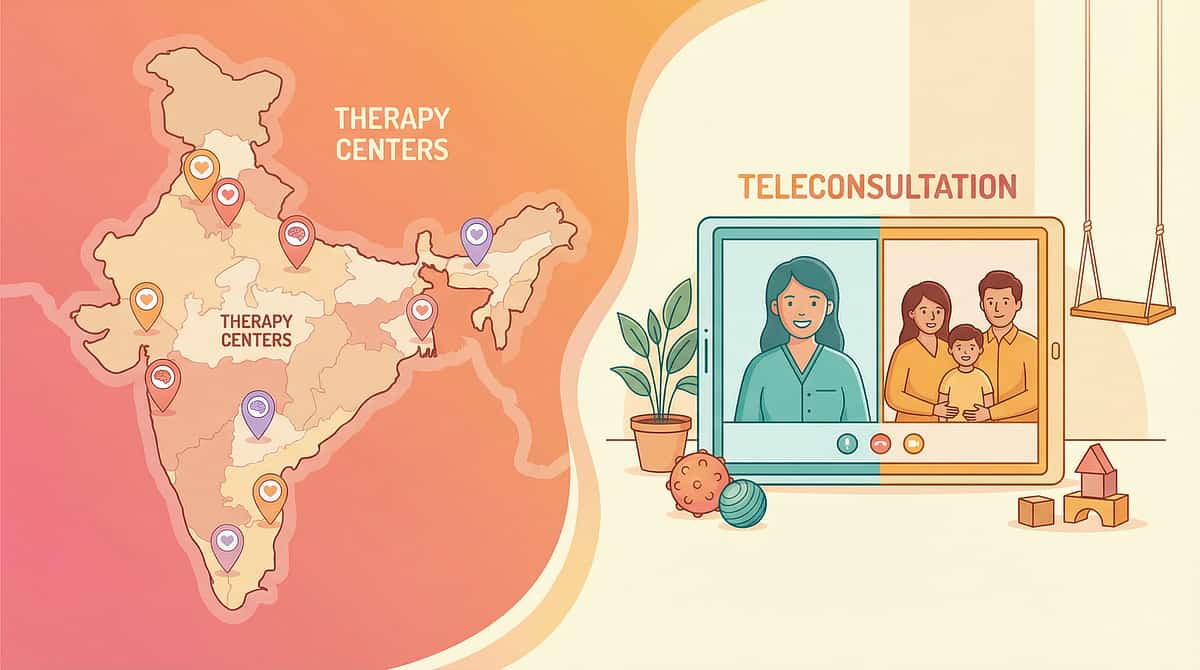
Professional Backup — 70+ Centres Nationwide
Home-based intervention guided by professional expertise produces the best outcomes. Home and clinic are not alternatives — they are partners. Use this page for daily home implementation, and your Pinnacle team for assessment, calibration, and specialist referral.
Primary: Occupational Therapist
Sensory integration specialist. Assessment, environmental design, equipment recommendation, desensitisation protocols.
Supporting: NeuroDevelopmental Paediatrician
Differential diagnosis, medication review, referral coordination with optometry and ophthalmology.
Specialist: Irlen Screener / Behavioural Optometrist
Required if precision tinting is indicated. Identifies the precise wavelength profile for each individual child.
Teleconsultation
For families not near a centre — video consultation with a Pinnacle OT or paediatrician. Available now.
Reference: WHO NCF Progress Report (2023) — Primary health care as platform for reaching all families
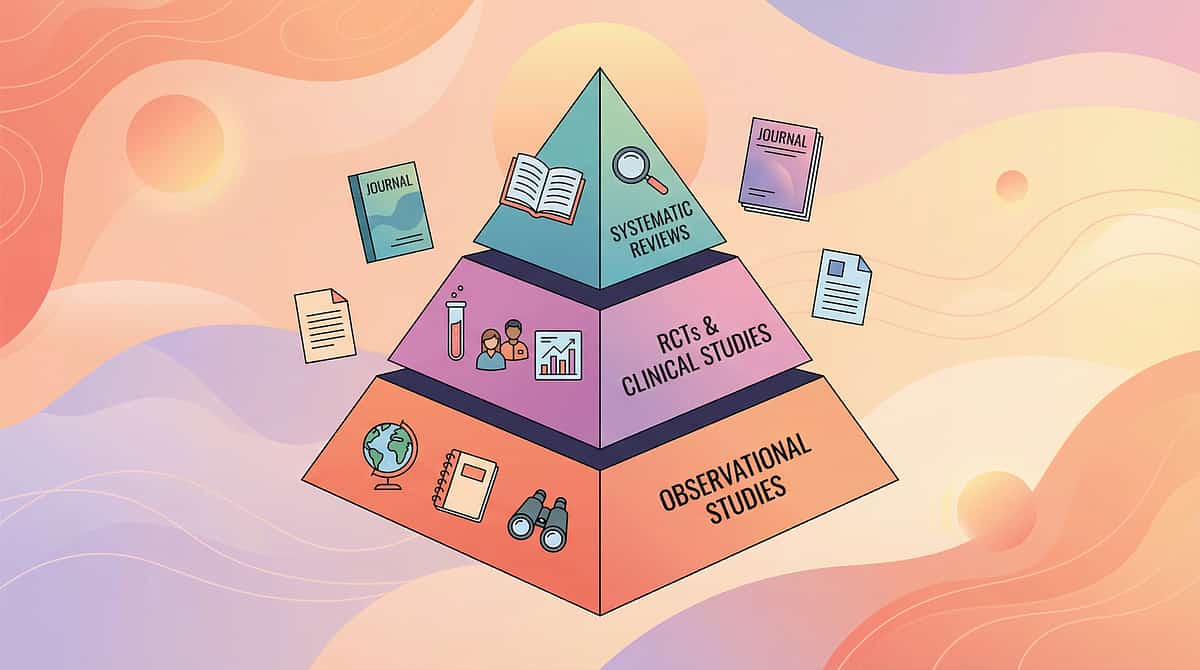
Go Deeper — The Evidence Base
This technique draws from four levels of evidence — from Level I systematic reviews to clinical consensus. For curious parents and therapists who want to read the original research, the full references are below.
PRISMA Systematic Review (2024)
"Sensory Integration Intervention for Children with Autism Spectrum Disorder" — 16 articles, 2013–2023, confirming evidence-based practice status. PMC11506176
Meta-Analysis (2024)
"Sensory Integration Therapy for ASD" — 24 studies confirming effectiveness across social skills, adaptive behaviour, sensory processing, and motor skills. PMC10955541
Indian Paediatric RCT (2019)
Home-based sensory interventions in Indian children with ASD — demonstrating significant outcomes for parent-administered protocols. DOI: 10.1007/s12098-018-2747-4
WHO Nurturing Care Framework (2018)
Global framework for early childhood development — sensory needs within nurturing care. nurturing-care.org/ncf-for-ecd/
WHO CCD Package Implementation (2023)
Care for Child Development across 54 countries — evidence for caregiver-implemented intervention. PMC9978394
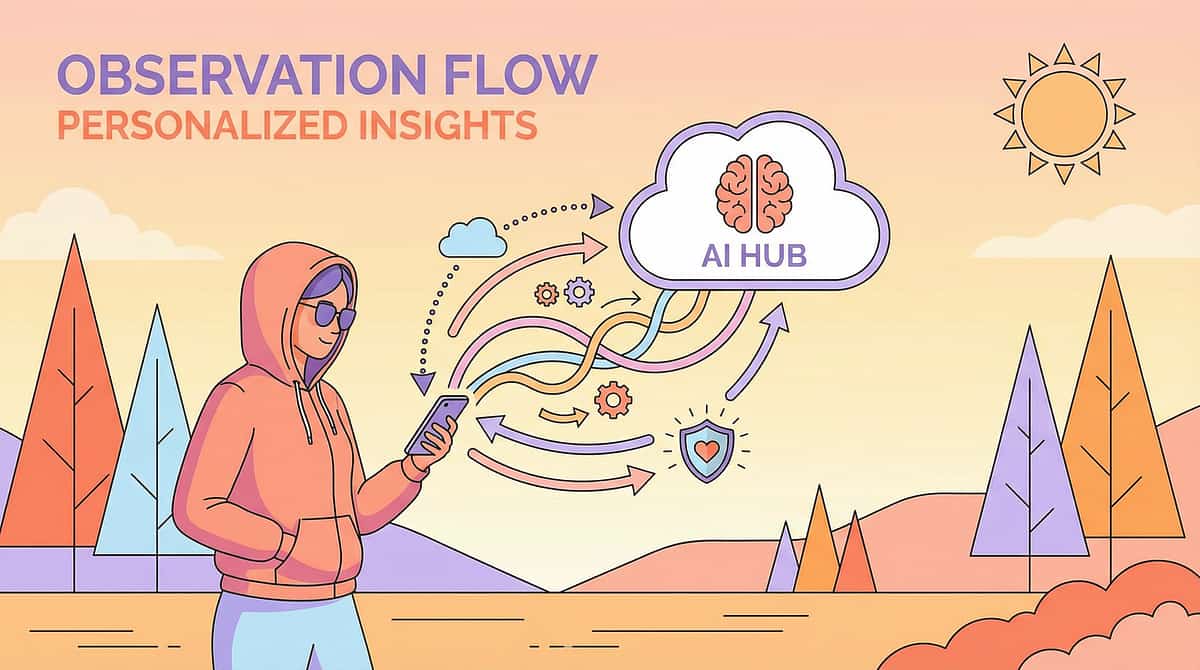
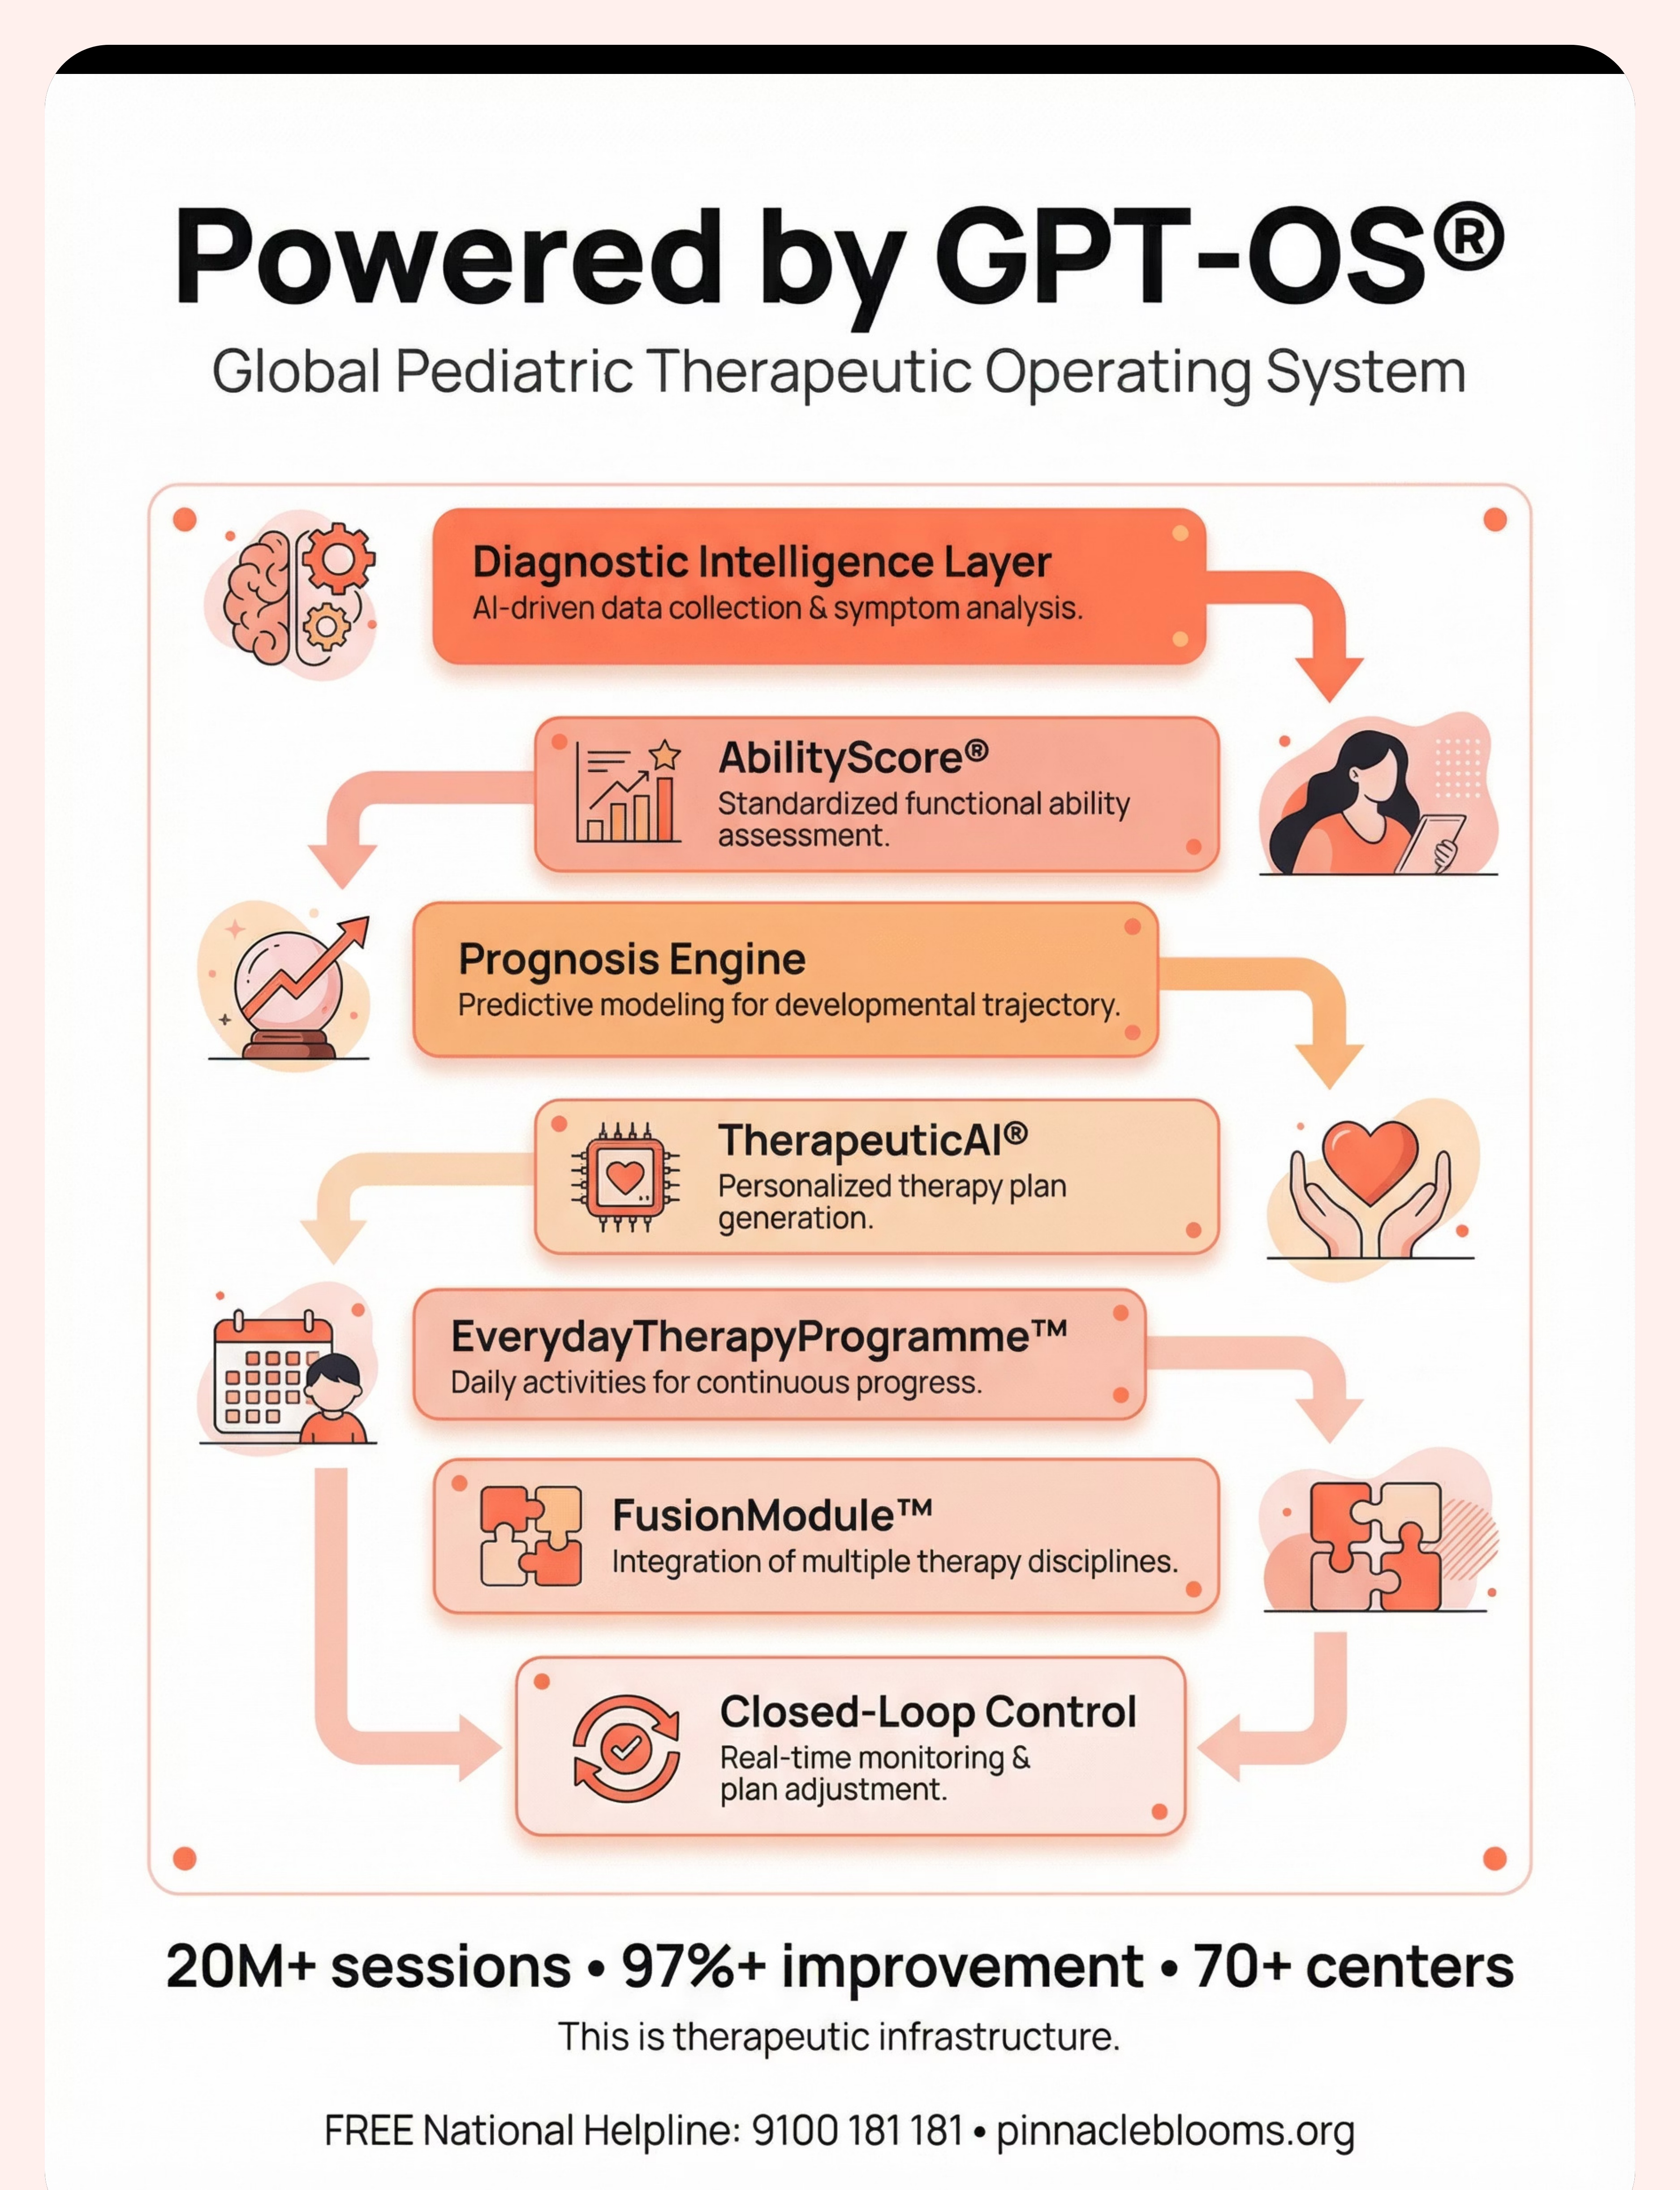
Powered by GPT-OS® — Global Paediatric Therapeutic Operating System
Every session you log feeds a system that learns your child's specific sensitivity profile — generating recommendations that become more precise with every data point. Your observations don't disappear into a notebook. They power personalised intelligence.
Diagnostic Intelligence Layer
591+ structured observations across 349 skills
AbilityScore®
Universal developmental score (0–1000)
Prognosis Engine
Predictive modelling from 20M+ sessions
TherapeuticAI®
Personalised therapy plan generation
EverydayTherapyProgramme™
Daily home-executable micro-interventions
FusionModule™
Cross-discipline integration: OT + ABA + SpEd + Medical
Privacy: Your data is protected. ISO 27001 certified. DPDP Act compliant. Your child's information is used only to improve their care and — in anonymised, aggregated form — to improve outcomes for all children. "Your data helps every child like yours. 20M+ sessions powering continuous improvement."
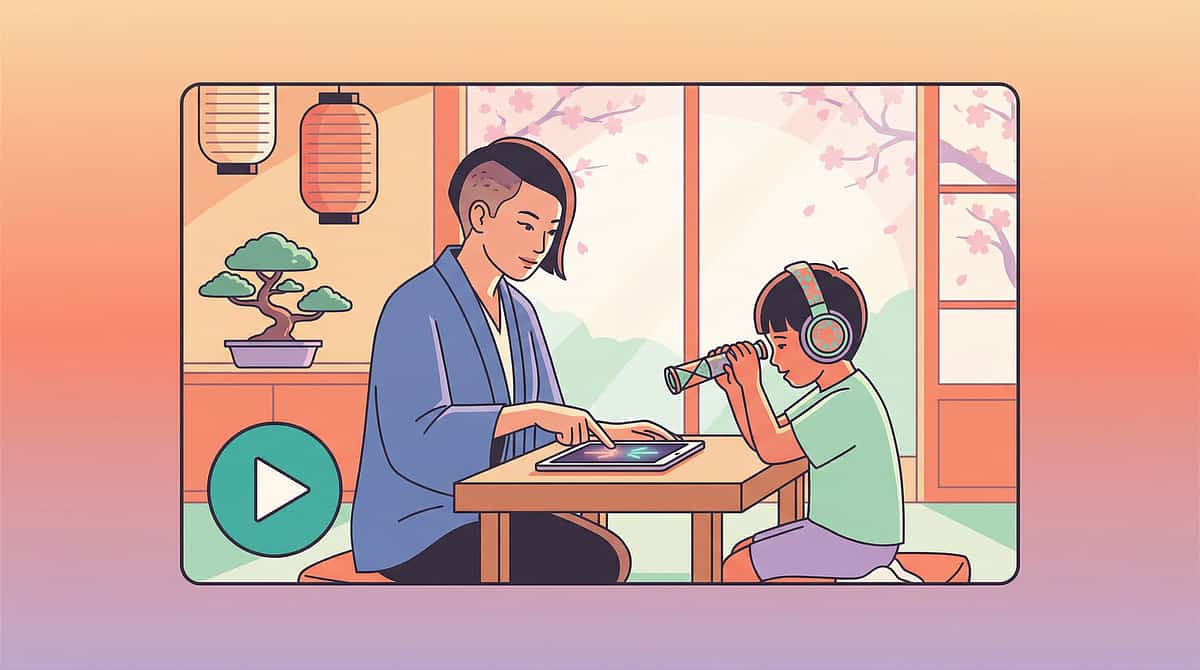
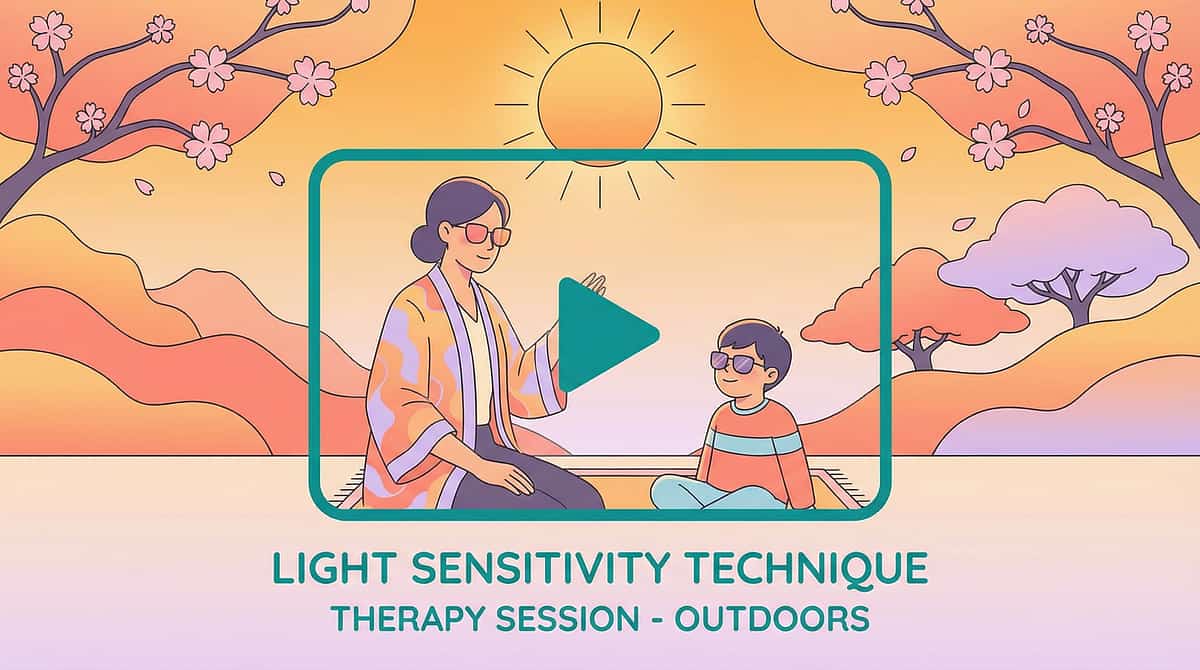
Watch: 9 Materials That Help With Light Sensitivity
Reel ID: A-058 | Series: Sensory Solutions — Episode 58 | Domain: Visual Sensory Processing + Light Sensitivity
Watch a Pinnacle therapist demonstrating each of the 9 materials — how to present them, how they look on a child, what comfort looks like, and practical tips from clinical experience. Duration: ~75 seconds. Tone: gentle, validating, protective, understanding.
Video modeling is classified as an evidence-based practice for autism (NCAEP, 2020). Seeing a demonstration improves parent skill acquisition significantly compared to text alone. Watch the reel, then return to the protocol steps above.
999 evidence-based Reels across 12 developmental domains → pinnacleblooms.org/reels

Share This Knowledge — Consistency Multiplies Impact
If only one caregiver implements the protocol, its impact is limited. Consistency across parents, grandparents, teachers, and caregivers multiplies impact exponentially. The scripts below help you communicate your child's needs clearly — without having to explain the neuroscience from scratch every time.
For Grandparents
"[Child's name]'s eyes process light differently. Ordinary light actually causes physical pain — like how a loud noise hurts your ears, but with light. The tinted glasses, hat, and dimmer lights aren't preferences — they're like hearing protection for someone with sensitive hearing. Please help us by keeping the lights soft when [child] visits and letting them wear their glasses and hat. They're not being difficult — they're protecting themselves."
For Teachers
"Dear [Teacher], [Child's name] has a documented visual sensory over-responsivity (light sensitivity). This is neurological, not behavioural. They benefit from: seating away from windows and direct overhead lights; permission to wear tinted glasses and a hat indoors; access to a dimmer space for recovery breaks; and screen brightness and colour settings adjusted. We are happy to provide medical documentation. These accommodations enable learning — without them, the light itself prevents focus."
Reference: WHO CCD Package — Multi-caregiver training | PMC9978394

Your Child Doesn't Have to Suffer in Ordinary Light.
You arrived on this page with a child who was struggling in the light that everyone else takes for granted. You now have 9 evidence-based materials, a 6-step clinical protocol, a safety framework, a progress arc, and an entire community behind you. The next step is simple: begin.
🟧 Start This Technique Today
Launch your first session with the GPT-OS® guided protocol.
📞 Book a Consultation
Connect with a Pinnacle OT specialising in sensory processing.
FREE National Helpline: 9100 181 181 (16+ languages, 24x7)
FREE National Helpline: 9100 181 181 (16+ languages, 24x7)
🔄 Explore Next Technique
Continue your journey → A-059: Visual Clutter Overwhelm
OT
SLP
ABA
SpEd
NeuroDev
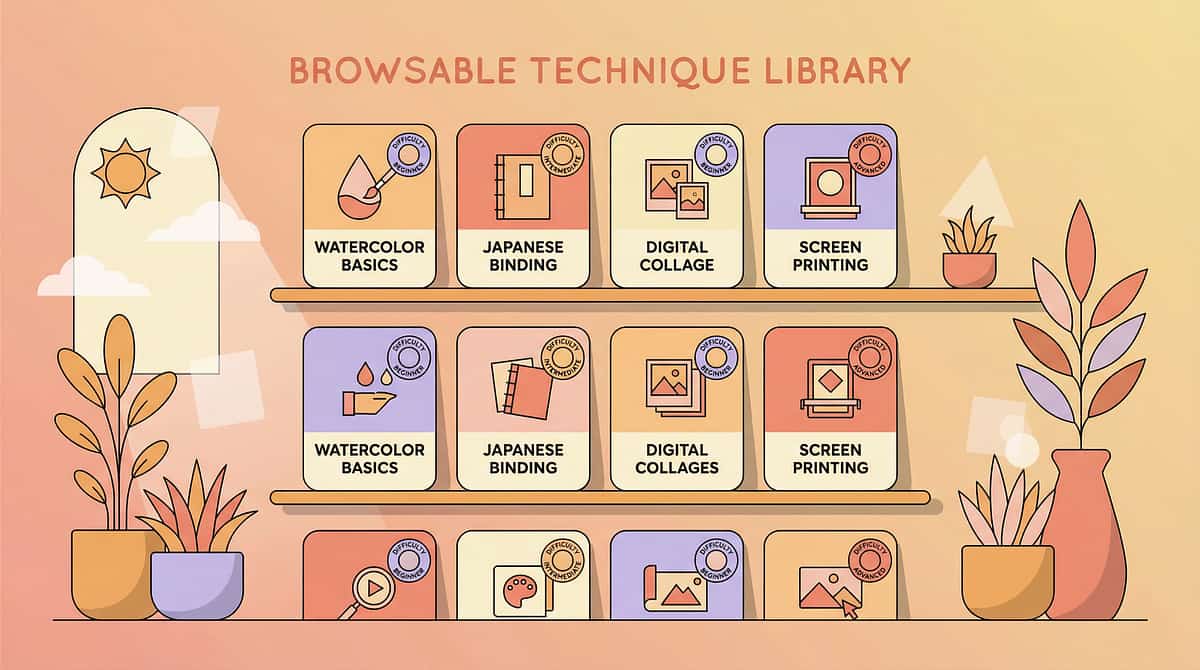
Preview of 9 materials that help with light sensitivity Therapy Material
Below is a visual preview of 9 materials that help with light sensitivity therapy material. The pages shown help educators, therapists, and caregivers understand the structure and content of the resource before use. Materials should be used under appropriate professional guidance.


Link copied!
From Fear to Mastery. One Technique at a Time.
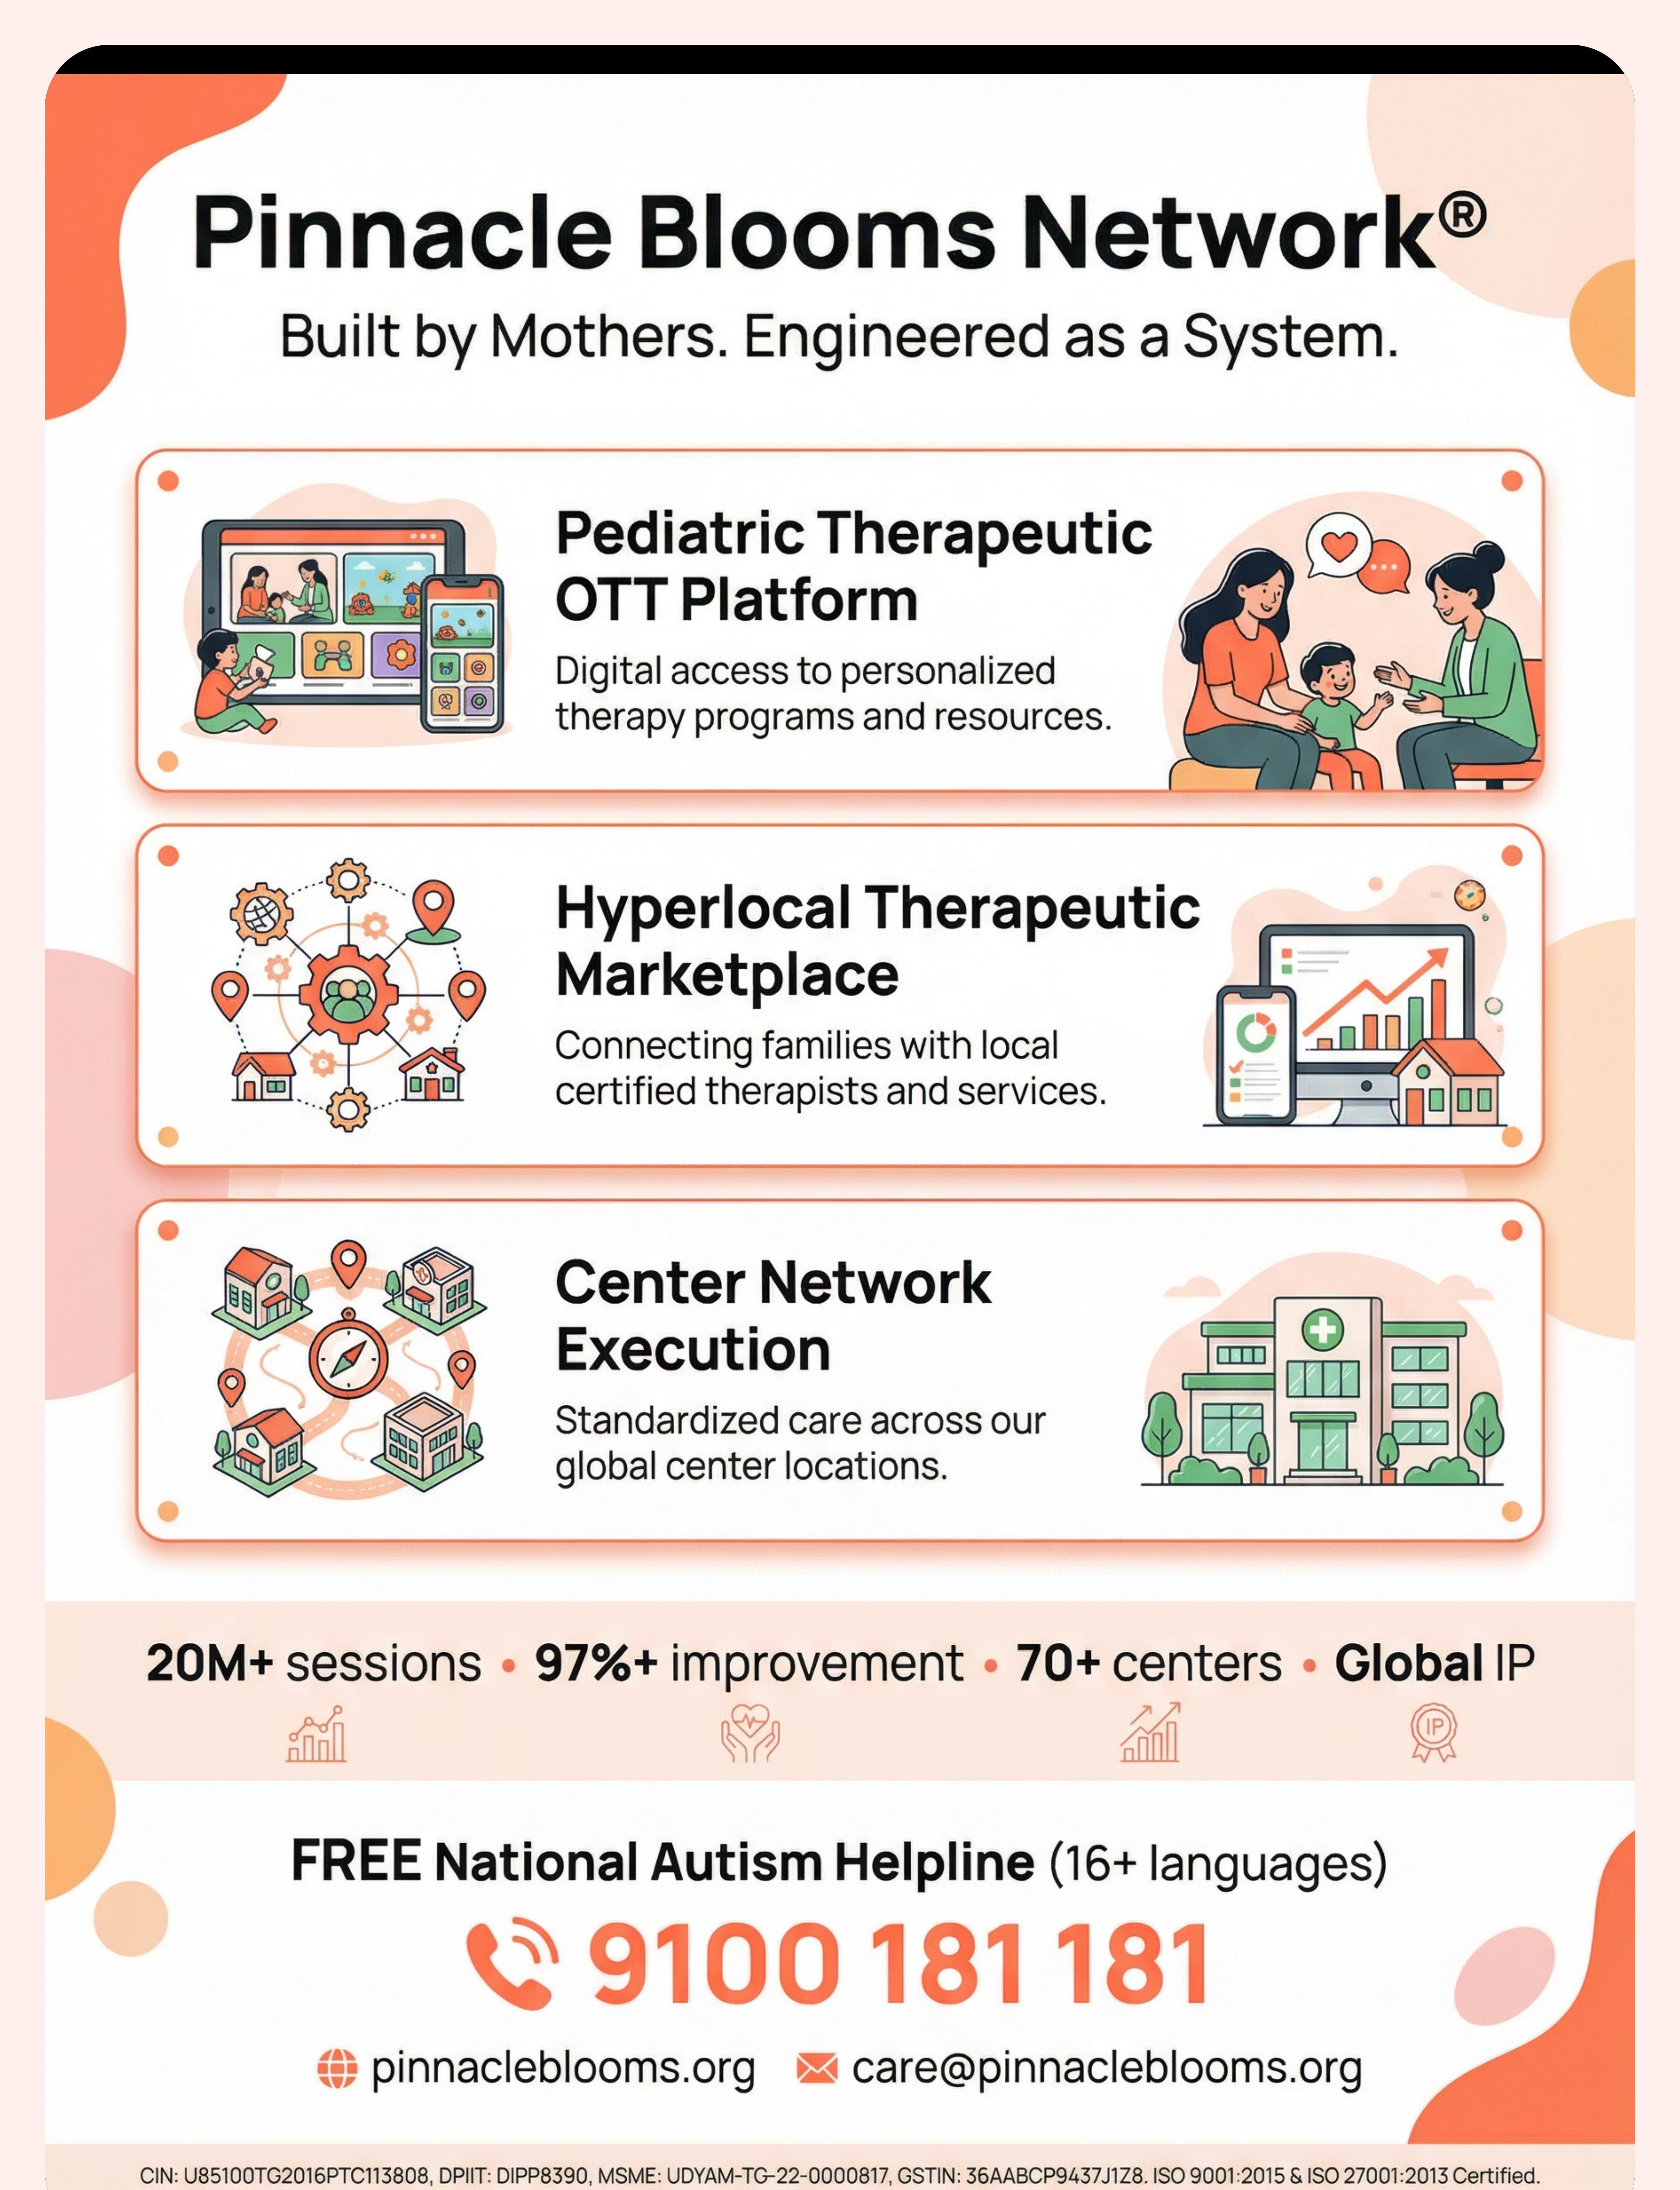
Pinnacle Blooms Network® — Built by Mothers. Engineered as a System.
A parent arrived on this page scared, confused, and exhausted by their child's pain in ordinary light. They leave understanding the neuroscience, equipped with 9 evidence-based materials, confident in a home-executable protocol, and connected to a global community and 70+ centres of professional support.
This is one technique of 70,000+. Each one — 40 cards of evidence-linked, parent-empowering knowledge. The largest structured paediatric intervention knowledge base on Earth.
OT
Occupational Therapy
SLP
Speech-Language Pathology
ABA
Applied Behaviour Analysis
SpEd
Special Education
NeuroDev
NeuroDevelopmental Paediatrics
CRO
Clinical Research Operations
Medical Disclaimer: This content is educational. It does not replace assessment by a licensed optometrist, ophthalmologist, occupational therapist, or healthcare provider. Persistent light sensitivity should be evaluated to rule out underlying medical conditions and identify appropriate interventions. Individual results may vary. Statistics represent aggregate outcomes across the Pinnacle Blooms Network.
Copyright: © 2025 Pinnacle Blooms Network®, unit of Bharath Healthcare Laboratories Pvt. Ltd. All rights reserved.
Statutory Identifiers: CIN: U85100TG2016PTC113808 | DPIIT: DIPP8390 | MSME: UDYAM-TG-22-0000817 | GSTIN: 36AABCP9437J1Z8 | ISO 9001:2015 & ISO 27001:2013 Certified
📞FREE National Autism Helpline: 9100 181 181 (16+ languages, 24x7) | 🌐pinnacleblooms.org | 📧care@pinnacleblooms.org