
When Little Hands Struggle With the Small Movements That Big Independence Requires
It's 7:45 AM. School starts in 20 minutes. She can't button her shirt. Her grip on the pencil is all wrong — again. Her artwork looks like it was drawn by a fist, not a hand. Last week her teacher mentioned "fine motor concerns." This morning she looked up at you and said, "I can't do it, Mama."
You are not failing. Your child's hands are developing — and with the right materials, they will get there.
L-981
Motor Development
OT • SLP • ABA • SpEd • NeuroDev
You Are Among Millions of Families Navigating This
The challenge you're observing in your child is real, measurable, and — critically — responsive to intervention. Fine motor delays are among the most common and most underaddressed developmental differences in early childhood worldwide.
42–47%
Show Motor Delays
Of children with developmental differences display clinically significant fine motor delays
80%
ASD & Hand Function
Of children diagnosed with ASD display sensory-motor processing difficulties affecting hand function
1 in 36
ASD in India
Children in India are diagnosed with ASD — fine motor difficulty is among the top 3 presenting challenges
53M
Children Globally
Estimated children under age 8 have developmental coordination difficulties including fine motor delays
"You are not alone in this. What you're observing is real, measurable, and — critically — responsive to intervention." — Pinnacle Blooms Consortium, OT Division

What's Actually Happening in Your Child's Hands and Brain
The Clinical Pathway
Somatosensory Cortex — processes touch and pressure signals from fingertips
Cerebellum — coordinates timing and precision of hand movements
Premotor Cortex — plans the sequence of finger movements
Basal Ganglia — automates learned motor patterns
When any part of this chain is underdeveloped, information doesn't flow smoothly — resulting in immature grasps, weak intrinsic hand muscles, and poor visual-motor coordination.
In Plain Parent Language
Think of it like this: your child's brain is sending hand commands through a partially-built highway. The destination is right — hold the pencil, button the shirt — but the road isn't fully paved yet.
Fine motor difficulty is NOT:
- Laziness or stubbornness
- A reflection of intelligence
- Your parenting
Fine motor difficulty IS:
- A neurodevelopmental difference in motor pathway maturation
- Highly responsive to structured, material-based practice
- Something 70+ Pinnacle centers have helped thousands of children navigate

The Fine Motor Development Timeline — Where Is Your Child?
Fine motor development is experience-dependent — skills build through structured practice. Children with ASD, DCD, hypotonia, or sensory processing differences frequently show delays across this timeline but progress measurably with appropriate intervention.
1
6–9 Months
Palmar Grasp — whole-hand contact with objects
2
12–18 Months
Pincer Grasp emerging — thumb and index finger beginning to work together
3
2–3 Years
Scribbling with control — intentional marks, beginning tool use
4
3–5 Years
Drawing and Cutting — copying circles, beginning scissor use
5
5–7 Years
Handwriting — mature tripod pencil grasp, writes own name
Age | Typical Milestone | What Delay Looks Like | |
12–18 months | Pincer grasp emerging | Still using whole-fist grab for everything | |
2–3 years | Scribbles with control | Random marks, avoids crayons | |
3–5 years | Copies circles, uses scissors | Can't hold scissors, lines wobble badly | |
5–7 years | Mature tripod pencil grasp | Fisted or awkward grip, fatigues in 2 minutes |

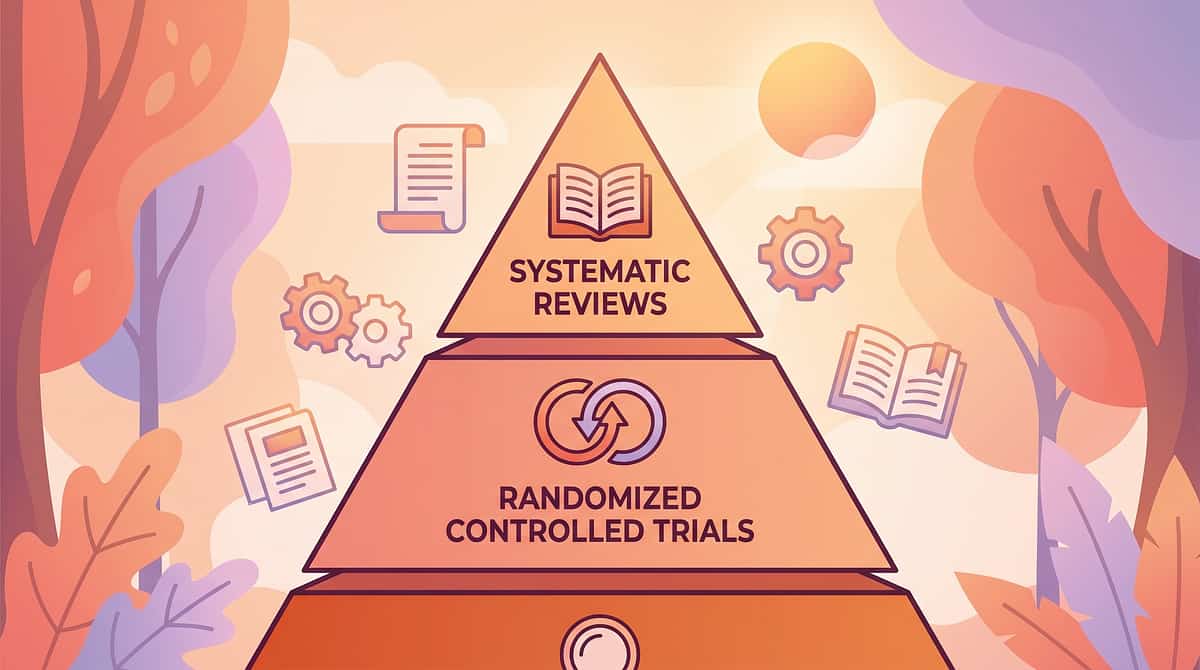
The Evidence Grade for Materials-Based Fine Motor Intervention
LEVEL I EVIDENCE
Systematic Review + RCT Supported
Every material and technique in this protocol is grounded in peer-reviewed, clinically validated research. This is not guesswork — it is one of the most evidence-supported approaches in pediatric occupational therapy today.
Study | Finding | Reference | |
PRISMA Systematic Review (2024) | 16 studies confirm sensory-motor materials intervention is evidence-based practice for ASD | PMC11506176 | |
Meta-Analysis, World J Clin Cases (2024) | 24 studies: therapy putty, manipulation tools, and structured motor activities effectively promote fine motor and adaptive skills | PMC10955541 | |
Indian RCT, Padmanabha et al. (2019) | Home-based sensory-motor intervention showed significant measurable improvement in Indian pediatric populations | DOI: 10.1007/s12098-018-2747-4 | |
WHO CCD Package (2023) | Caregiver-administered structured activity with materials is evidence-based across 54 countries | PMC9978394 | |
NCAEP (2020) | Video modeling + structured material practice classified as evidence-based practice for ASD | NCAEP 2020 Report |
d=0.58–0.89
Effect Size
Medium to Large effect sizes across fine motor outcomes in ASD and developmental delay populations
20M+
Sessions
Exclusive 1:1 sessions across 70+ centers — India's largest real-world evidence base for materials-based pediatric OT
"Clinically validated. Home-applicable. Parent-proven."
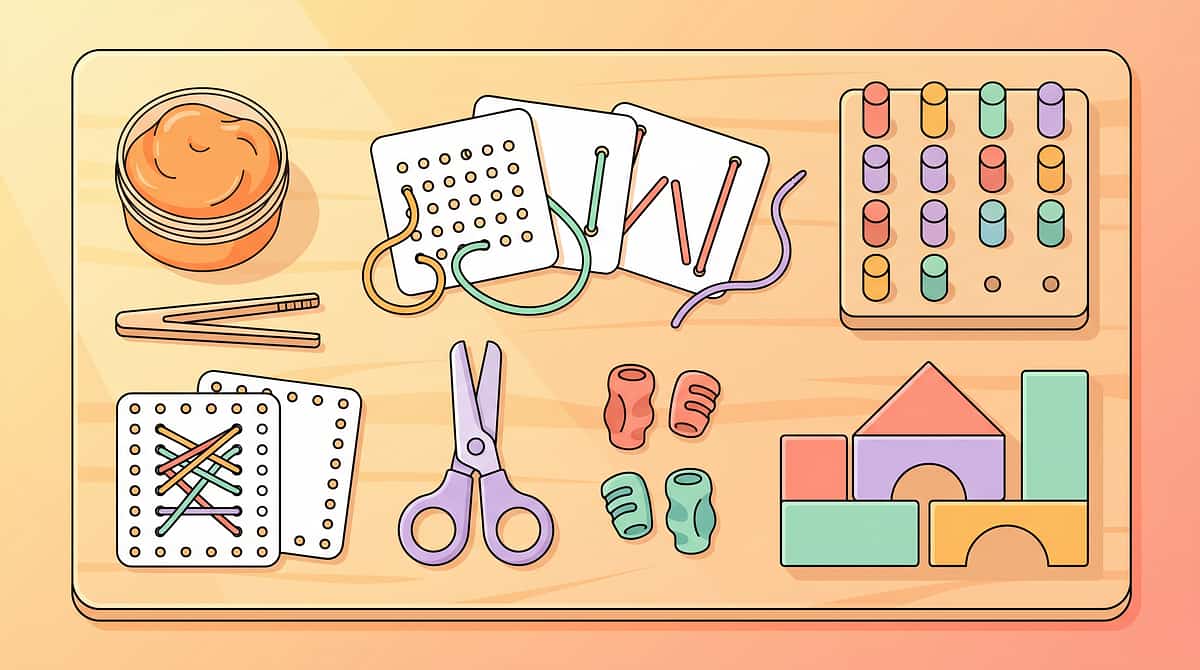
9 Materials That Help With Fine Motor Development
Formal Name: Materials-Based Fine Motor Development Protocol | Parent-Friendly Alias:The Strong Hands Programme
Fine motor development is the systematic strengthening and coordination of the small muscles of the hand, fingers, and wrist — integrated with visual-motor precision, bilateral coordination, and motor planning — to enable the skilled hand use that daily independence requires. This technique series introduces 9 clinically-validated therapy materials that each address a distinct component of fine motor function.
1
🟢 OT-FM
Occupational Therapy — Fine Motor
2
🔵 Grasp & Strength
Pincer grasp · Hand strength · Bilateral coordination
3
🟡 Function
Pre-writing · Scissor skills · Self-care independence
4
🟠 Integration
Visual-motor integration · In-hand manipulation
Age Range
2–8 years (primary) | Adaptable for older children with delays
Duration
10–15 minutes per session, daily
Frequency
5–7 days per week | Daily practice
Technique ID
L-981 | Series: Motor Development | Episode 981

The Pinnacle Consortium Disciplines Behind This Protocol
Fine motor development crosses therapy boundaries — because the brain doesn't organize by therapy type. Each discipline in the Pinnacle consortium contributes a distinct, essential layer to this protocol.
🟢 Occupational Therapist — PRIMARY LEAD
Designs the material progression, assesses grasp patterns, prescribes the specific resistance level for therapy putty, and guides the wrist position and shoulder stability sequence. OT owns the fine motor treatment plan.
🔵 Behavior Analyst (BCBA)
Structures the reinforcement schedule that makes material engagement sustainable. Provides prompting hierarchies for children who resist fine motor tasks. Tracks data across sessions using GPT-OS® behavioral protocols.
🟡 Special Educator
Bridges fine motor skill development to classroom readiness — handwriting, managing materials, classroom independence. Aligns home programme with school IEP targets.
🟠 Speech-Language Pathologist
Integrates oral motor work (which shares neural pathways with fine motor control) and uses manipulation materials to build attention and sitting tolerance for communication sessions.
🔴 NeuroDev Pediatrician
Rules out underlying conditions (hypotonia, DCD, joint hypermobility) that require specific material adaptations. Monitors for regression. Clears the child medically before initiating the protocol.
Precision Targets — What Each Layer of Practice Builds
The 9 materials don't all target the same skill. Each one builds a different layer of the hand's functional system — from foundational strength to complex, real-world independence.
Material | Primary Target | |
Therapy Putty | Hand strength + intrinsic muscles | |
Tweezers & Tongs | Pincer grasp isolation | |
Lacing Cards | Bilateral coordination + threading | |
Training Scissors | Cutting skill + bilateral hand separation | |
Pencil Grips | Grasp pattern + fatigue reduction | |
Pegboards | Precision placement + controlled release | |
Dressing Frames | Fastener skills + self-care | |
Building Toys | Construction strength + bilateral coordination | |
Vertical Surfaces | Wrist extension + shoulder stability |
Material 1: Therapy Putty
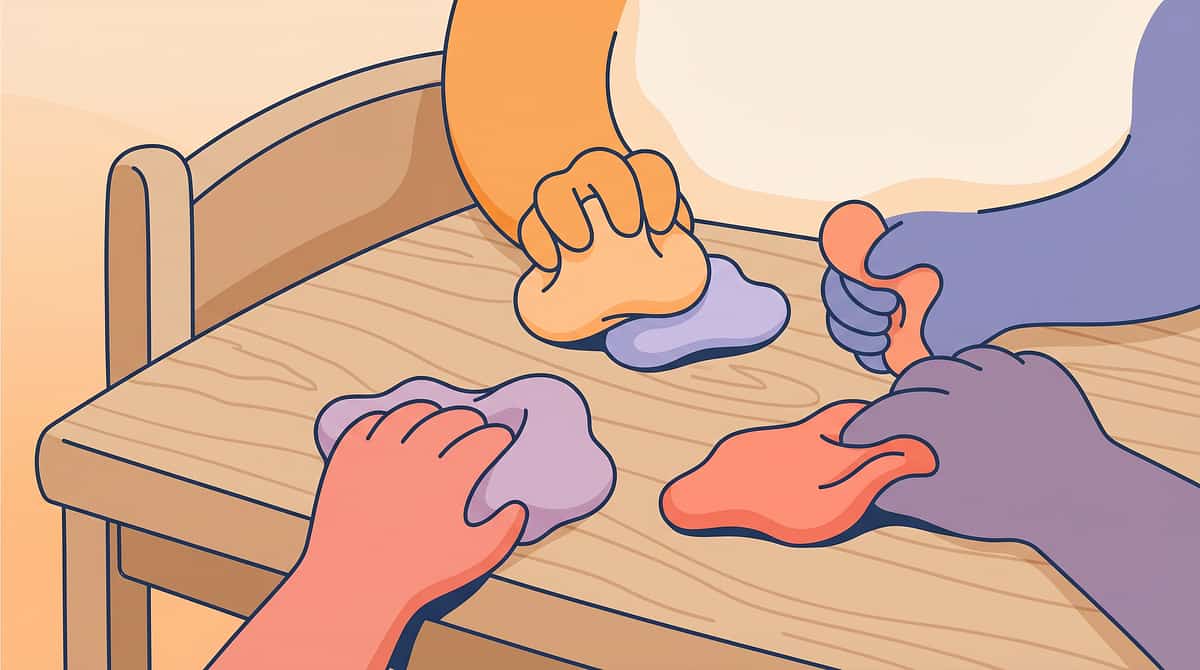
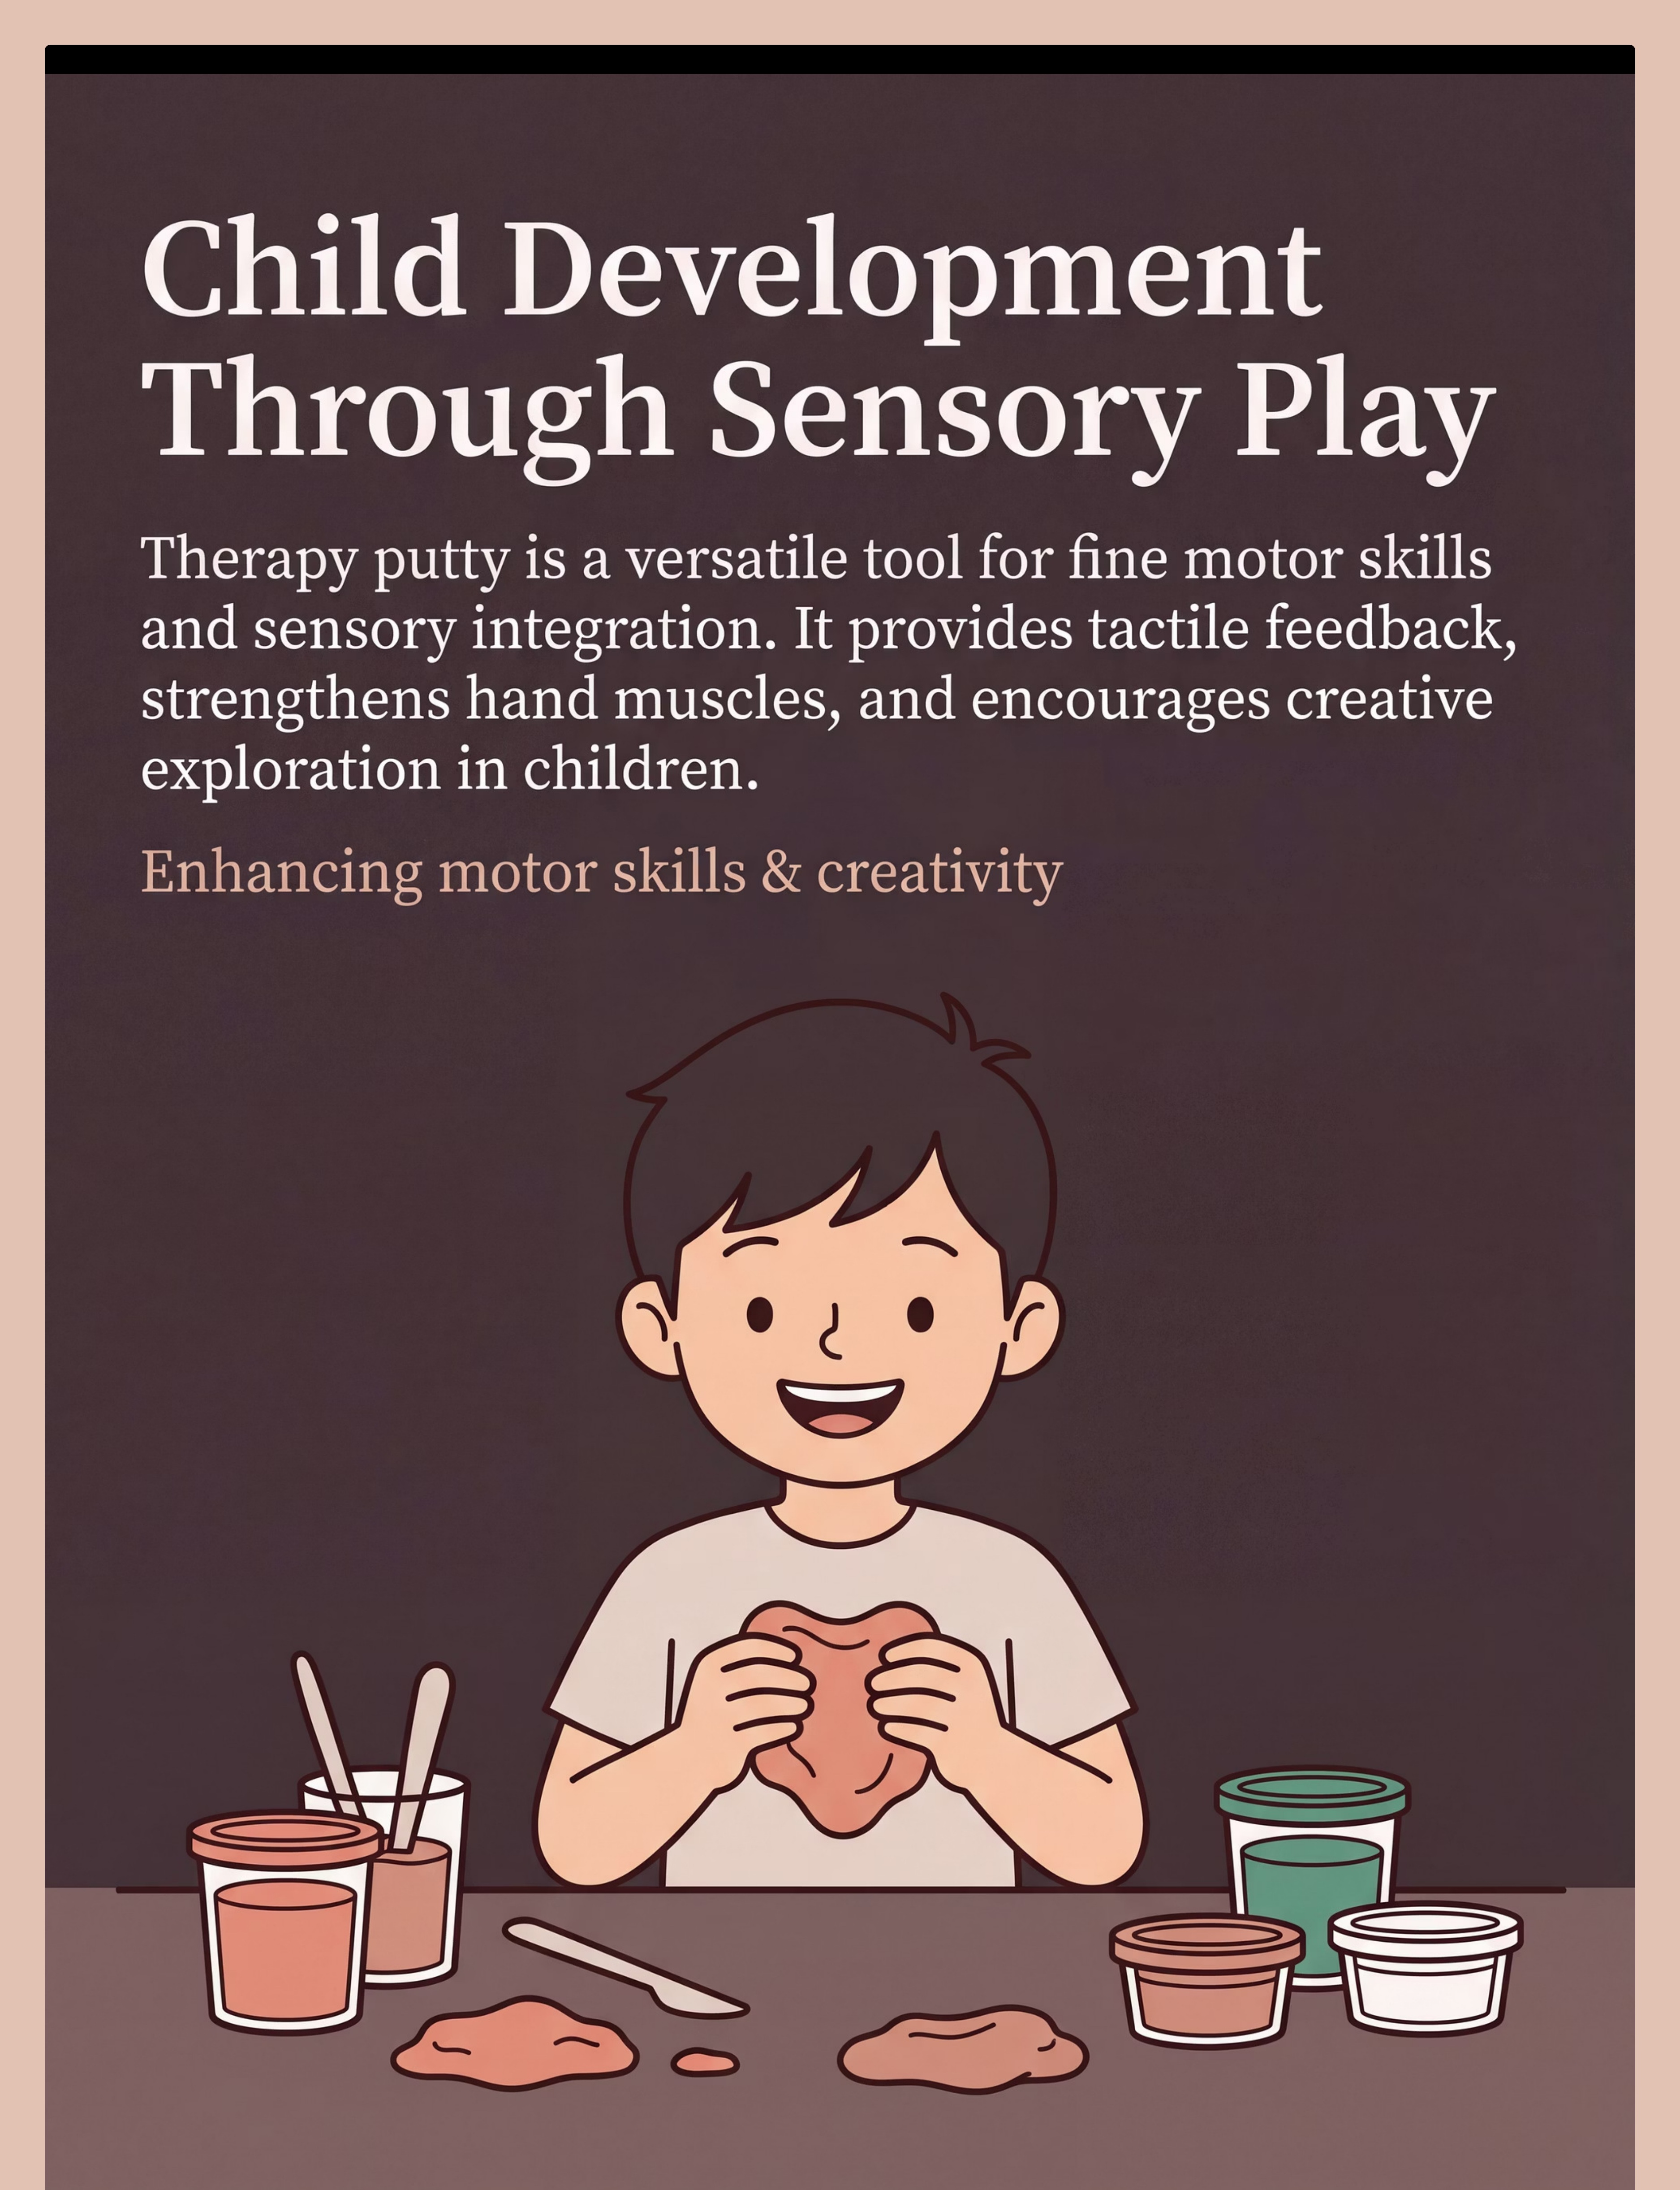
A graded-resistance silicone compound for hand strengthening through pinching, pulling, squeezing, and rolling. Therapy putty is the single most versatile fine motor tool — it targets intrinsic hand muscles with every squeeze, and keeps children engaged through hide-and-find play. This is the cornerstone of the Strong Hands Programme.
How to Use
- Squeeze, pinch, pull, and roll the putty
- Hide small coins or beads inside for "treasure hunt" motivation
- Make snakes, balls, and flat pancakes to vary the movement pattern
- Start with medium resistance; progress to firm over 4–6 weeks
Sourcing & Cost
Price: ₹250–800 | Graded set (3 resistances) ₹600–1,200
🛒 Search on Amazon.in: "therapy putty set graded resistance children"
⭐Pinnacle Recommends: Medium resistance starter; progress to firm over 4–6 weeks
DIY Substitute: Homemade playdough (add extra flour for resistance) + knead a rubber stress ball. Same resistance and proprioceptive principle.
Material 2: Tweezers & Tongs Set
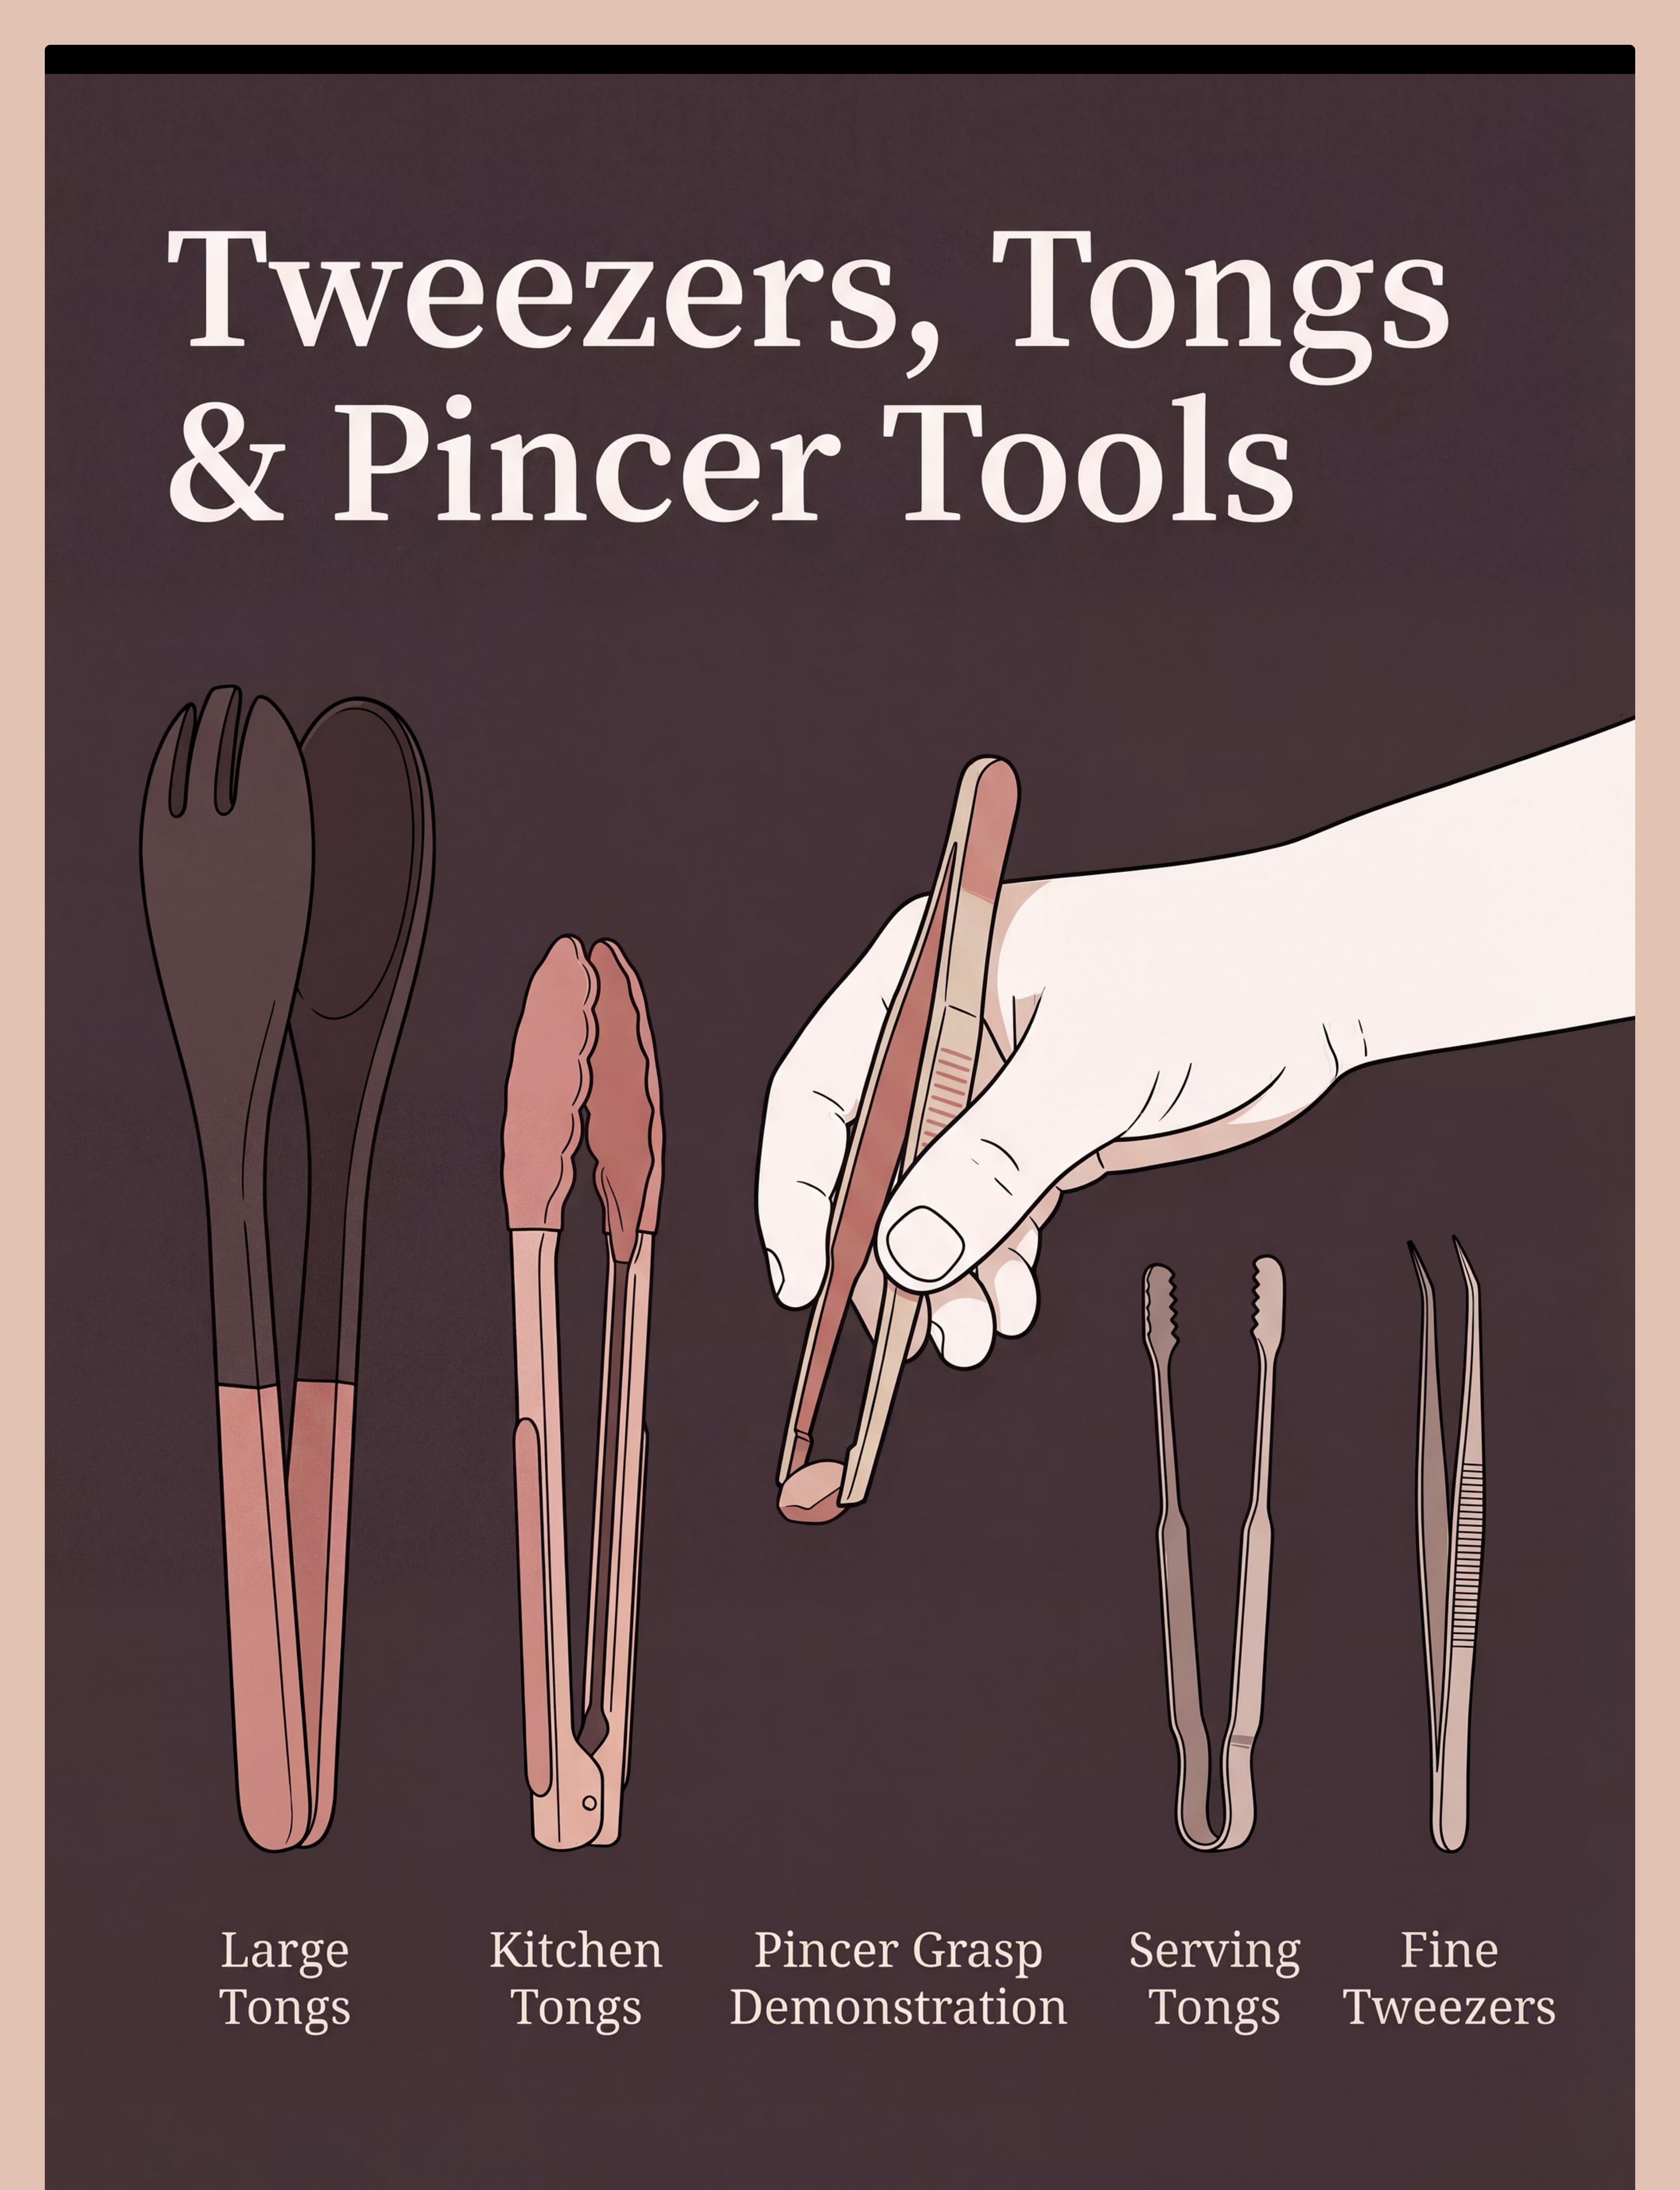
A graduated tool set from large salad tongs to fine-tip tweezers, paired with pom-poms and sorting containers. Tweezers and tongs are the gold-standard tool for isolating and strengthening the pincer grasp — the same thumb-and-index-finger movement that will one day hold a pencil. The colour-sort game keeps children motivated through the entire session window.
How to Use
- Set up a simple colour-sort: large pom-poms to begin
- Keep target container close — reduce distance as precision improves
- Progress from large plastic tweezers → spring-loaded tweezers → fine-tip tweezers
- Add a timer for motivation: "Can you move 10 before the sand runs out?"
Sourcing & Cost
Price: ₹150–600
🛒 Search on Amazon.in: "children tweezers tongs fine motor set pom pom"
⭐Pinnacle Recommends: Start with large plastic tweezers + large pom-poms
DIY Substitute: Kitchen tongs · Salad servers · Clothespins. Same pincer isolation mechanism at zero cost.
Material 3: Lacing Cards
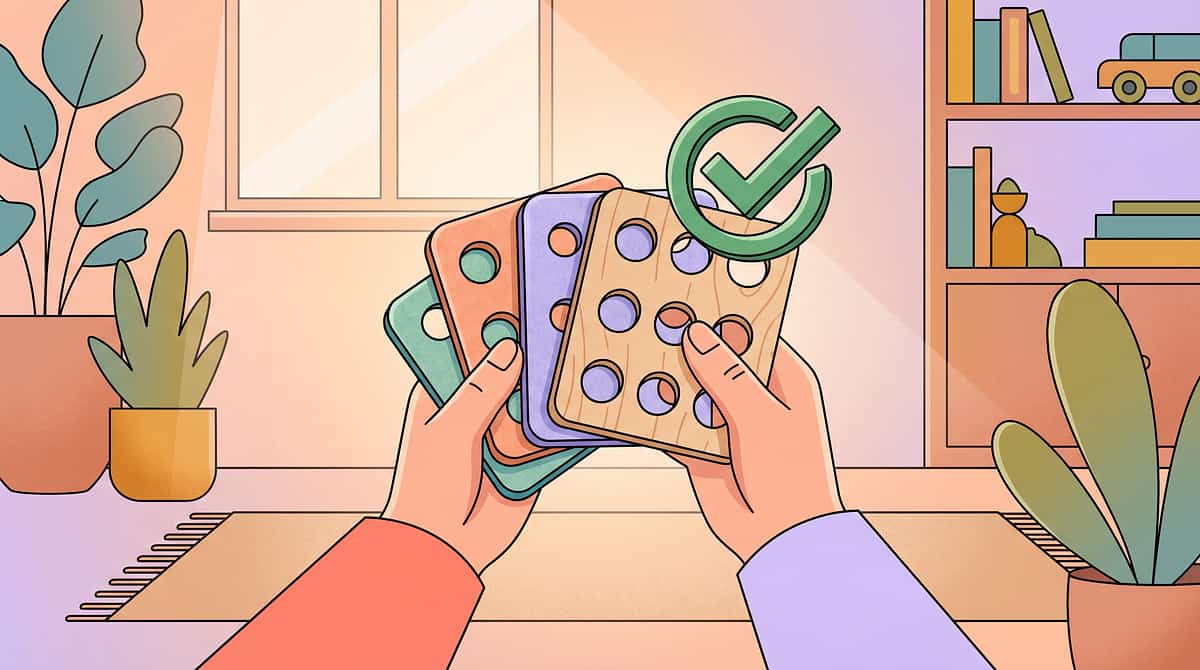
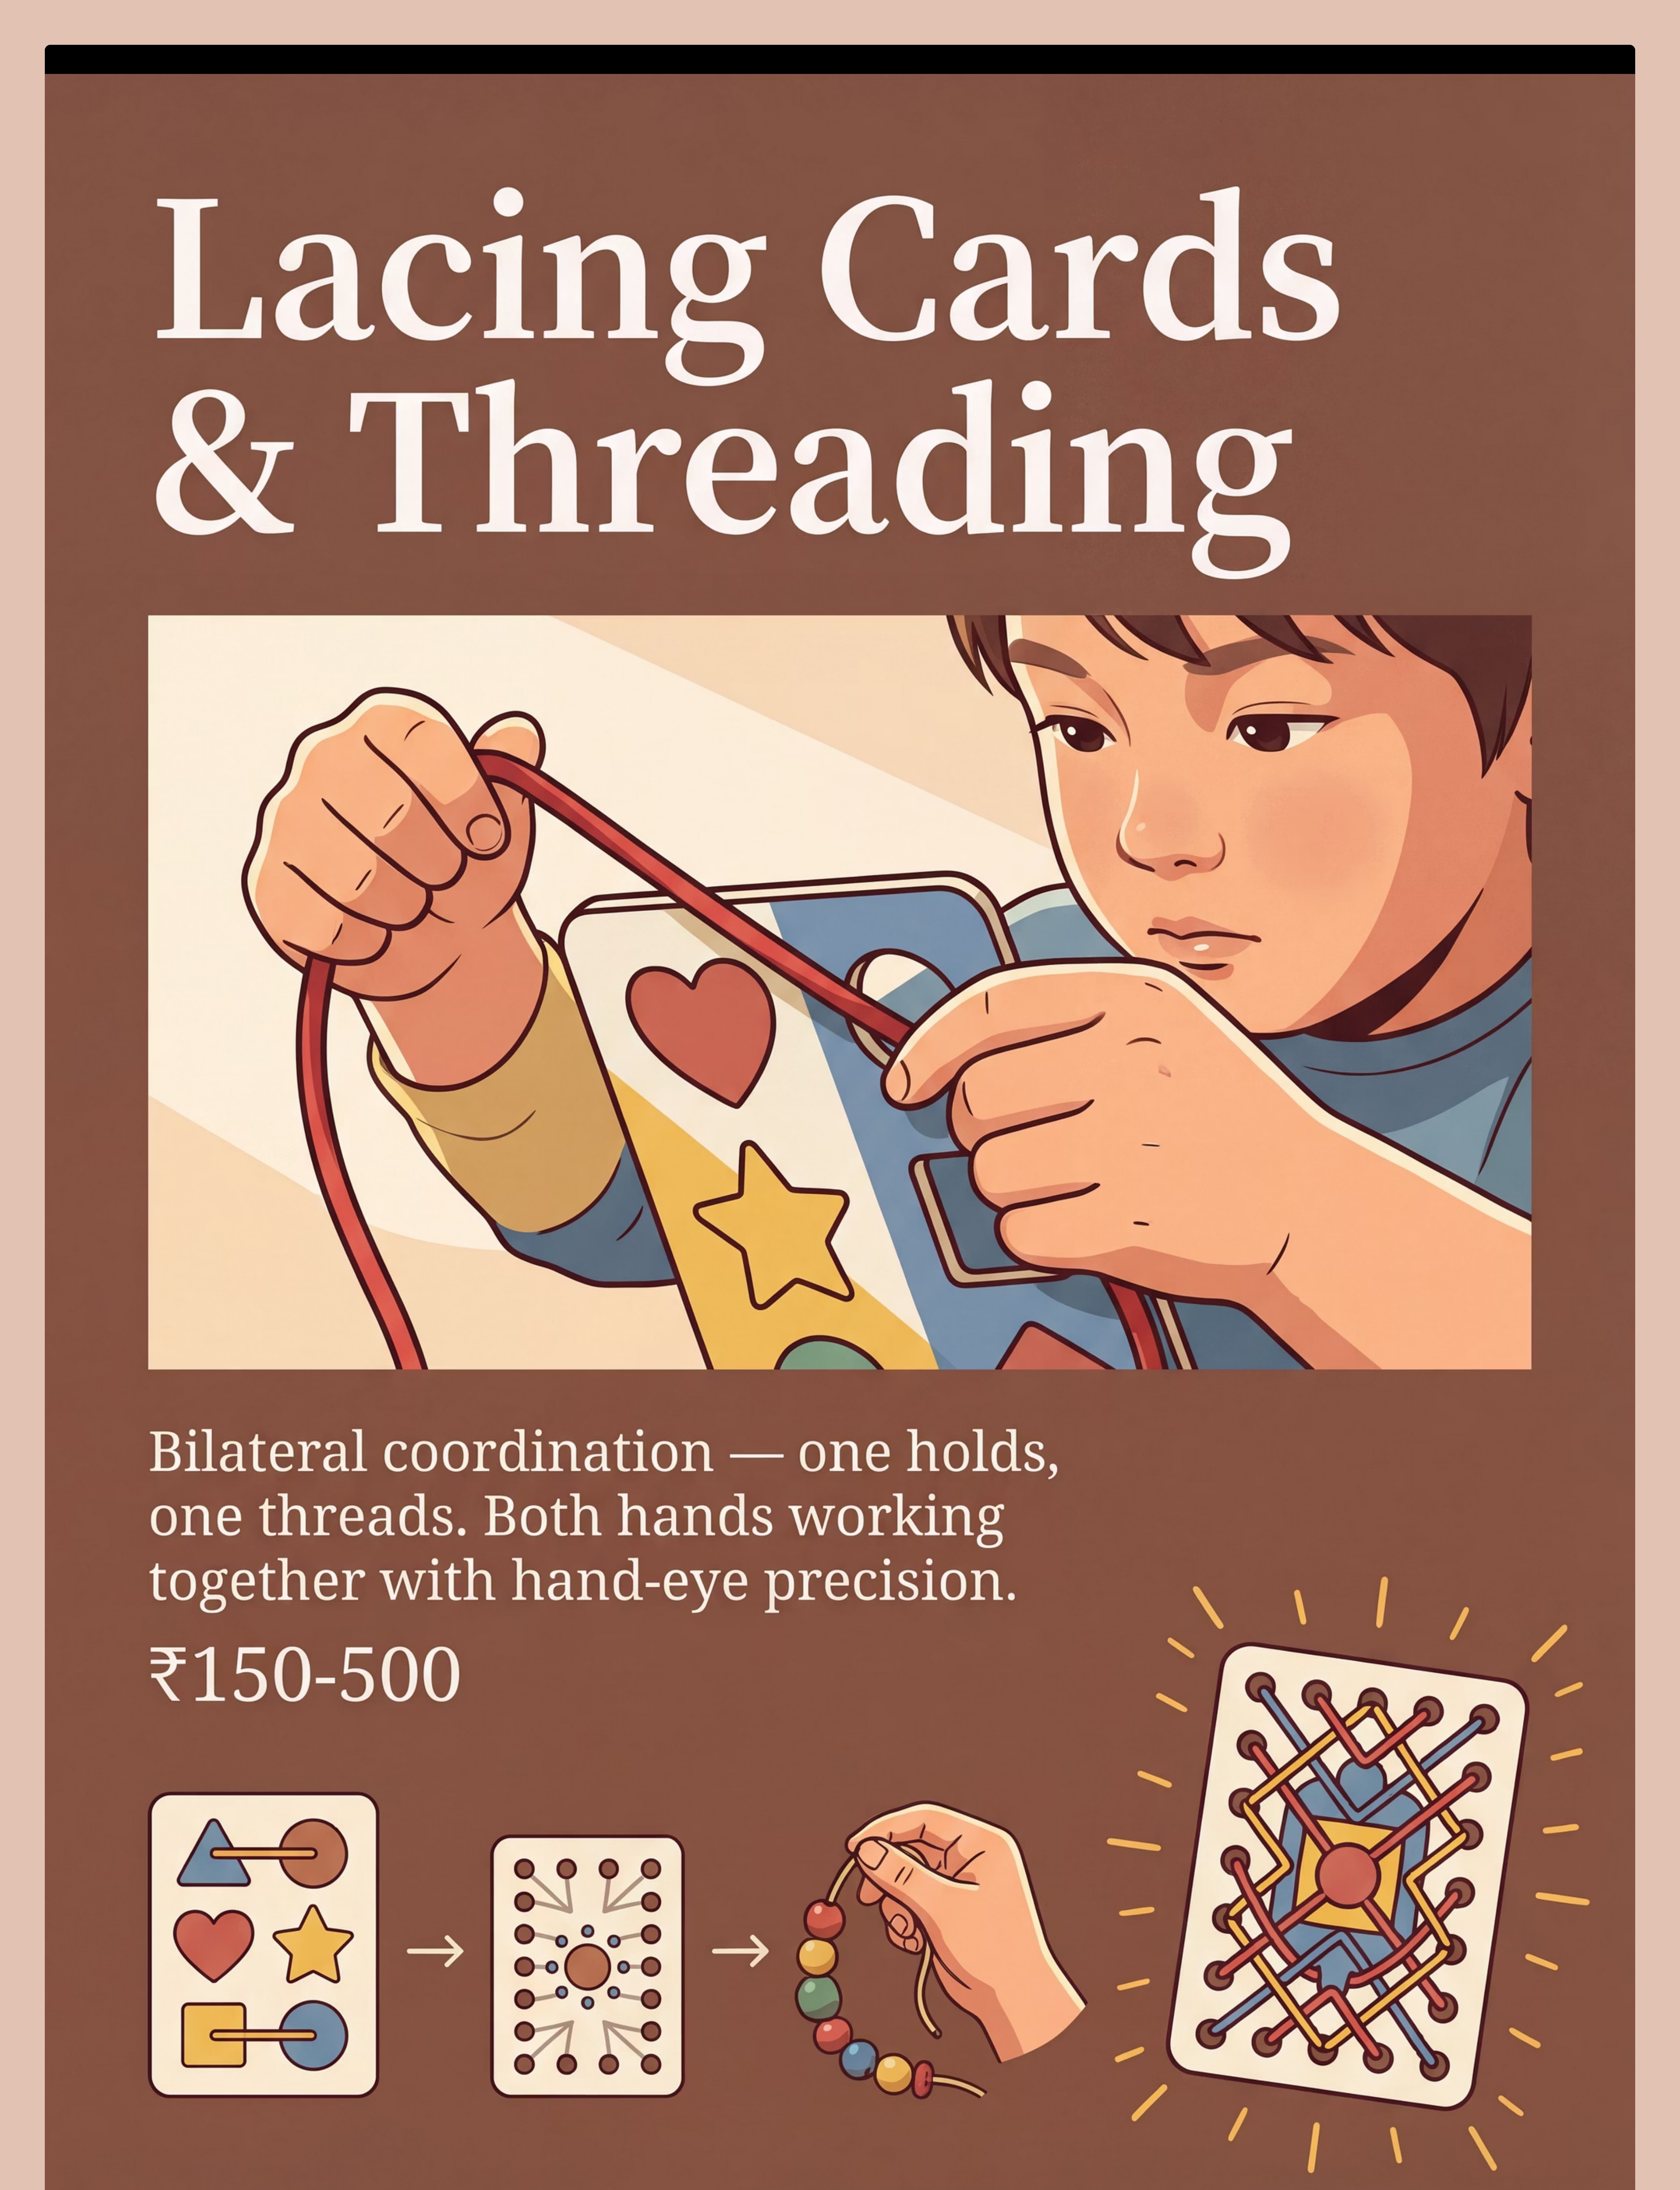
Thick cardboard shapes with large holes and stiffened lacing cords — the definitive bilateral coordination tool. Lacing requires the child to use both hands simultaneously in different roles: one hand holds and stabilizes (the "helper hand"), while the other threads and pulls (the "worker hand"). This two-handed teamwork directly mirrors the hand coordination needed for dressing, scissors, and writing.
How to Use
- Start with large-hole animal shapes for maximum initial success
- Guide the first insertion if needed — "like a snake going through a tunnel"
- Progress to bead stringing for additional fine-tip precision challenge
- Count the holes together for a math integration bonus
Sourcing & Cost
Price: ₹150–500
🛒 Search on Amazon.in: "wooden lacing cards threading children occupational therapy"
⭐Pinnacle Recommends: Large-hole animal shapes for initial engagement
DIY Substitute: Cardboard cut from a cereal box + hole punch + shoelace. Identical threading biomechanics at zero cost.
Material 4: Training Scissors
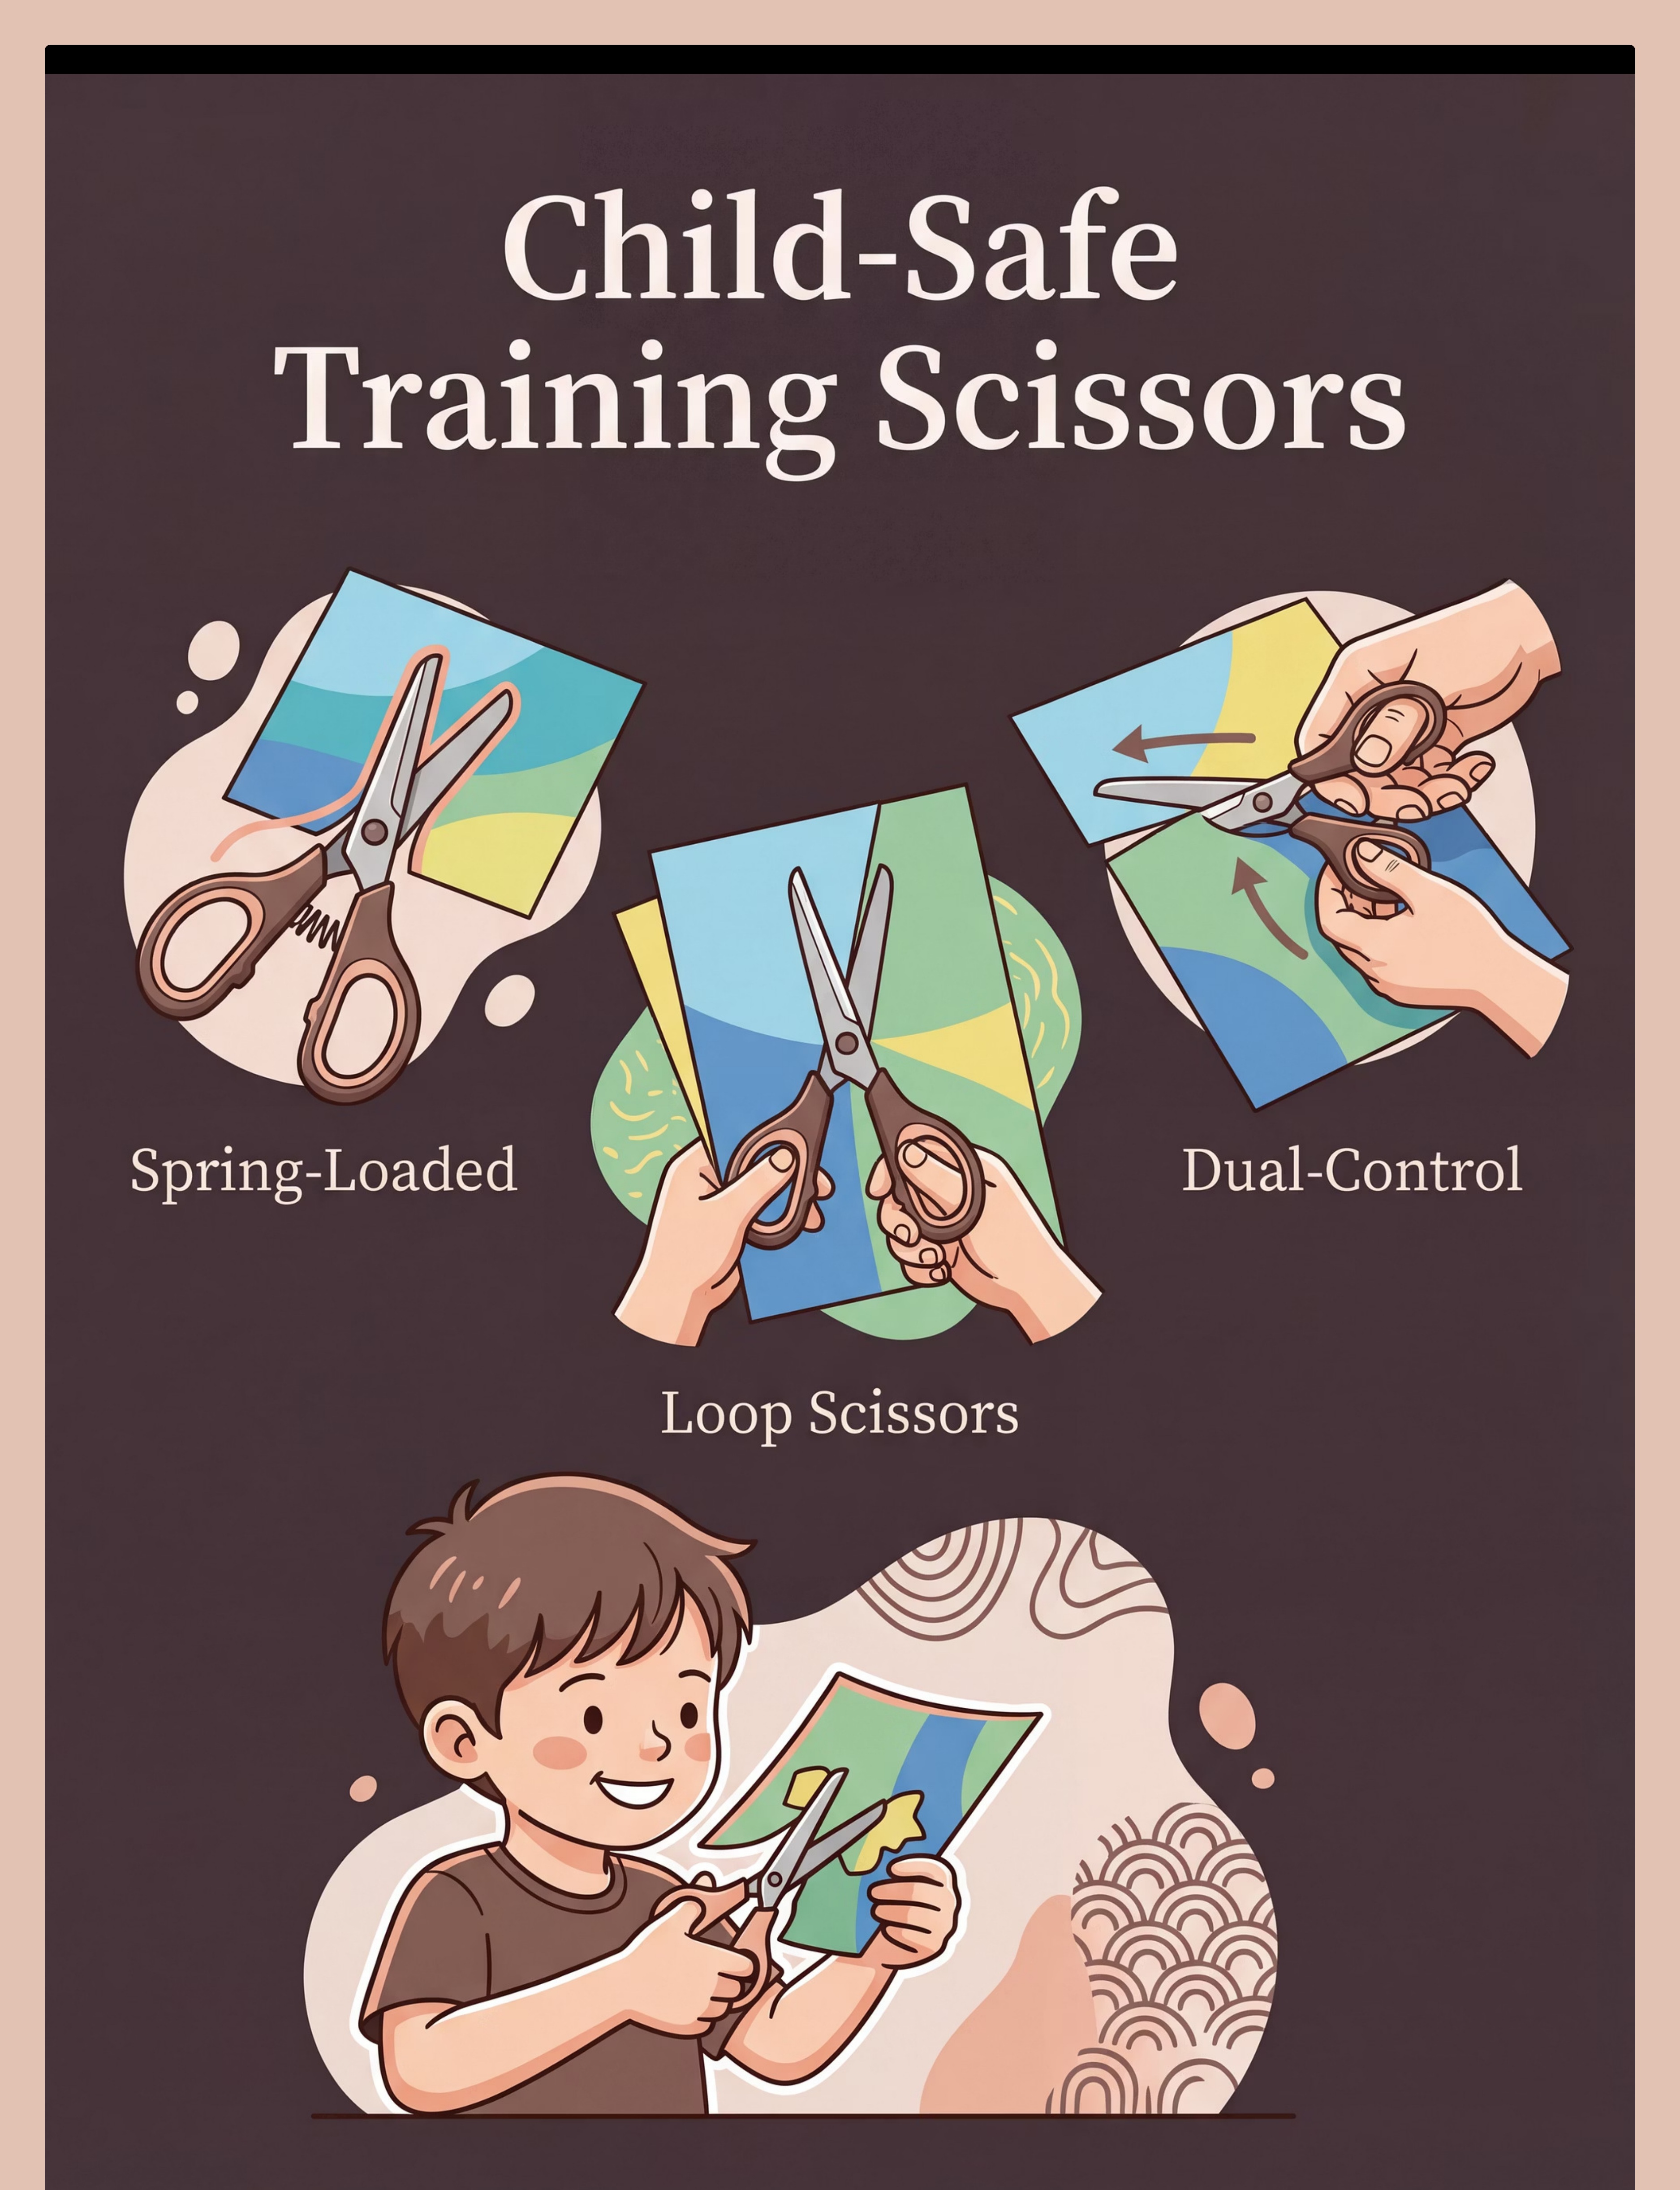
Spring-loaded self-opening or loop scissors that support the cutting motion while developing skill. Standard scissors demand that the child open AND close the blades — a two-part motor demand. Training scissors remove the "open" demand, allowing the child to focus entirely on the closing (cutting) motion. Once that pattern is established, the spring is removed. This is the correct clinical progression for scissor skill development.
How to Use
- Start with snipping — single cuts only on narrow cardstock strips ("make confetti!")
- Ensure "thumbs up" wrist position — thumb facing ceiling
- Progress: snipping → cutting across a strip → cutting along a straight line → curves
- Use cardstock (stiffer paper) — it's significantly easier to cut than copy paper
Sourcing & Cost
Price: ₹200–700
🛒 Search on Amazon.in: "training scissors spring loaded children occupational therapy"
⭐Pinnacle Recommends: Spring-loaded self-opening scissors as the starter
Safety Note: Even child-safe scissors cut skin. Establish this rule: sit while cutting, cut away from body, hand scissors handle-first.
Material 5: Pencil Grips
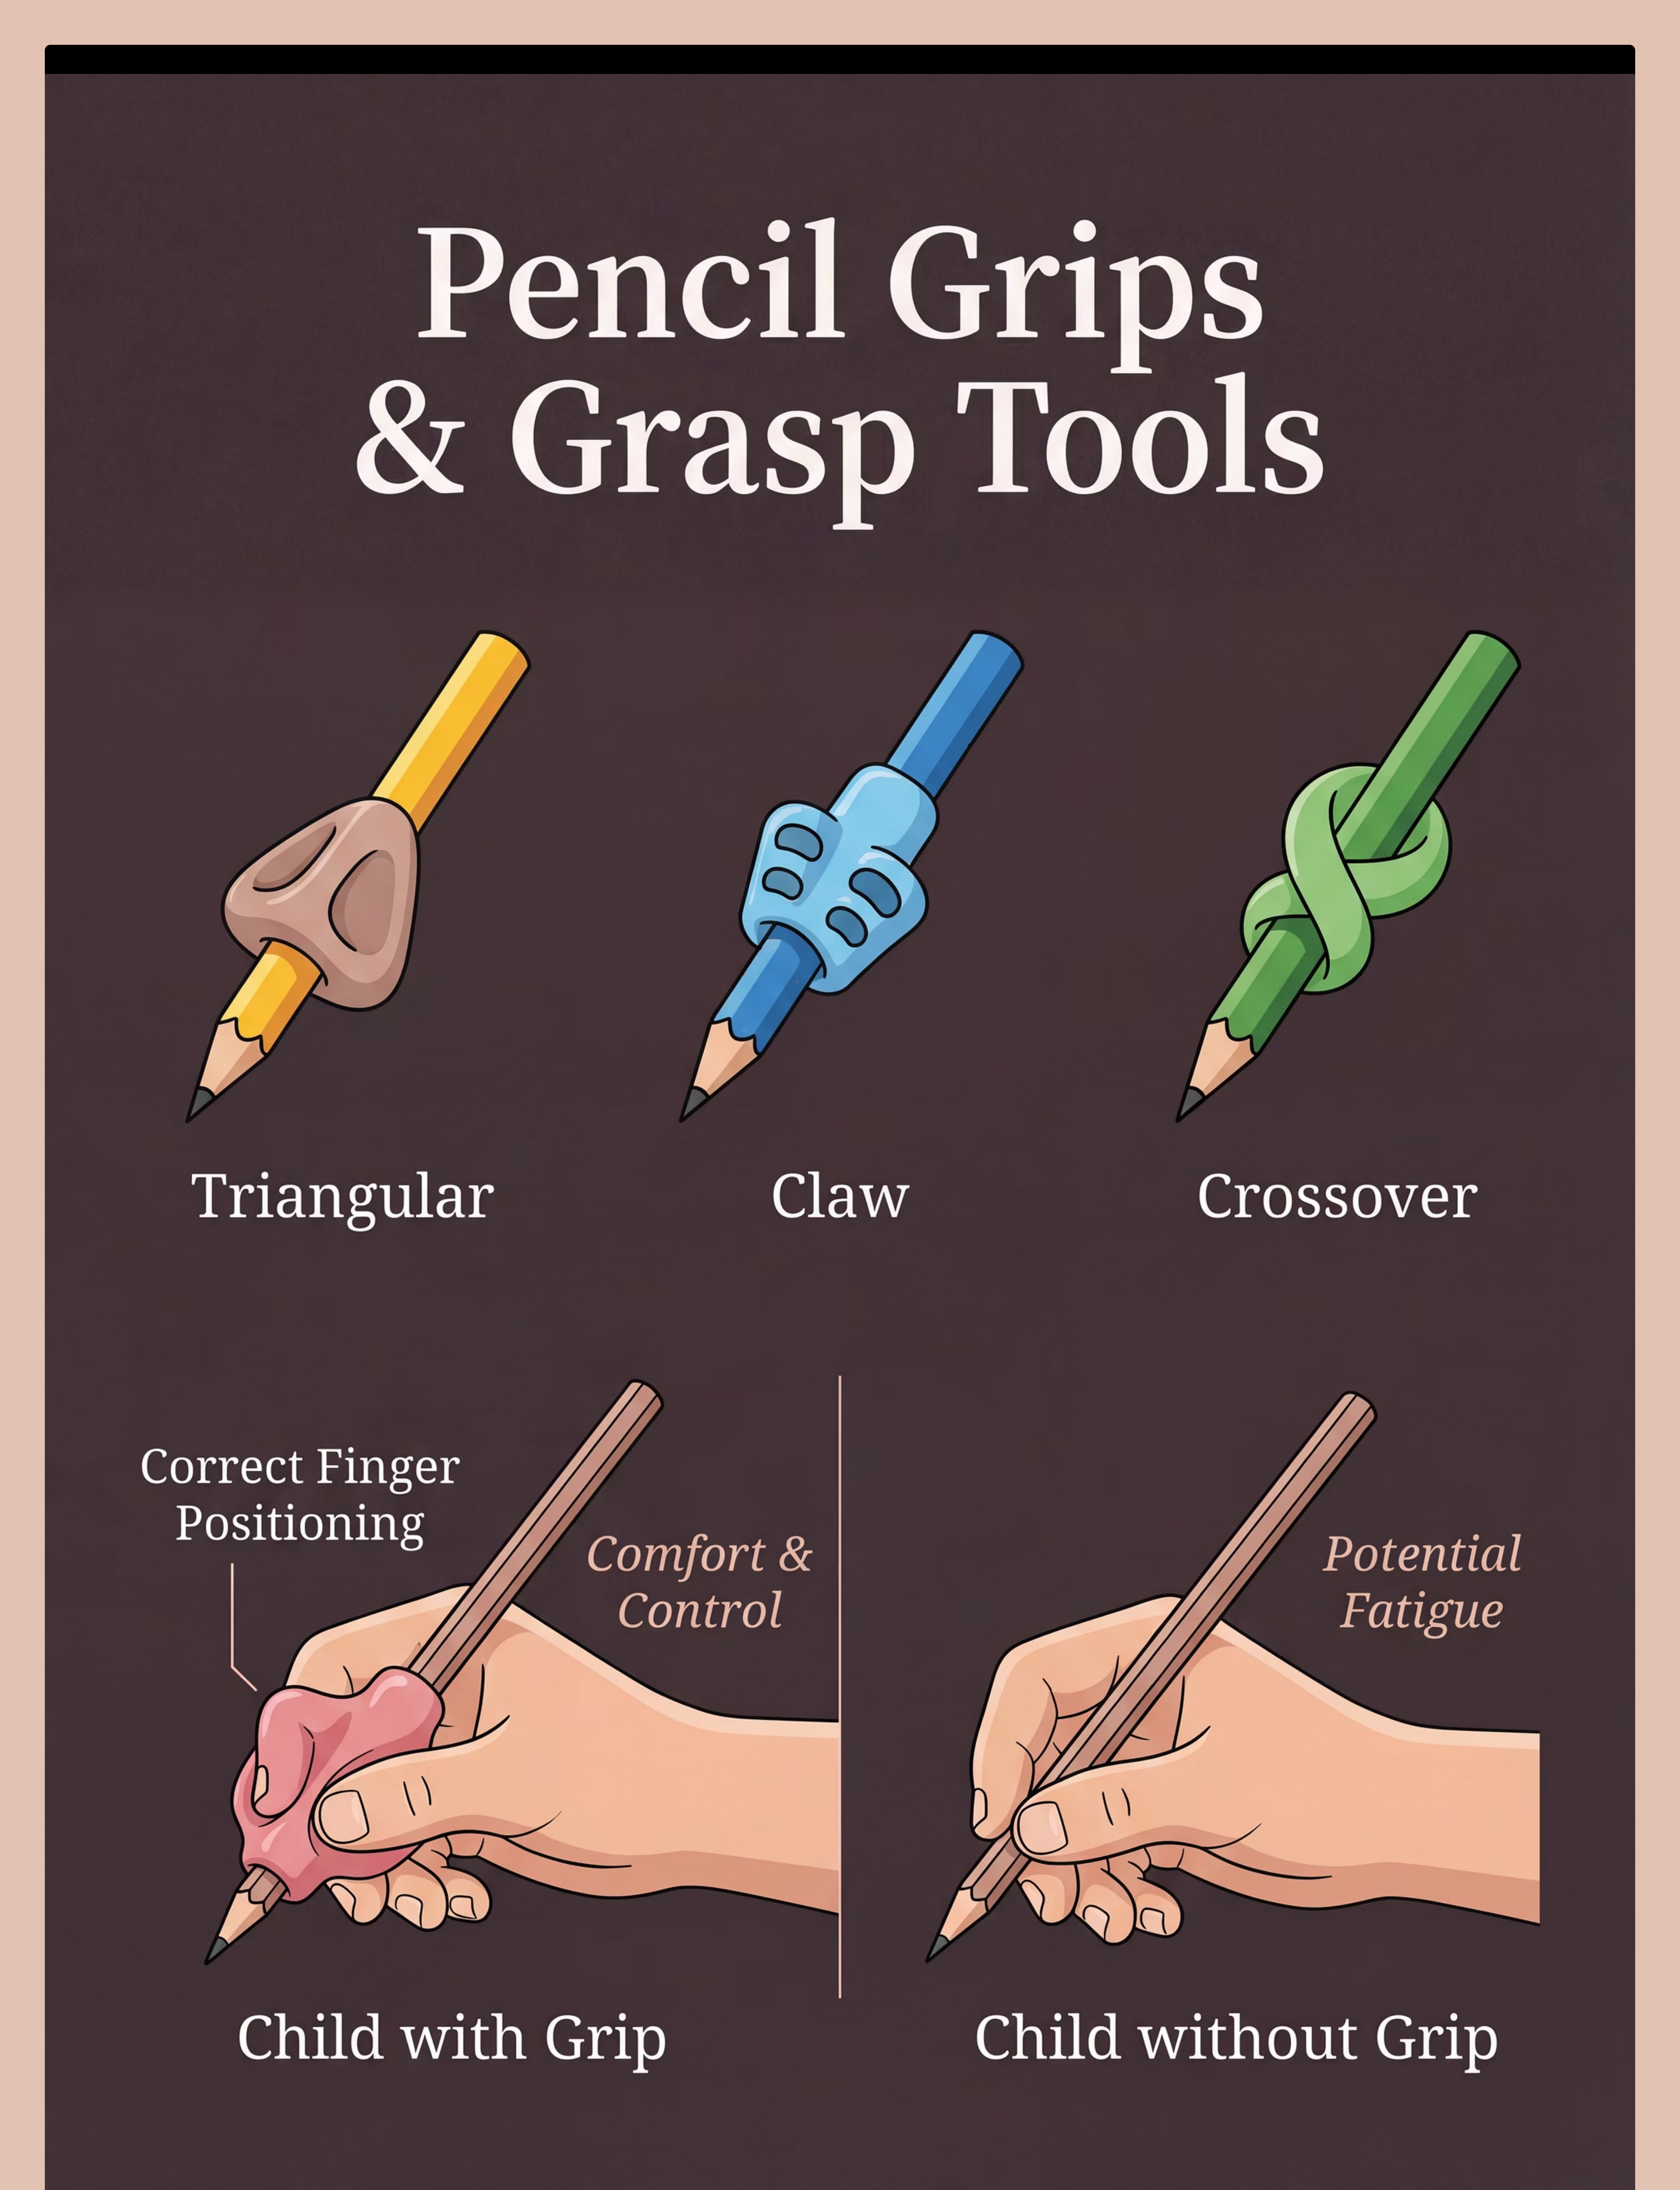
Triangular, crossover, or claw-style grips that position fingers in functional grasp patterns. Pencil grips do something subtle and powerful: they physically position the fingers correctly, so the child's hand learns what "right" feels like. Over days and weeks, that position becomes automatic — and the grip eventually no longer needs the physical prompt. This is muscle memory being built one tracing at a time.
How to Use
- Place the grip — don't discuss the grip. Redirect immediately to the drawing task
- Start with large, loose drawing tasks (circles, wavy lines) before structured writing
- Triangular grip is the starter; move to claw or grotto grip for more support if needed
- Broken crayons (short pieces) force fingertip positioning naturally — a free alternative
Sourcing & Cost
Price: ₹100–500 (set of 6)
🛒 Search on Amazon.in: "pencil grip set triangular children handwriting grasp"
⭐Pinnacle Recommends: Triangular grip starter; move to claw/grotto for more support
DIY Substitute: Triangular pencil + broken crayon piece (small size forces fingertip grasp positioning naturally).
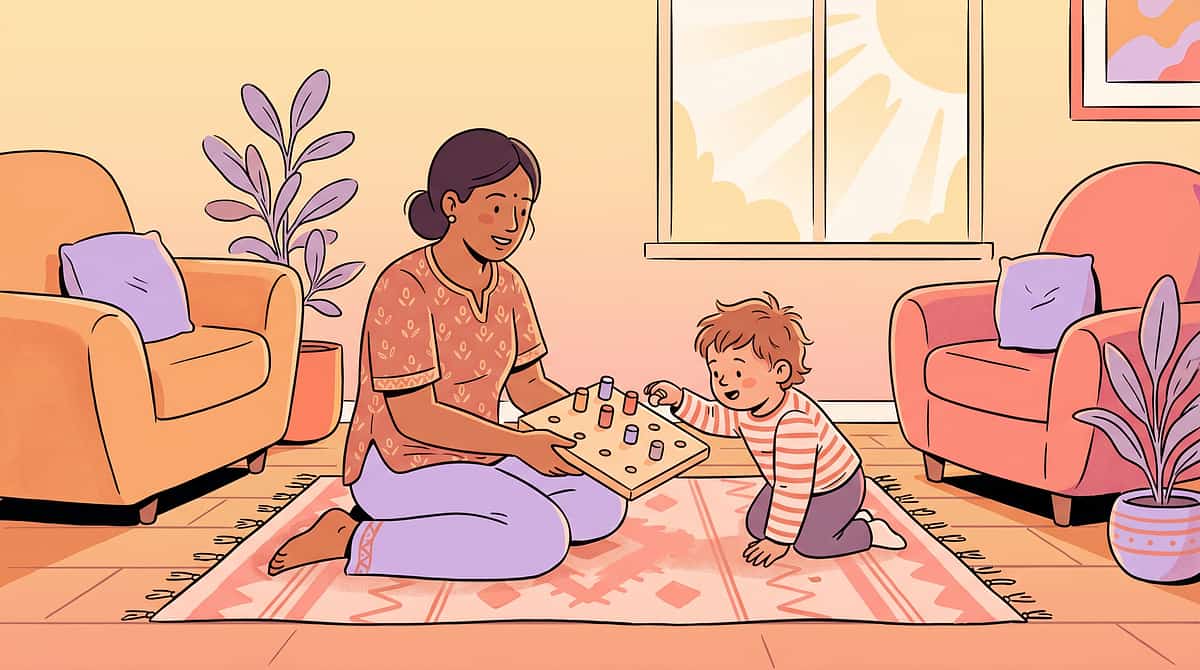
Material 6: Pegboard with Pegs
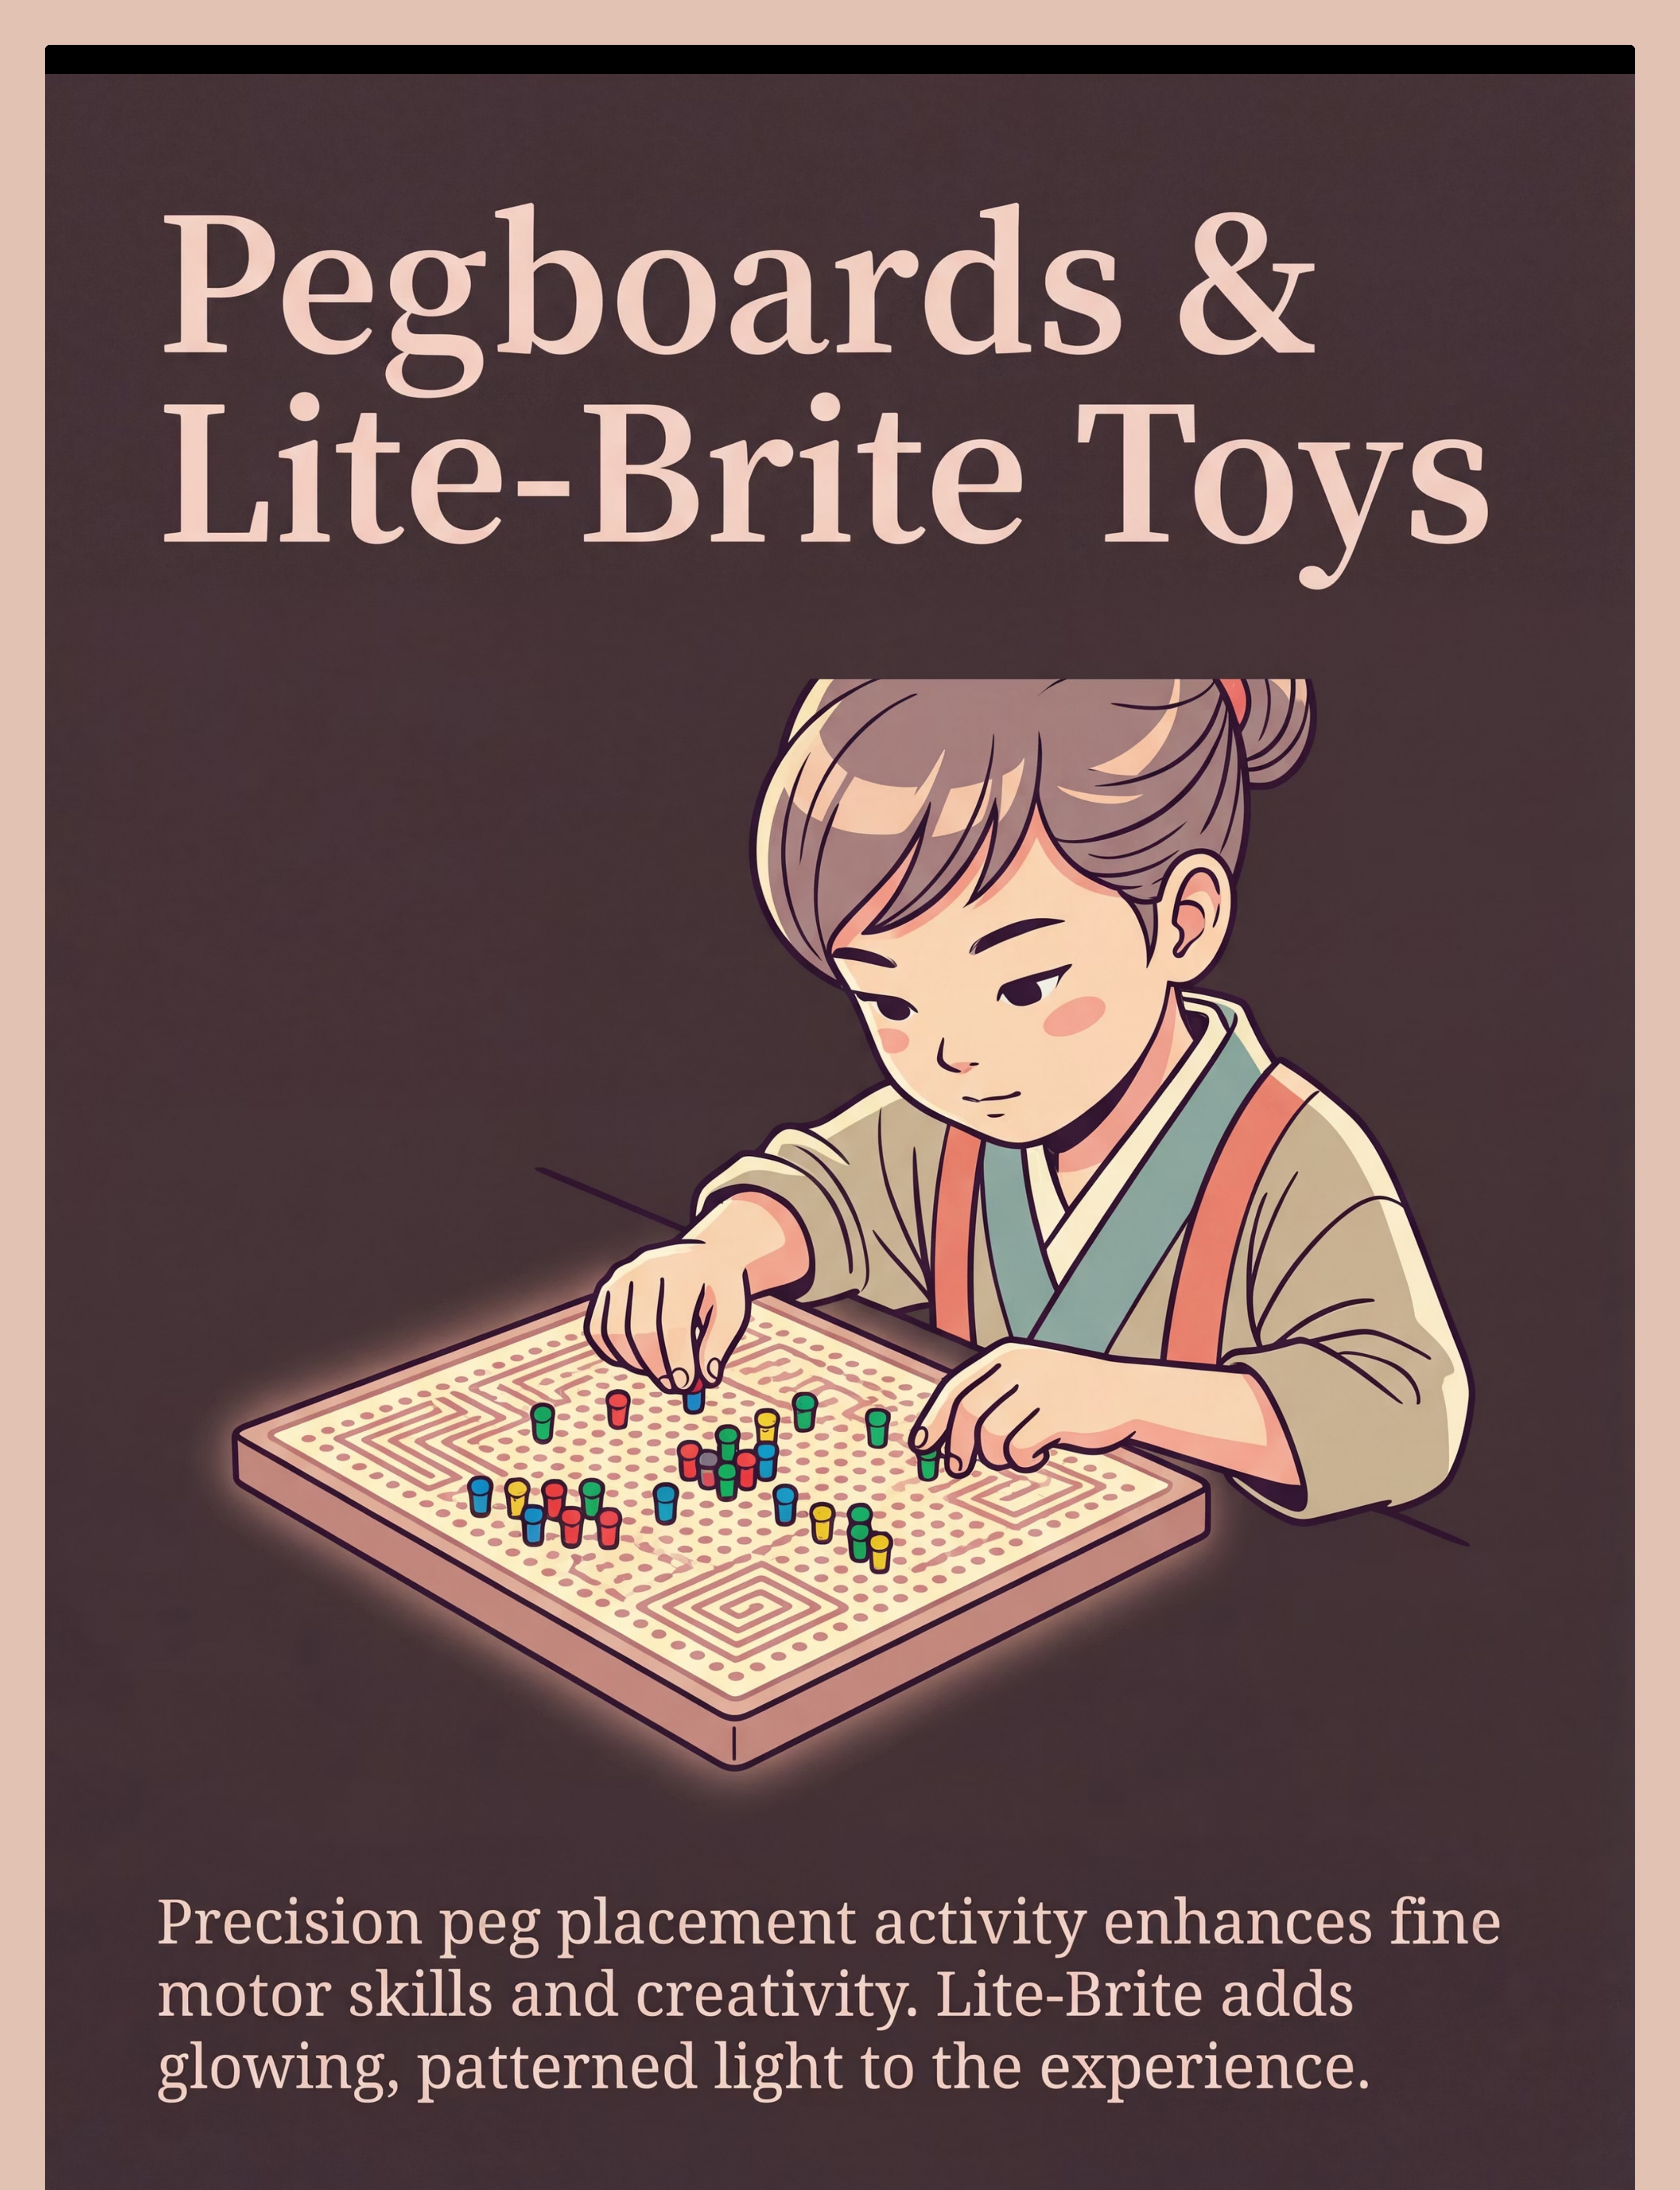
Pegboards with large-to-small peg progressions. Children place, sort, and pattern — building the precise placement and controlled release that forms the foundation of all fine motor tool use. The pegboard is one of the most versatile and forgiving materials in this protocol: it requires no tactile tolerance, is naturally goal-oriented (fill the board!), and provides immediate, visible feedback on every successful placement.
How to Use
- Start with jumbo pegs (2cm); progress to standard pegs as precision develops
- Set simple goals: "Fill this whole row before the timer beeps"
- Add pattern cards for visual-motor integration challenge at advanced stages
- Speed challenges maintain engagement: "Can you beat yesterday's score?"
Sourcing & Cost
Price: ₹200–1,000
🛒 Search on Amazon.in: "peg board children large pegs fine motor occupational therapy"
⭐Pinnacle Recommends: Jumbo peg board (2cm pegs) for beginners
DIY Substitute: Dried pasta (penne) pressed into a flour-filled tray; or golf tees into styrofoam. Same precision placement and pincer activation principle.

Material 7: Dressing Frames / Fastener Board
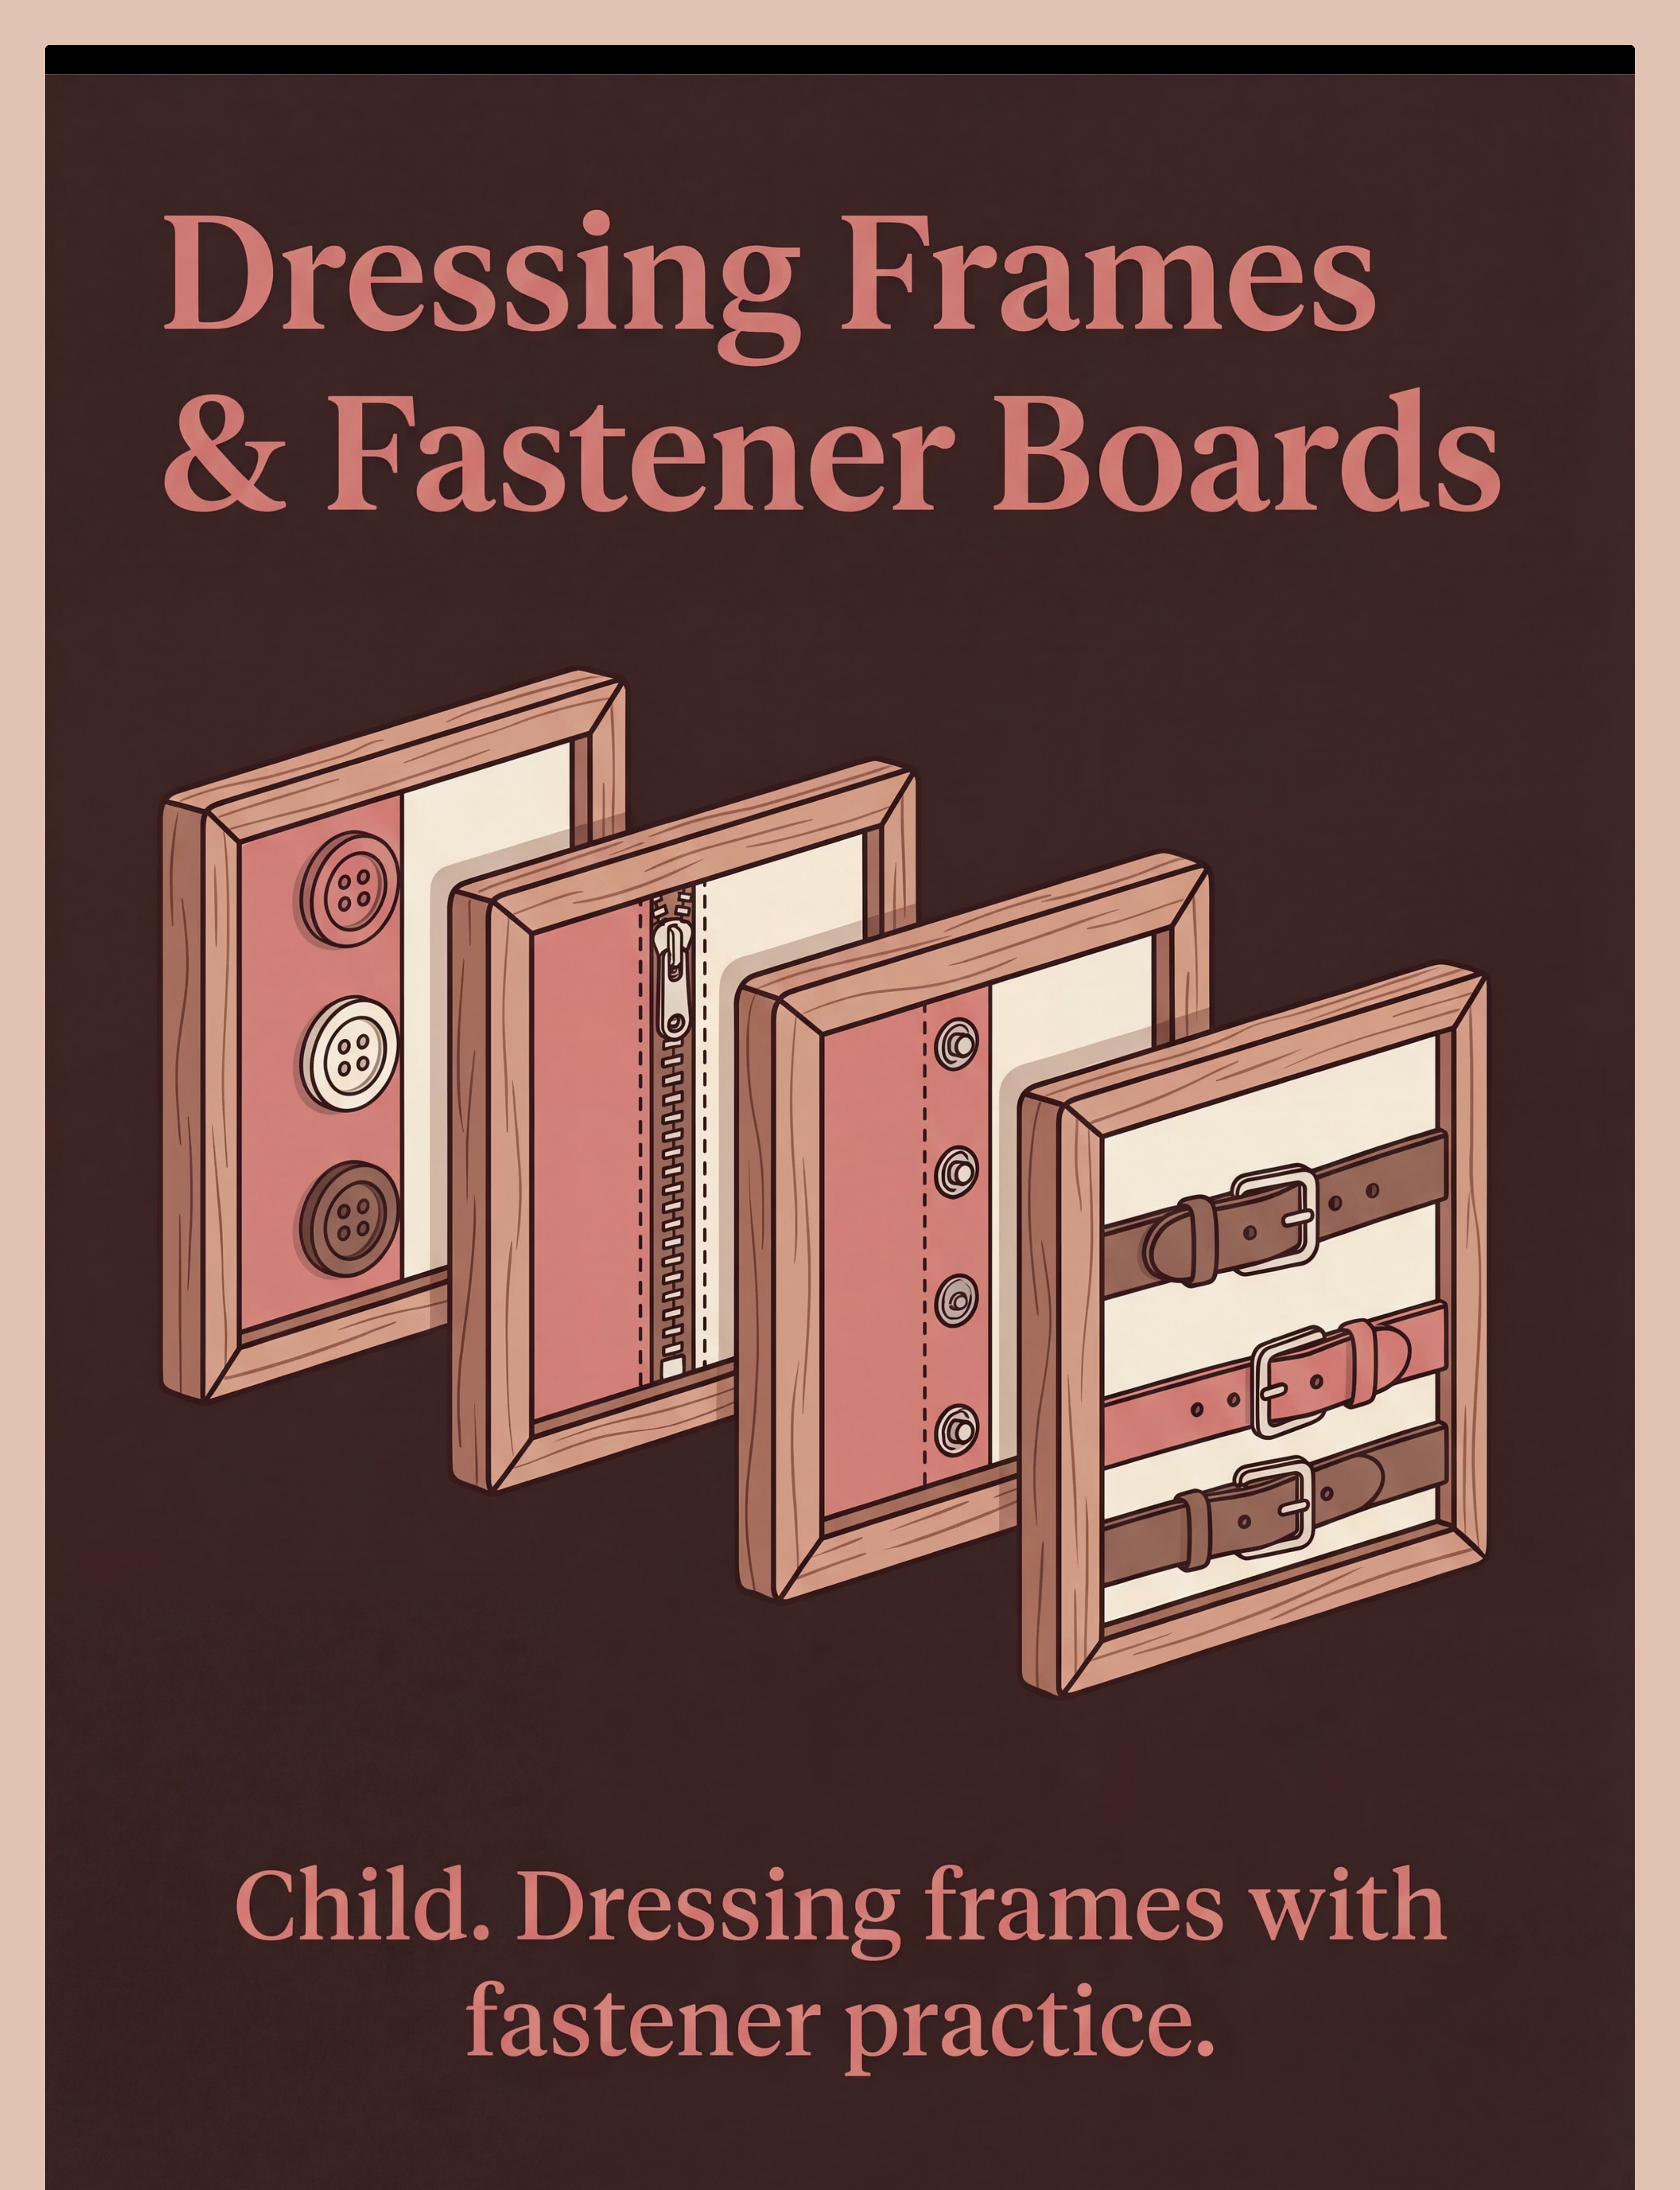
Montessori-origin frames with buttons, zippers, snaps, buckles — the bridge between fine motor skill and real-world independence. The clinical insight behind the dressing frame is elegant: by practicing fasteners on a neutral object (not on a shirt during a rushed morning), the child learns the motor pattern without the emotional charge of dressing stress. Skill learned in calm transfers to function in chaos.
How to Use
- Introduce the frame at the most neutral time of day — afternoon play, not morning rush
- Call it "the button game" — never "practice"
- Start with one fastener type per session; don't mix until each is established
- Gamify: "Can you do all the buttons before the timer? I bet I can't!"
Sourcing & Cost
Price: ₹300–1,200
🛒 Search on Amazon.in: "dressing frame fastener board buttoning zipper children Montessori"
⭐Pinnacle Recommends: 5-frame set covering button + zip + snap + buckle + Velcro
DIY Substitute: Old adult-sized shirt with large buttons laid flat on a table · Stuffed animal clothing. Same skill isolation principle.
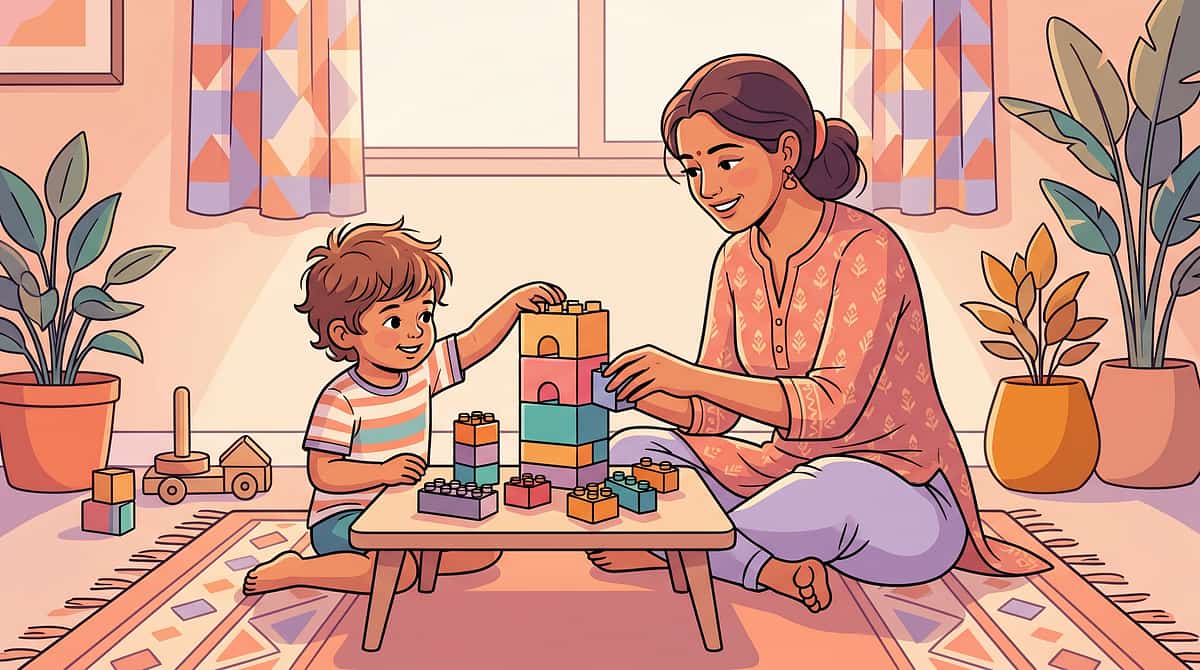
Material 8: Building Toys (Duplo → Lego Progression)
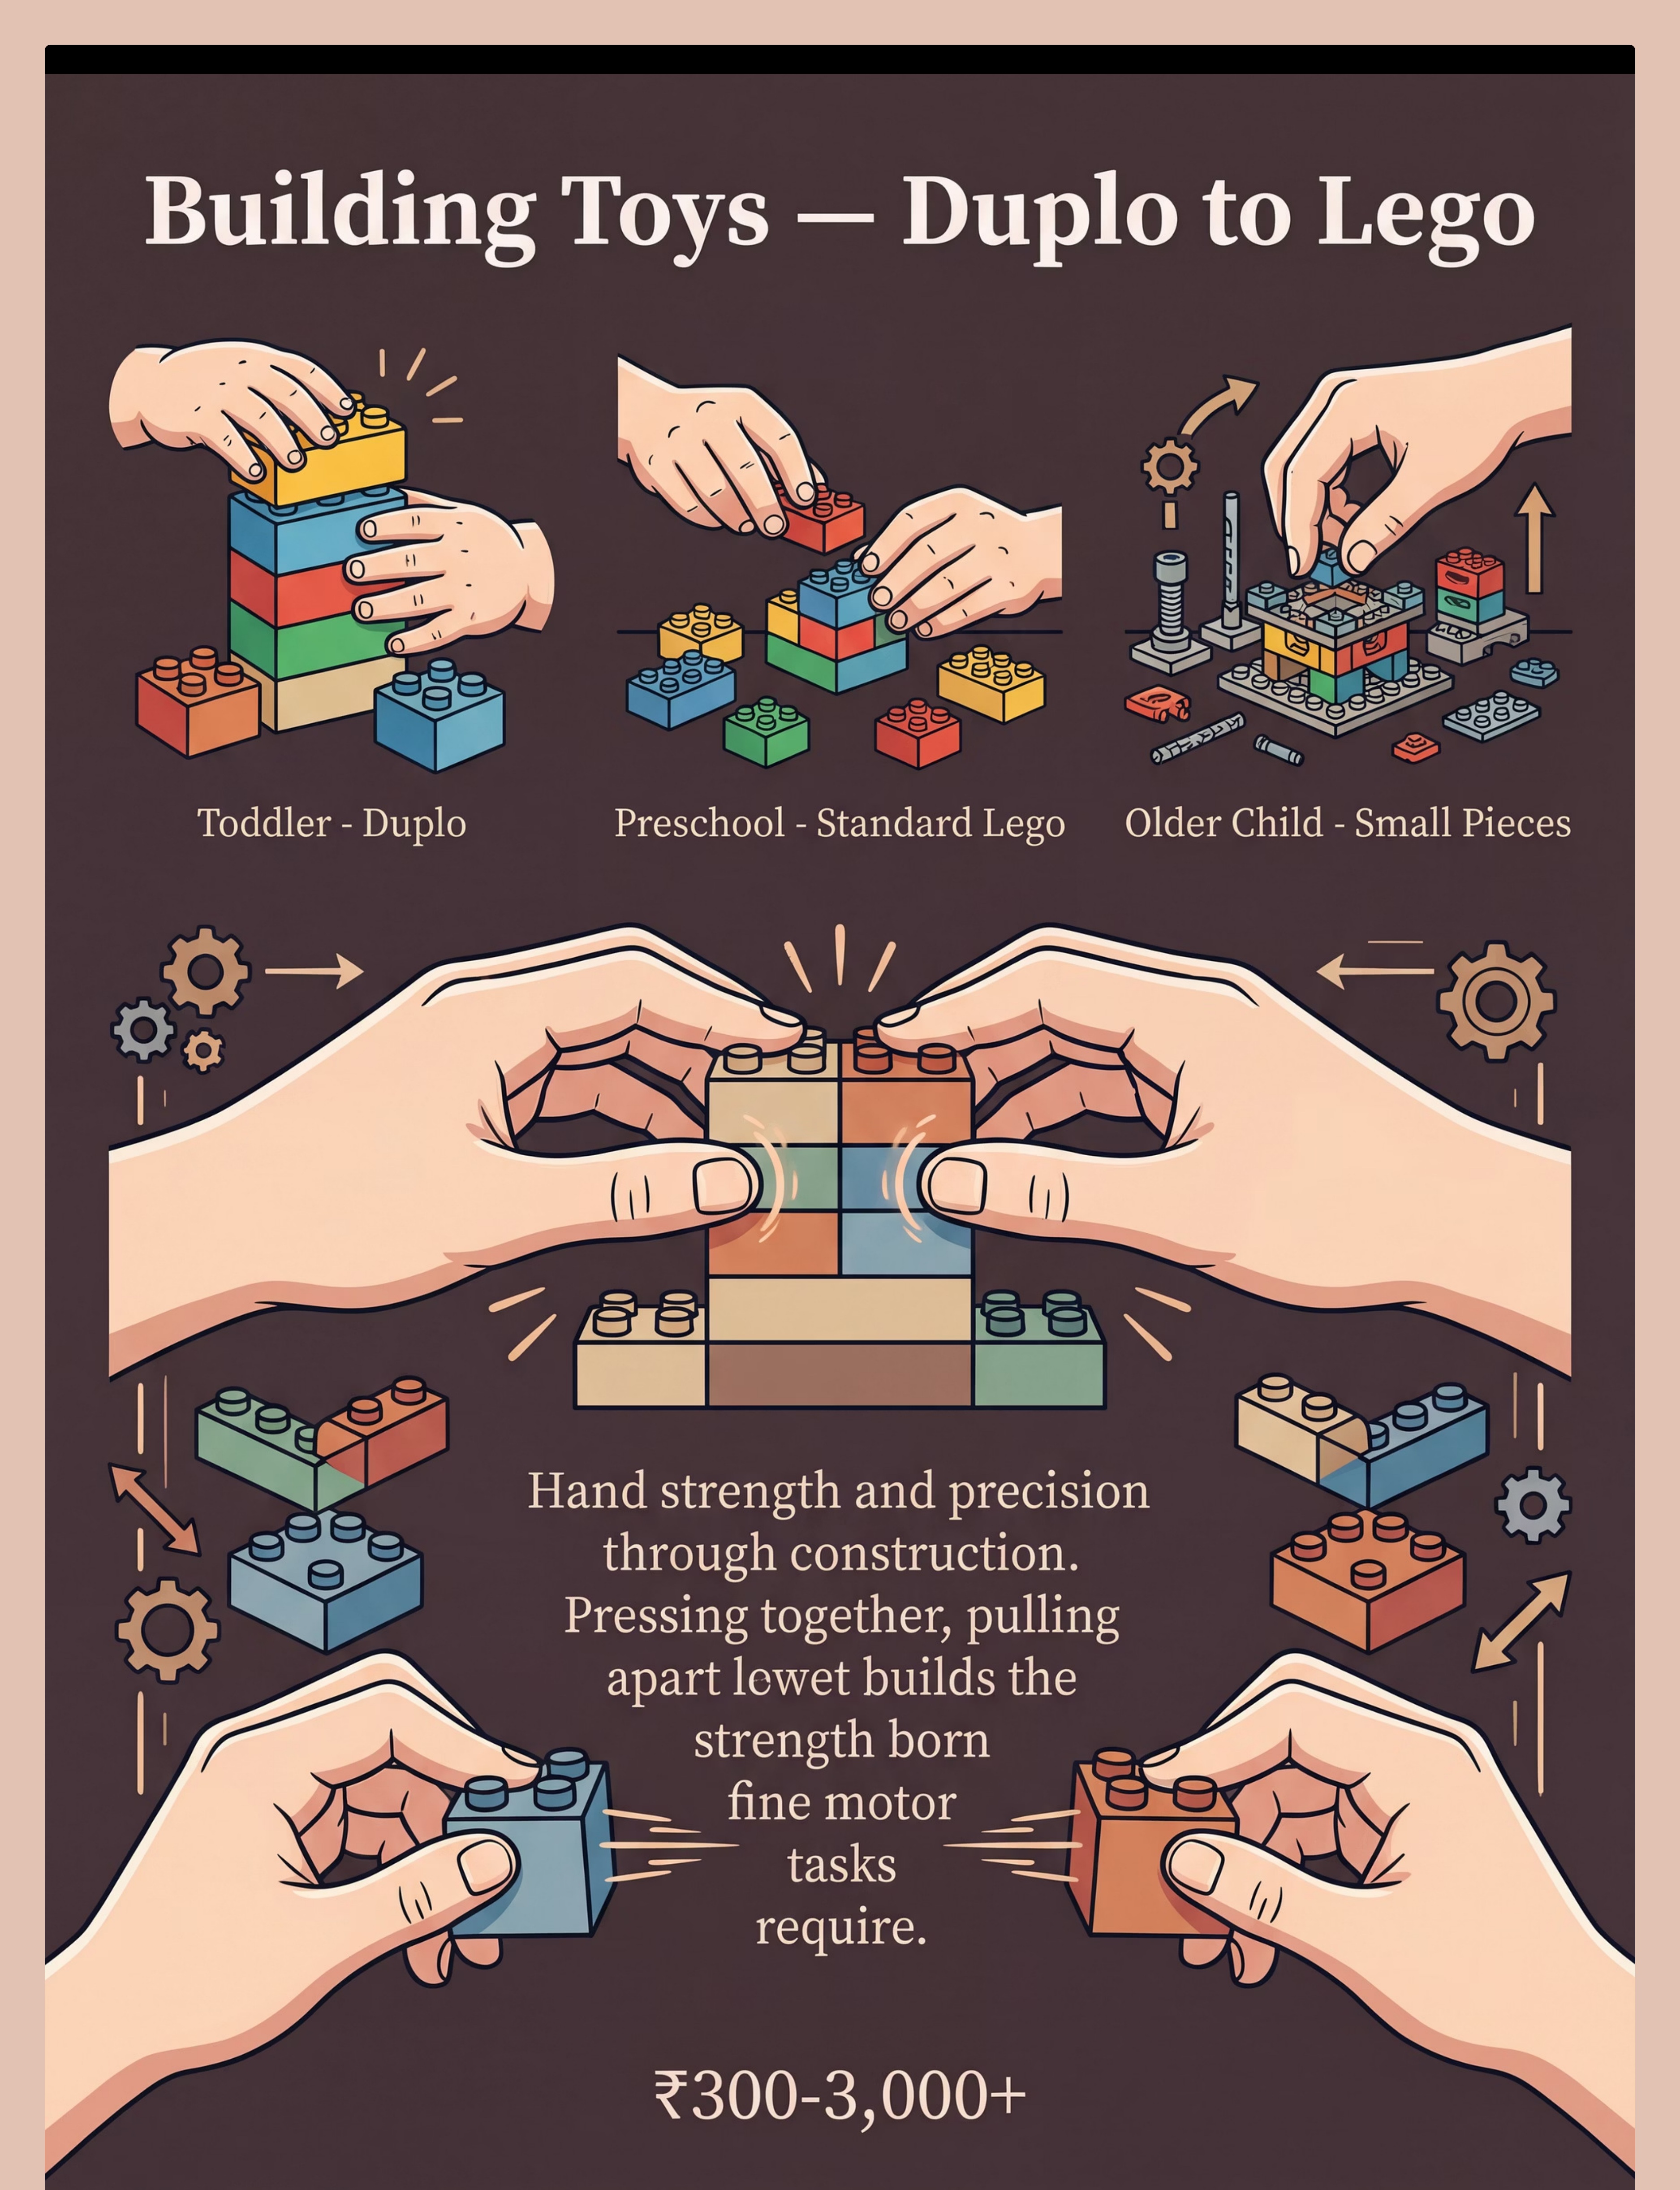
Graduated building block sets from large Duplo-type to standard Lego. Every press-together and pull-apart action builds hand strength and bilateral coordination simultaneously — and the child thinks they're just building a tower. This is one of the most motivating materials in the protocol precisely because it doesn't feel like therapy. It feels like play. That is exactly the point.
How to Use
- Start with large Duplo equivalent for beginners — big pieces, clear success
- Progress to standard Lego at 4+ years once hand strength is established
- Competitive frame: "Build the tallest tower that doesn't fall. I bet I can beat you."
- Follow instruction cards for visual-motor integration challenge
Sourcing & Cost
Price: ₹300–3,000+
🛒 Search on Amazon.in: "Duplo building blocks children fine motor bilateral"
⭐Pinnacle Recommends: Large Duplo equivalent for beginners; standard Lego at 4+ years with established strength
DIY Substitute: Large dried beans, bottle caps, cardboard boxes (stacking). The bilateral manipulation principle remains fully intact.

Material 9: Vertical Surface / Easel
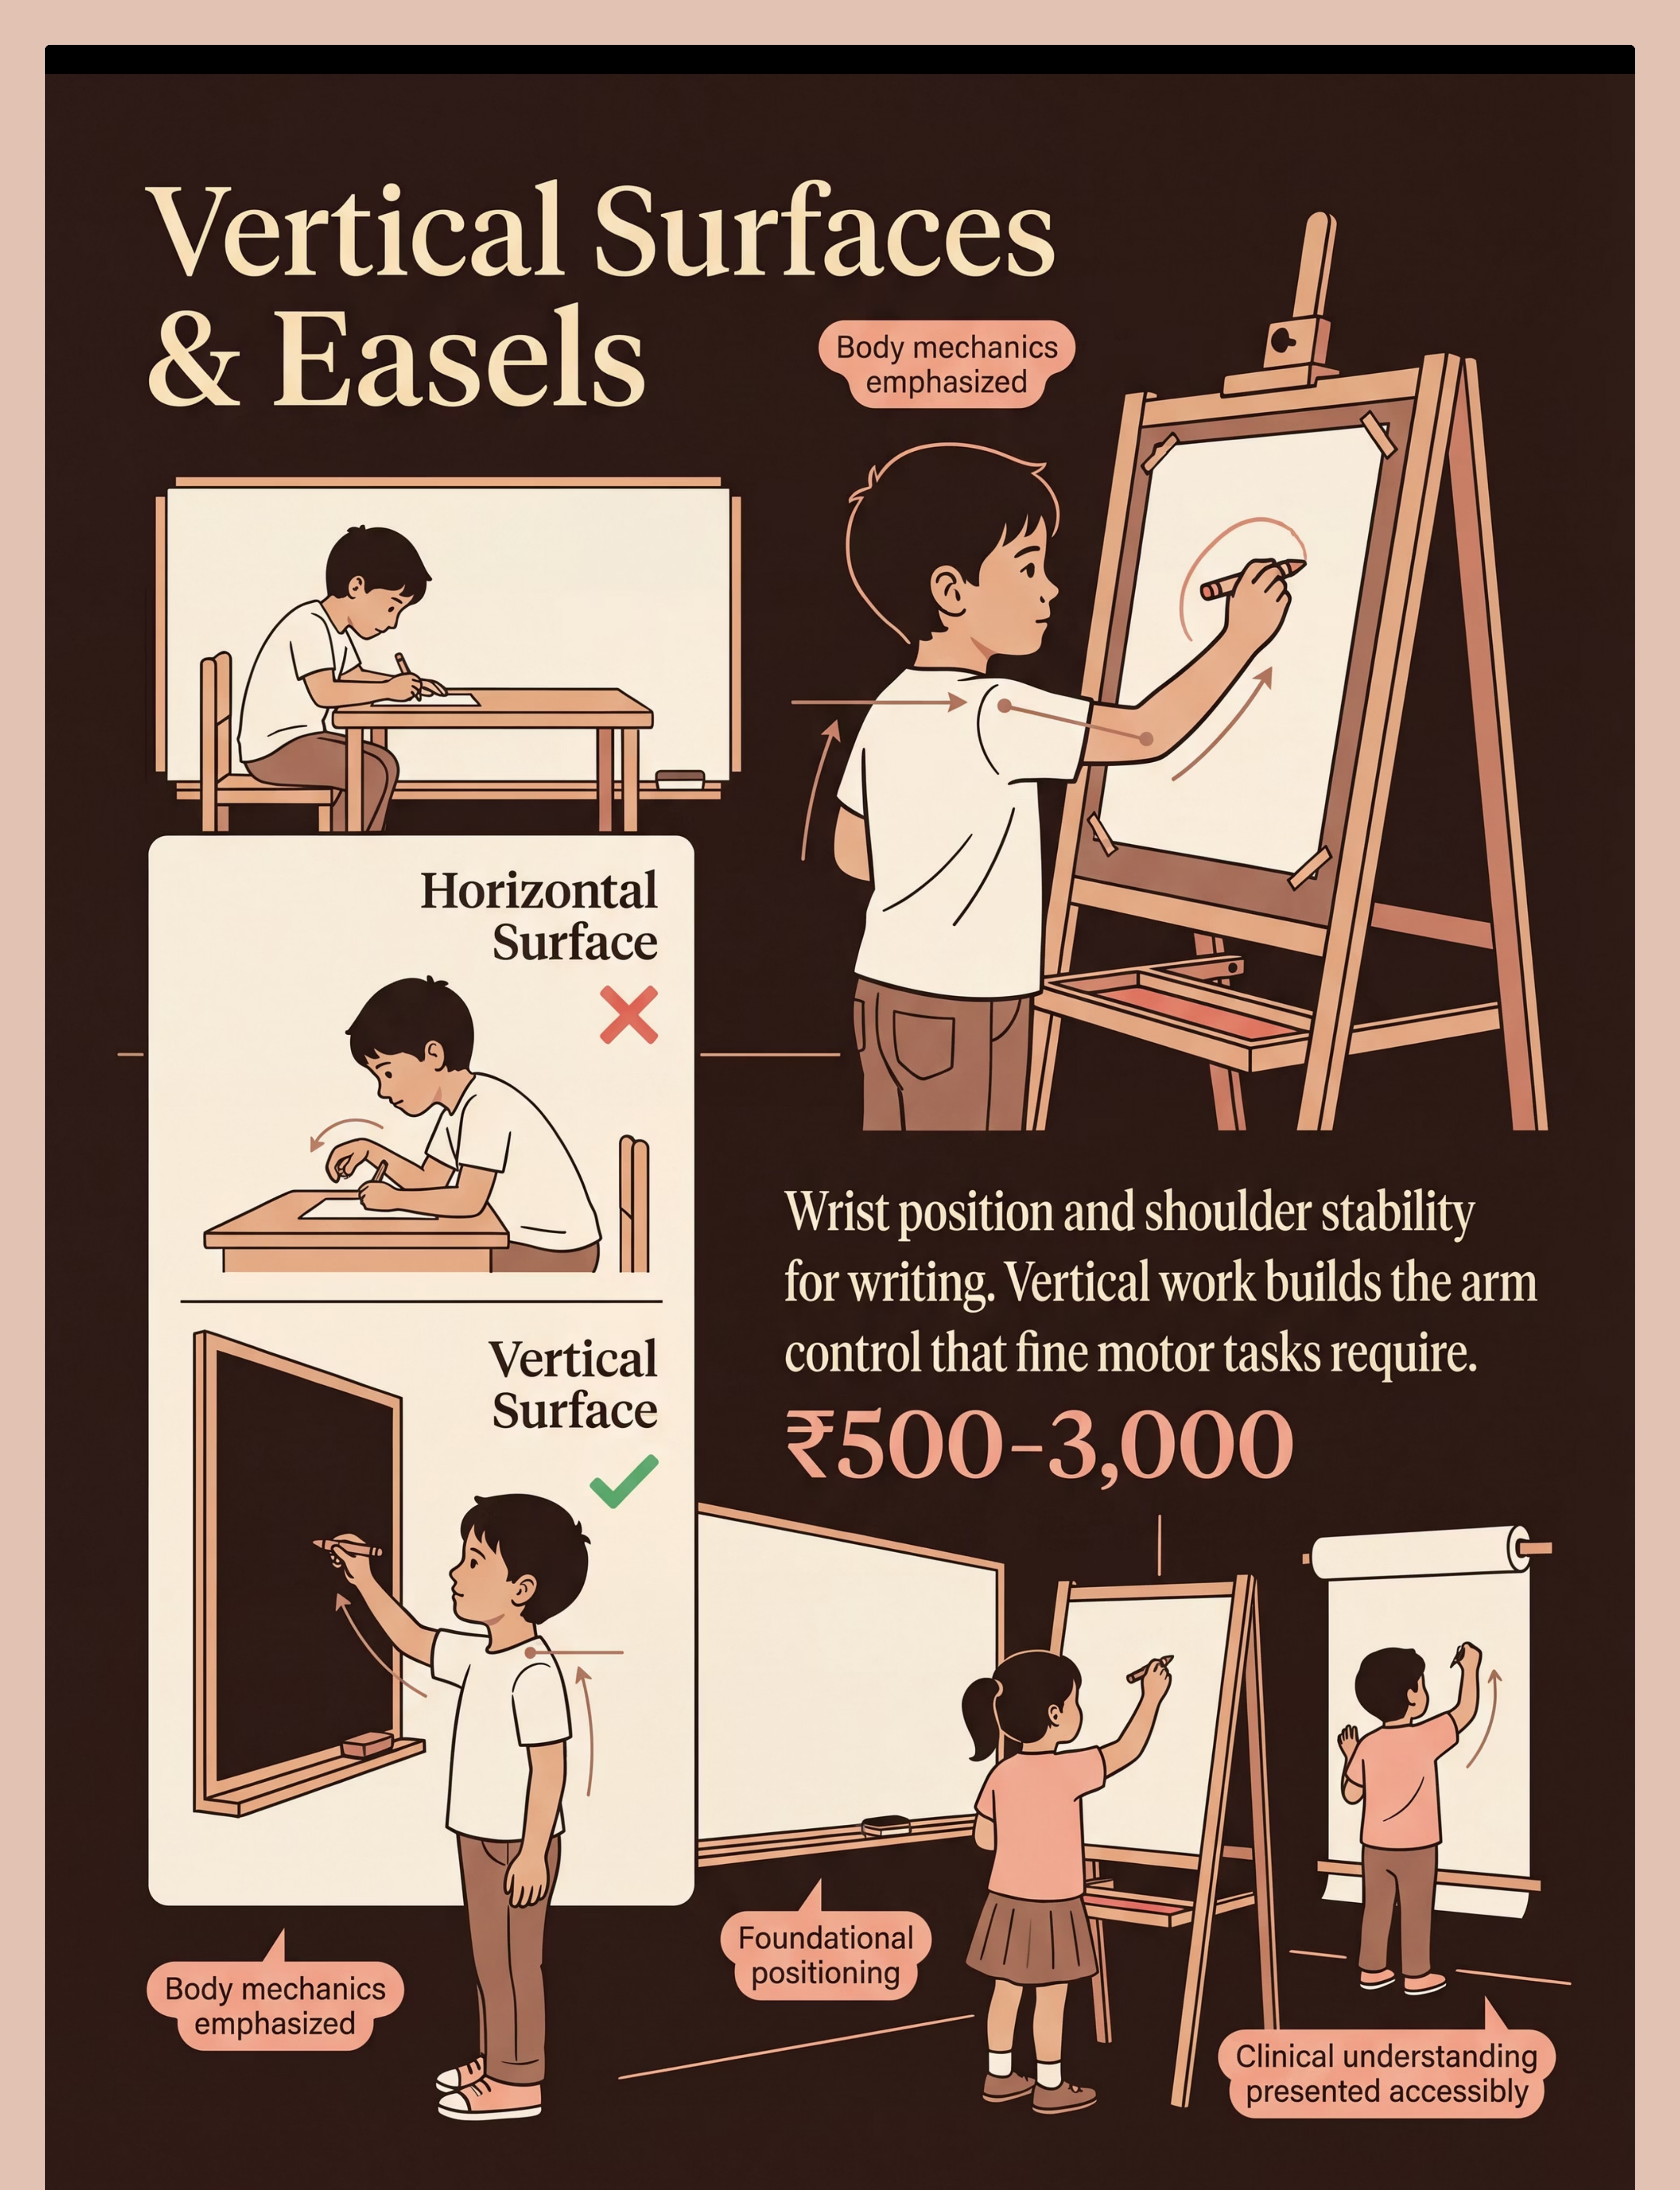
Floor or tabletop art easel, wall-mounted whiteboard, or paper taped to wall at eye height. Working on a vertical surface is one of the most underused and most powerful fine motor interventions available. When a child draws upward on a wall rather than downward on a table, their wrist automatically extends into the position required for functional writing — and their shoulder and core engage to support the arm. This is proximal stability training disguised as art.
How to Use
- Paper or board at eye height; child stands for maximum shoulder engagement
- Start with whole-arm movements: "Draw your name as BIG as you can!"
- Progress to smaller controlled marks as shoulder stability develops
- Vary tools: chalk · marker · paintbrush · crayon each add different resistance
Sourcing & Cost
Price: ₹500–3,000
🛒 Search on Amazon.in: "children art easel floor standing drawing whiteboard"
⭐Pinnacle Recommends: Tabletop easel as entry point; progress to floor easel for full-arm engagement
DIY Substitute: Paper taped to wall at eye level · Chalkboard paint on one wall section. Identical wrist extension and shoulder stability benefits.

Your Essential Starter Kit
You don't need all 9 materials on Day 1. Start with this curated starter kit and add materials as your child progresses. The principle matters more than the product — every material here has a household equivalent if budget is a constraint.
1
Budget Kit (₹800–1,500)
- Therapy putty (medium resistance)
- Large tweezers + pom-poms
- Spring-loaded scissors
- Triangular pencil grip
- Paper taped to wall
2
Zero-Cost Programme
- Homemade dough (extra flour)
- Kitchen tongs + dried pasta
- Cereal box lacing card + shoelace
- Broken crayon pieces
- Pasta-in-tray pegboard
3
Full Programme (₹2,000–6,000)
- Graded putty set (3 resistances)
- Tweezers + tongs set
- Wooden lacing cards
- Spring-loaded scissors
- Pegboard + pencil grips + dressing frame + building set + easel
"The child who squeezes homemade dough is building the same intrinsic hand strength as a child with clinical-grade therapy putty. The principle matters more than the product." — Pinnacle OT Division

🛑 Safety Gate — Read Before Every Session
Session safety is non-negotiable. The following traffic-light framework governs every session. Review it honestly before beginning — especially in the first four weeks while you are still building your home-programme instincts.
🔴 RED — DO NOT PROCEED IF:
• Child has an open wound, skin infection, or dermatitis on hands
• Child has shown severe sensory aversion (panic/self-injury) to tactile materials in the last 24 hours
• Child is ill, feverish, or running on less than 5 hours of sleep
• Child has joint hypermobility diagnosis without OT clearance for resistive activities
• You have NOT checked with your pediatrician if the child has a diagnosed condition affecting muscle or nerve function
• Child has an open wound, skin infection, or dermatitis on hands
• Child has shown severe sensory aversion (panic/self-injury) to tactile materials in the last 24 hours
• Child is ill, feverish, or running on less than 5 hours of sleep
• Child has joint hypermobility diagnosis without OT clearance for resistive activities
• You have NOT checked with your pediatrician if the child has a diagnosed condition affecting muscle or nerve function
🟡 AMBER — MODIFY THE SESSION IF:
• Child is mildly tired, hungry, or irritable → Shorten session to 5 minutes; start with the preferred material
• Child shows tactile sensitivity → Begin with neutral materials (building toys, pegboards) before putty/dough
• Child recently had a meltdown → Skip the session; offer a preferred calming activity instead
• Child is mildly tired, hungry, or irritable → Shorten session to 5 minutes; start with the preferred material
• Child shows tactile sensitivity → Begin with neutral materials (building toys, pegboards) before putty/dough
• Child recently had a meltdown → Skip the session; offer a preferred calming activity instead
🟢 GREEN — SAFE TO PROCEED:
• Child is calm, regulated, fed, and rested
• All small objects are appropriate size (no choking hazard for child's current mouthing behavior)
• Work surface is stable; child is seated with feet flat and table at elbow height
• Child is calm, regulated, fed, and rested
• All small objects are appropriate size (no choking hazard for child's current mouthing behavior)
• Work surface is stable; child is seated with feet flat and table at elbow height
🚨 STOP IMMEDIATELY IF:
• Child shows distress escalating to self-injury or aggression
• Child complains of pain in hands or wrists (not effort — pain)
• Hand tremor or unusual weakness appears suddenly
• Child begins mouthing materials and cannot be redirected
• Child shows distress escalating to self-injury or aggression
• Child complains of pain in hands or wrists (not effort — pain)
• Hand tremor or unusual weakness appears suddenly
• Child begins mouthing materials and cannot be redirected
📞 Questions? 9100 181 181 — FREE National Helpline, 24×7

The Perfect Fine Motor Session Space — Set This Up in 3 Minutes
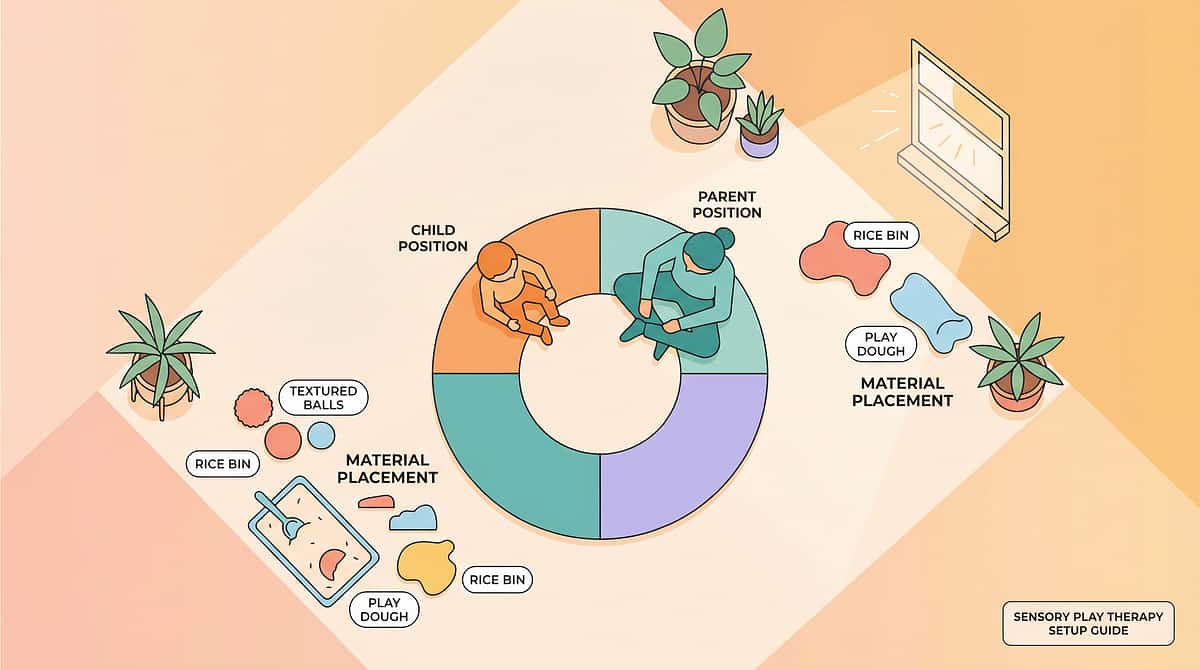
Your physical setup is not a preference — it is a clinical variable. The right seating position, lighting, and material placement directly determine how much of the session your child can access. A child whose feet don't touch the floor is using core energy to stabilize their body rather than their hands to manipulate materials.
Seating
Feet flat on floor or footrest; hips at 90°; table at elbow height. Why: Proximal stability enables distal (hand) function.
Lighting
Bright, natural if possible; no glare on work surface. Why: Visual-motor tasks require a clear visual field.
Noise
Low background noise; TV off; siblings settled. Why: Attention for fine motor tasks competes with auditory distraction.
Materials
Only current session's materials on the table. Why: Too many options creates distraction and overwhelm.
Timer
Visual timer (sand timer or app) visible to child. Why: Reduces anxiety about "when does this end?"
Parent Position
Beside or slightly behind — never directly across. Why: Facing increases self-consciousness; beside = collaborative.
Vertical Surface position: Paper or board at eye height; child stands for maximum shoulder engagement. Remove from space: Screens · Loud siblings · Preferred toys that compete with focus.

The 60-Second Pre-Flight Check
The best session is one that starts right. A 10-minute successful session is worth more than a 30-minute forced one. Check each item honestly before beginning — and honor what you find.
Readiness Indicator | What to Do If Not Met | |
☐ Child has eaten in the last 90 minutes | Offer a small snack; wait 15 min | |
☐ Child has slept adequately (no visible fatigue) | Postpone to after a rest | |
☐ Child is not in meltdown or post-meltdown recovery (minimum 30 min recovery) | Postpone; offer calming protocol | |
☐ Child's hands are clean and free of irritation | Wash hands; check for skin issues | |
☐ You have 15 uninterrupted minutes | Arrange sibling coverage; set phone to DND | |
☐ The space is set up per the setup guide | Set up now (3 minutes) | |
☐ Child is in a calm-alert state (not hyper-aroused, not lethargic) | Use heavy work first (wall push-ups, carry heavy books) to regulate |
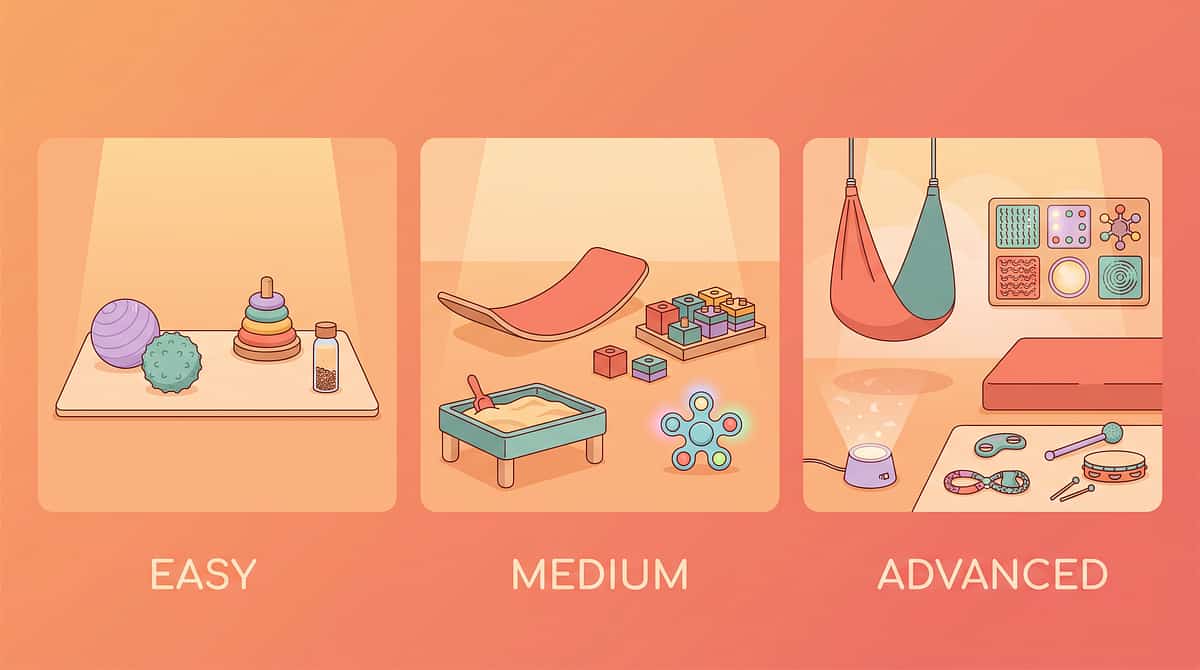
Step 1 — Bring the Child In Without a Command
Step 1 of 6
Timing: 30–60 seconds
The protocol begins with an invitation, not an instruction. This is ABA's pairing principle in action: the activity must feel safe before demands can be placed. The difference between a child who engages and a child who refuses often comes down entirely to how the first 60 seconds are handled.
📣The Invitation Script:"Hey! Look what I found — want to see something cool?"
"I'm going to try to find the [coin/ball] hidden in here. Do you want to help?"Wait. Watch. Do not repeat.
Signs of Acceptance
- Eyes move toward the material
- Body orients toward the table
- Reaches toward or touches the material
- Verbal or vocal interest ("What is it?", excited sound)
If Resistance Occurs
Reduce demand. Simply play with the material yourself in front of the child. Do not coax. Proximity + curiosity = natural joining.
Sit at child's level. Open, relaxed posture. No direct eye pressure. Smile. This should feel like play, not therapy.

Step 2 — Introduce the Material and Begin
Step 2 of 6
Timing: 1–3 minutes
The child is now interested. Introduce the first material of today's session with a clear, simple action model. One action at a time — demonstrate, hand to child, wait. Every attempt gets praise the moment it happens.
1
▸ Therapy Putty
"Watch — I'm going to squeeze this really hard. Now you try." Start with the squeeze. Model, hand to child, wait.
2
▸ Tweezers & Tongs
"Can you pick up all the red ones and put them here?" Set up a simple colour-sort. Keep target container close.
3
▸ Lacing Cards
"The lace needs to go through the hole — like a snake going through a tunnel." Guide the first insertion if needed.
4
▸ Training Scissors
"Let's make some confetti! Cut this strip — one chop." Start with snipping — single cuts only on narrow cardstock strips.
5
▸ Pencil Grips
"This goes on your pencil like a little hat. Now draw me a circle." Place grip; don't discuss grip — redirect to the drawing task.
6
▸ Pegboard
"Let's fill this whole row before the timer beeps." Simple goal; visible result. Set a 2-minute sand timer.
7
▸ Dressing Frame
"Let's see how fast you can do all the buttons — ready, set, go!" Gamify. Timer pressure motivates without feeling like therapy.
8
▸ Building Toys
"Build me the tallest tower that doesn't fall. I bet I can beat you." Competitive, playful. Focus is on building — not hand mechanics.
9
▸ Vertical Surface
"Draw your name as BIG as you can on the wall. Use your whole arm." Whole-arm first; smaller movements come naturally.
Reinforcement begins here: Every attempt gets praise. "You're doing it! Look at your hands!"

Step 3 — The Active Therapeutic Window (10–12 Minutes)
Step 3 of 6
Timing: 10–12 minutes total
This is the main therapeutic event — where hand strength, grasp patterns, and coordination are built through structured play. Rotate across 2–3 materials per session, each building a different system. Core action represents 40–60% of total session time.
1
🟢 Strength Layer (5 min)
Therapy Putty → squeeze, pinch, pull, hide-and-find objects inside
2
🔵 Precision Layer (4 min)
Tweezers/Tongs OR Pegboard → transfer, sort, place with accuracy
3
🟡 Function Layer (3 min)
Lacing Card OR Dressing Frame OR Scissors → real-world skill transfer
Execution Precision — What the OT Would Check:
Material | Key Clinical Check | |
Therapy Putty | Fingers working against resistance (not just palming it); thumb actively opposing index and middle fingers | |
Tweezers/Tongs | Thumb and index finger controlling the tool; non-dominant hand stabilizing the container | |
Scissors | "Thumbs up" position — thumb facing ceiling; elbows at sides; paper hand turning paper to cut | |
Vertical Surface | Child is standing; wrist is extended (not dropped); movements are shoulder-initiated, not wrist-only |

Step 4 — Repetition Is How Hands Learn
The dosage principle: 3 quality repetitions are more valuable than 10 forced ones. Watch for fatigue — shaking hands, decreased effort, complaints — and stop before the child hits the wall. Variation maintains engagement without reducing therapeutic value.
Material | Target Reps per Session | Variation to Maintain Engagement | |
Therapy Putty | 15–20 squeeze-pinch-pull cycles | Change hidden object · Change shape made · Change resistance | |
Tweezers/Tongs | 20–30 object transfers | Change object size · Change container · Add colour sort · Add timer | |
Lacing Cards | 1–2 complete lacings | Change pattern · Use bead stringing next · Add counting | |
Training Scissors | 10–15 cuts | Change paper width · Add wavy line to follow · Cut playdough | |
Pencil Grips | 3–5 minutes sustained writing/drawing | Change paper size · Change drawing task · Vertical then horizontal | |
Pegboard | 30–50 pegs placed | Change peg size · Follow pattern card · Speed challenge | |
Dressing Frame | 3–5 complete fastening sequences | Mix fastener types · Introduce timer · Compete with yesterday's score | |
Building Toys | 5–8 construction sequences | Change structure · Follow instruction card · Increase piece count | |
Vertical Surface | 3–5 minutes sustained vertical work | Change tool (chalk/marker/brush) · Change task (name/animal) |
Satiation signals — stop when: Child begins making errors they weren't making before · Movements become rough or careless · Child asks to stop or moves away · 15 minutes of active work has been completed
"The child who squeezes putty while finding hidden treasures is building hand strength. They think it's treasure hunting. That's the point."

Step 5 — The Reinforcement That Makes It Stick
Step 5 of 6
ABA: Immediate · Specific · Enthusiastic
The Golden Rule of Reinforcement: Within 3 seconds of the desired behavior. Immediate. Specific. Enthusiastic. The reinforcement that arrives 5 minutes after the behavior teaches the child nothing about what they did right.
✅ For Effort
"Look at your hands working so hard! That squeeze is STRONG!"
✅ For Precision
"You picked that up so carefully — your fingers are getting so smart!"
✅ For Endurance
"You kept going even when it was tricky — that's what hands practice is!"
✅ For Completion
"You finished the whole lacing card — YOUR hands did that!"
Type | Example | When to Use | |
Verbal praise (specific) | "Your pincer grip looks exactly like the therapist showed us!" | Every session | |
Social (high-five, hug) | Child-initiated or offered | When child completes a challenge | |
Token economy | Sticker on chart after session; 5 stickers = chosen reward | For children who need tangible motivation | |
Activity reward | 5 min of preferred activity after 10 min of fine motor work | Strong motivator for resistive children | |
Natural consequence | "You buttoned your shirt! Now we can go to the park." | Highest clinical value |
"Celebrate the attempt, not just the success. The child who tried and struggled did something harder than the child who succeeded easily."
Step 6 — Close the Session Before the Child Runs Out
Step 6 of 6
Timing: 1–2 minutes · Non-negotiable
No fine motor session ends without a cool-down transition. Abrupt endings cause post-session dysregulation and make the next session harder to start. A 90-second closing ritual is one of the highest-value investments you can make in this programme's long-term sustainability.
Cool-Down Activity Options (Choose One)
- Heavy hand press: Child presses palms flat on table while you count to 10 (proprioceptive reset)
- Hand washing ritual: Warm water wash gives tactile transition signal
- Quiet build: Child places 5 final pegs or laces 1 final hole while you narrate the end
- Hand squeeze: Parent holds child's hands and gives firm, gentle pressure (calm input)
If the Child Resists Ending
- Offer one more specific, brief task: "One more peg — then we're done."
- Never extend session when child shows resistance (this reinforces refusal behavior)
- Name the next activity: "After we're done, we'll have your snack."
NCAEP (2020): Transition protocols reduce session-ending dysregulation in 73% of documented home program implementations.

Within 60 Seconds of Session End — Record These 3 Things
60 seconds of data now saves hours of guessing later. When you return to your Pinnacle OT, this data IS your child's progress story. The L-981 session data card captures the minimum dataset for meaningful developmental progress analysis.
1
Materials Used + Duration
Date, session length in minutes, and which of the 9 materials were used today
2
Engagement Rating (1–5)
1 = Refused/Cried · 2 = Tolerated briefly · 3 = Participated with encouragement · 4 = Independent · 5 = Requested more
3
One Specific Skill Observation
Example: "Could pick up 8 pegs with pincer before fatiguing (up from 5 yesterday)"
Next Session Plan: Record whether to use the same materials, increase difficulty, or switch material — while the session is still fresh in your memory.
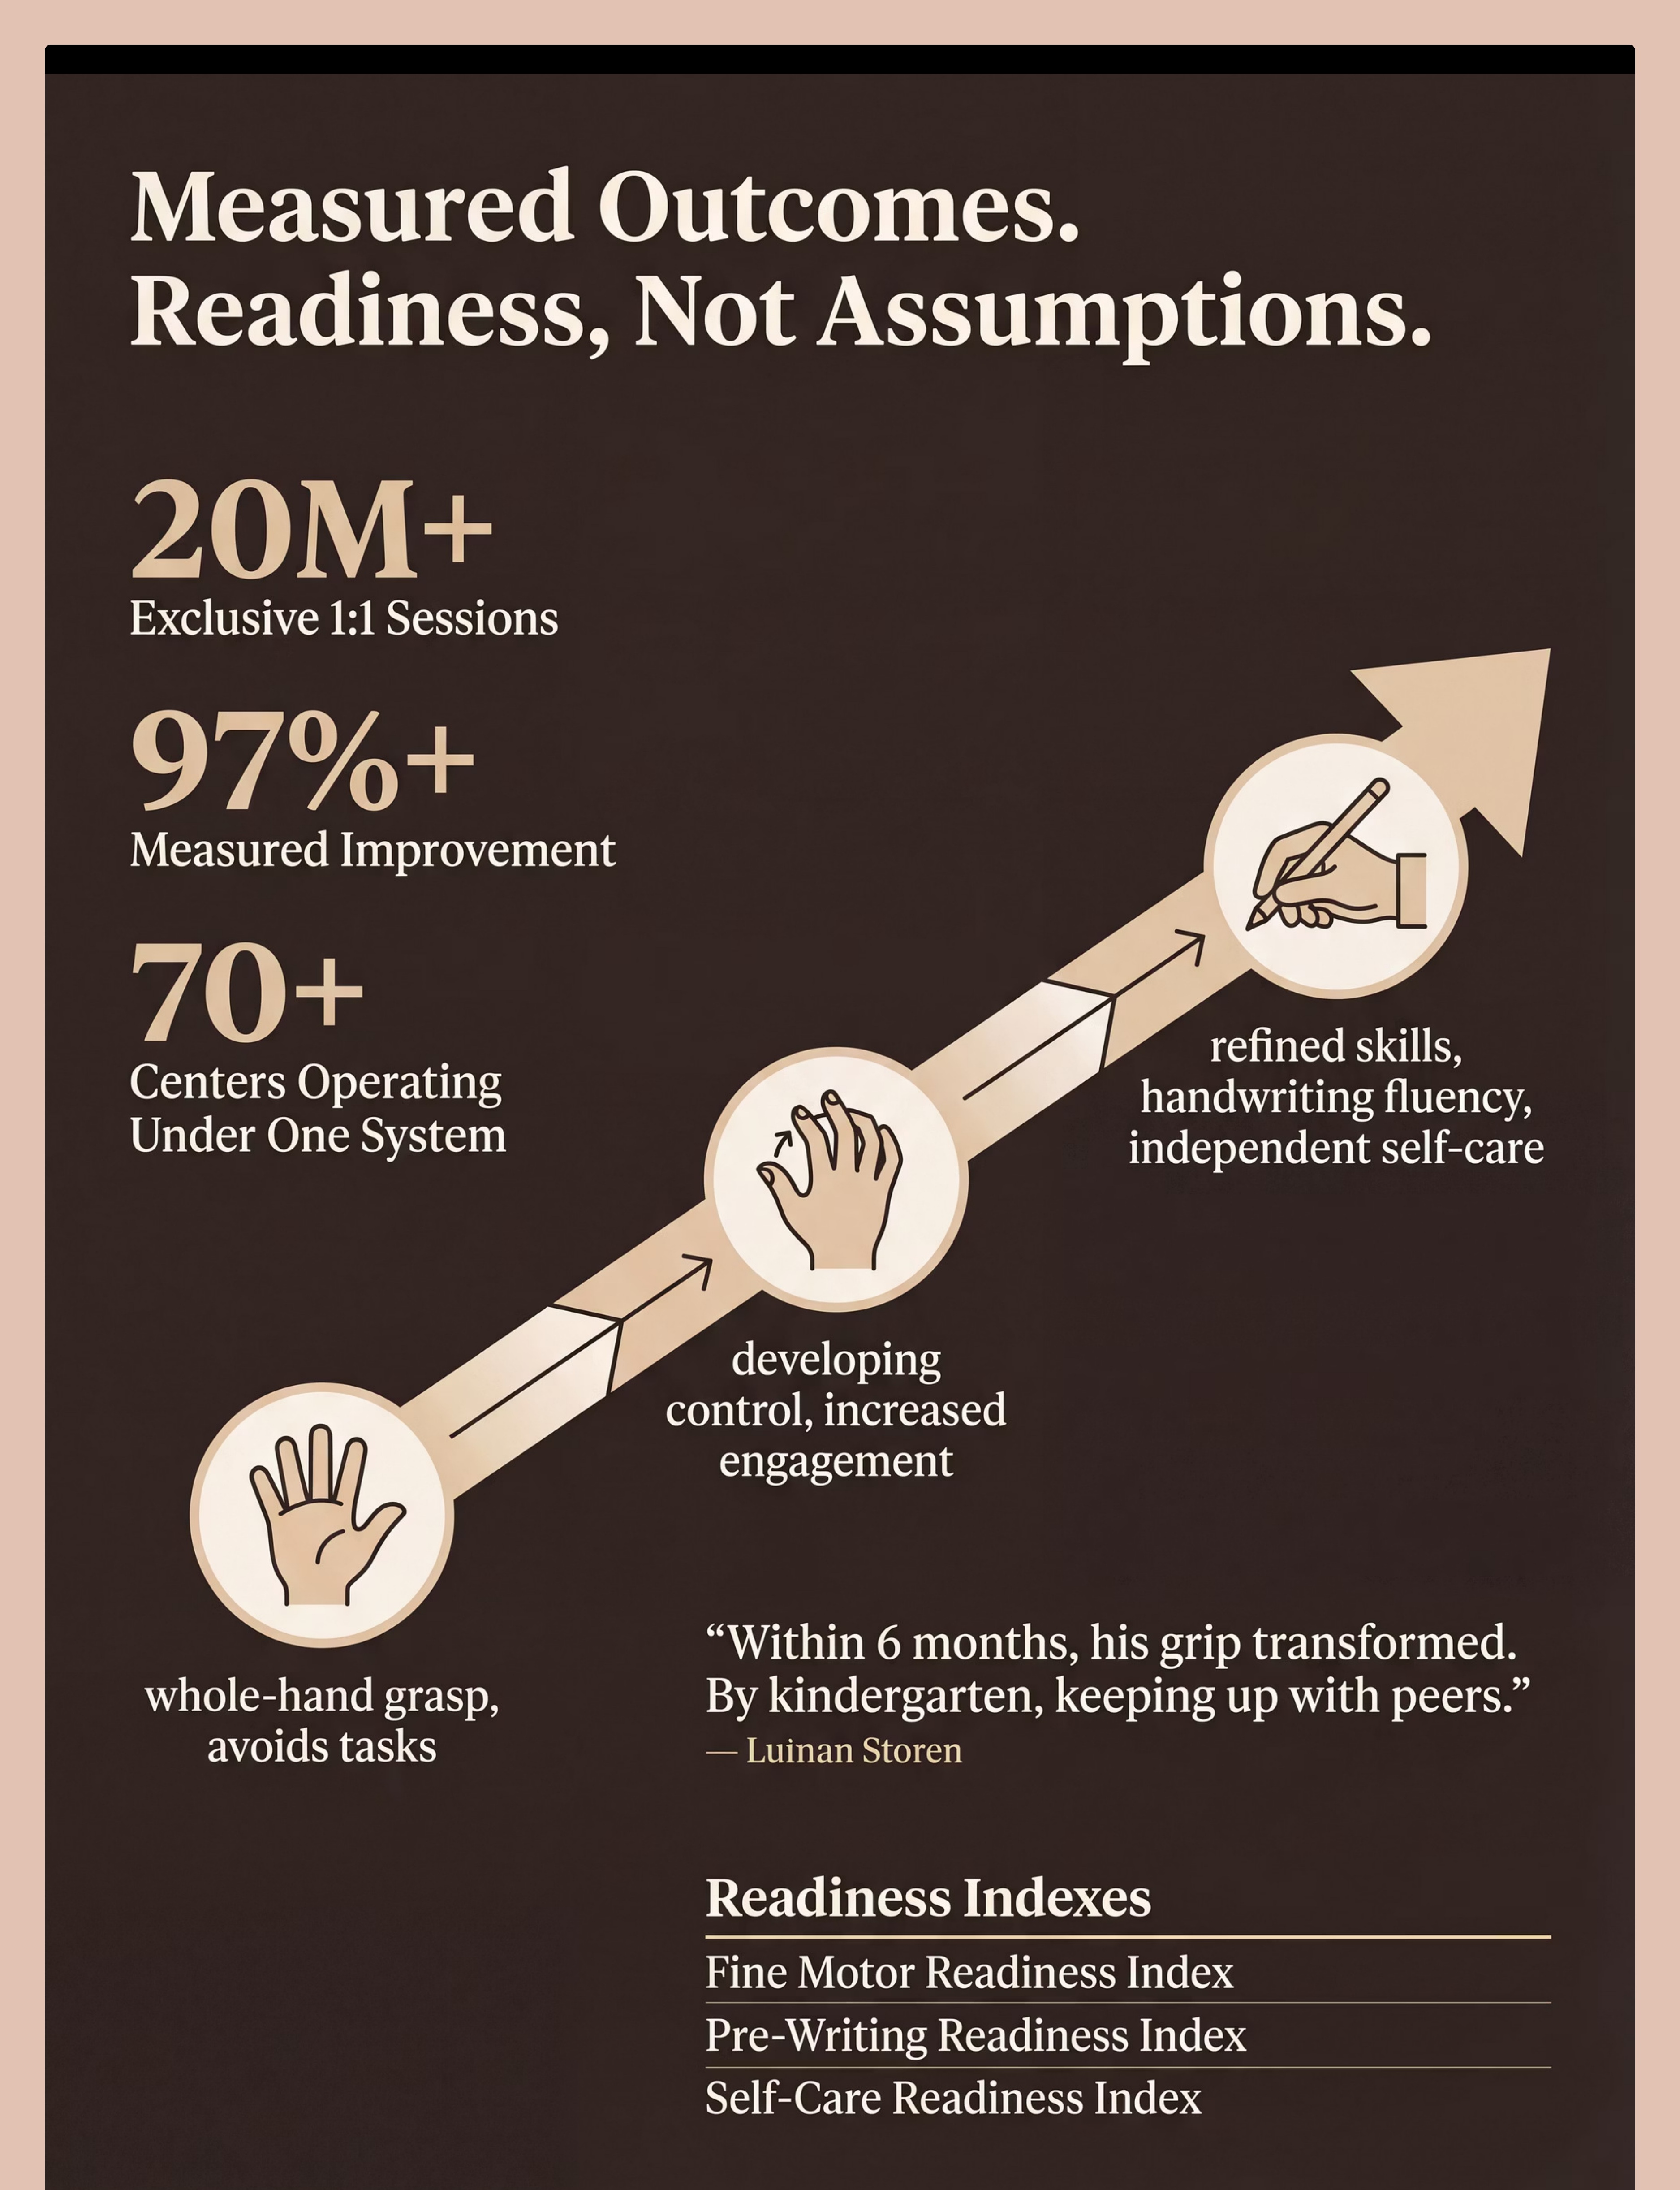
Your session data flows into the Fine Motor Readiness Index, Pre-Writing Readiness Index, and Self-Care Readiness Index — automatically adjusting your child's EverydayTherapyProgramme™ recommendations through the GPT-OS® intelligence layer.

The 7 Most Common Session Problems — Solved
"Session abandonment is not failure — it is data. Every difficult session teaches you something." Here are the 7 problems Pinnacle OTs hear most frequently from families in the first four weeks — and the clinical fix for each.
Problem 1: Child refuses to touch the therapy putty
Why: Tactile sensitivity — the texture is aversive. Fix: Start with the most neutral material (building toys or pegboard). Use gloves for initial putty contact. Progress gradually — don't force tactile.
Problem 2: Child uses whole fist on tweezers instead of pincer
Why: Pincer grasp isn't yet habitual; reverts to easier pattern under demand. Fix: Go to larger tongs (kitchen salad tongs) where whole-hand IS the correct grip. Build confidence at that level first.
Problem 3: Child gets frustrated after 2 minutes and quits
Why: Materials are too difficult OR session starts without adequate pairing. Fix: Drop to the easiest version of the material. Extend the invitation phase before introducing demand.
Problem 4: Scissors crumple the paper instead of cutting
Why: Scissors too hard; paper too flexible; wrist position rotated inward. Fix: Switch to spring-loaded self-opening scissors + cardstock. Check "thumbs up" wrist position.
Problem 5: Child rushes through the pegboard without precision
Why: Speed preferred to accuracy; no quality incentive. Fix: Change the goal — "place 10 pegs without knocking any over." Precision incentive, not speed.
Problem 6: Child's hand fatigues in under 5 minutes of putty work
Why: Resistance is too high; intrinsic muscles are genuinely weak. Fix: Move to softer putty. 3 minutes of soft putty daily > 1 minute of firm putty.
Problem 7: Child refuses the dressing frame but not other materials
Why: Dressing is associated with stressful morning routines. Fix: Introduce the frame at afternoon play time. Call it "the button game" — never "practice." Use a doll's clothing first.

Personalize for Your Child's Exact Profile
No two children are the same, and no two sessions should be identical. The protocol is a framework — your child's responses are the real-time feedback that personalizes it. Use the adaptations below to meet your child exactly where they are today.
On Harder Days
- Use only 1 material (the child's current favourite)
- Reduce session to 5 minutes
- Lower resistance / larger objects / simpler task
- Do NOT attempt a new material on a hard day
On Breakthrough Days
- Introduce the next level of current material (firmer putty / smaller pegs)
- Add a new material for the last 3 minutes
- Record the breakthrough — this is a GPT-OS® calibration event
Sensory Seeker Variation
Child actively seeks heavy touch input:
- Increase putty resistance faster than standard progression
- Use finger painting, playdough, clay alongside therapy putty
- Vertical surface with chalk (adds resistance)
Sensory Avoider Variation
Child withdraws from touch input:
- Begin every session with least tactile material (pegboard, building toys)
- Putty in a zip-lock bag first (no direct touch)
- Gloves for lacing if tactile sensitivity is significant
Age | Primary Materials | Adjustment | |
2–3 years | Soft putty · Large Duplo · Jumbo lacing | Sessions 5 min max; purely play-framed | |
3–5 years | Medium putty · Standard lacing · Training scissors · Pegboard | 10 min sessions; 2 materials per session | |
5–7 years | Firm putty · Tweezers · Pencil grips · Vertical surface · Dressing frames | 15 min sessions; 3 materials; data tracking | |
7+ with delays | All materials at functional level; focus on dressing + handwriting | OT consultation recommended |
Week 1–2: Tolerance, Not Mastery
Most parents expect dramatic improvement in Week 1. Recalibrate: the first two weeks are about neural pathway introduction — not skill establishment. The brain is learning that the activity exists. Behavior change comes after neural change.
✅ What You WILL See
- Child tolerates the session without major resistance (even if brief)
- Child begins to anticipate the session (neutral — not dreading it)
- Marginally longer duration of engagement with materials
- Occasional glimpse of the correct grip or motion (even if inconsistent)
- Parent feeling more confident about setup and script
❌ What You Won't Yet See
- Consistent pincer grasp under all conditions
- Cutting on a line with scissors
- Independent dressing without support
- Sustained handwriting
"Yesterday she held the tweezers for 30 seconds. Today it was 2 minutes." → Real progress.
"He didn't cry when we got out the scissors." → Real progress.
"She picked up a peg with two fingers instead of her whole hand — just once." → Real progress.
Week 1 will feel slow. Week 2 will feel like nothing is happening. This is exactly right. Neural pathways form before behavior changes. 📞 Call 9100 181 181 if you're unsure whether you're seeing progress.

Week 3–4: The Neural Pathways Are Forming
Something shifts in Week 3. The child begins to anticipate the activity. The materials feel less threatening. Movements begin to look more intentional. This is the consolidation phase — where repeated structured input begins to strengthen neural pathways into reliable circuits.
✅ Watch For These Consolidation Indicators
- Child requests a specific material ("Can we do the pom-pom game?")
- Grip pattern improving — fewer whole-hand grasps, more fingertip attempts
- Session duration increasing without parent extending it — child naturally stays longer
- Reduced frustration response to challenging tasks
- Skill beginning to appear outside sessions — child reaches for small objects differently; attempts buttons independently
"She picked up a raisin with two fingers at dinner without thinking about it." → The pincer grasp is generalizing
"He tried to cut his paper at school today." → Scissors confidence is transferring
"She asked to do the button game before bed." → Motivation is intrinsic now
Parent milestone: You may notice that you are more confident too. The script feels natural. The materials feel familiar. You are now a fine motor home therapist.
If child is completing sessions easily and requesting more → introduce the next difficulty level of 1 material per session.

Week 5–8: The Hands Are Changing
The 5–8 week window is where visible, functional change appears. This is not subtle. Parents consistently report this as the moment they see their child differently. Skills that were impossible eight weeks ago are now emerging in daily life — not just in sessions.
Skill | Mastery Indicator | |
Hand Strength | Squeezes medium-resistance putty without fatigue for 5+ minutes | |
Pincer Grasp | Consistently picks up small beads/pegs with fingertip pincer (not whole hand) | |
Scissors | Cuts across a narrow strip of paper with 2–3 controlled cuts | |
Pencil Grasp | Maintains functional grip on pencil for 5+ minutes without fatigue or self-correction | |
Bilateral Coord | Holds lacing card with one hand while threading with the other — consistently | |
Dressing | Fastens at least 2/3 buttons on dressing frame independently | |
Vertical Work | Draws on easel/wall with wrist extended for 5+ minutes |
Generalization Check — Is the Skill Appearing in Real Life?
- Uses pincer grasp for food at mealtimes (without prompting)
- Attempts own clothing fasteners with less adult help
- Holds pencil/crayon differently than at Week 1
- Does NOT avoid coloring or cutting activities at school
When 4+ of the mastery criteria above are consistently met, connect with your Pinnacle OT to progress the protocol. 📞9100 181 181 — Request a progress consultation.
🎉 You Did This. Your Child Grew Because of Your Commitment.
This is not a small thing. For 5–8 weeks, you set up the space. You ran the protocol. You made therapy happen at home, without a clinic, often without applause, sometimes after long workdays and difficult mornings. And look at those hands now.
💪 Stronger Intrinsic Hand Muscles
The foundation every future fine motor task stands on
🎯 More Mature Pincer Grasp
The gateway to pencil control, self-care, and daily independence
✂️ Beginning Scissor Confidence
A skill their classmates will start needing this year
📝 More Functional Writing Grasp
Less fatigue, more control, more time at the page
🧥 Emerging Dressing Independence
Dignity gained, one button at a time
Take a short video of your child doing the fine motor task that was hardest at Week 1. Watch it back together. Say: "Look what your hands can do now."
Document this milestone:📸 Photo or video of hands engaged with the material at Week 8 — save it. 📓 Write one sentence in the data tracker: "Week 8. This is what changed."

🚨 Red Flags — Pause and Seek Professional Input
Even in the celebration zone, clinical awareness matters. These are the specific signals that require a professional consultation — not reassurance, not a wait-and-see approach. Trust your instincts. If something feels wrong, pause and ask.
Red Flag | Why It Matters | Action | |
Fine motor skills that were improving suddenly regress | Regression can signal neurological change requiring medical evaluation | Teleconsult within 48 hours | |
New hand tremor, weakness, or unusual stiffness | Physical symptoms require pediatric neurological assessment | In-person assessment within 1 week | |
Child complains of pain in hands, wrists, or fingers during or after sessions | Pain means tissue stress; protocol may need modification or medical review | Pause protocol; teleconsult | |
No improvement across ANY fine motor area after 8 weeks of consistent daily practice | May indicate underlying condition (DCD, hypotonia, neurological) not yet identified | Full OT evaluation | |
Child is significantly worse than same-age peers AND gap is widening | May require more intensive clinic-based OT | AbilityScore® Assessment request | |
Difficulty walking, balance problems, or speech regression alongside fine motor concerns | Multi-domain regression requires urgent medical evaluation | Pediatrician same week |
Escalation Pathway: Self-resolve if minor → Teleconsult at pinnacleblooms.org → Center visit (70+ locations) → Medical referral if needed
Your Fine Motor Developmental GPS — Where Next?
L-981 is a milestone, not a destination. Based on your child's response to the Strong Hands Programme, the GPT-OS® progression engine identifies the optimal next technique. Choose your path based on where your child showed the most growth.
→ L-982: Visual-Motor Integration
If hand strength and grasp improved significantly — now build what eyes and hands do together
→ L-983: Bilateral Coordination
If bilateral coordination was your child's biggest gain — deepen the two-handed teamwork
→ L-985: Handwriting Development
If grasp maturation was the breakthrough — channel the new grasp into pre-writing skills
→ L-987: Self-Care Skills
If self-care independence was the highlight — move to the full dressing, eating, and hygiene programme
If this approach didn't fully resonate, try L-984: Sensory-Motor Integration Materials — a different entry point to the same targets.

Motor Development Domain — Techniques You Can Start Now
You already own materials for 4 of these 6 techniques. The investment you've made in L-981 extends far beyond one protocol — the same 9 materials are the foundation for multiple domains of your child's developmental journey.
1
L-980 ⭐ Intro
Gross Motor Development
Materials you own: Building toys · Vertical surface
Materials you own: Building toys · Vertical surface
2
L-982 ⭐⭐ Core
Visual-Motor Integration
Materials you own: Pegboard · Scissors · Pencil grip
Materials you own: Pegboard · Scissors · Pencil grip
3
L-983 ⭐⭐ Core
Bilateral Coordination
Materials you own: Lacing cards · Building toys
Materials you own: Lacing cards · Building toys
4
L-985 ⭐⭐⭐ Advanced
Handwriting Development
Materials you own: Pencil grip · Vertical surface
Materials you own: Pencil grip · Vertical surface
5
L-987 ⭐⭐ Core
Self-Care Skills Programme
Materials you own: Dressing frames
Materials you own: Dressing frames
6
F-616 ⭐ Intro
Sensory Fine Motor
Materials you own: Therapy putty · Pegboard
Materials you own: Therapy putty · Pegboard

The Bigger Picture — Your Child's 12-Domain Developmental Map
L-981 is one technique in a 70,000+ technique library. Your child's complete developmental profile is managed by GPT-OS® — tracking progress across all 12 domains, from sensory processing to school readiness, simultaneously.
The Fine Motor Readiness Index — 6 Stages
Stage 1
Whole-hand grasp · No tool use · Avoids tasks
Stage 2
Beginning pincer · Basic manipulation ← Many children here at L-981 start
Stage 3
Established pincer · Scissor snipping · Emerging tripod
Stage 4
Controlled cutting · Functional pencil grasp · Large button mastery
Stage 5
Shape cutting · Efficient grip with endurance · Independent dressing
Stage 6
Refined skills · Handwriting fluency · Full self-care independence

Three Families. Three Journeys. One Direction.
Anonymized accounts from the Pinnacle Network. All behavioral descriptors reflect real documented change. Individual outcomes vary.
📖 Priya, 4 years, Hyderabad
Before: Held crayon in a complete fist, colored for less than 90 seconds before throwing it down. Refused scissors entirely. Getting dressed took 40 minutes because buttons were impossible.
At Week 8: "She held her crayon for 8 minutes and drew a face. She can button the bottom two buttons of her school shirt. Her teacher said she's coloring like the other kids now." | 8 weeks | Daily 10-minute sessions
"I never believed I could be her therapist. I was wrong." — Priya's mother
At Week 8: "She held her crayon for 8 minutes and drew a face. She can button the bottom two buttons of her school shirt. Her teacher said she's coloring like the other kids now." | 8 weeks | Daily 10-minute sessions
"I never believed I could be her therapist. I was wrong." — Priya's mother
📖 Arjun, 6 years, Bangalore
Before: Handwriting was illegible; fatigued within 3 minutes of writing. Teacher was recommending he be held back because he couldn't manage classroom written work.
At Week 8: "His grip transformed. He writes his full name now. His teacher cannot believe the same child."
"The vertical surface work was the missing piece nobody had tried before." — Arjun's father
At Week 8: "His grip transformed. He writes his full name now. His teacher cannot believe the same child."
"The vertical surface work was the missing piece nobody had tried before." — Arjun's father
📖 Kabila, 5 years, Chennai
Before: Diagnosed with DCD. Fine motor consistently flagged at every school review. Cried every time she saw scissors.
At Week 8: "She cuts along a wavy line now. She fastened her own ponytail clip. Small things. Life-changing things."
At Week 8: "She cuts along a wavy line now. She fastened her own ponytail clip. Small things. Life-changing things."
"What these families share is consistency. 10–15 minutes daily, with the right materials. The materials do the work — when parents show up." — Pinnacle OT Division
Preview of 9 materials that help with fine motor development Therapy Material
Below is a visual preview of 9 materials that help with fine motor development therapy material. The pages shown help educators, therapists, and caregivers understand the structure and content of the resource before use. Materials should be used under appropriate professional guidance.






Link copied!

You Are Not Doing This Alone
Over 1,000 individuals from 111 countries contributed to the WHO Nurturing Care Framework — because community is a clinical tool. Connect with families navigating the same fine motor journey as yours.
🟢 Fine Motor Parent Network — WhatsApp
Join 4,200+ parents who exchange tips, celebrate wins, and troubleshoot challenges around the same 9 materials.
🔵 Pinnacle Community Forum — Online
Ask questions. Share data. Post videos of your child's progress (private community). Get responses from Pinnacle OTs at pinnacleblooms.org/community
🟡 Local Parent Meetups
70+ Pinnacle centers host monthly parent meetups. Meet families in your city navigating the same journey.
🟠 Peer Mentor Programme
Connect with a parent who completed this exact protocol and is 6 months ahead of you. Mentored parent support available.
"Your experience helps others. Once you reach Week 8, consider sharing your journey. The parent who was you 8 weeks ago needs to hear from someone like you."