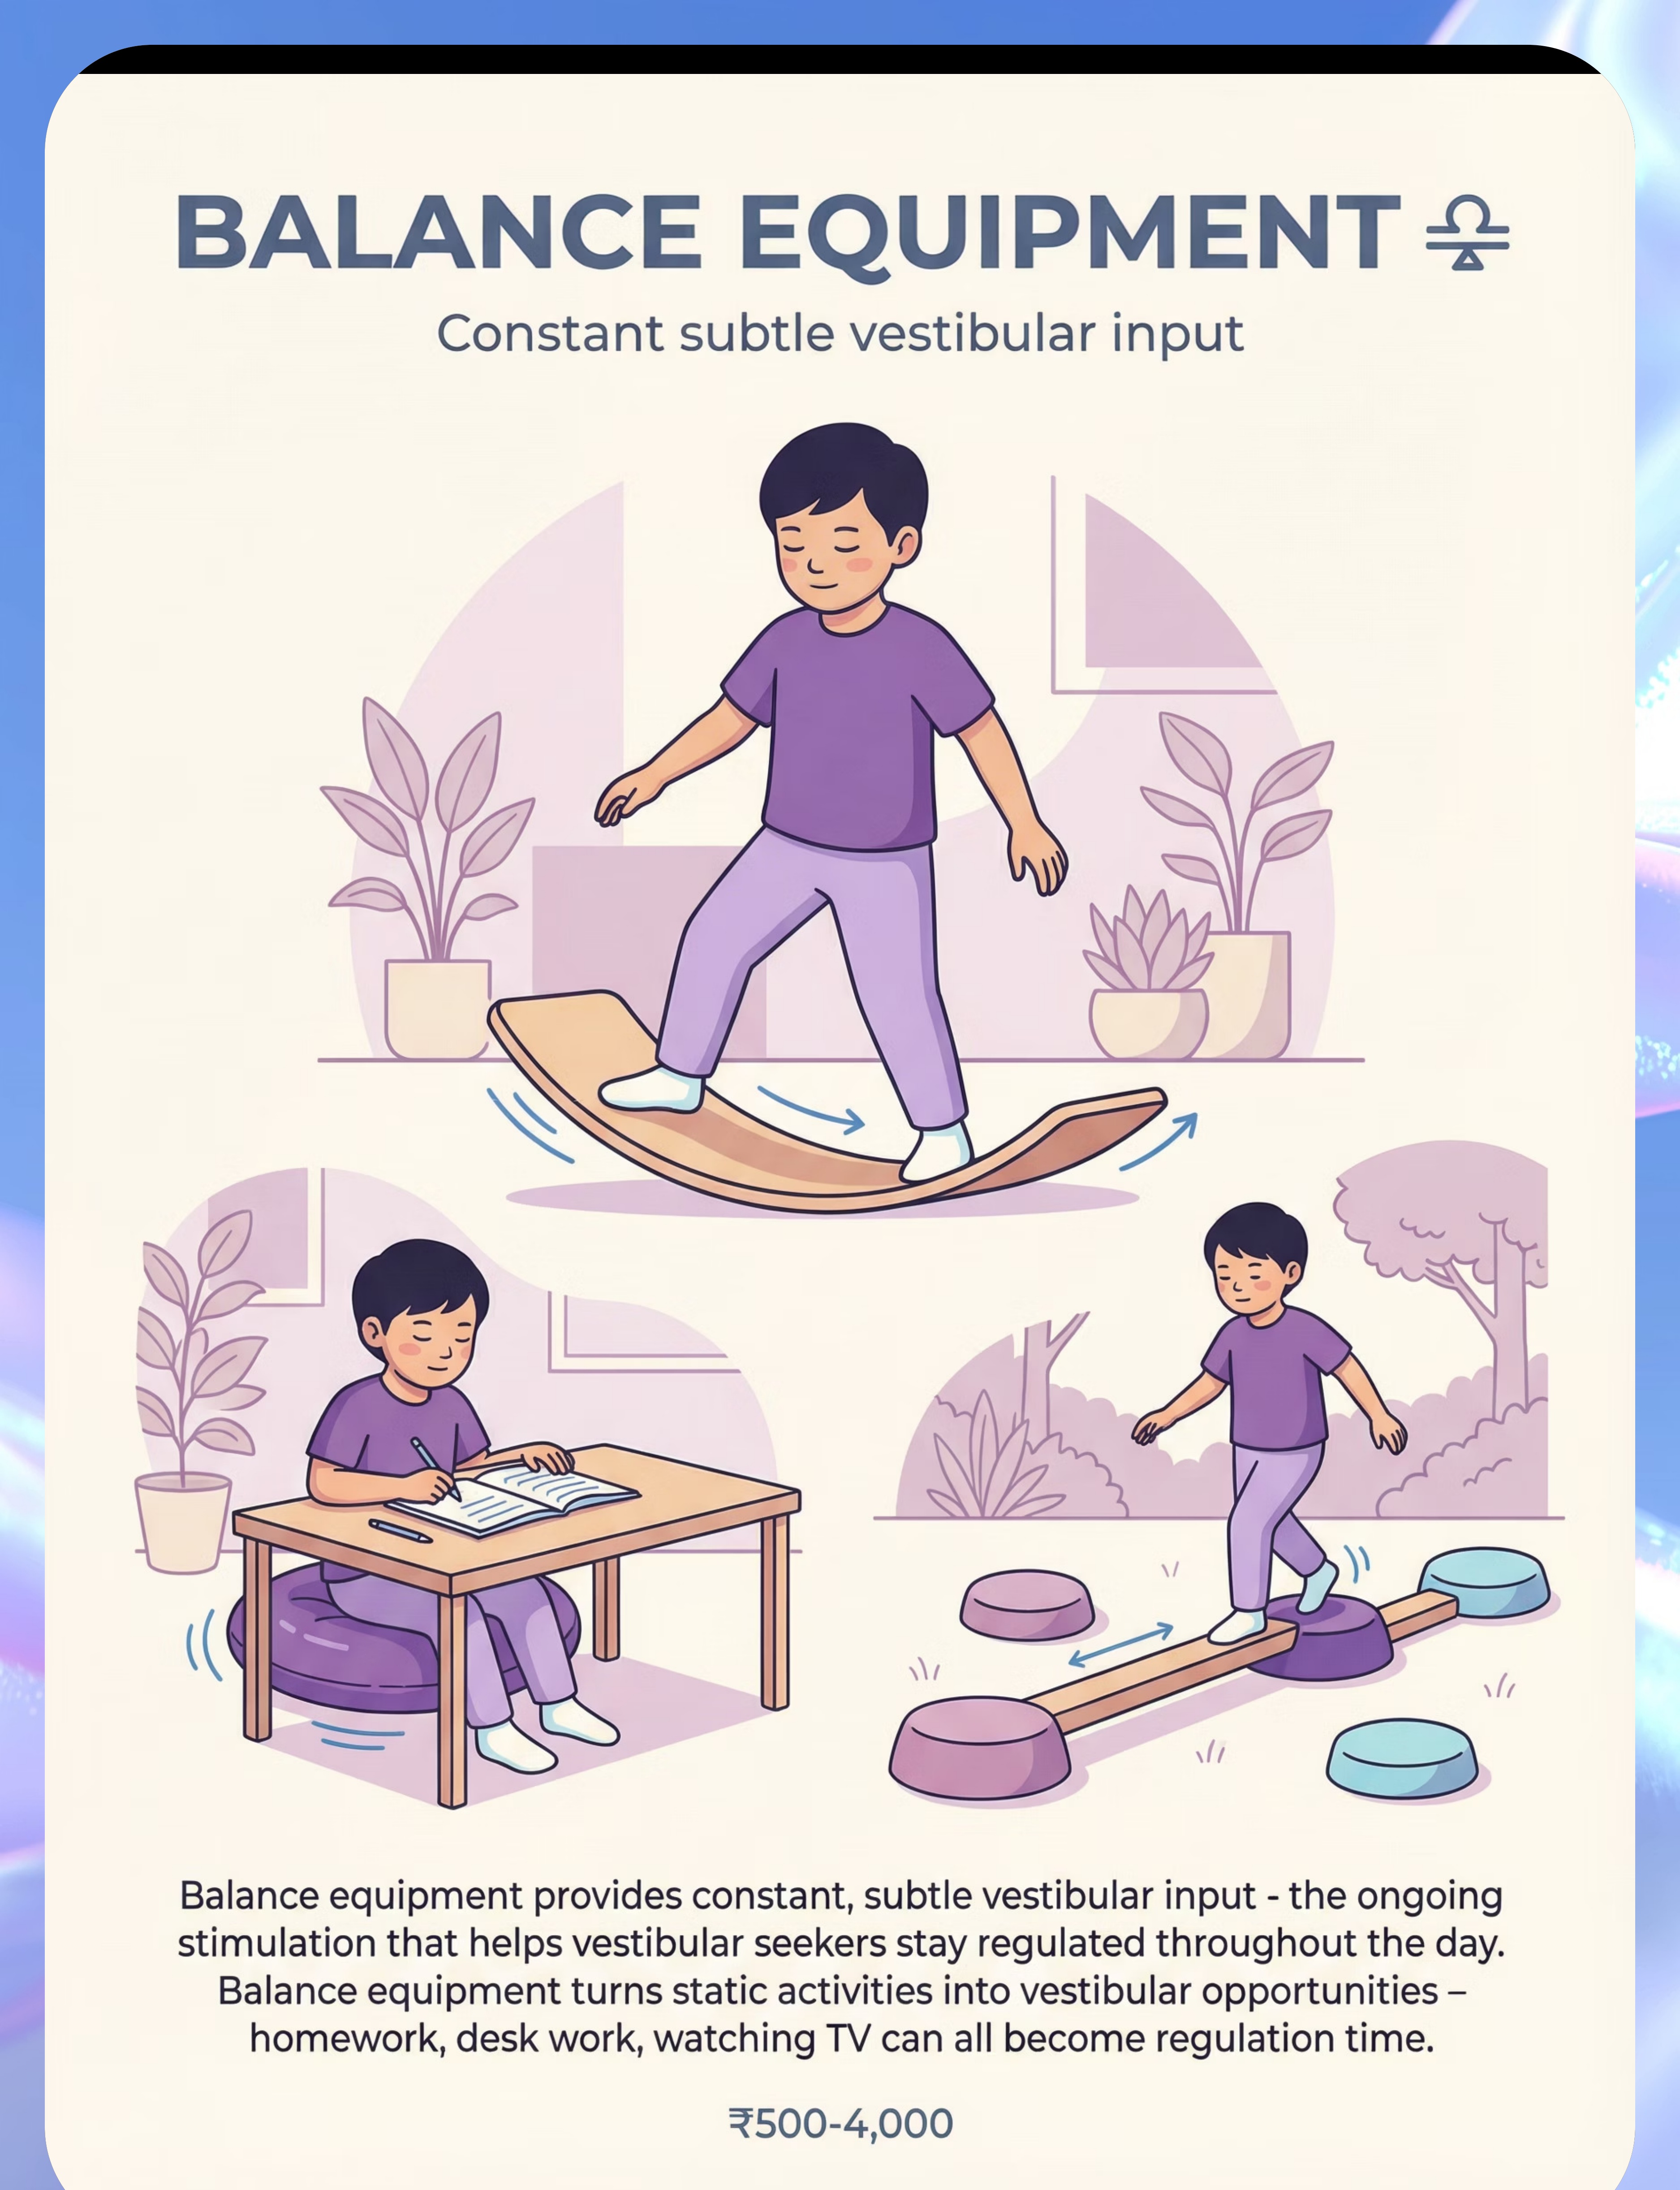


- Vestibular input influences arousal regulation, attention, and emotional tone
- Proprioceptive feedback supports motor planning and body awareness
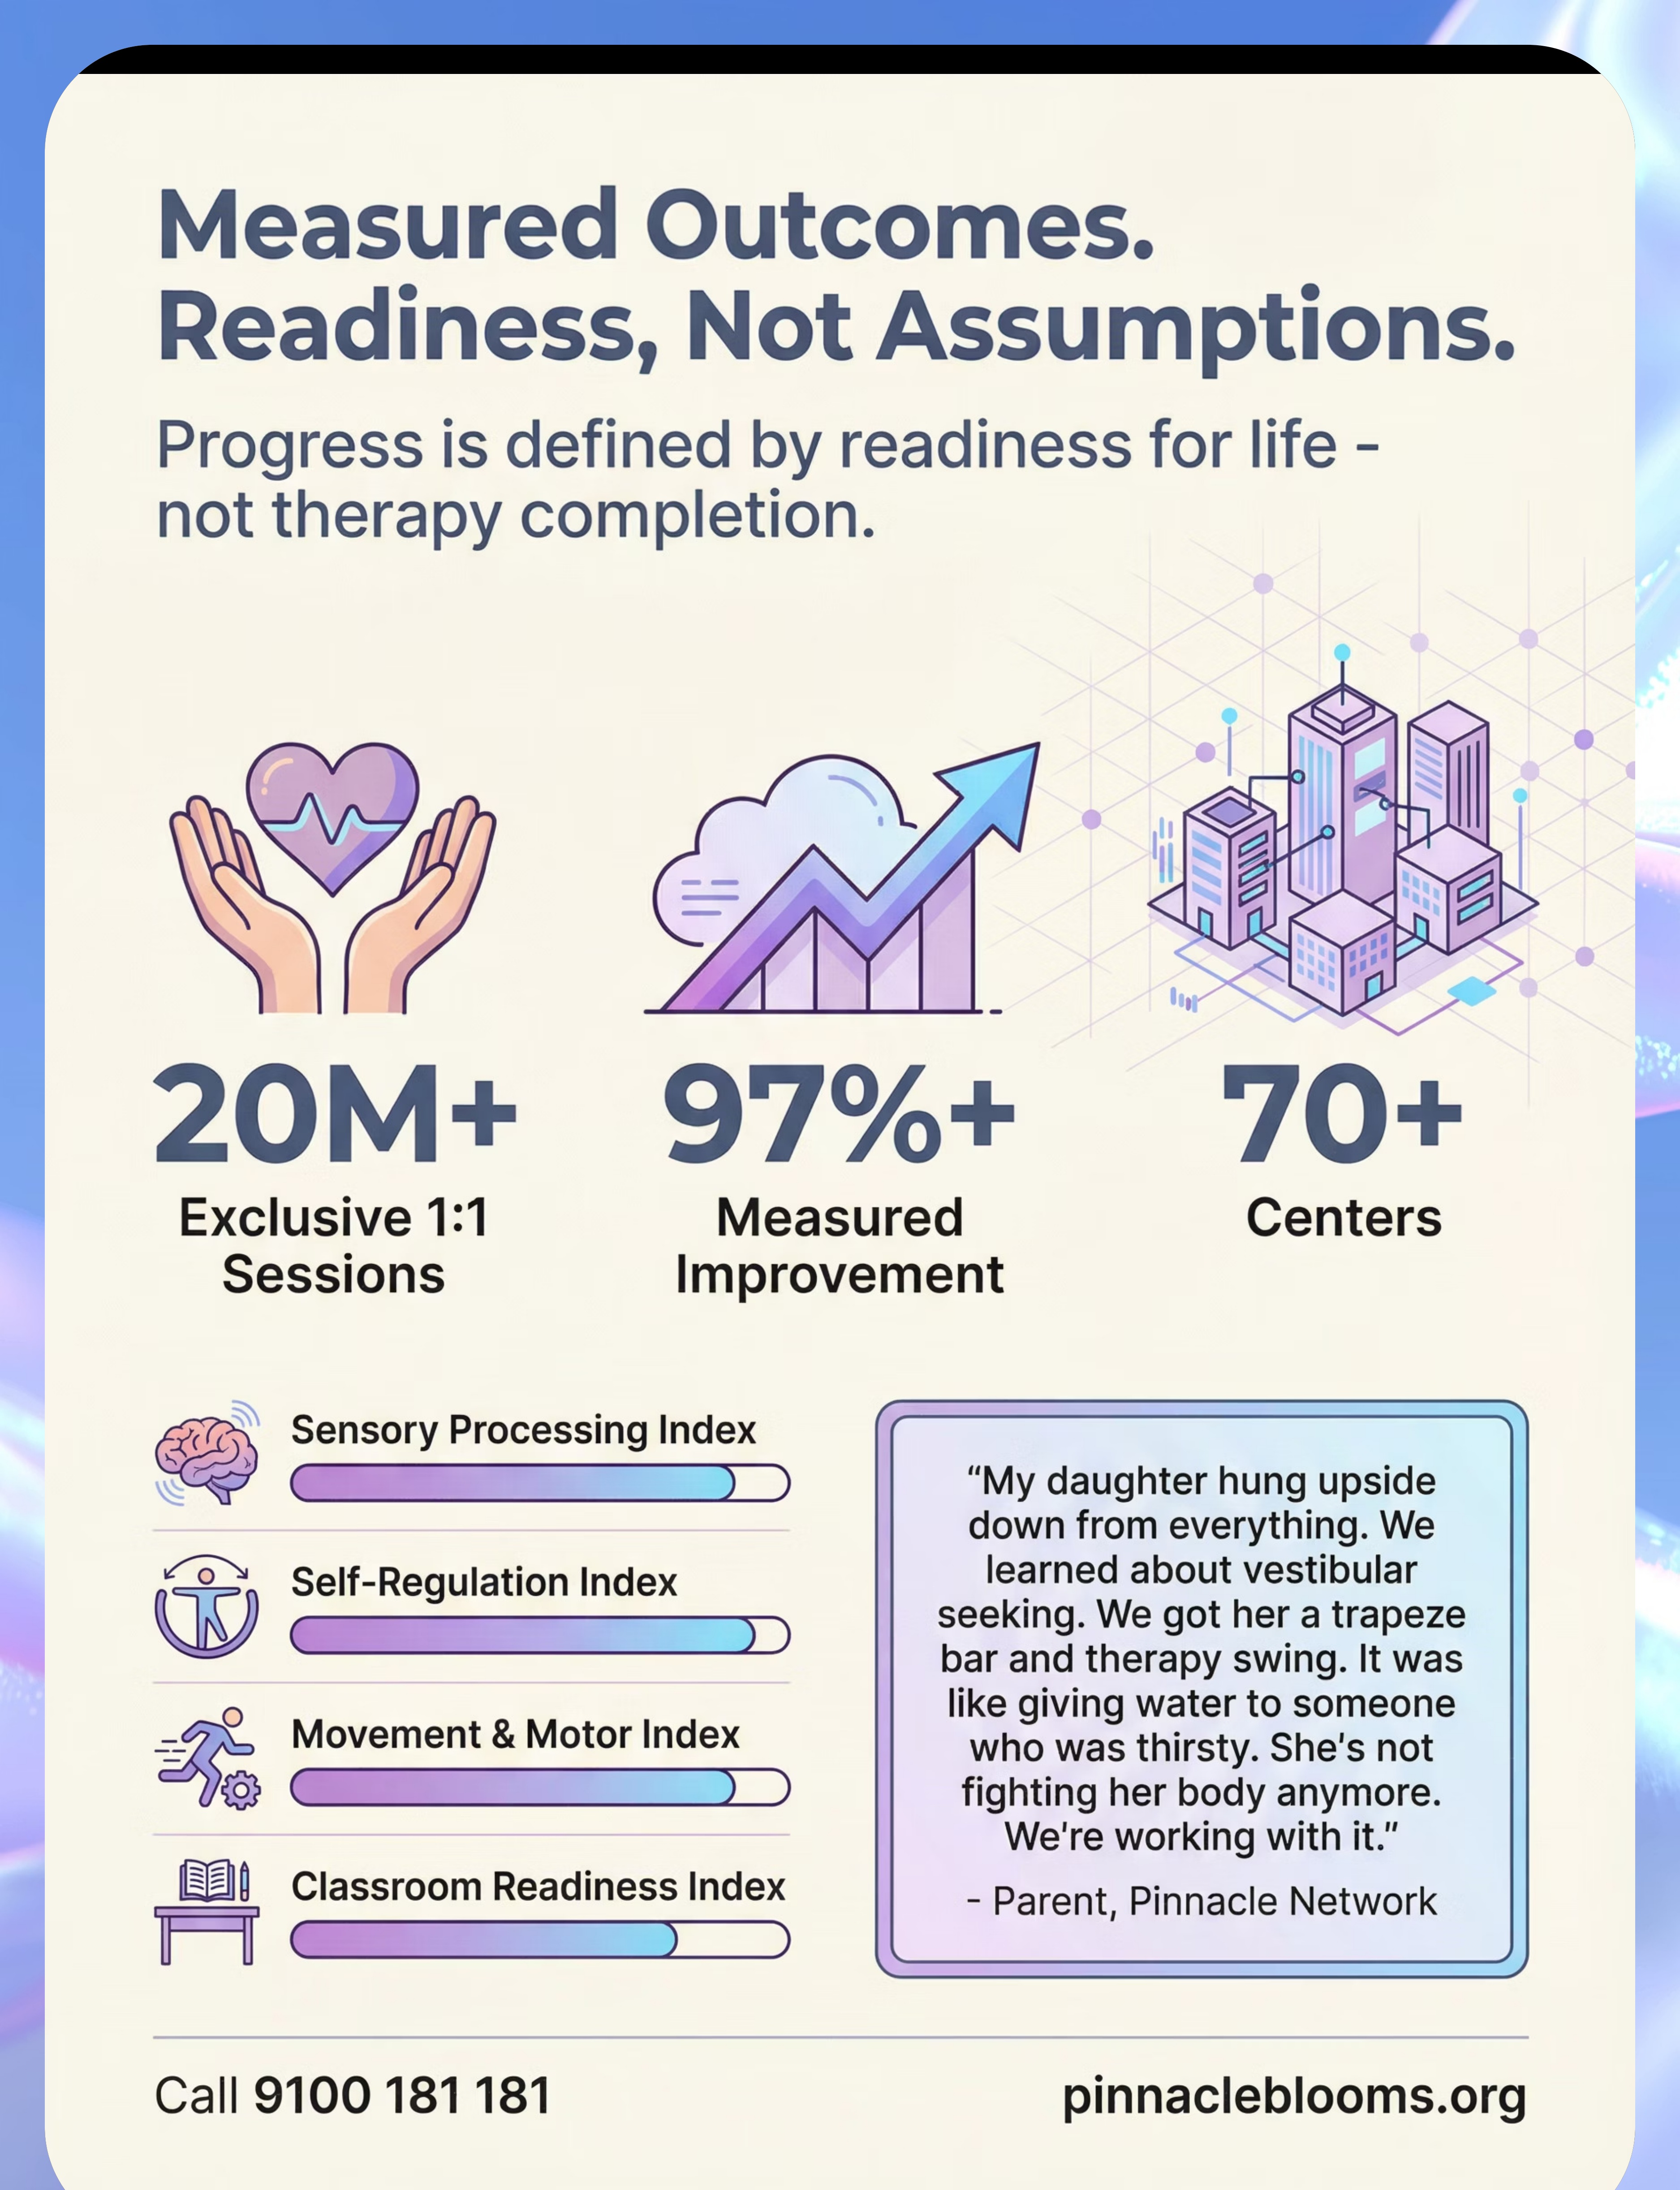
- Controlled inversion in therapeutic contexts can reduce anxiety and improve focus
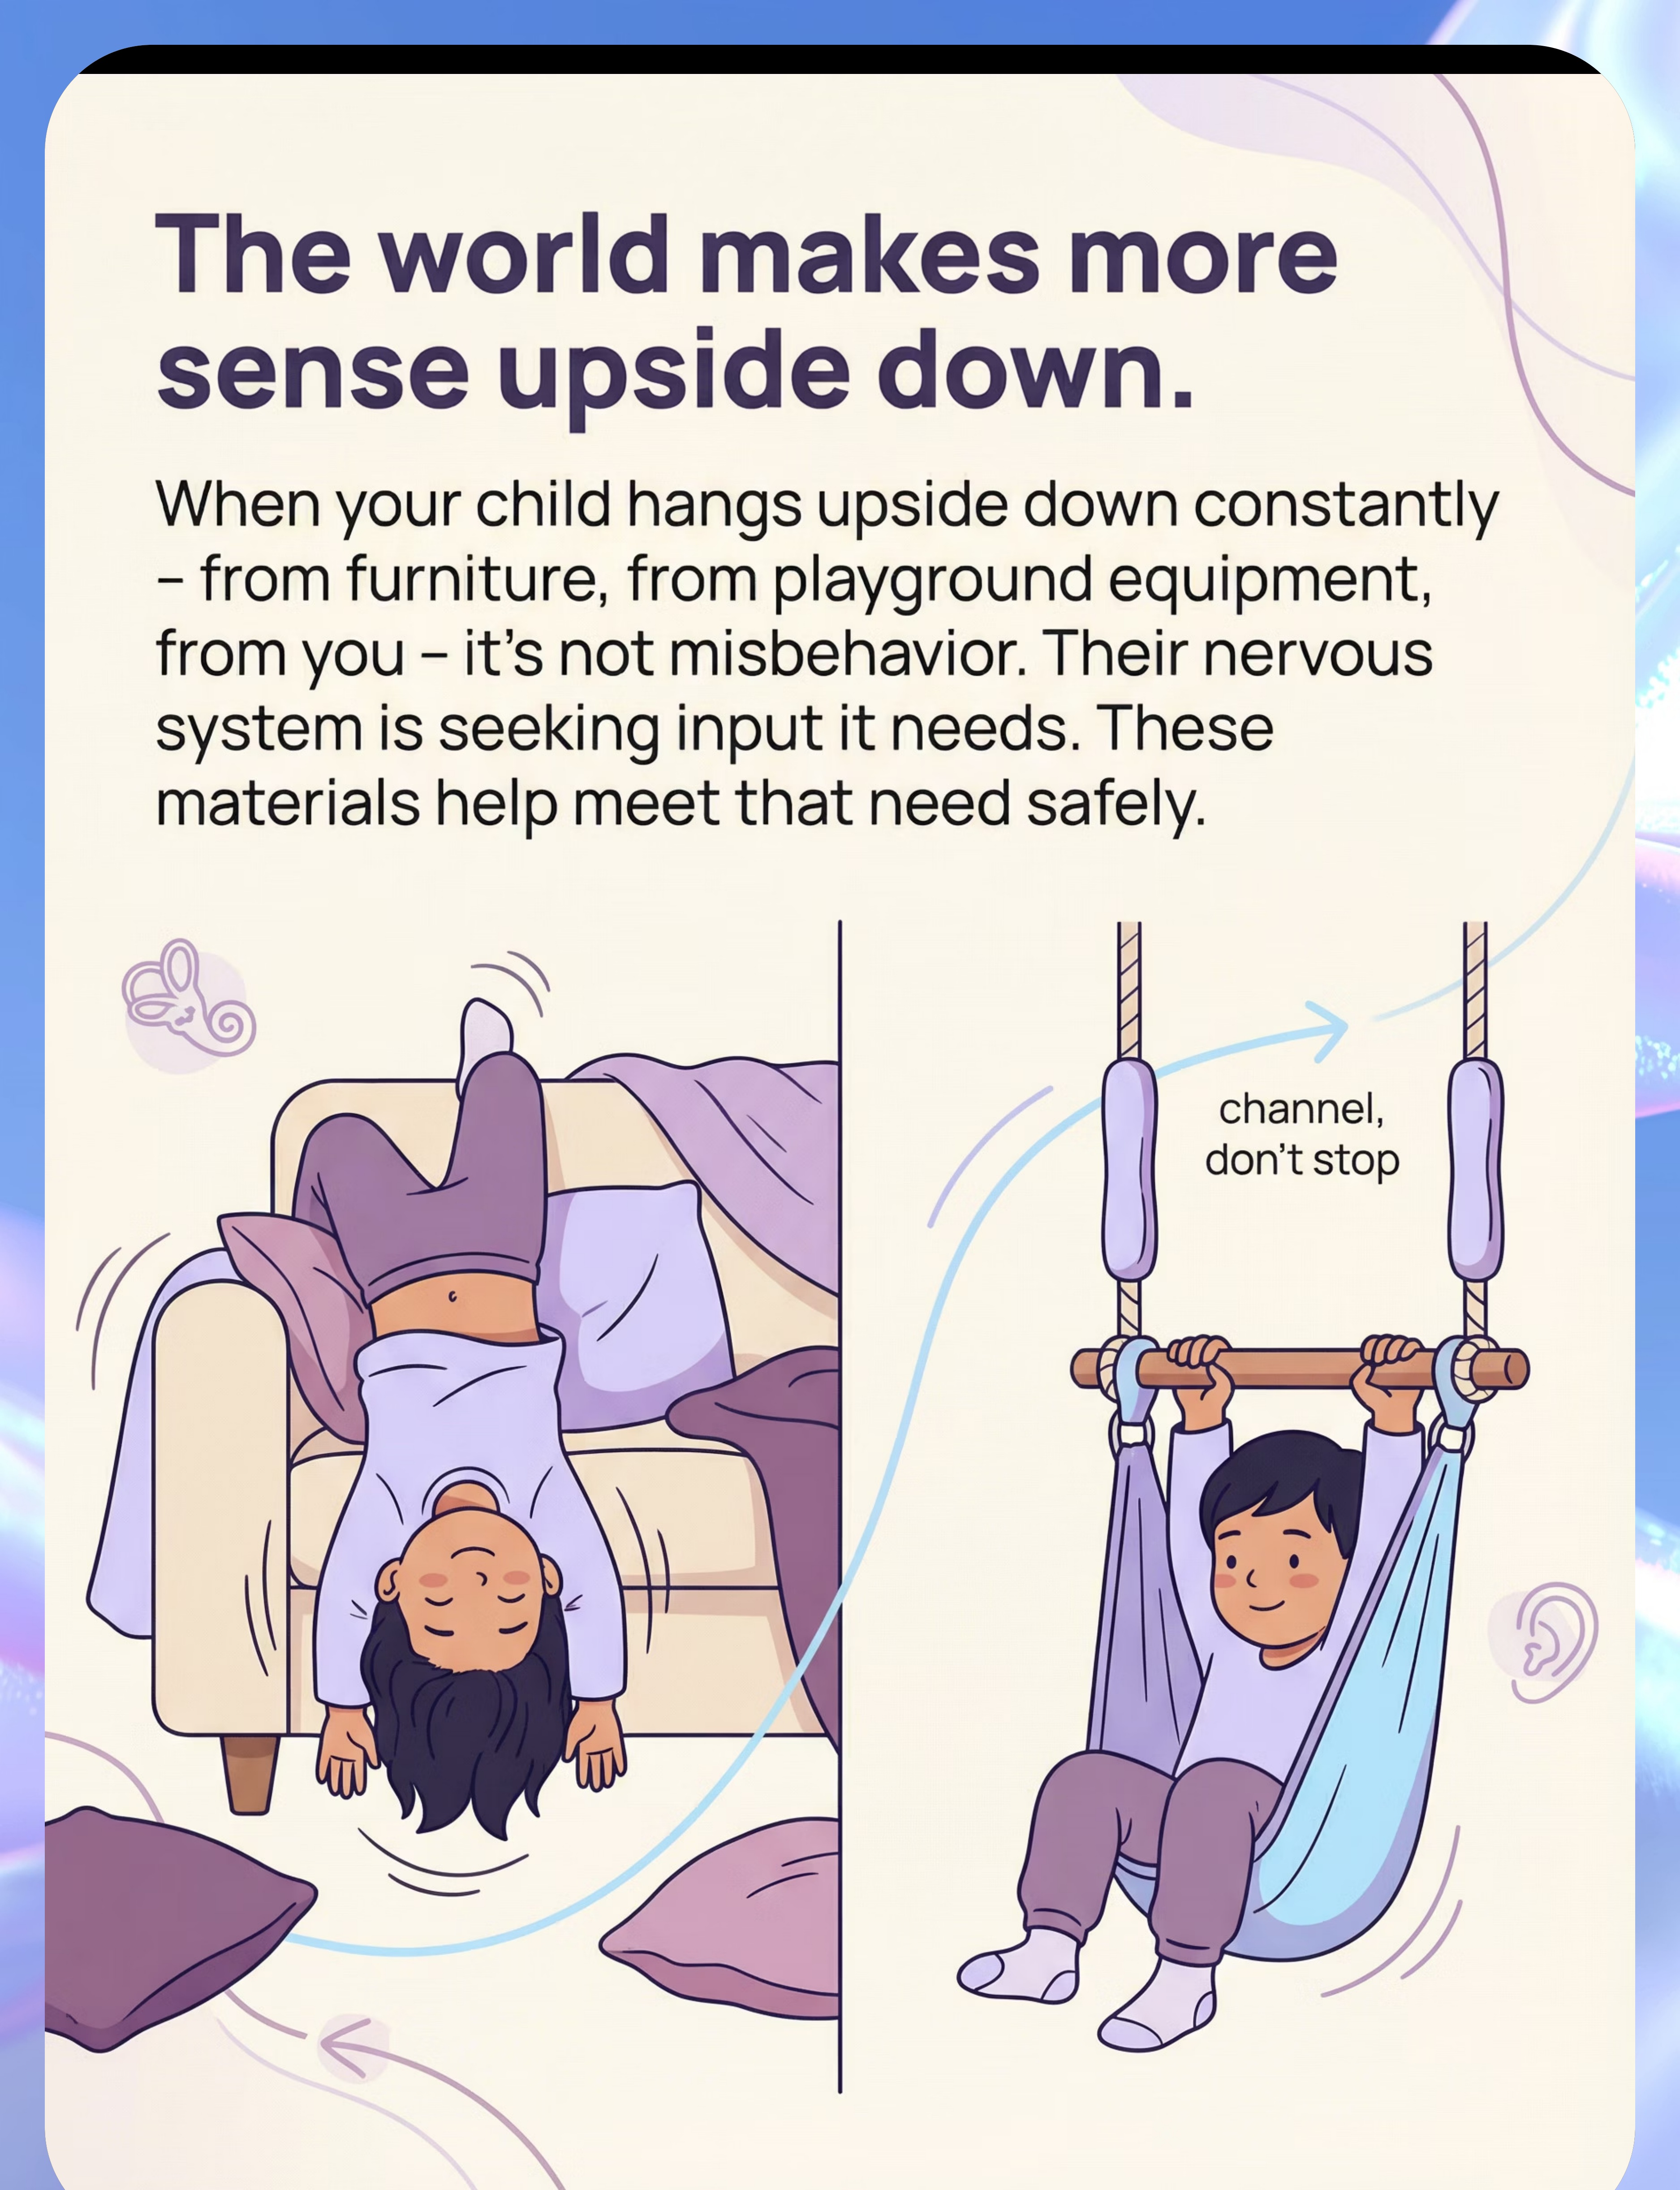
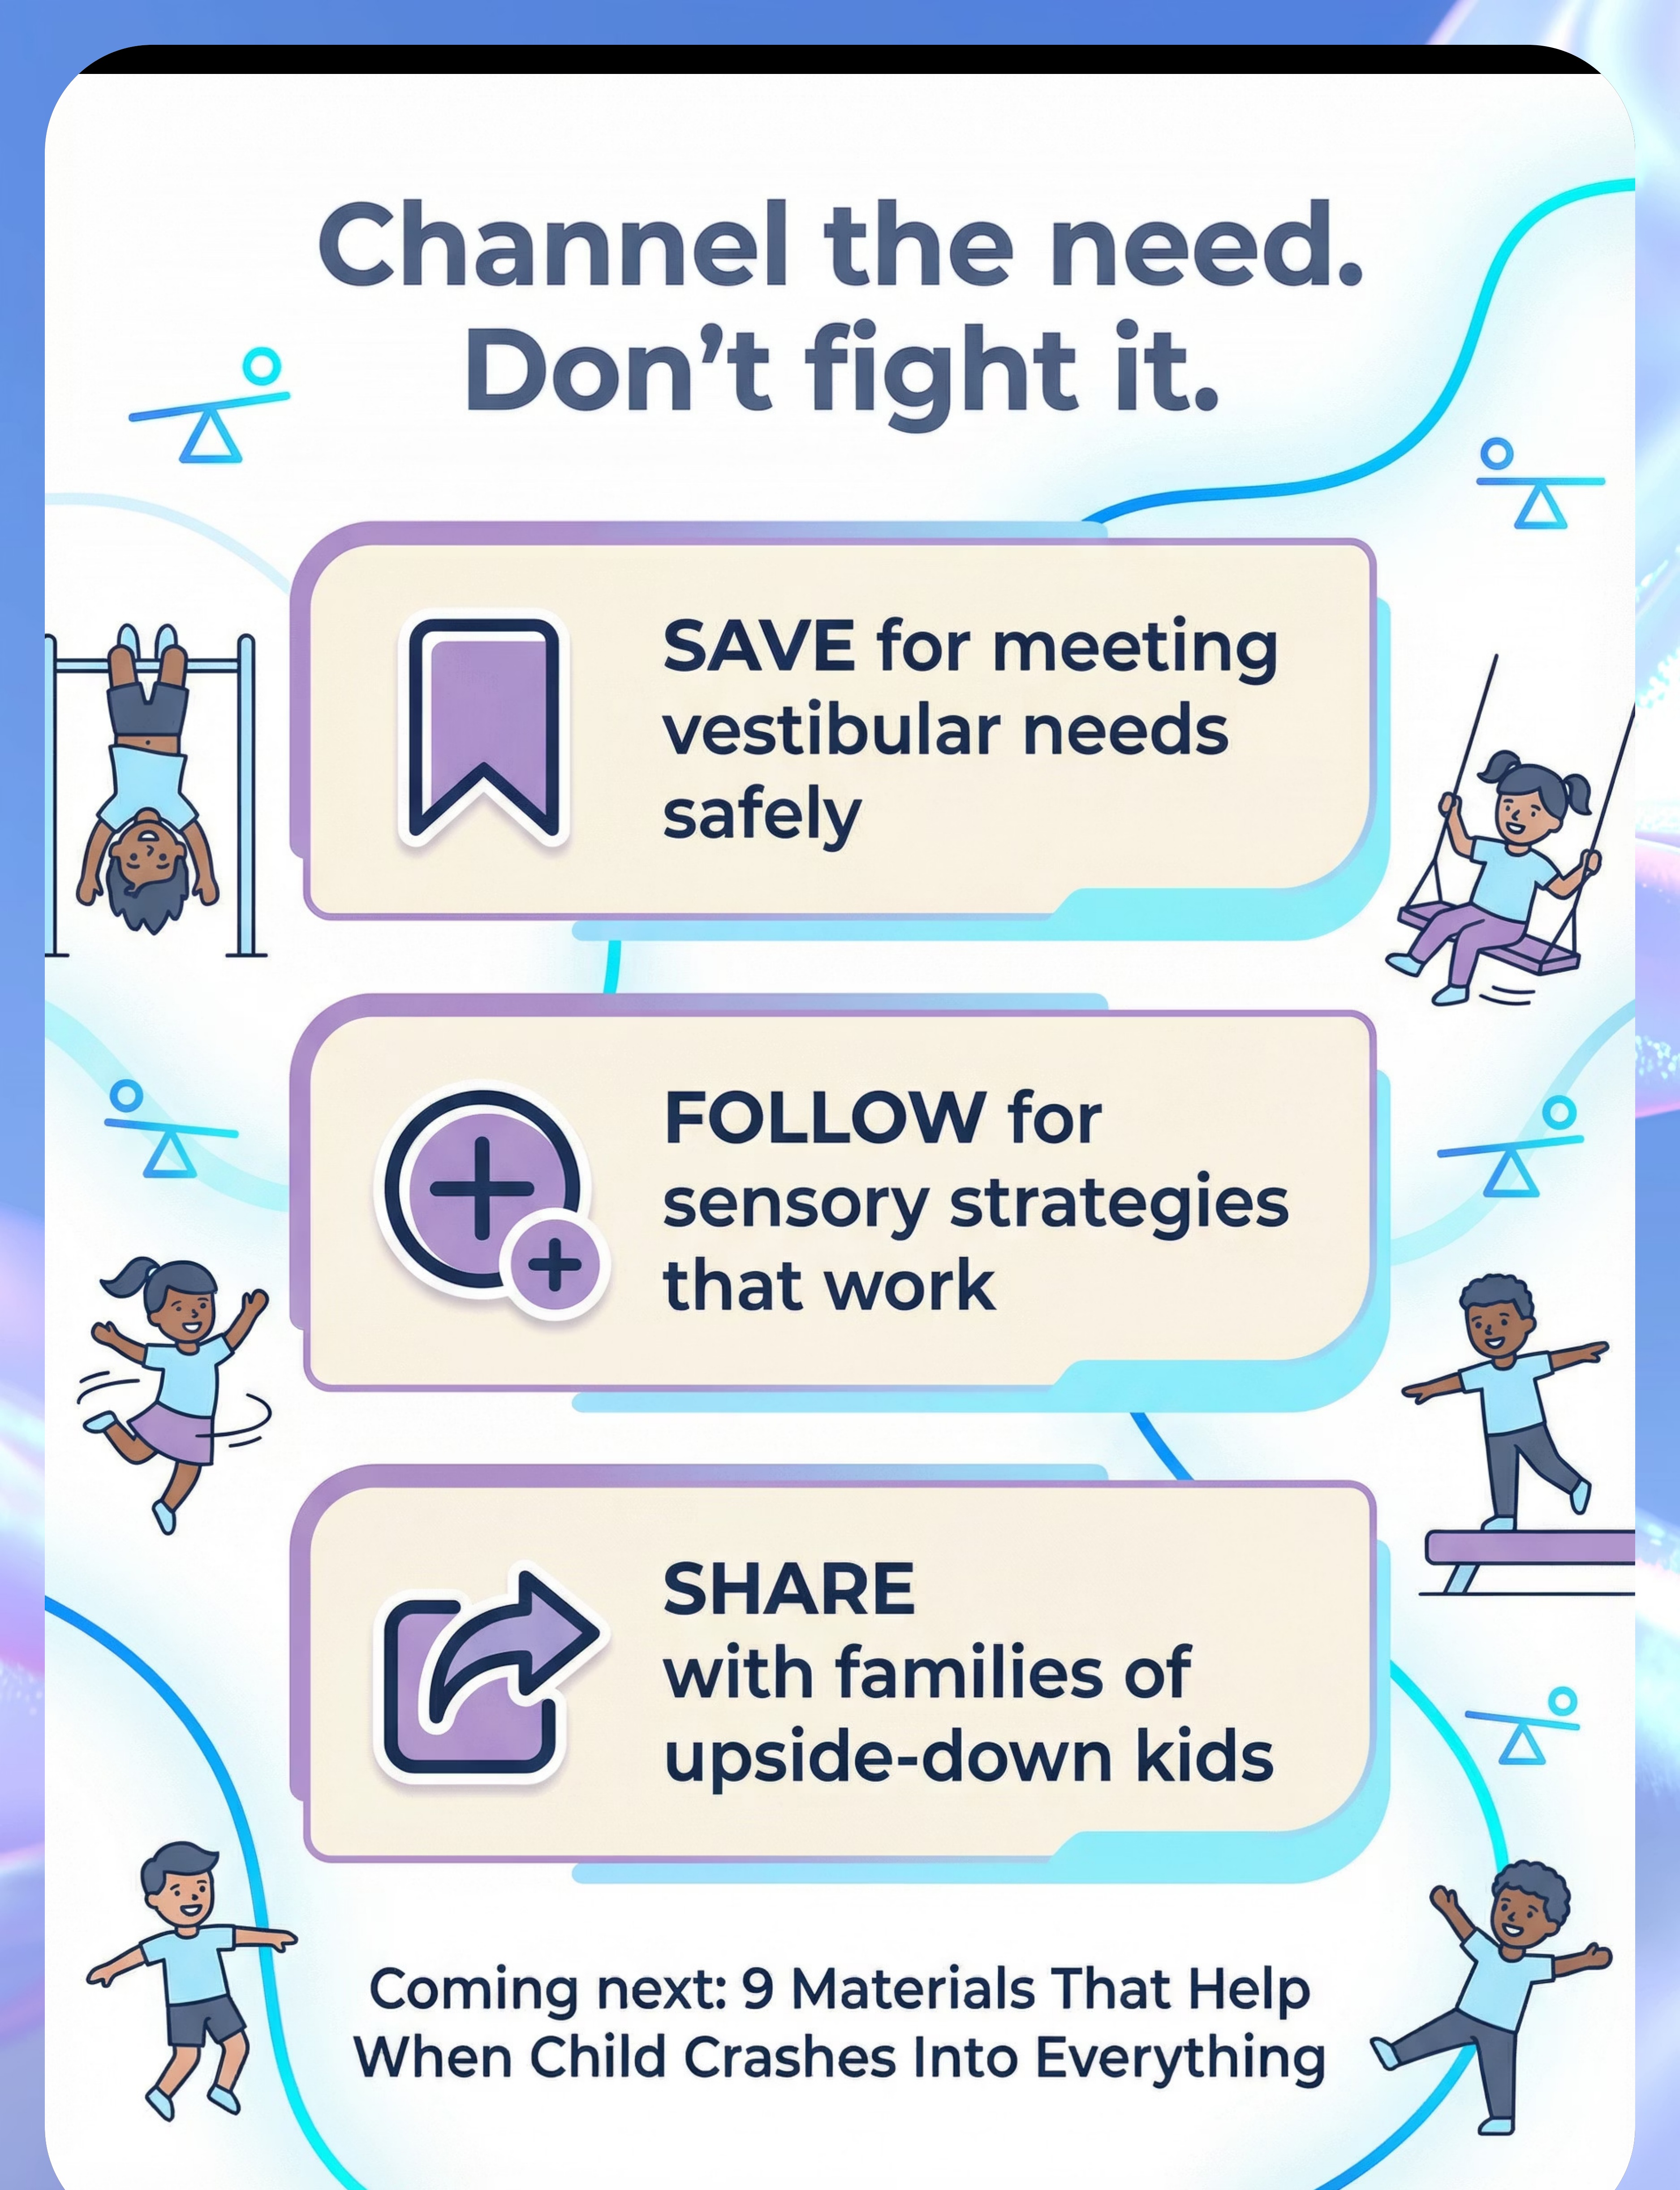
- Denying the need without offering an alternative often escalates behavior


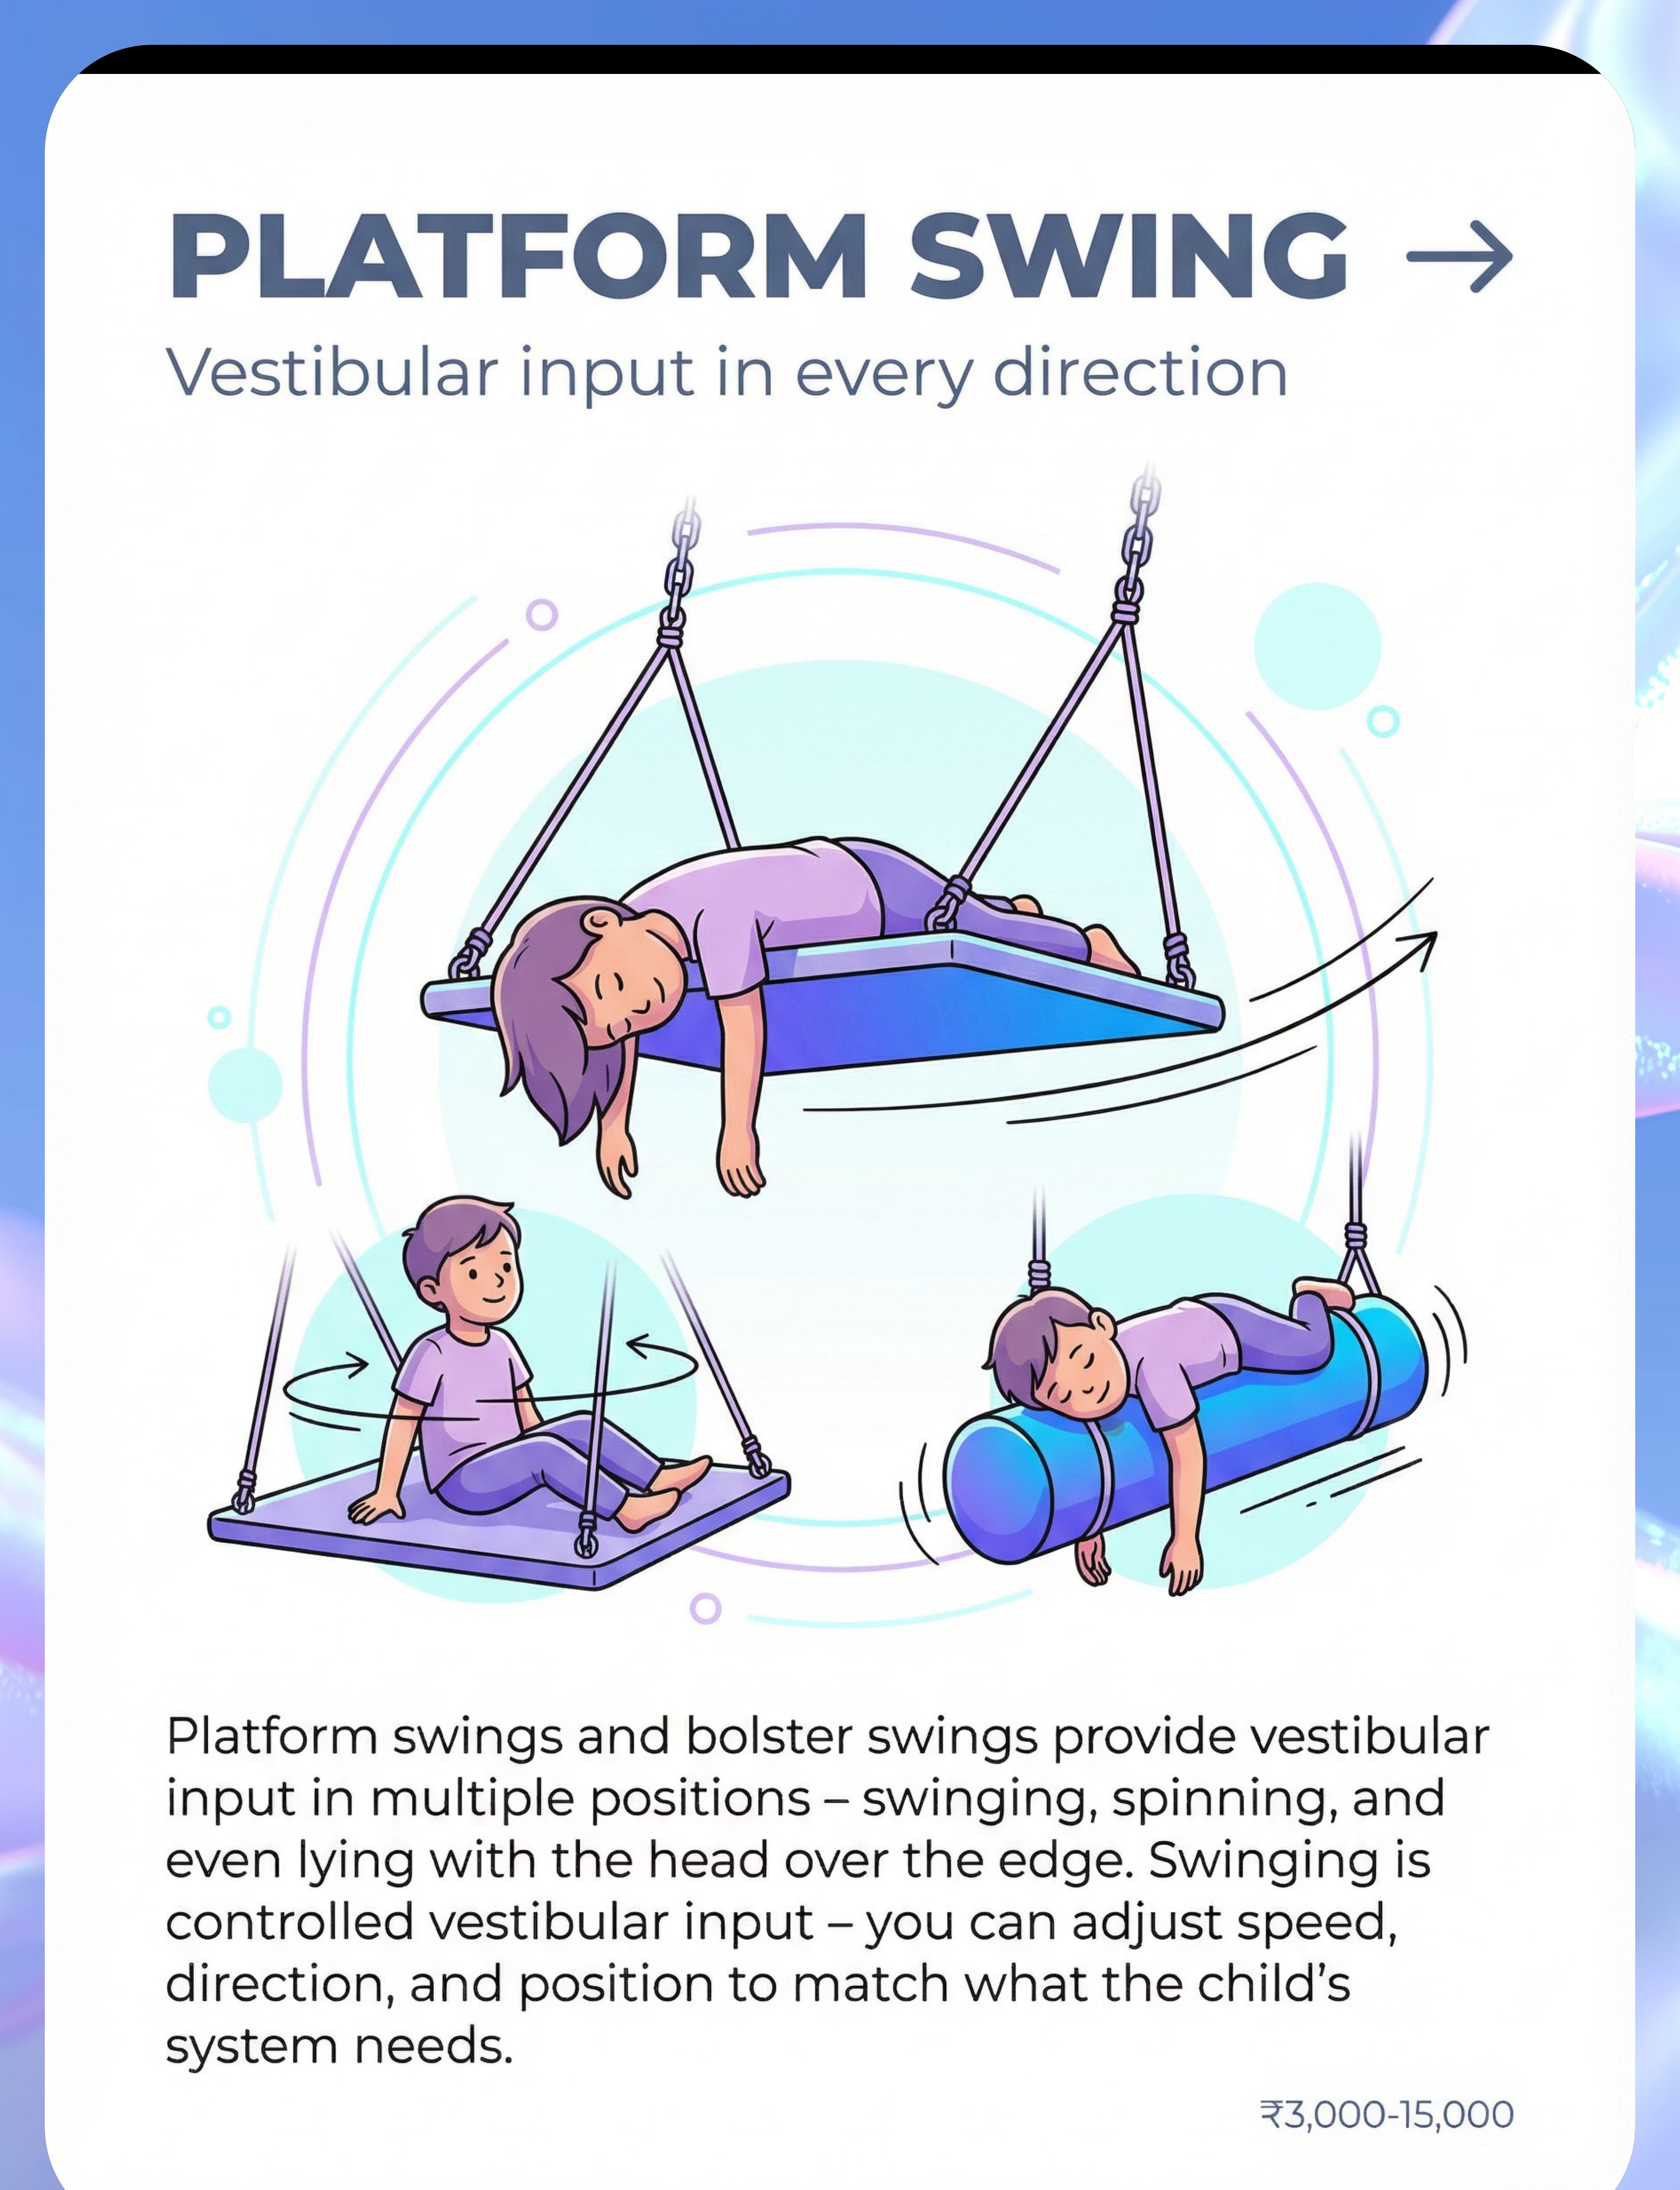
Therapy Swing
Material 1 What It Is A suspended fabric or platform swing designed for indoor use, often mounted to a ceiling beam or doorframe swing stand. Therapy swings provide rhythmic, linear, and rotary vestibular input — the exact sensory diet most "upside-down kids" are seeking. Unlike playground swings, therapy swings allow the child to control the movement pattern, lie prone (face-down), sit, or drape over the swing in partial inversion — all positions that deliver rich sensory feedback. Clinical Highlights Supports vestibular processing and arousal regulation Prone positioning activates extensor muscles and strengthens core Rhythmic input can reduce anxiety and support self-regulation Ideal for pre-activity calming or post-stimulation wind-down


- Natural inversion position with low barrier to entry for reluctant children
- Bilateral leg gripping activates hip flexors and core stabilizers
- Head-down position increases cerebral blood flow and vestibular activation
- Can be used in OT sessions for proprioceptive "heavy work" activities
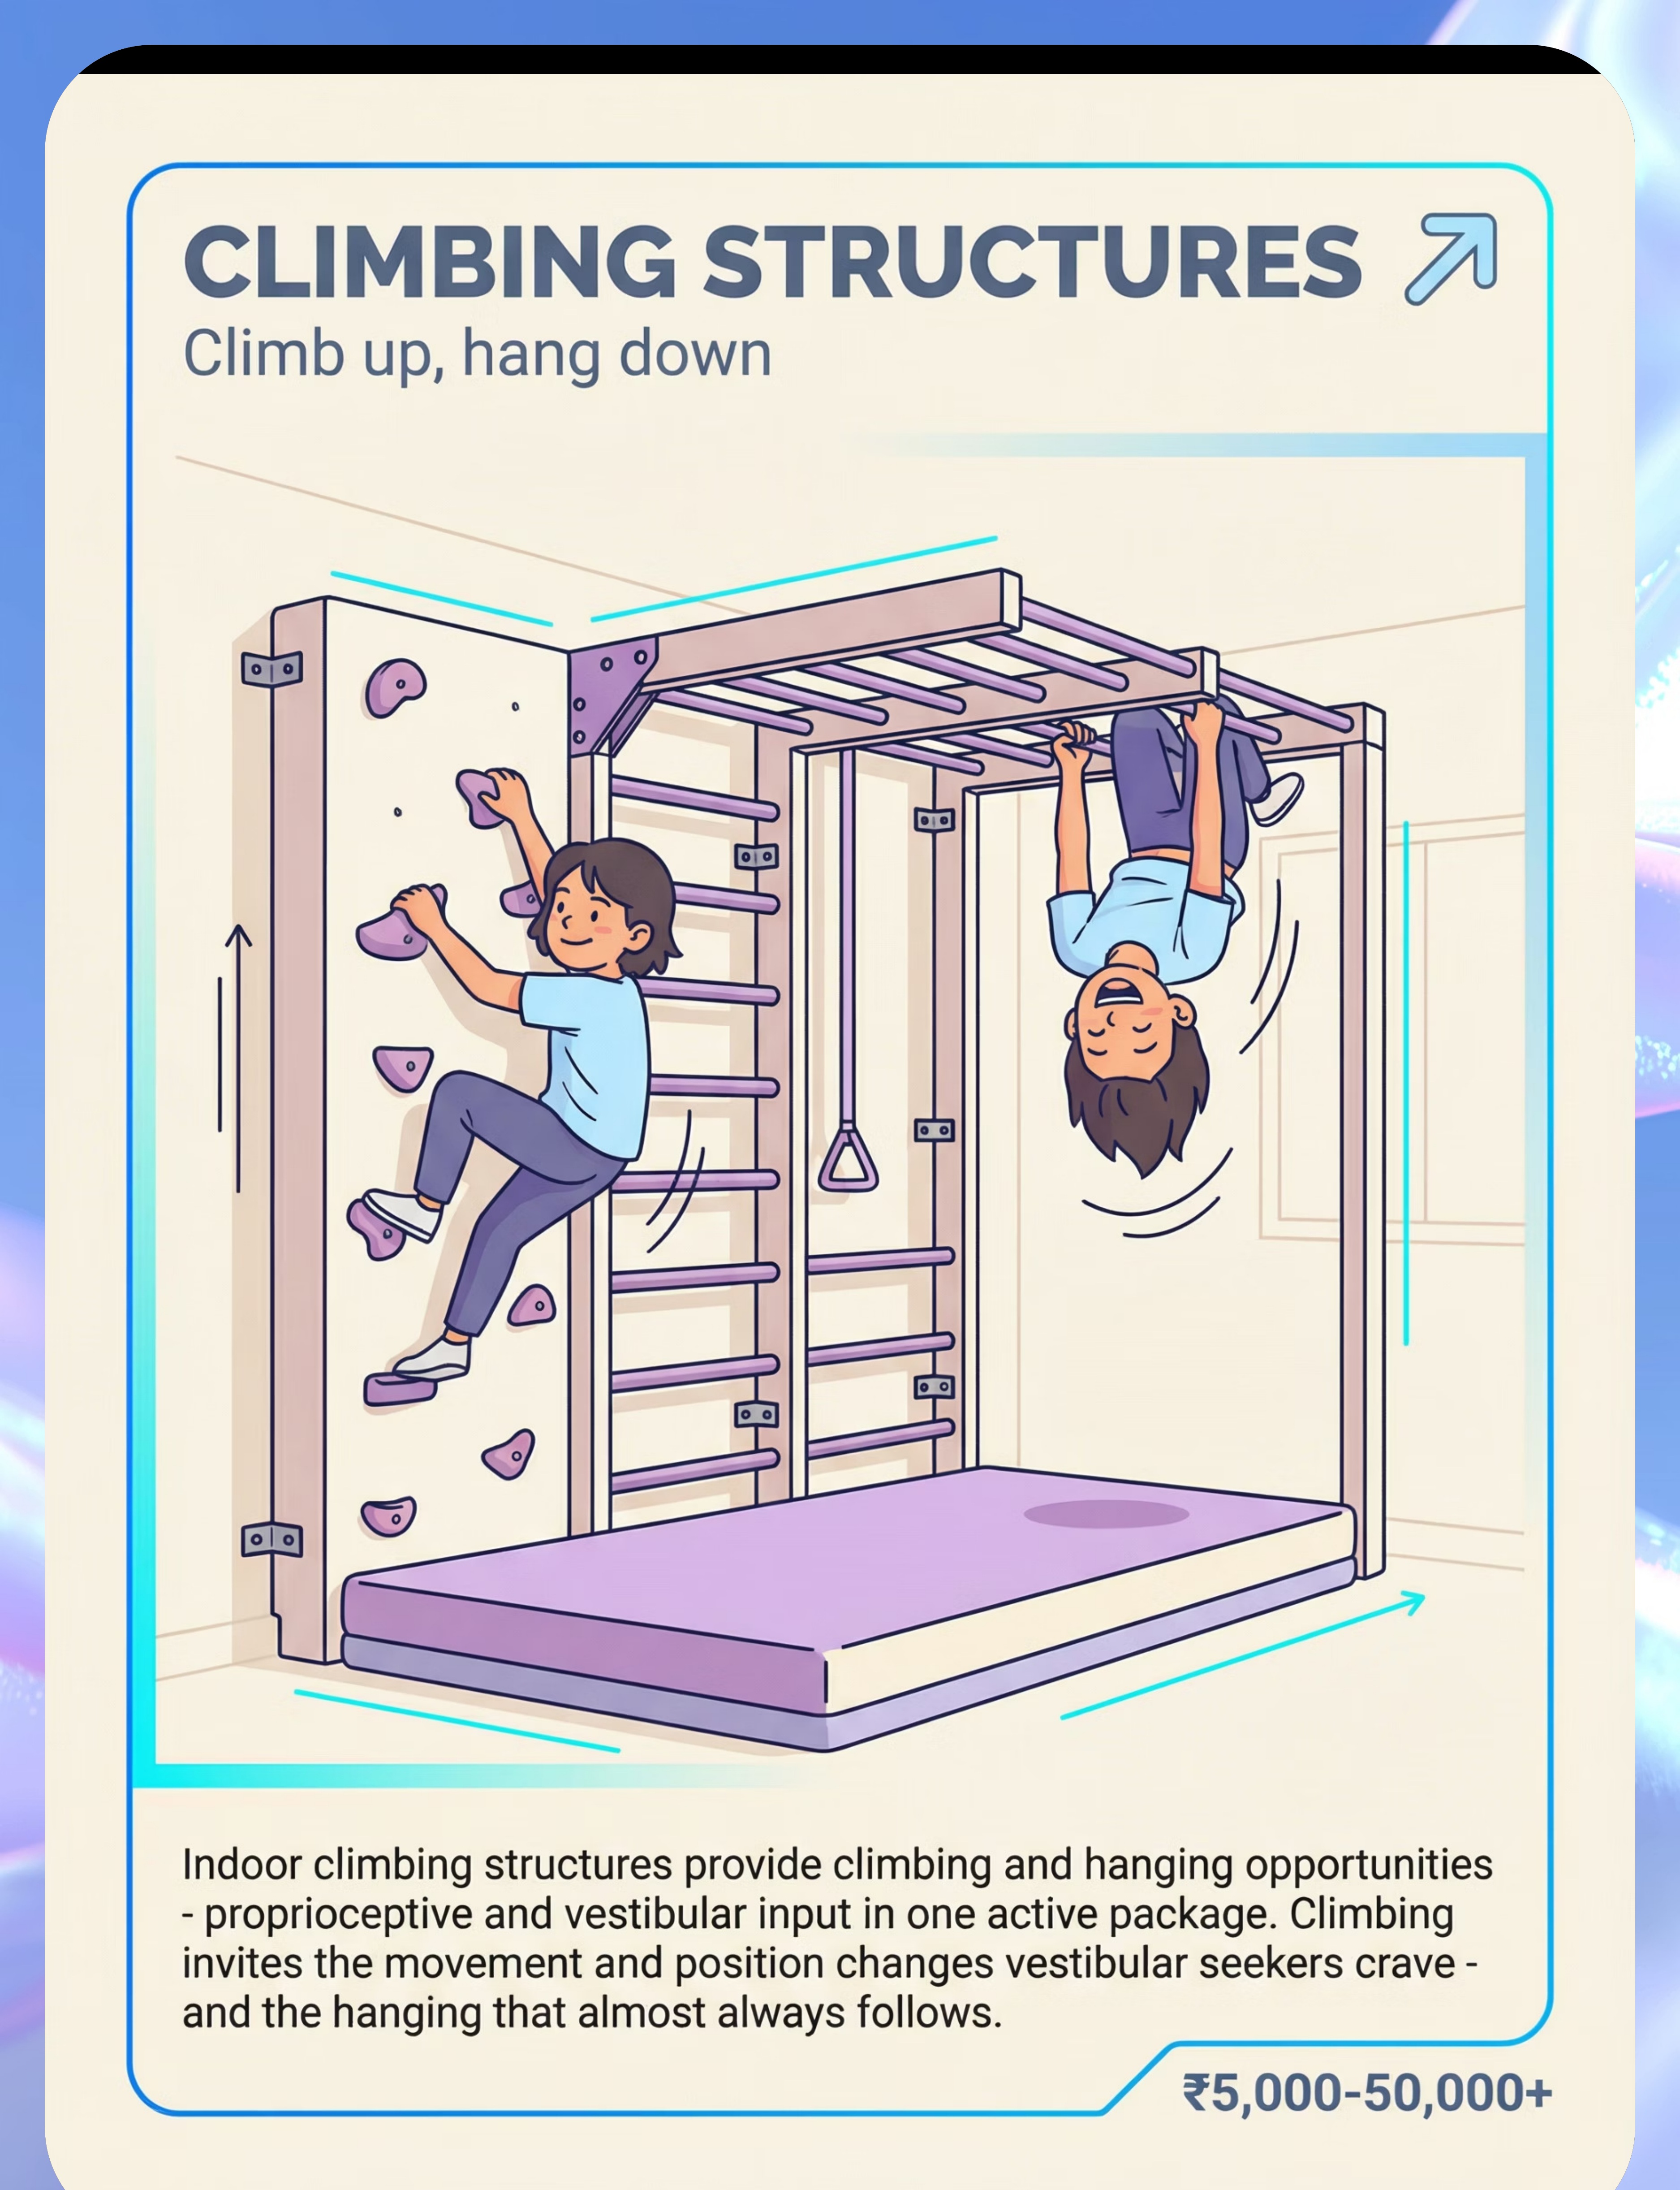
- Heavy work through all four limbs activates the proprioceptive system deeply
- Promotes motor planning, sequencing, and spatial reasoning
- Risk-taking in a safe environment builds interoceptive awareness
- Can replace couch-flipping and furniture-climbing with a structured alternative

- Joint traction through shoulders, elbows, and wrists — deep proprioceptive input
- Inversion (knees-over-bar) provides full vestibular and circulatory inversion effects
- Builds grip strength, shoulder stability, and bilateral coordination
- Structured hanging time can be used as a calming break between activities

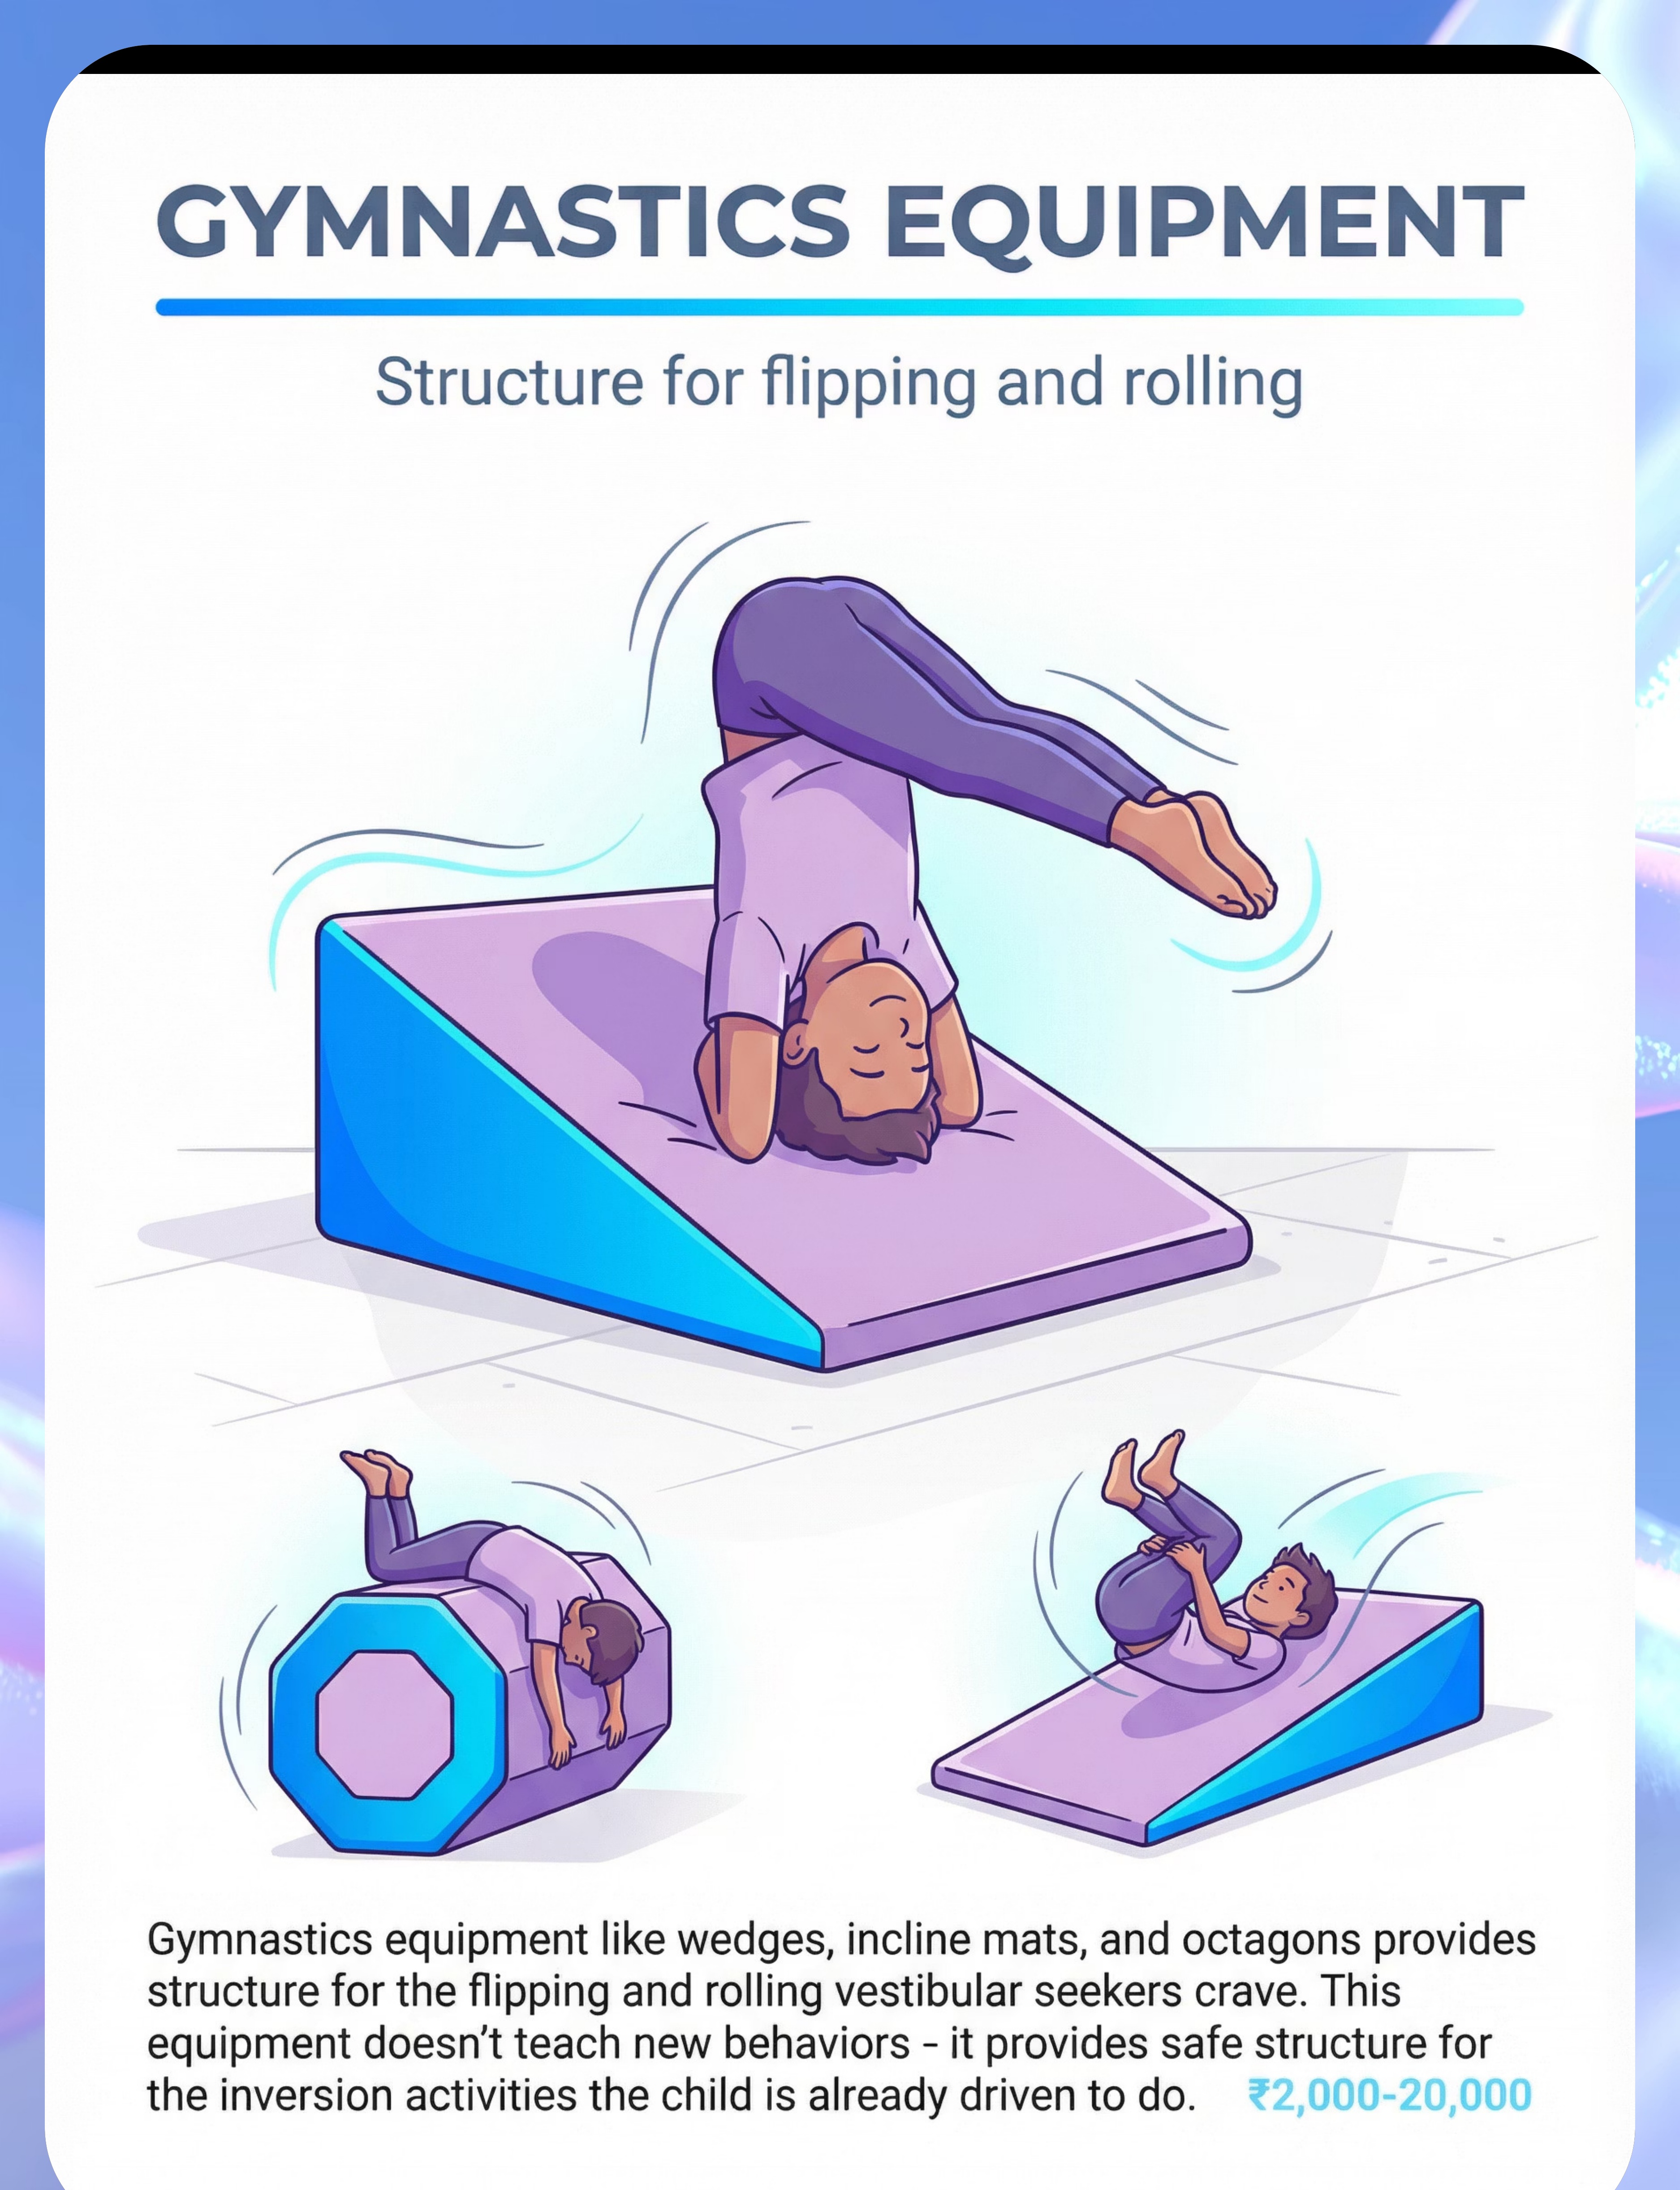
- Full-body proprioceptive input — joints, muscles, and skin receptors all activated
- Deep pressure from the foam surface adds tactile-proprioceptive layering
- Motor planning required to aim, jump, and land safely
- Can be paired with verbal/visual cues to build impulse control ("ready, set, crash!")
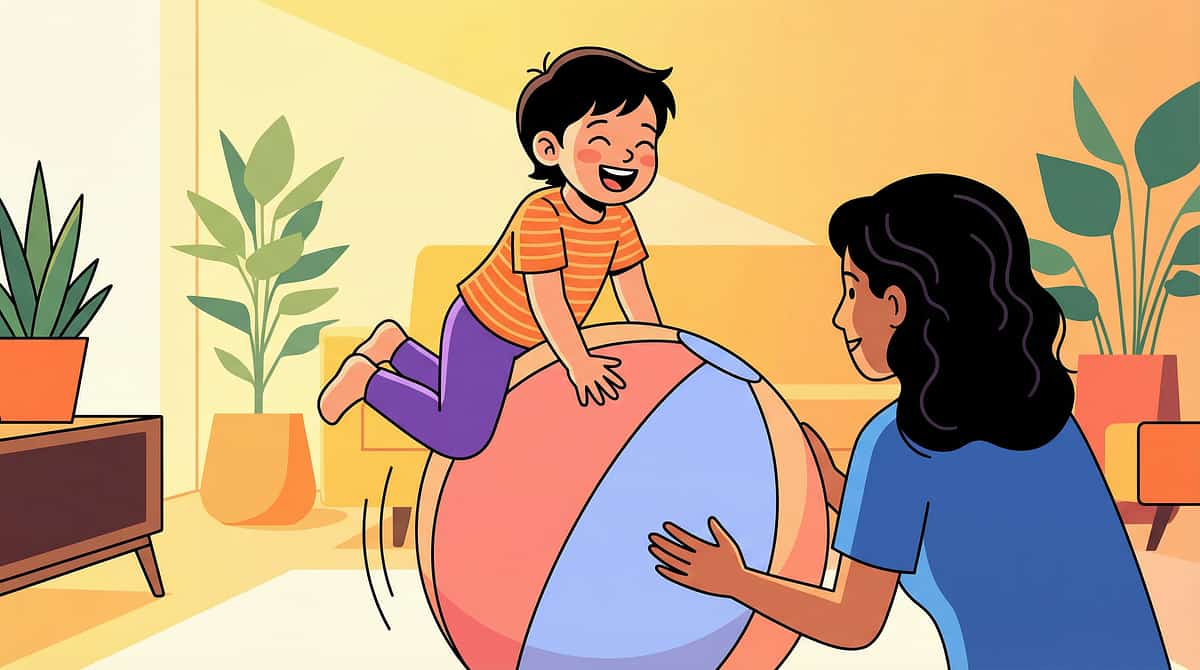
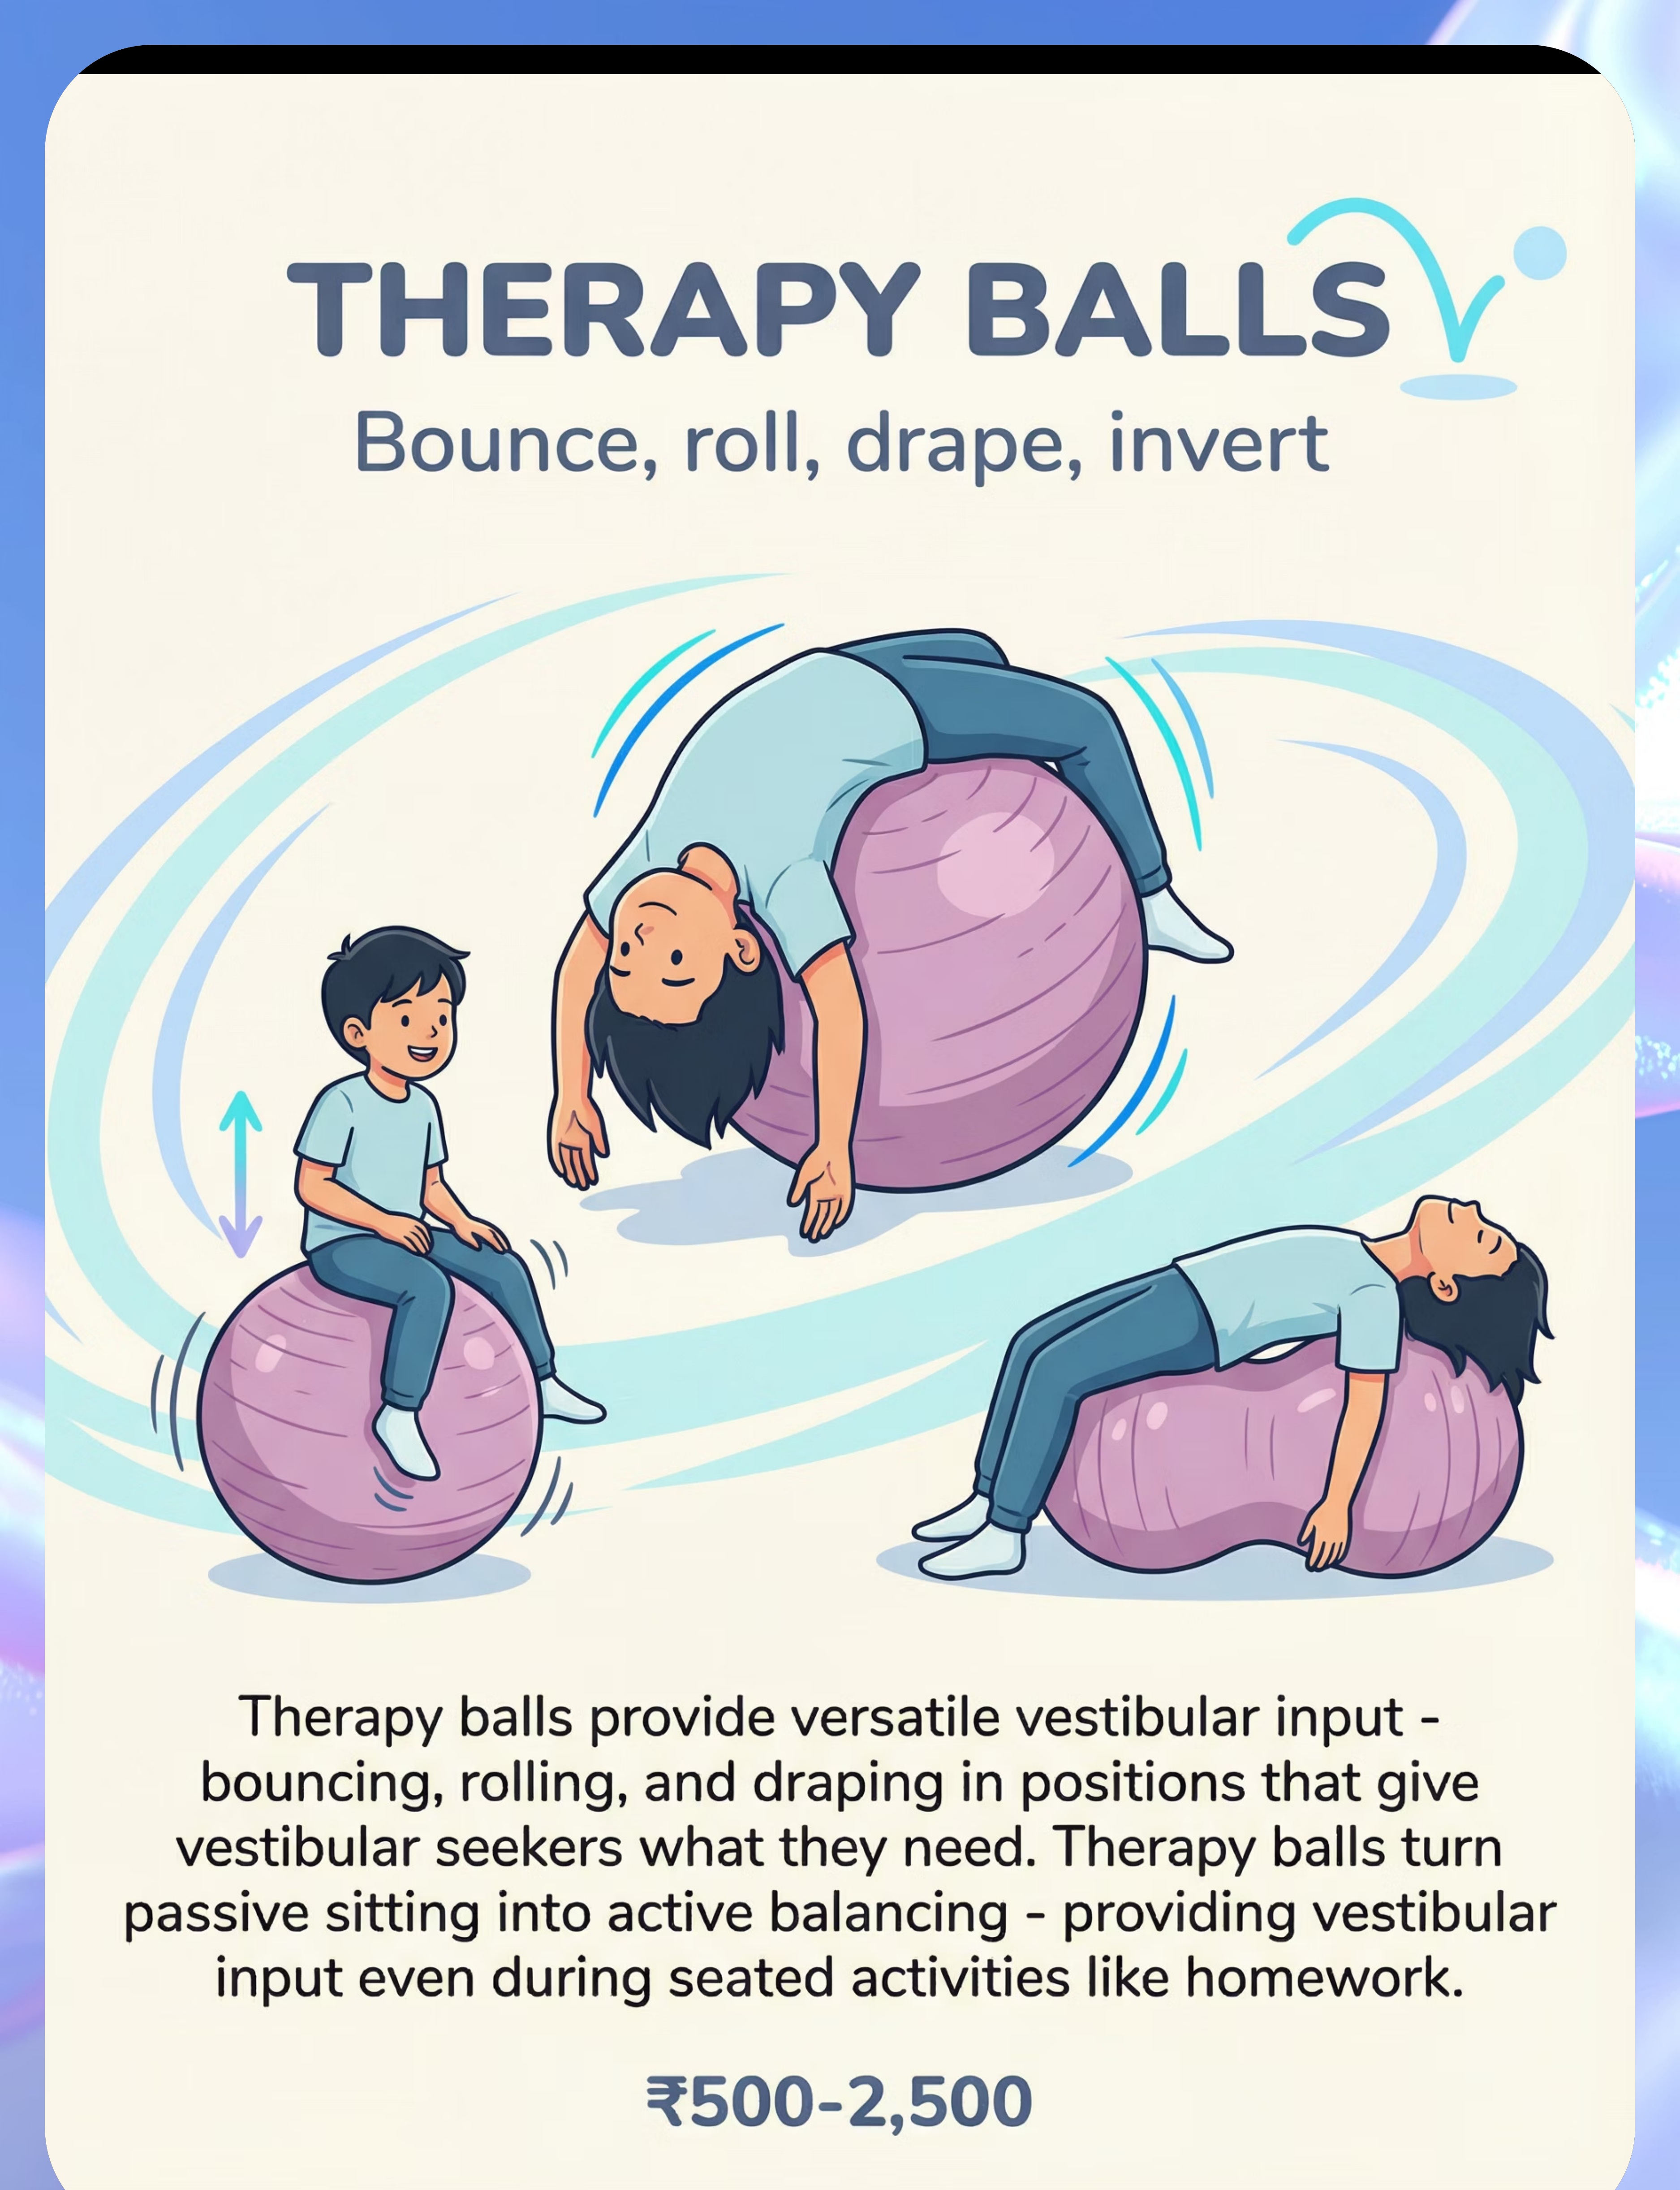
- Unstable surface activates postural muscles and improves balance reactions
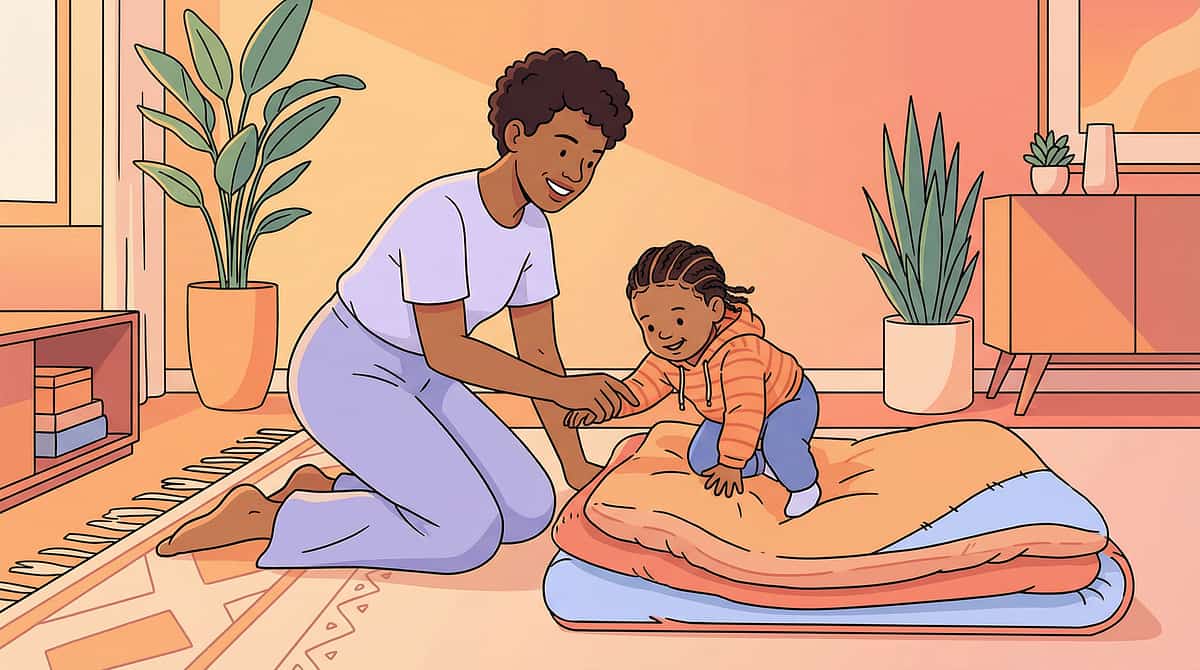
- Prone-over-ball position delivers inversion with full caregiver control
- Bouncing provides rhythmic, organizing vestibular-proprioceptive input
- Accessible price point — widely available for home and clinic use


- Full inversion achieved with reduced cervical load compared to free headstands
- Increases cerebral blood flow and activates the vestibular otolith organs
- Builds shoulder girdle and upper body strength through weight-bearing
- Provides a clear, bounded context for inversion — reduces free-form risky behavior


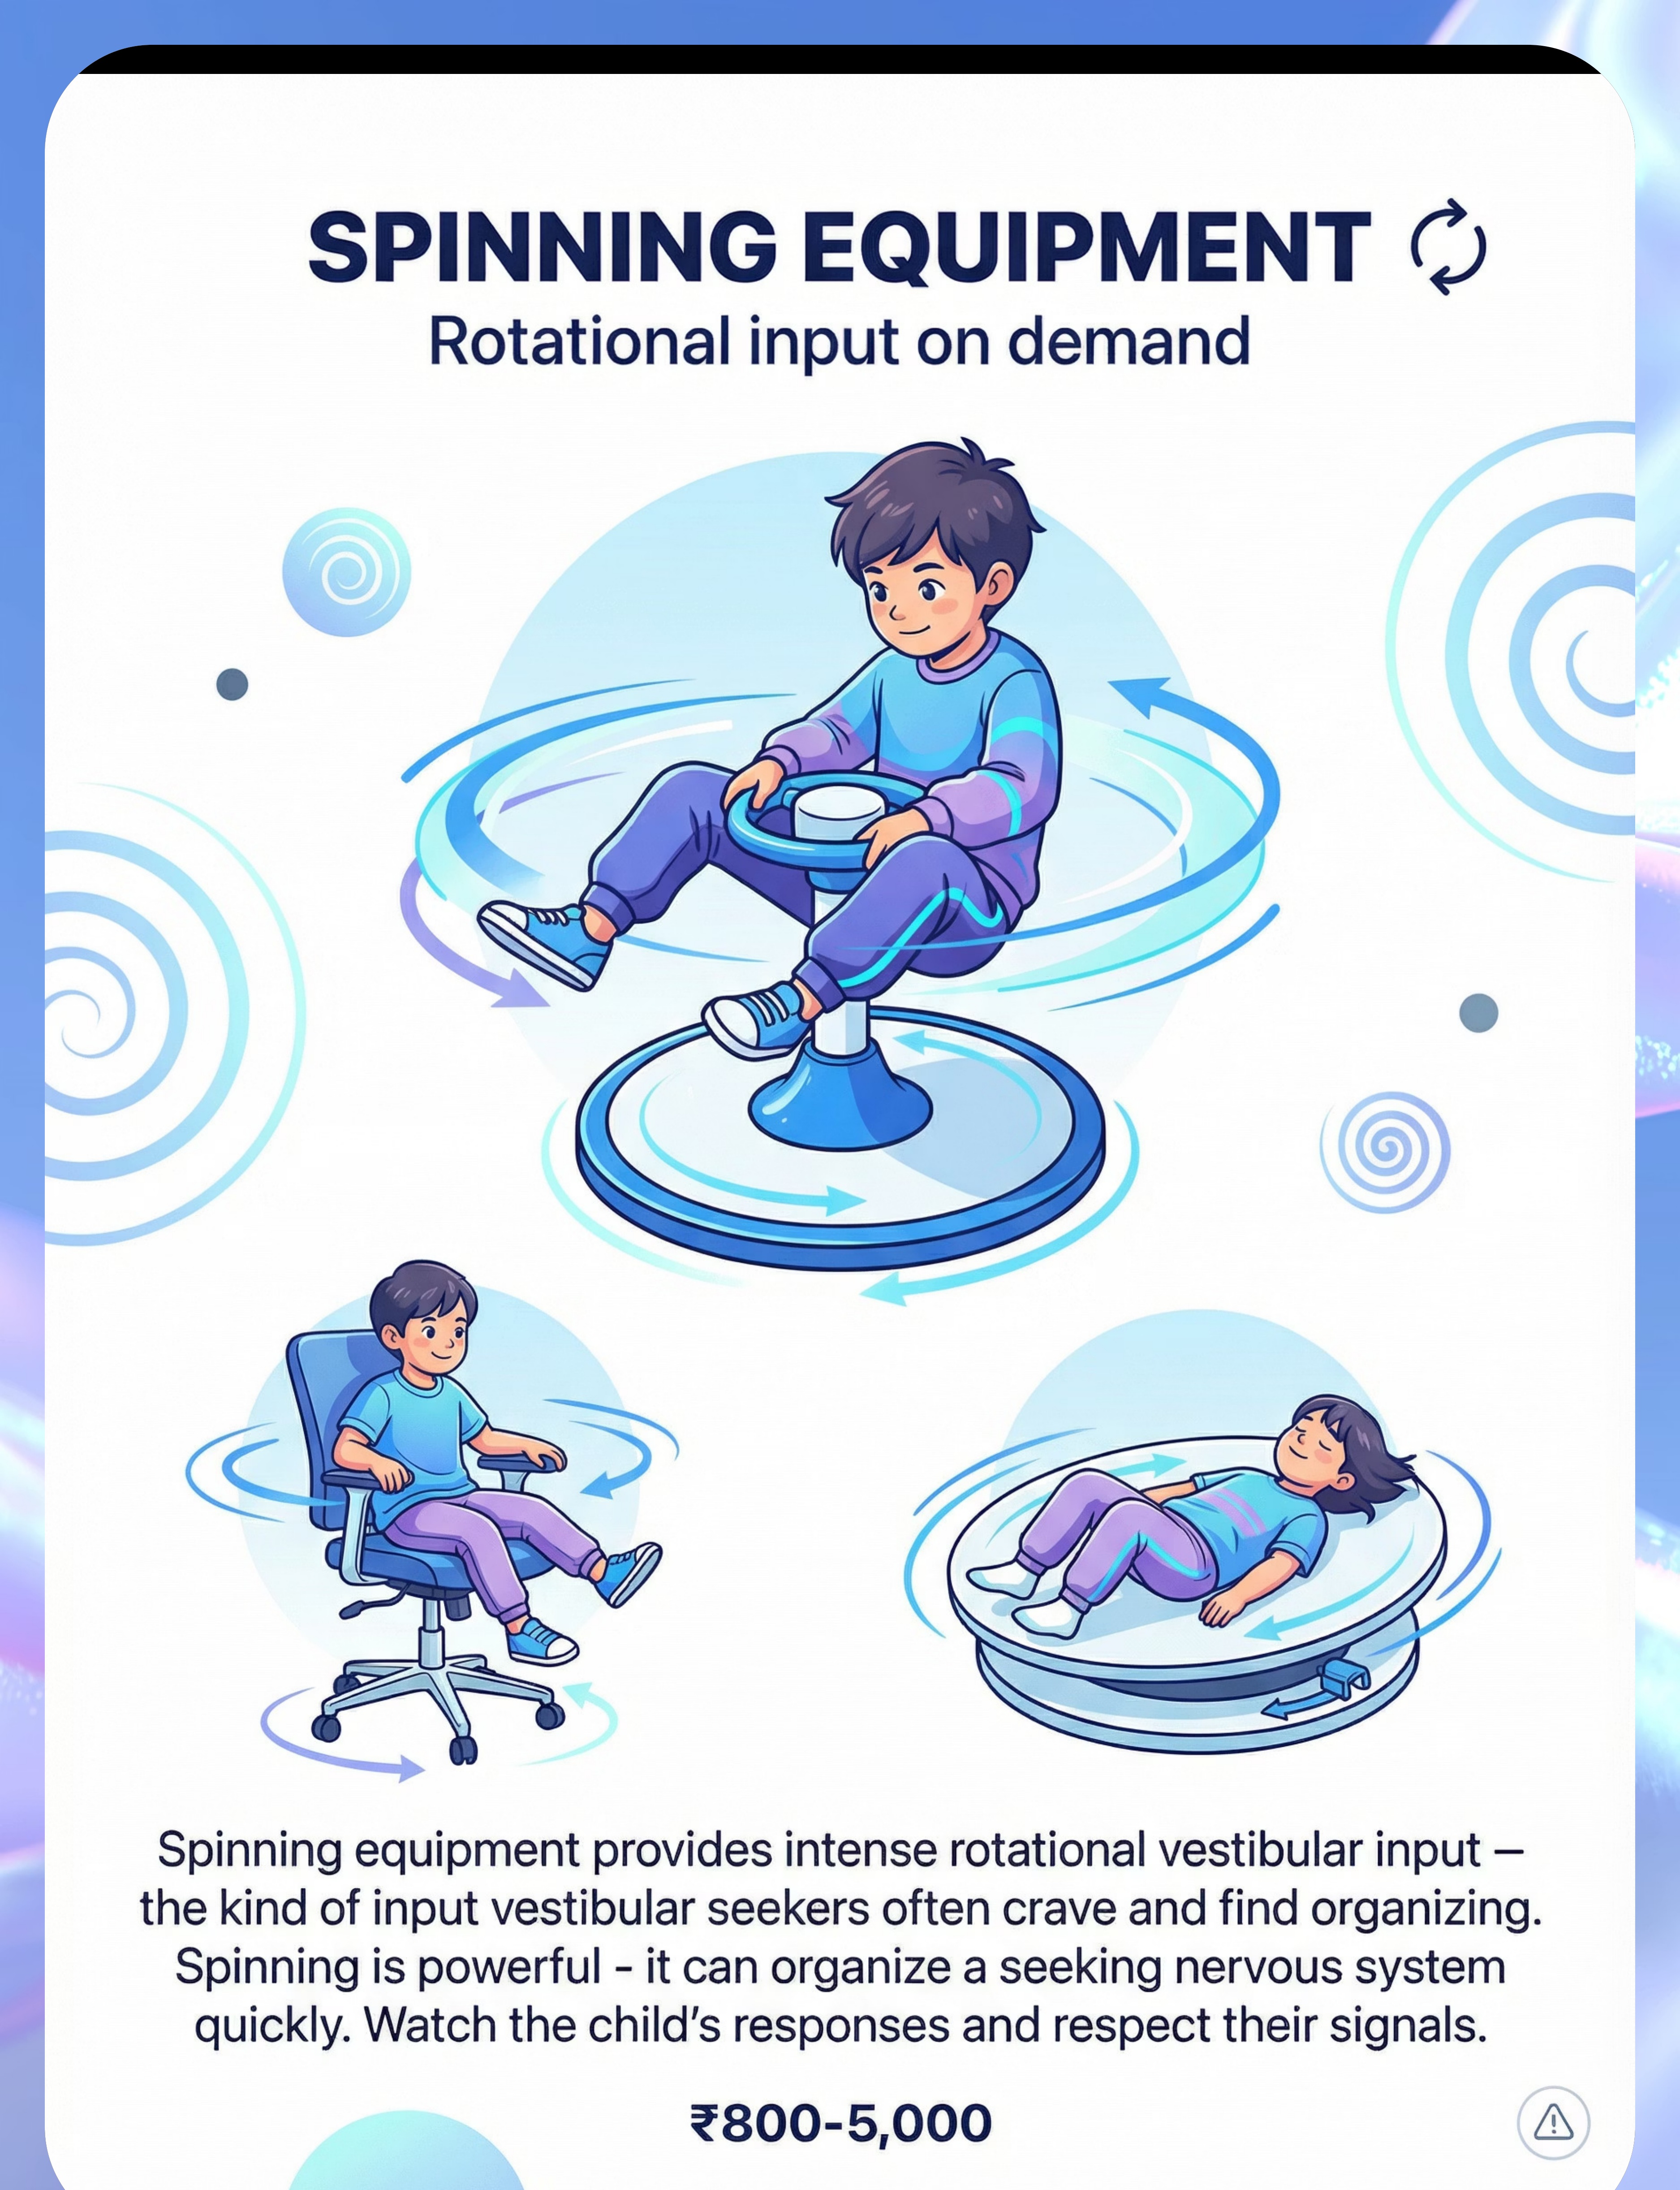
- Activates vestibular righting reactions and equilibrium responses
- Proprioceptive input through ankles, knees, and hips during balance maintenance
- Can be used as a standing desk alternative during table tasks
- Low cost, durable, and portable — excellent for clinic and home


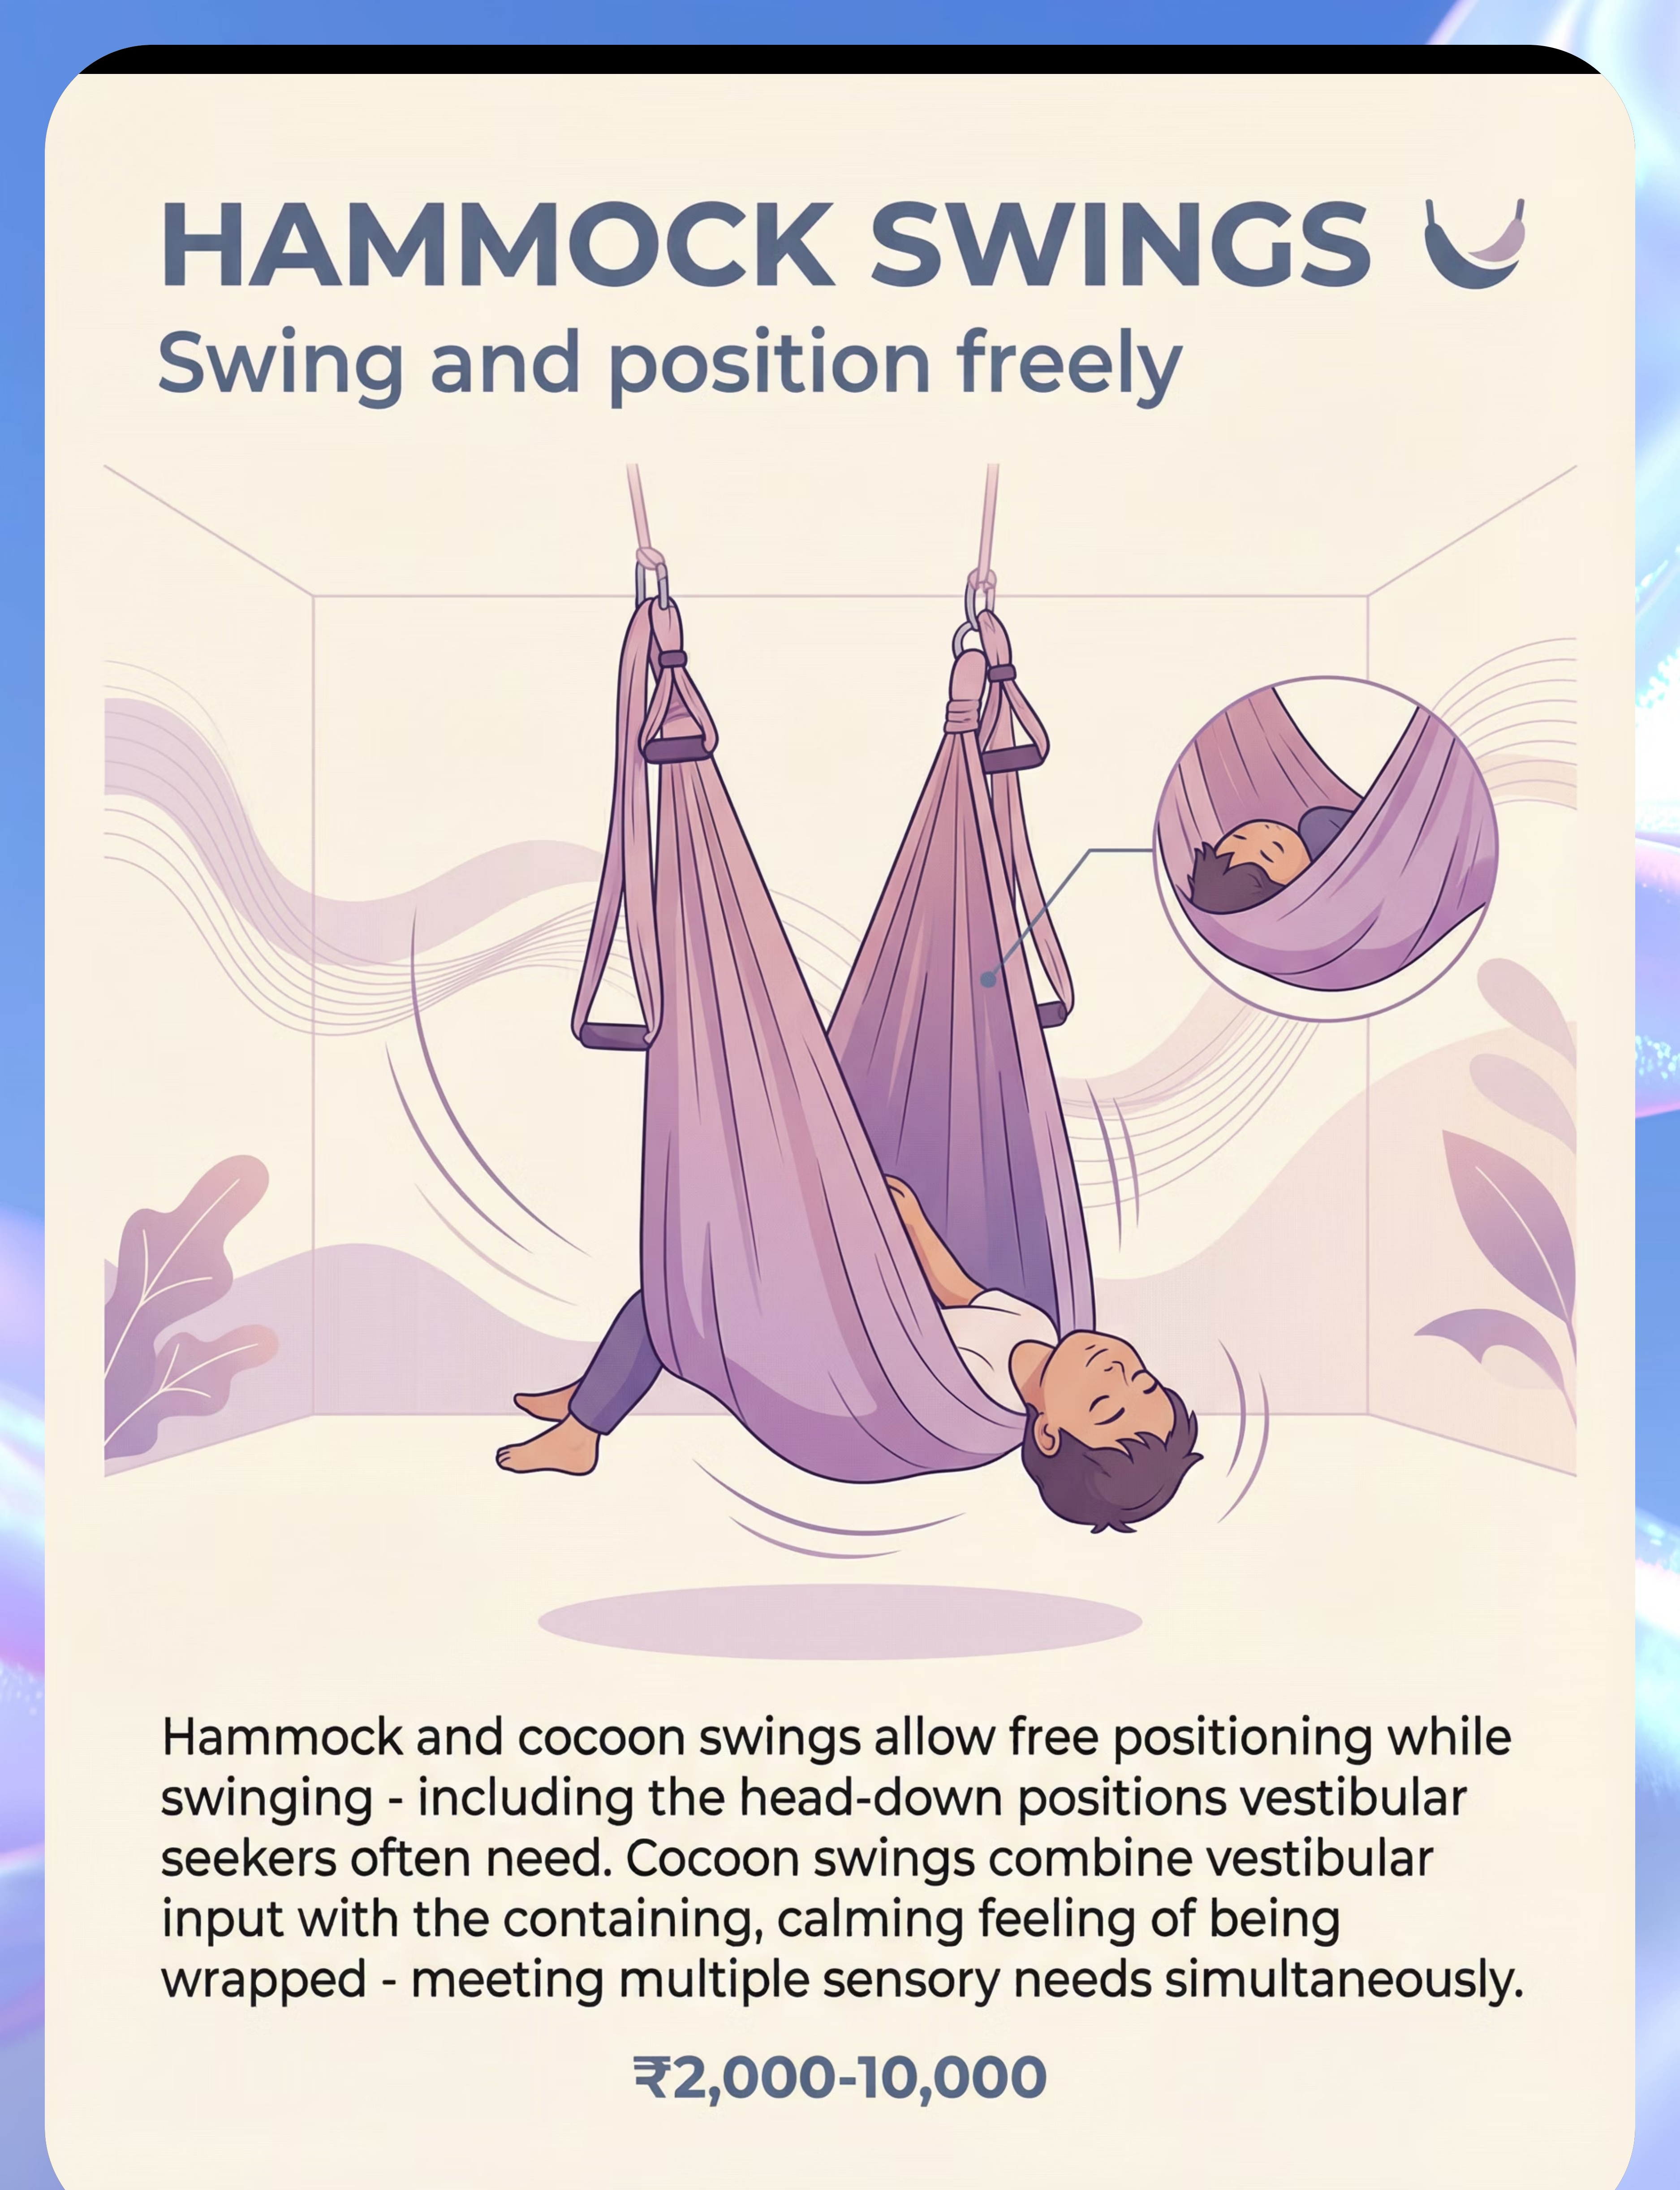
- Circumferential deep pressure activates tactile and proprioceptive systems simultaneously
- Reduced visual input can lower arousal and support emotional regulation
- Resistance-based movement inside the sock activates all major muscle groups
- Can be used as a "cozy corner" tool during times of sensory overload
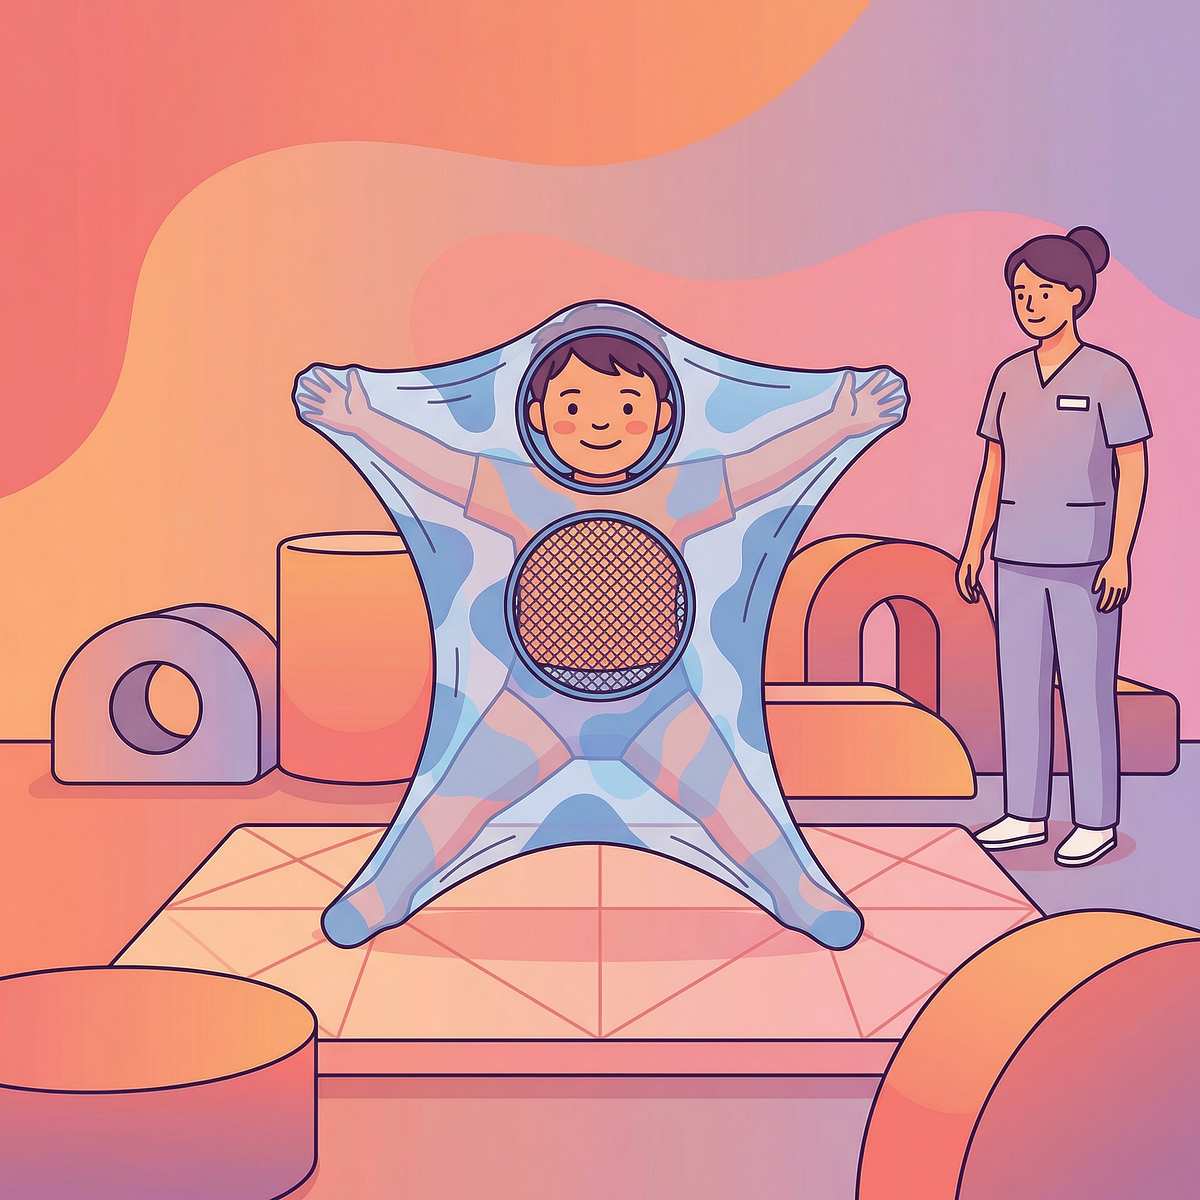
- Lycra Body Sock: Age Adaptations, Safety & Pro Tips

Material | Primary Input Type | Best Age Range | Inversion Level | |
Therapy Swing | Vestibular | 2–6 | Partial to full | |
Bolster Swing | Vestibular + Proprioceptive | 2–6 | Partial | |
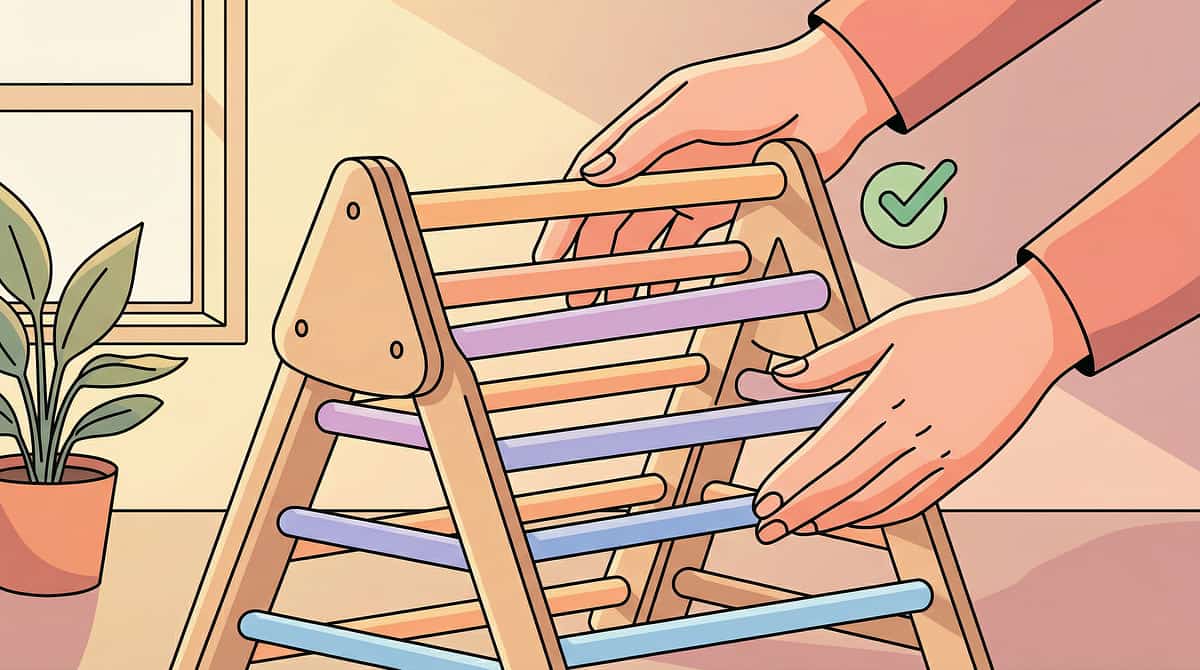
Indoor Climbing Frame | Proprioceptive | 3–6 | Partial | |
Gymnastics Bar | Proprioceptive | 4–6 | Full | |
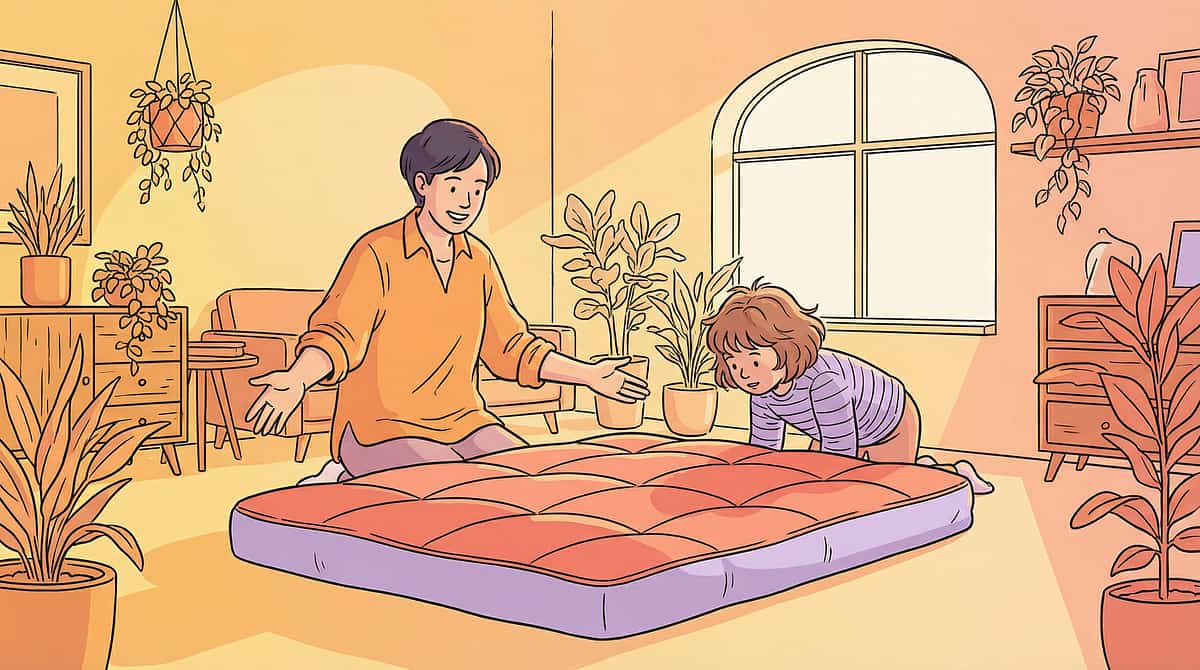
Crash Pad | Proprioceptive + Tactile | 2–6 | None | |
Therapy Ball | Vestibular + Proprioceptive | 2–6 | Partial | |
Inversion Stool | Vestibular | 5–6 | Full | |
Wobble Board | Vestibular + Proprioceptive | 2–6 | None | |
Lycra Body Sock | Tactile + Proprioceptive | 2–6 | None |


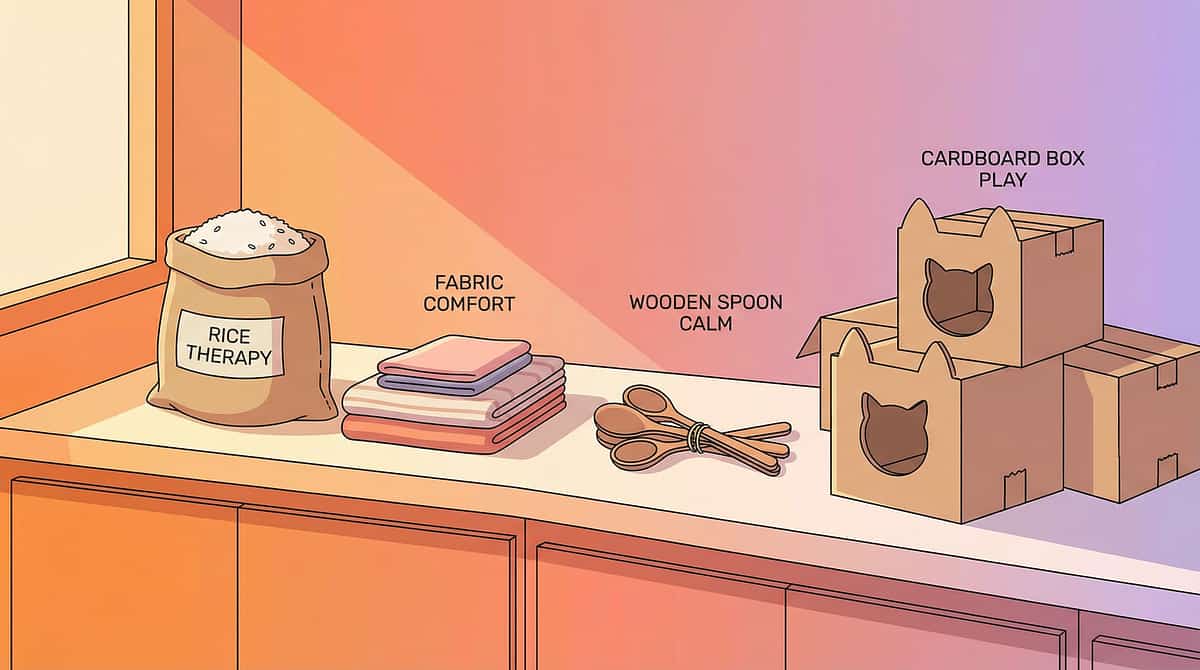
- Start with universally accessible tools — crash pads, wobble boards, and therapy balls can be deployed in any classroom without structural modifications
- Create dedicated sensory zones — even a 6×8 foot corner with a swing and crash pad constitutes a functional sensory station
- Train all staff — paraprofessionals and classroom aides should understand the purpose and safe use of each material
- Collect data — track behavioral incidents before and after sensory environment implementation using standardized observational tools

- Therapy ball / Swiss ball
- Lycra body sock
- Wobble board (basic rocker)
- Crash pad
- Gymnastics bar (kip bar)
- Inversion stool
- Therapy swing + stand
- Bolster swing + ceiling mount
- Indoor climbing frame (full unit)


"The child who needs to be upside down is not a problem to solve. They are a nervous system to understand — and once you understand it, everything changes."

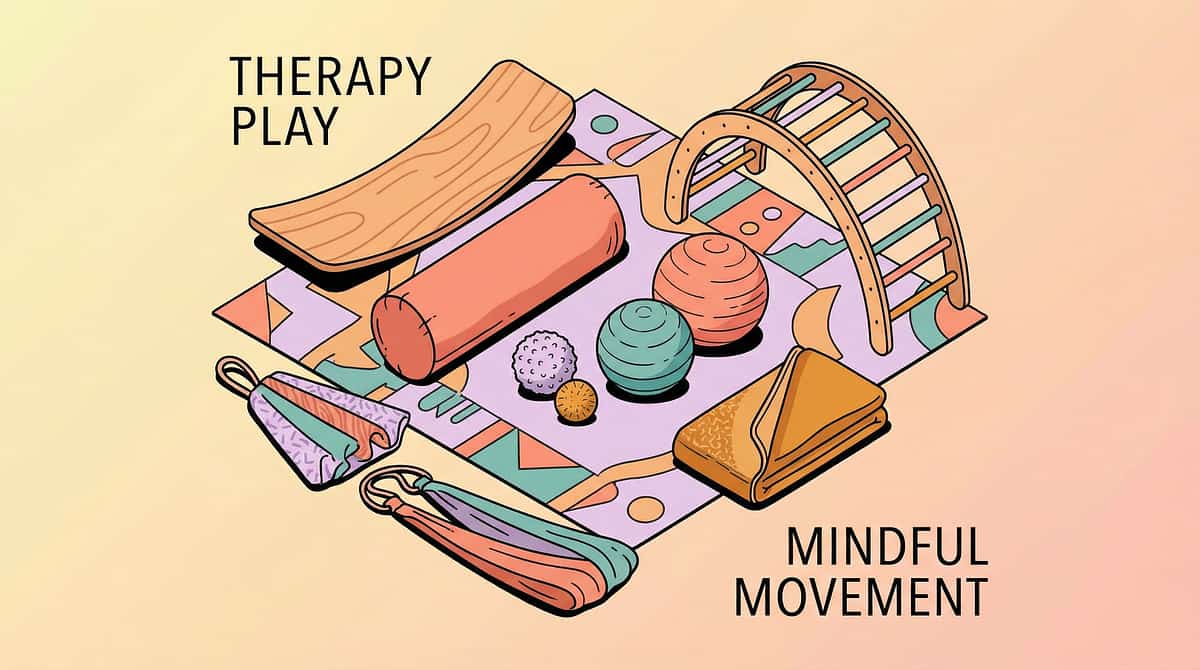
Preview of 9 materials that help when child hangs upside down Therapy Material
Below is a visual preview of 9 materials that help when child hangs upside down therapy material. The pages shown help educators, therapists, and caregivers understand the structure and content of the resource before use. Materials should be used under appropriate professional guidance.