
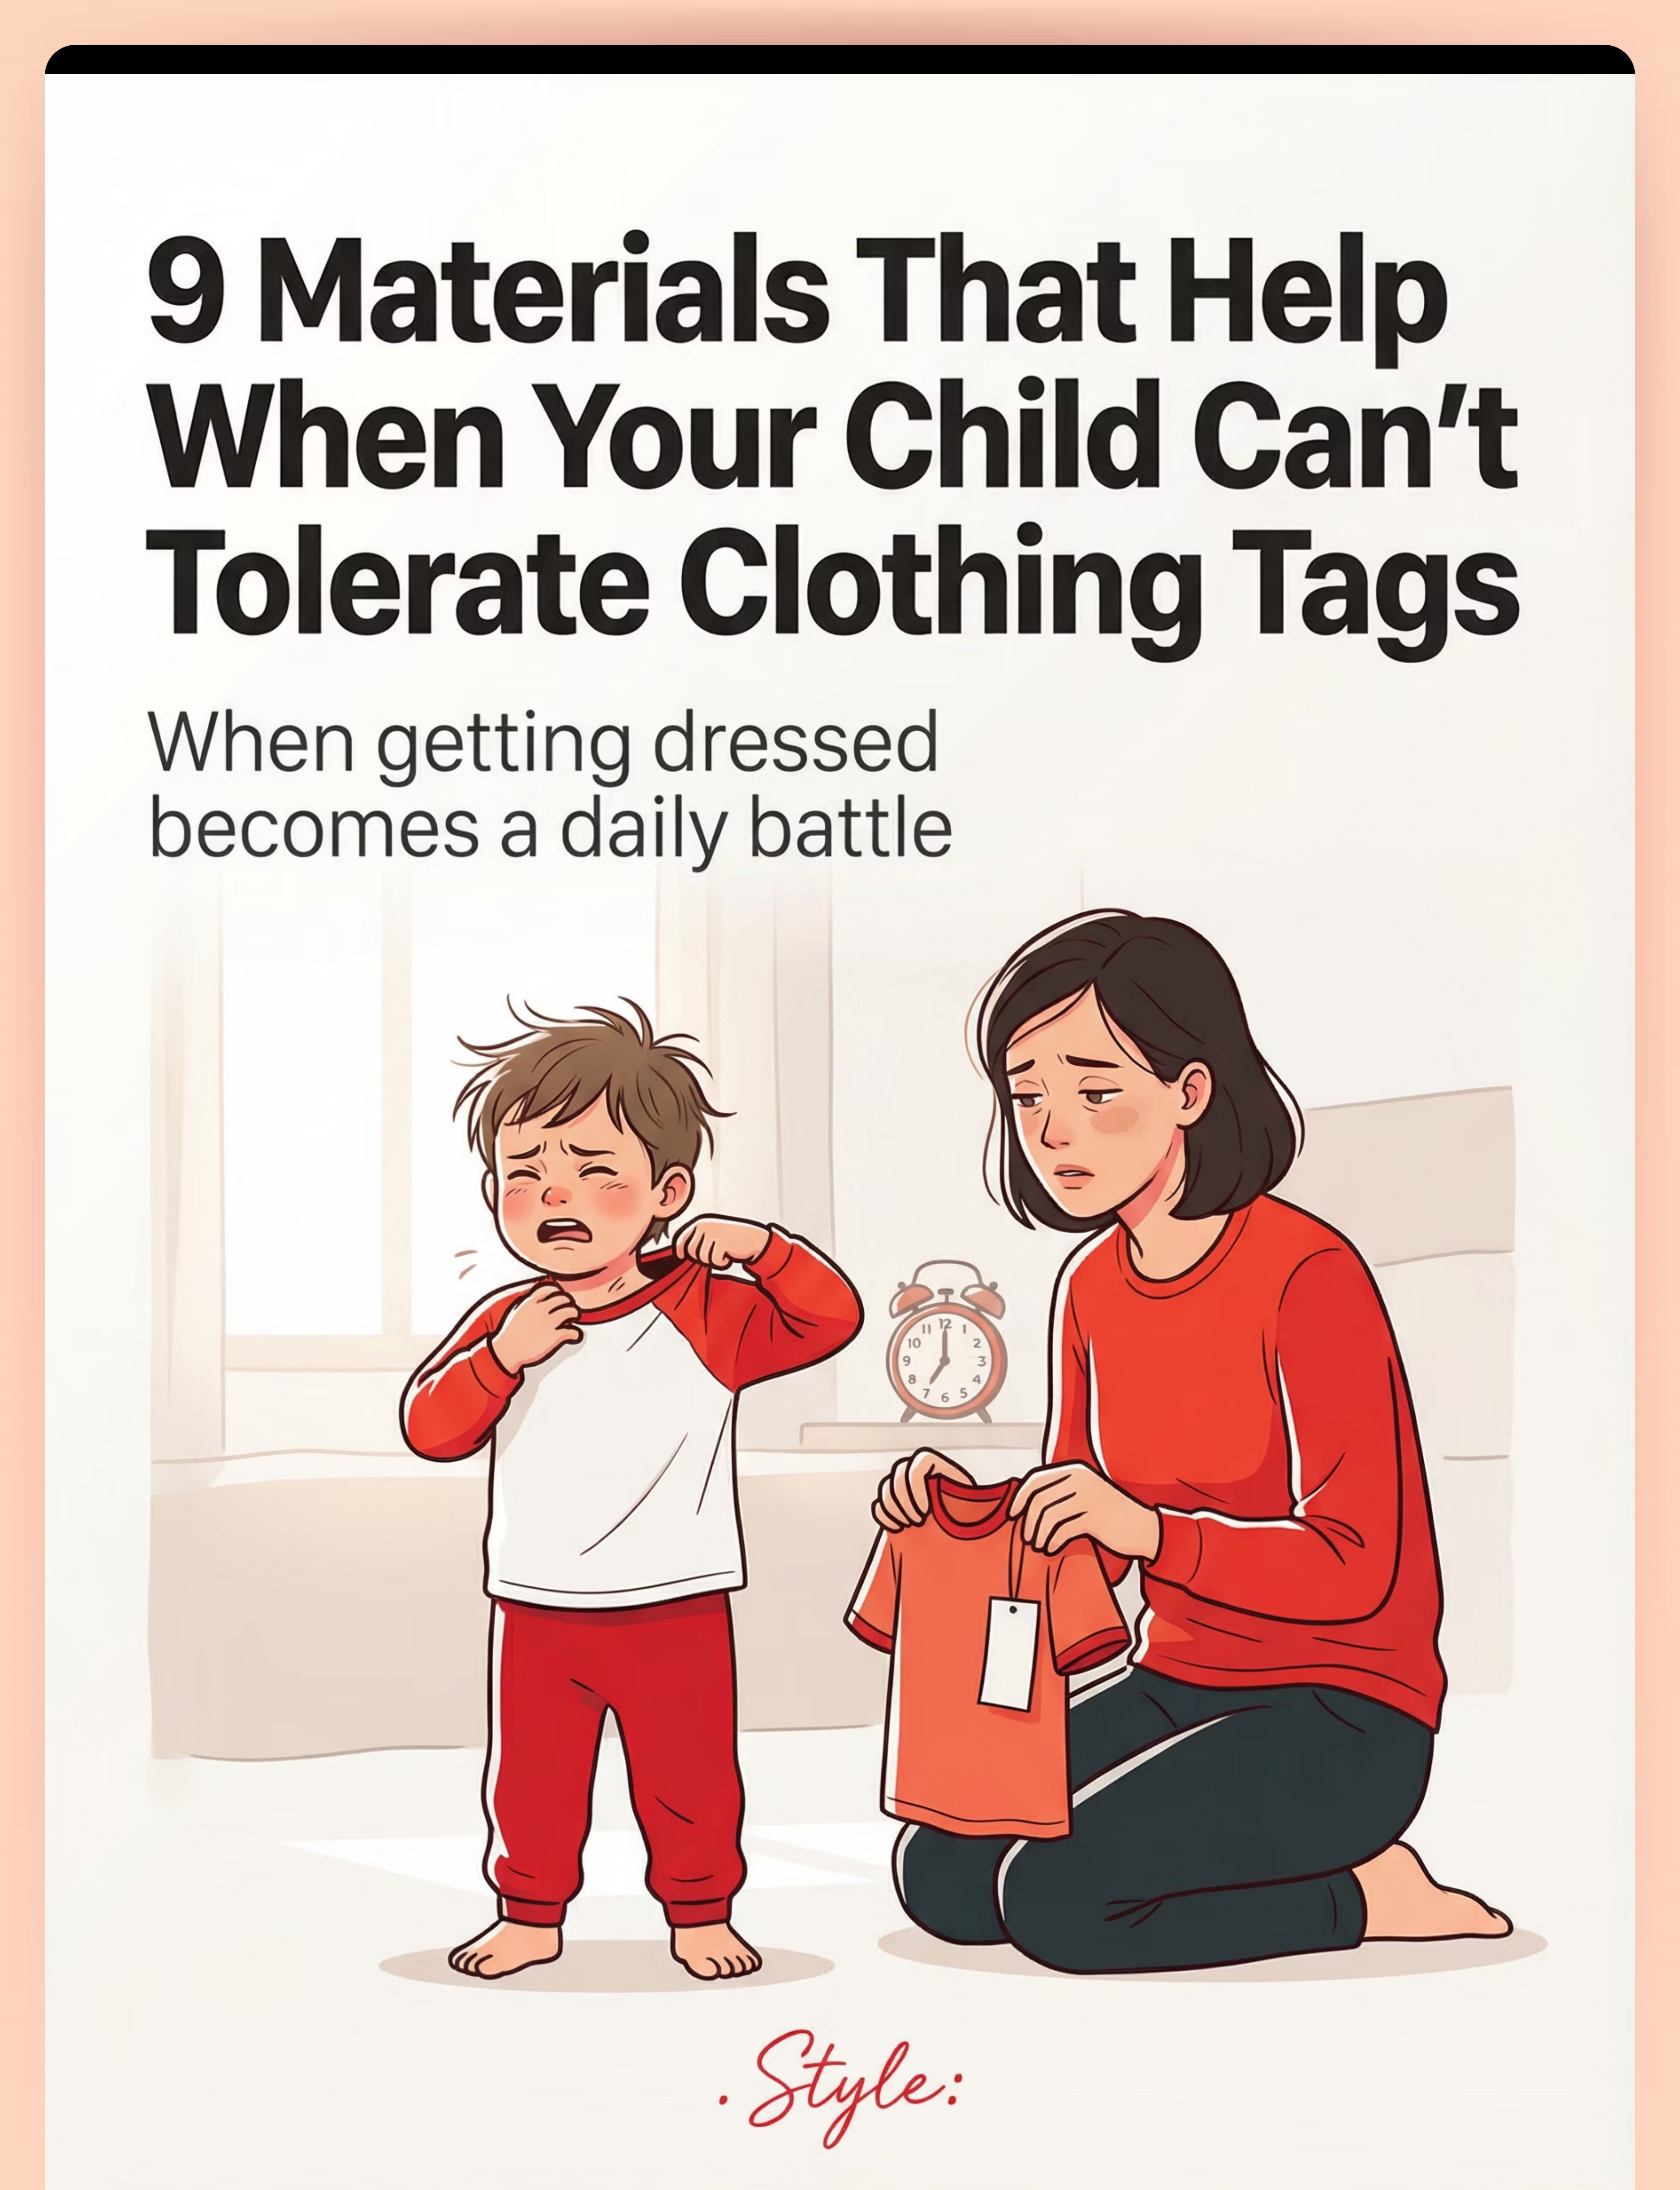
9 Materials That Help When Your Child Can't Tolerate Clothing Tags
When getting dressed becomes a daily battle — and that tiny piece of fabric turns your morning into a war zone — again.
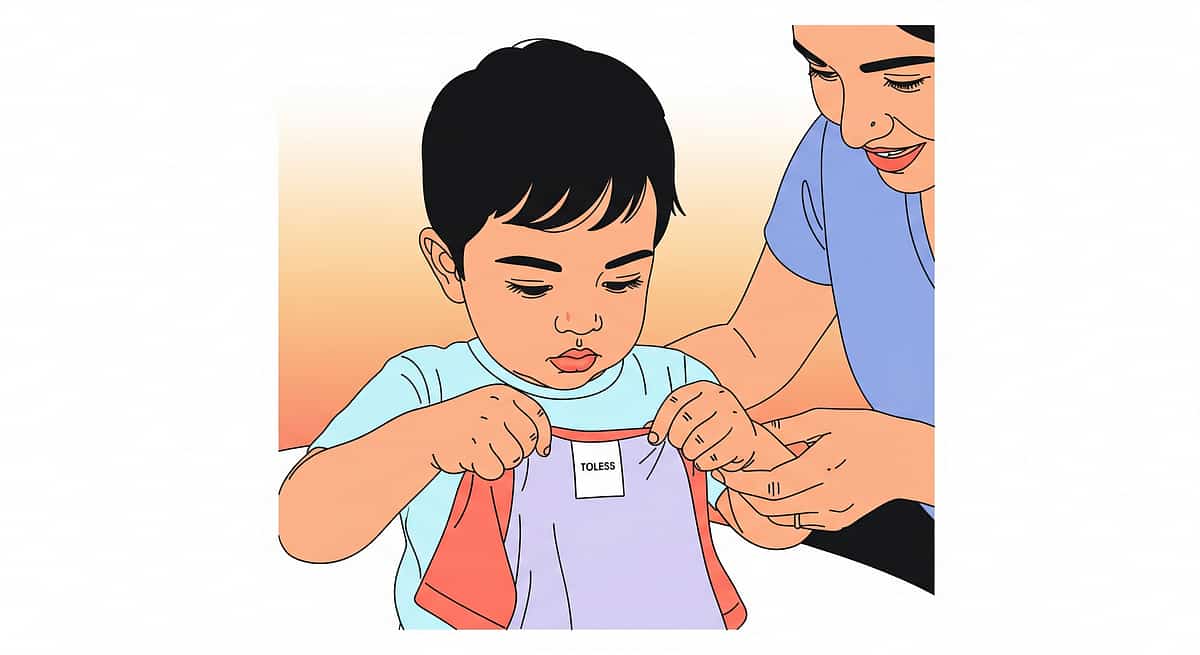
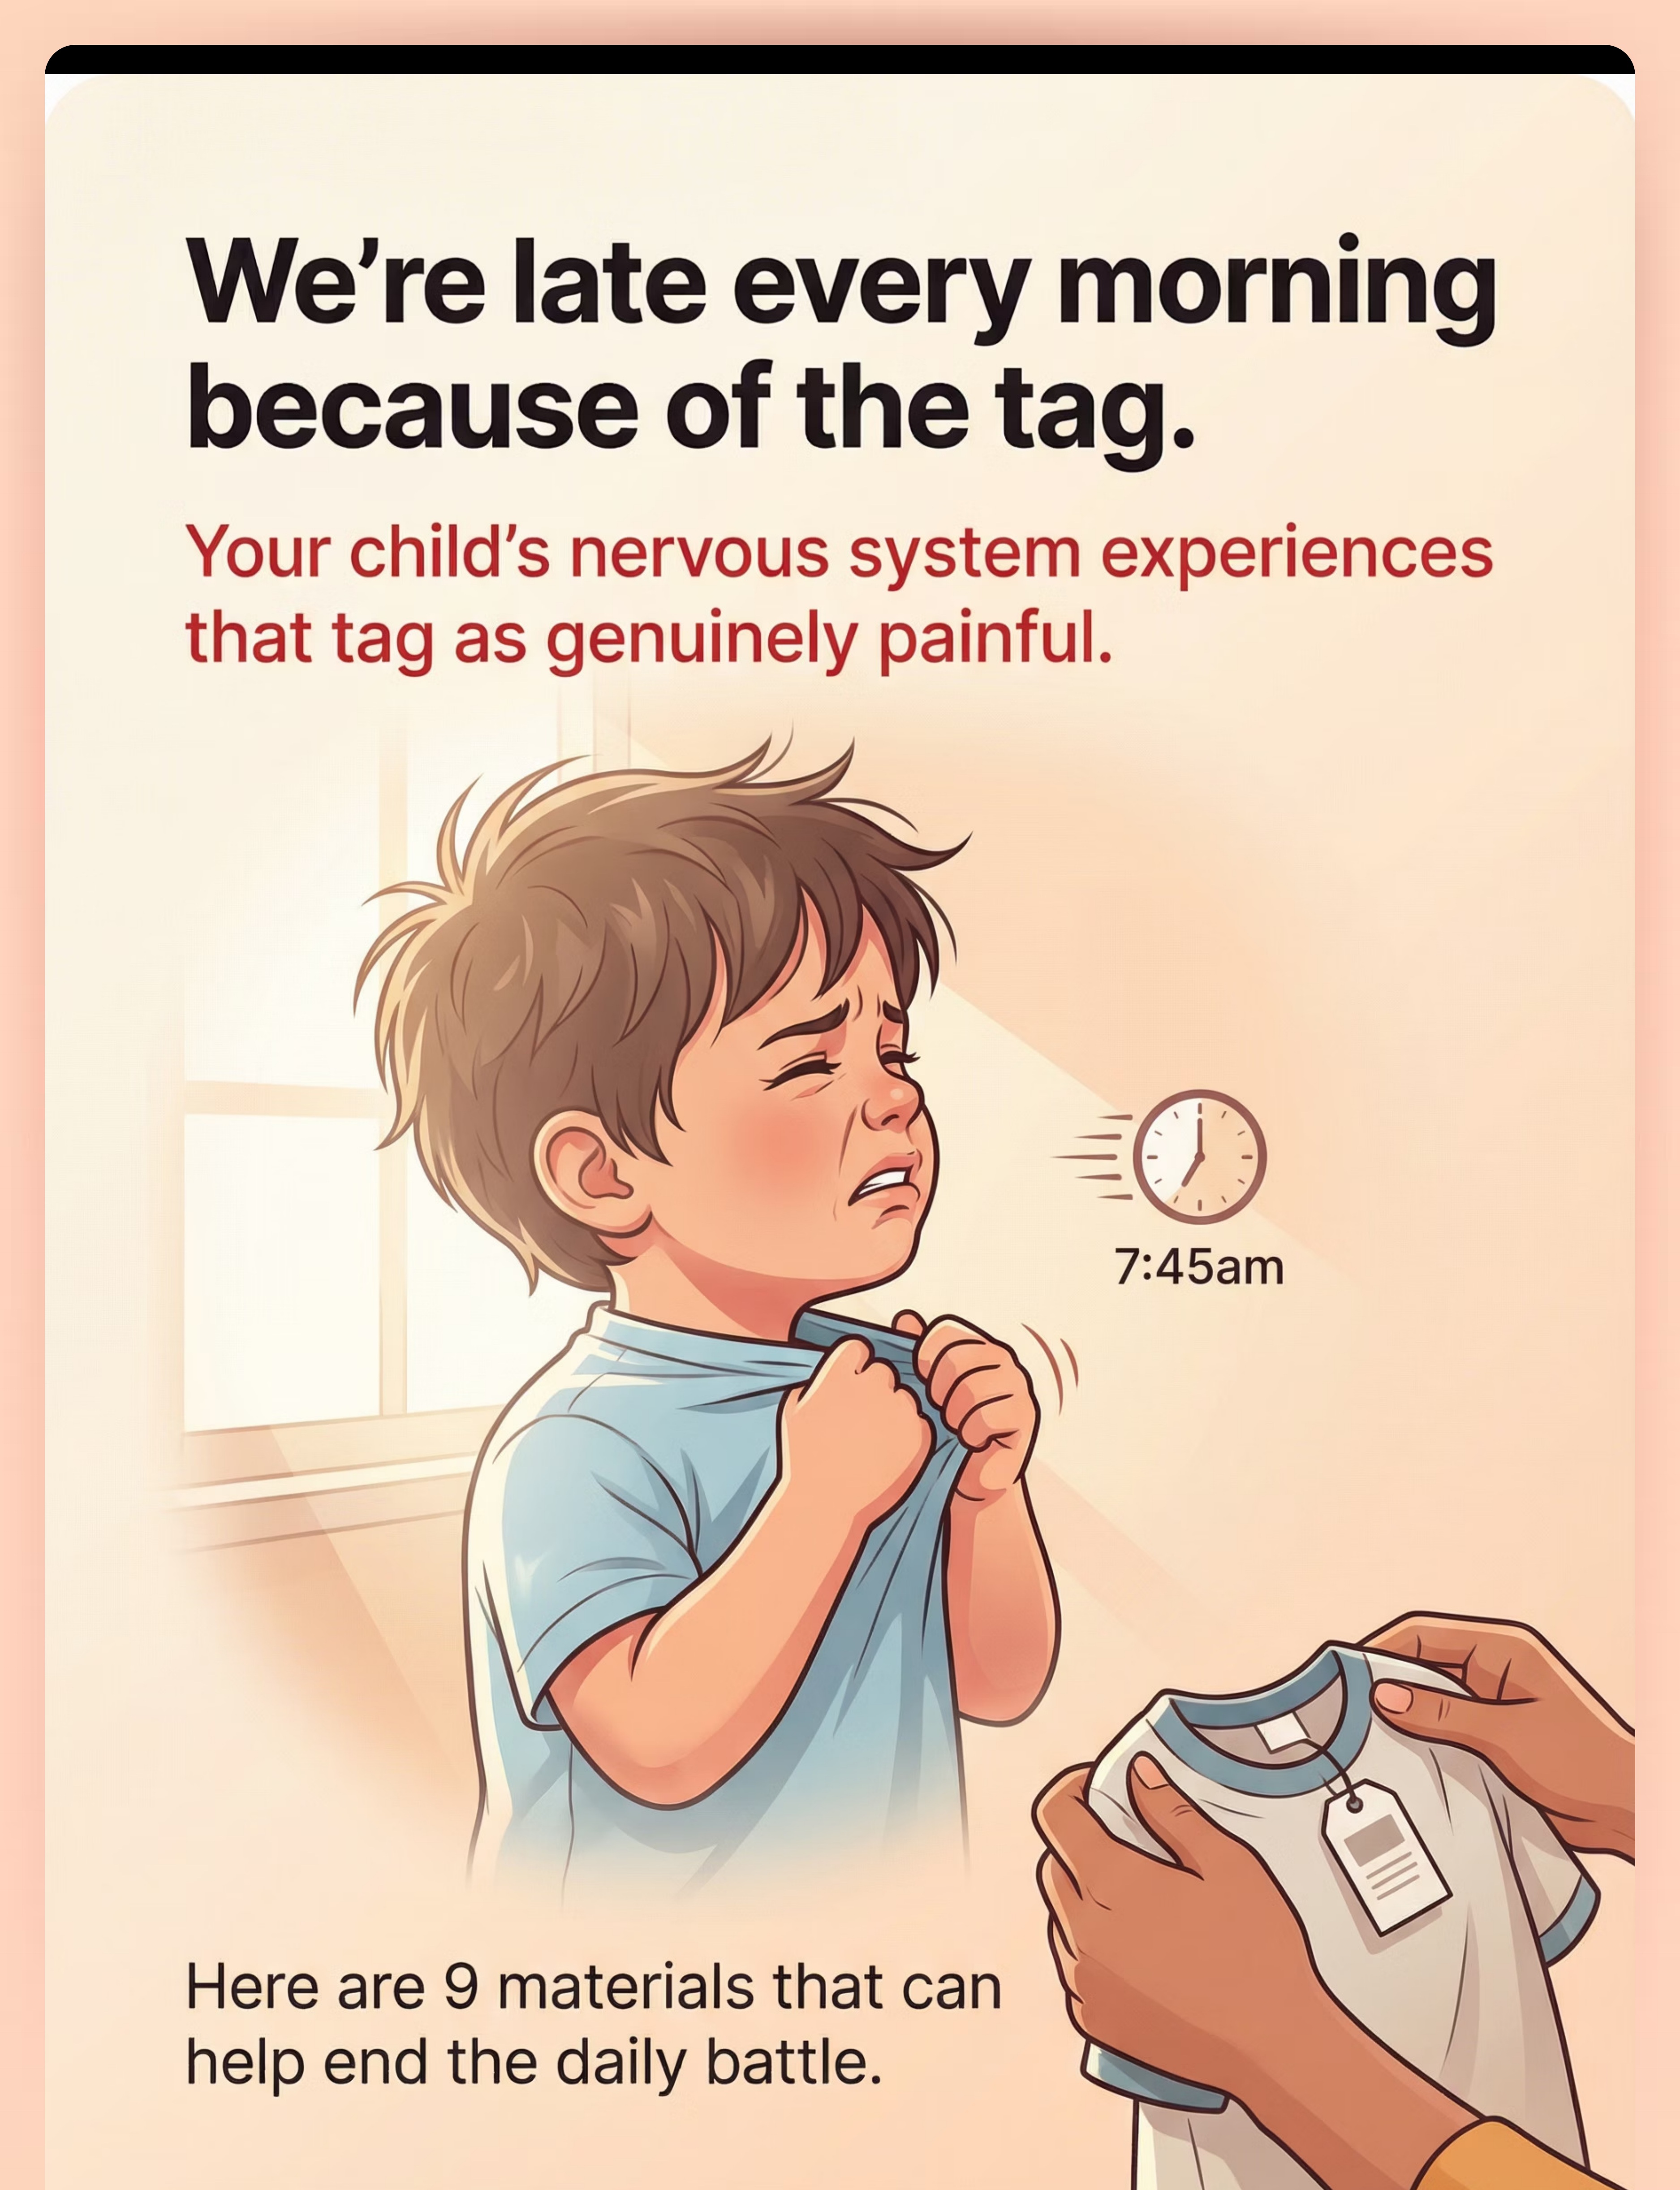
It's 7:45 AM. Your child is screaming, tearing at the back of their shirt collar. The school bus arrives in 15 minutes. You've already changed shirts twice. You are not failing. Your child's nervous system is speaking. That tag delivers light, intermittent touch — the exact type of sensory input most threatening to a defensive tactile system. This isn't pickiness. This is neurology. And there are real solutions.
Sensory Solutions Series — Episode 3
Domain: Tactile Processing
Age: 2–6 Years
Setting: Home
Drafted by a Consortium of Pediatric OTs, SLPs, BCBAs, Special Educators, NeuroDevelopmental Pediatricians, and Clinical Research Officers — writing as one unified authority for parents.

You Are Not Alone: The Numbers
Millions of families around the world navigate this same morning battle every day. The data is clear — clothing tag sensitivity is one of the most common, most disruptive, and least understood tactile challenges in early childhood.
80%
Experience Sensory Difficulty
Of children diagnosed with autism experience sensory processing difficulties. (PRISMA Systematic Review, 2024 — PMC11506176)
1 in 6
Show Tactile Defensiveness
Children worldwide exhibit signs of tactile defensiveness within the first 6 years of life. (Meta-analysis, World Journal of Clinical Cases, 2024 — PMC10955541)
Top 3
Most Common Tactile Trigger
Clothing tag sensitivity ranks among the top 3 most commonly reported tactile triggers by parents of sensory-sensitive children. (Dunn, W. — Sensory Profile 2 Manual, 2014)
In the US alone, over 1 million families of children on the autism spectrum face daily dressing challenges rooted in tactile processing differences. Globally, this number exceeds 10 million. You are among millions of parents who wake up every morning facing the same invisible battle — and the same very real solution exists for all of you.
WHO Nurturing Care Framework (2018)
PRISMA 2024
Dunn Sensory Profile 2 (2014)

What's Happening in Your Child's Brain
Tags deliver light, intermittent touch — the exact type of sensory input most threatening to a defensive nervous system. Understanding the neurology transforms your frustration into strategy.
The Sensory Pathway — Plain English
Here's what makes tags uniquely problematic: The tag moves slightly with every body movement, creating an unpredictable, changing sensation. The brain cannot habituate to it — cannot learn to ignore it — because the input keeps shifting.
Unlike constant deep pressure (which calms the nervous system), intermittent light touch activates protective threat pathways repeatedly. Your child's somatosensory cortex — the brain region that processes touch — is over-amplifying a signal that most brains filter out automatically.
This is a wiring difference, not a behavior choice. The tag genuinely feels like scratching, poking, or burning to your child's nervous system.
Two Processing Pathways
✅ Typical Processing
Tag touch → Brain filters → "Neutral, ignore" → Child doesn't notice the tag at all.
⚠️ Tactile Defensiveness
Tag touch → Brain over-amplifies → "THREAT! PAIN!" → Meltdown, scratching, pulling at collar.
"This isn't behavior — it's neurology."
Sources: Frontiers in Integrative Neuroscience (2020) — DOI: 10.3389/fnint.2020.556660 | Ayres, A.J. — Sensory Integration and the Child (25th Anniversary Edition)

Where This Sits in Development
Tag sensitivity follows a predictable developmental arc. Knowing where your child stands on this timeline helps you set realistic expectations and choose the right approach for their age and stage.
0–12 Months
Emerging tactile awareness. Tolerates most clothing; may resist hats and socks occasionally.
12–24 Months
Tactile preferences emerge. May begin rejecting certain textures or clothing items.
⬤ 2–4 Years: PEAK ZONE
Most commonly reported onset. Child is verbal enough to express discomfort and motor-capable enough to pull at clothing. This is where most families first notice the pattern.
4–6 Years
Either resolves with intervention and neurological maturation, or expands to broader clothing challenges — fabrics, seams, waistbands.
6–8 Years
With consistent intervention, most children achieve independent dressing with minimal or no accommodations.
The typical progression with the right support: "Removal Required" → "Tolerated With Preparation" → "Unnoticed" → "Independent Dressing." Tag sensitivity commonly co-occurs with seam sensitivity, fabric refusal, waistband sensitivity, and broader tactile defensiveness. If your child shows sensitivity across multiple clothing elements, a comprehensive sensory profile assessment is recommended.
WHO Care for Child Development Package — PMC9978394
WHO/UNICEF Developmental Milestones Framework

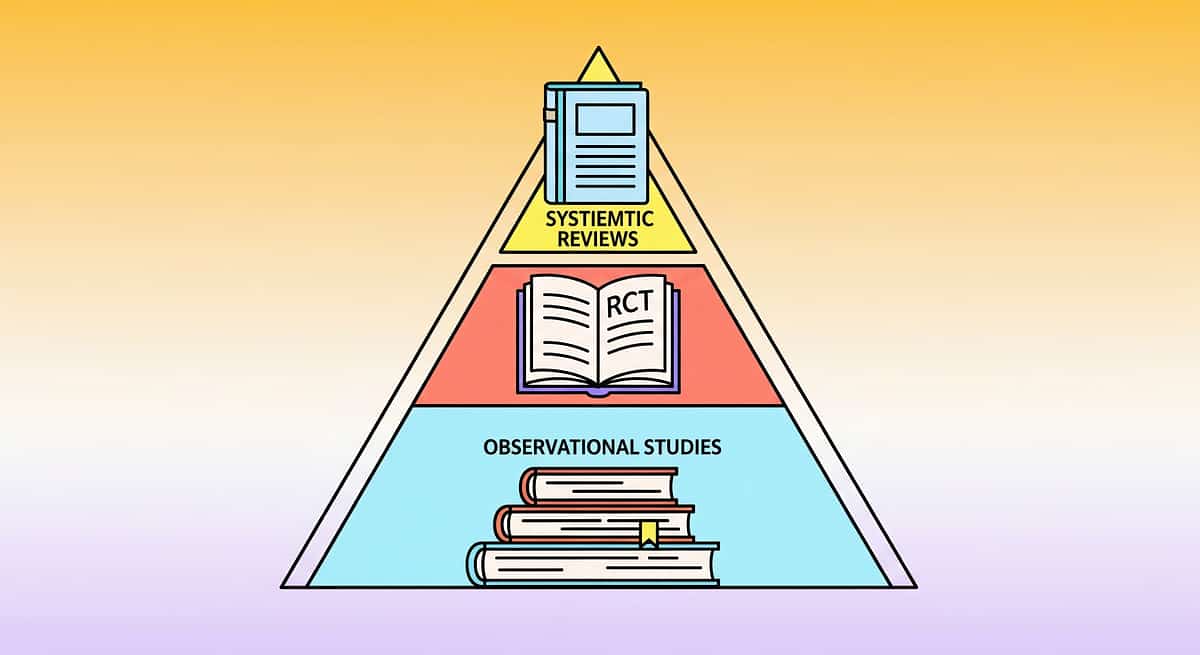
The Evidence Behind This Technique
Evidence Grade: Level I–II
Systematic Reviews + RCTs
This is not guesswork. Every material and strategy in this guide is grounded in peer-reviewed research — validated across tens of millions of therapy sessions worldwide.
1
PRISMA Review (2024)
16 studies (2013–2023) confirm that sensory integration intervention meets criteria to be considered evidence-based practice for children with ASD. Published in Children, PMC11506176.
2
Meta-Analysis (2024)
24 studies analyzed in World Journal of Clinical Cases confirmed efficacy across multiple outcome domains, with 1:1 individual sessions showing the strongest effects. PMC10955541.
3
Home-Based RCT
Padmanabha et al. (Indian Journal of Pediatrics, 2019) demonstrated that home-based sensory interventions produced significant outcomes — confirming parent-administered protocols work in home settings.
4
Consortium Validated
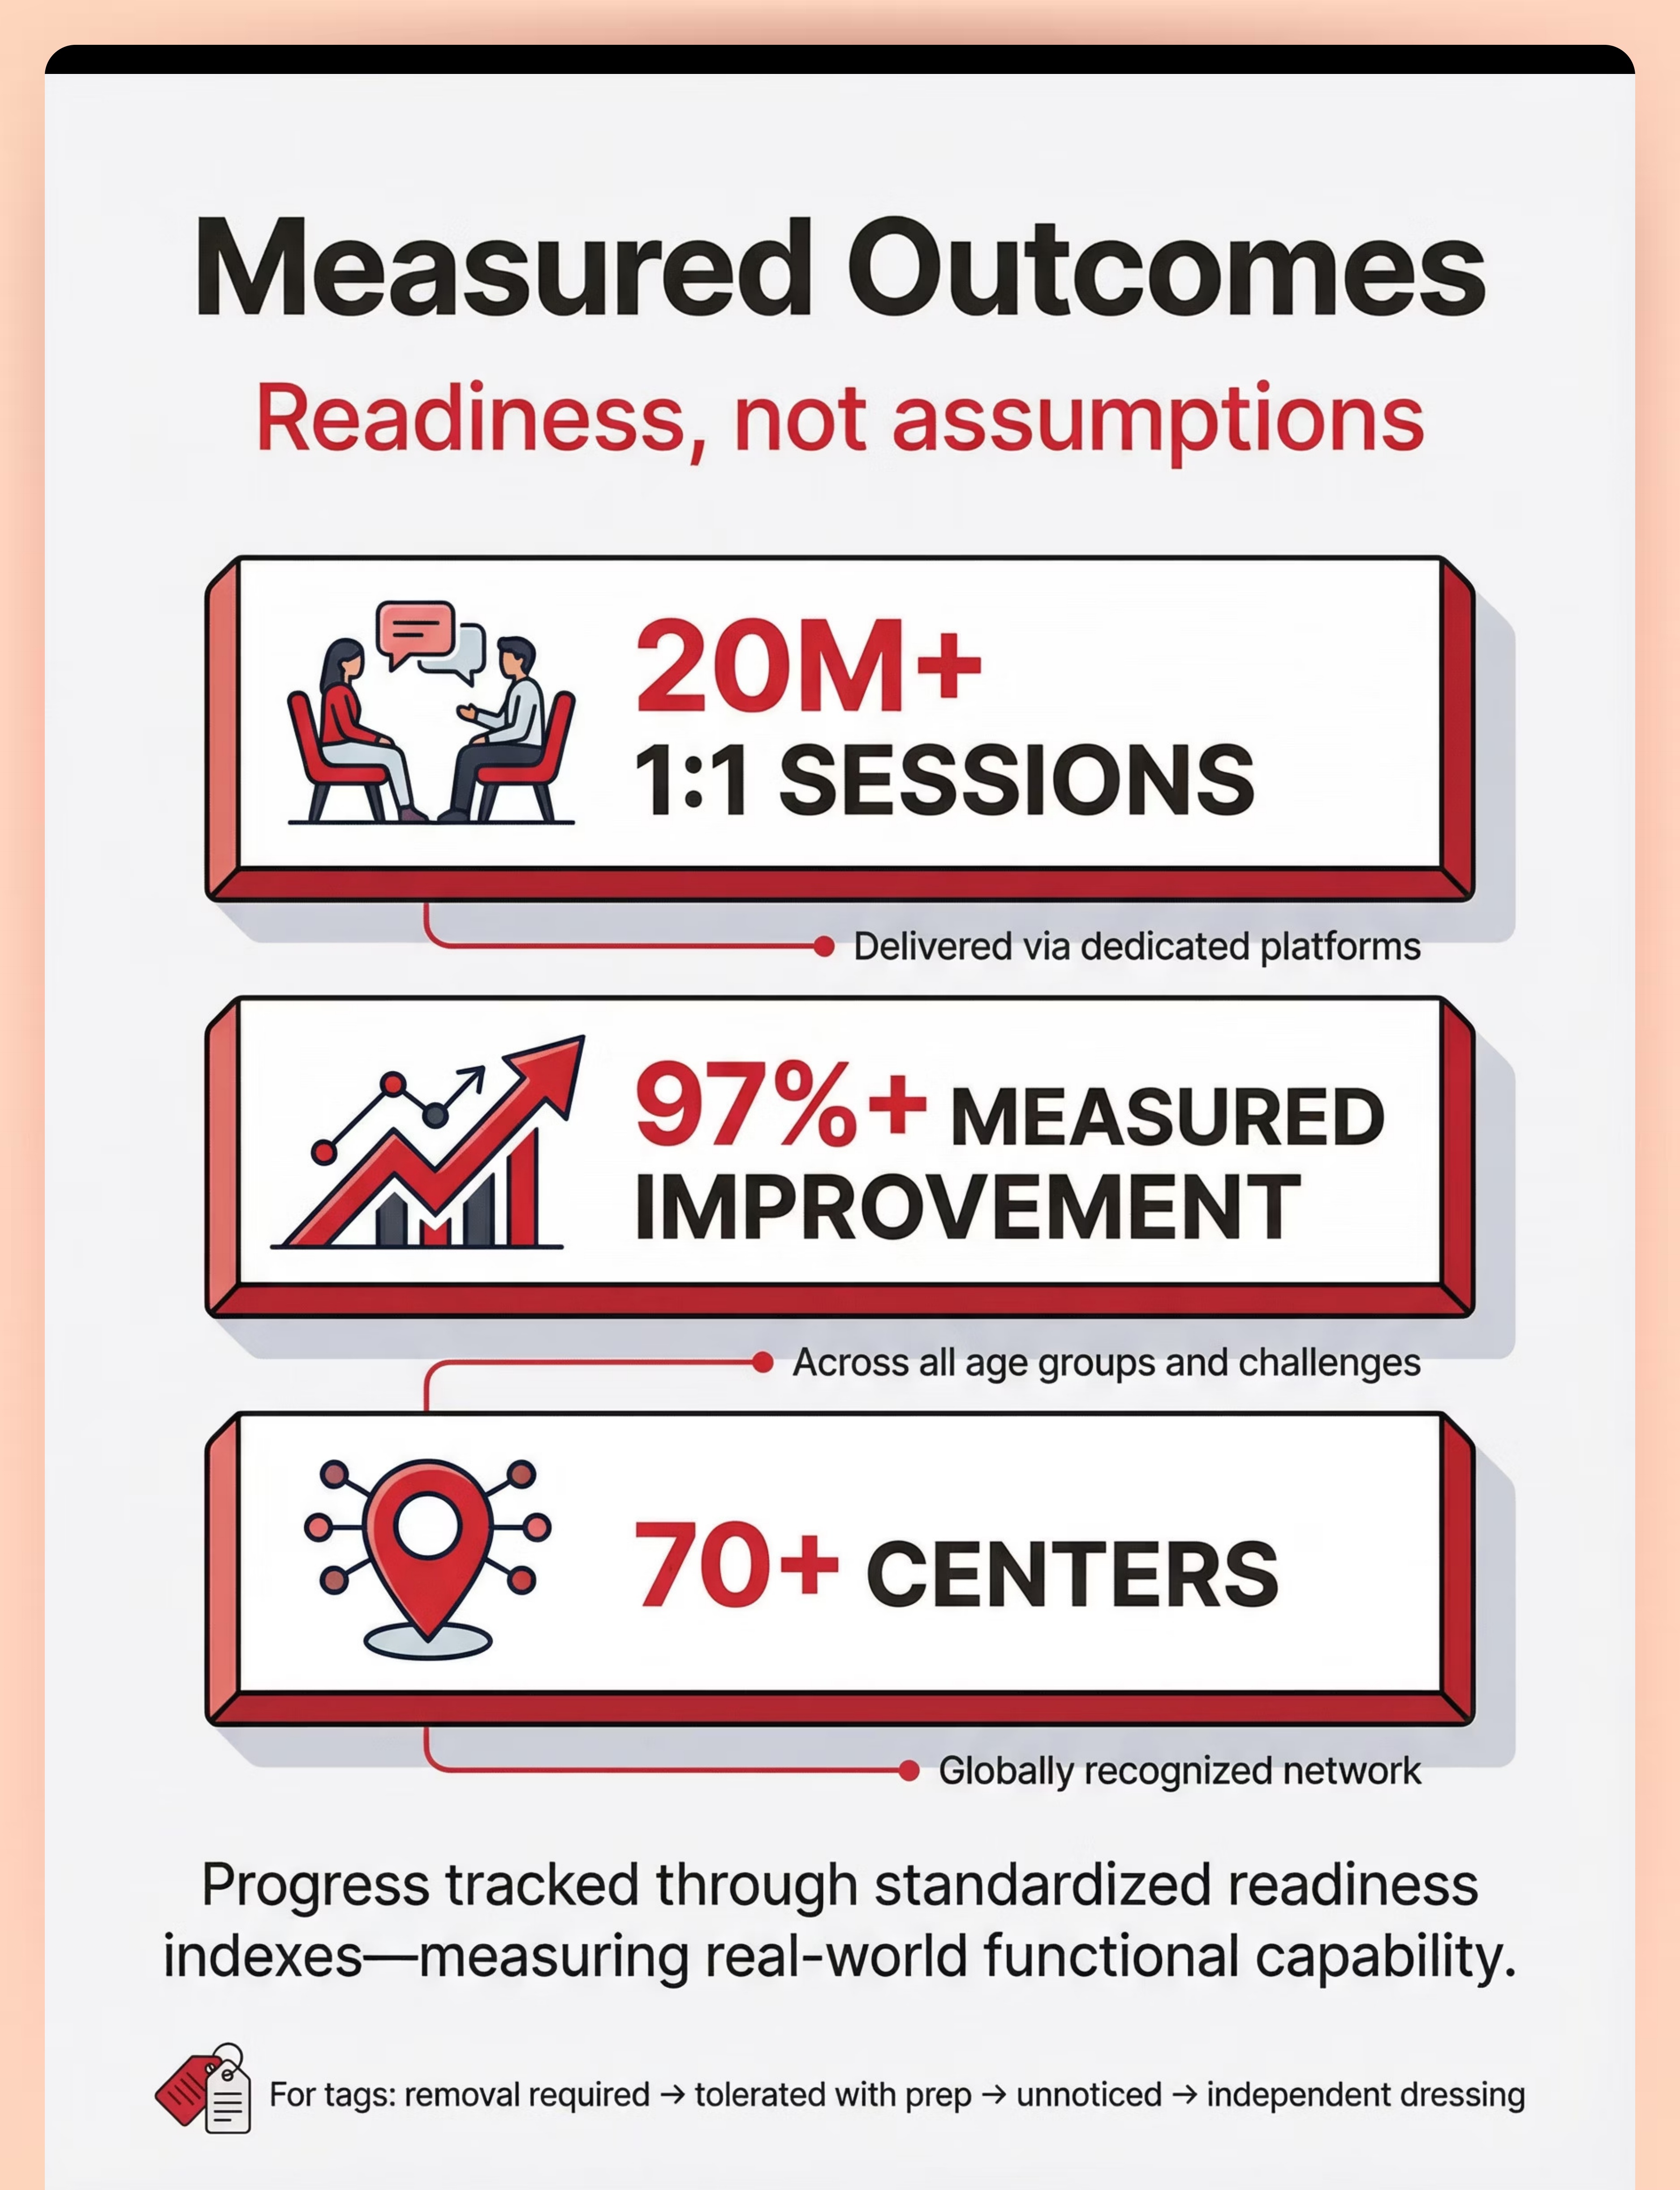
Clinically validated across 21 million+ therapy sessions at Pinnacle Blooms Network. 97%+ measured improvement across documented cases.
Clinically validated. Home-applicable. Parent-proven across 21 million therapy sessions at Pinnacle Blooms Network.

The Technique: What It Is
A-003
Tactile Sensitivity Series
Position 3 of 30
Formal Name: Tactile Accommodation and Desensitization Protocol for Clothing Tag Intolerance
Parent-Friendly Name: "The Tag-Free Morning System"
Parent-Friendly Name: "The Tag-Free Morning System"
A graded, multi-material approach to eliminating clothing tag distress — combining immediate accommodations (tag removal, tagless clothing, barriers) with systematic sensory preparation (deep pressure, compression, desensitization brushing) to both solve the daily crisis AND build long-term tolerance.
The protocol uses 9 clinically selected materials organized into 4 strategy tiers:
Eliminate
Remove the source entirely — tagless clothing and seam rippers
Barrier
Protect against residual irritation — cover patches and compression
Prepare
Regulate the system before dressing — deep pressure and washing protocols
Desensitize
Build long-term tolerance — Wilbarger brushing protocol with OT
Age Range
2–6 years
Duration
5–15 min daily
Frequency
Daily + 2–3x/week desensitization
Setting
Home — Morning routine

Who Uses This Technique
This technique crosses therapy boundaries because the brain doesn't organize by therapy type. A full support team works together — each discipline bringing a unique and essential perspective.
Occupational Therapy (OT)
Primary lead. OTs assess the sensory profile, design the graded approach, train parents on the Wilbarger brushing protocol, and monitor progression from accommodation to tolerance.
Applied Behavior Analysis (ABA)
Addresses the behavioral chain — antecedent modification, teaching replacement behaviors, reinforcement of dressing compliance, and systematic data collection.
Speech-Language Pathology (SLP)
Teaches children to express "this hurts" or "I need help" instead of melting down, and supports morning routine visual schedules that include dressing steps.
Special Education (SpEd)
Addresses school uniform accommodations, IEP/504 sensory accommodation documentation, and self-advocacy skill development for school settings.
NeuroDevelopmental Pediatrics
Rules out dermatological conditions, assesses overall sensory profile, and guides medication decisions when sensory processing severely impacts daily functioning.
Source: Adapted UNICEF/WHO Nurturing Care Framework for SLPs (2022) — DOI: 10.1080/17549507.2022.2141327

What This Technique Targets
Every good intervention has a clear target. A-003 works at multiple levels simultaneously — the immediate daily challenge and the longer developmental arc.
1
🎯 Primary: Clothing Tag Tolerance
Child dresses without distress related to tags. Observable signs: dresses without scratching, wears clothing beyond "safe" outfits, tolerates tagged clothing for progressively longer durations, morning routine completes within a reasonable timeframe.
2
🔵 Secondary: Reduced Morning Meltdowns
Dressing transitions happen without fight-flight-freeze. Wardrobe expands beyond 3 "safe" outfits. Child communicates discomfort instead of melting down. Parent feels equipped and confident.
3
🟢 Tertiary: Broader Developmental Gains
Tactile tolerance carries over to seams, fabrics, and waistbands. Foundation for self-dressing independence. Emotional regulation practice. Social participation in school uniforms and occasion clothing.
These are specific, observable, measurable outcomes — not vague hopes. Each target has corresponding progress indicators detailed in the Progress Arc section (Cards 23–26).
Source: PMC10955541 — Meta-analysis confirming multi-domain outcomes
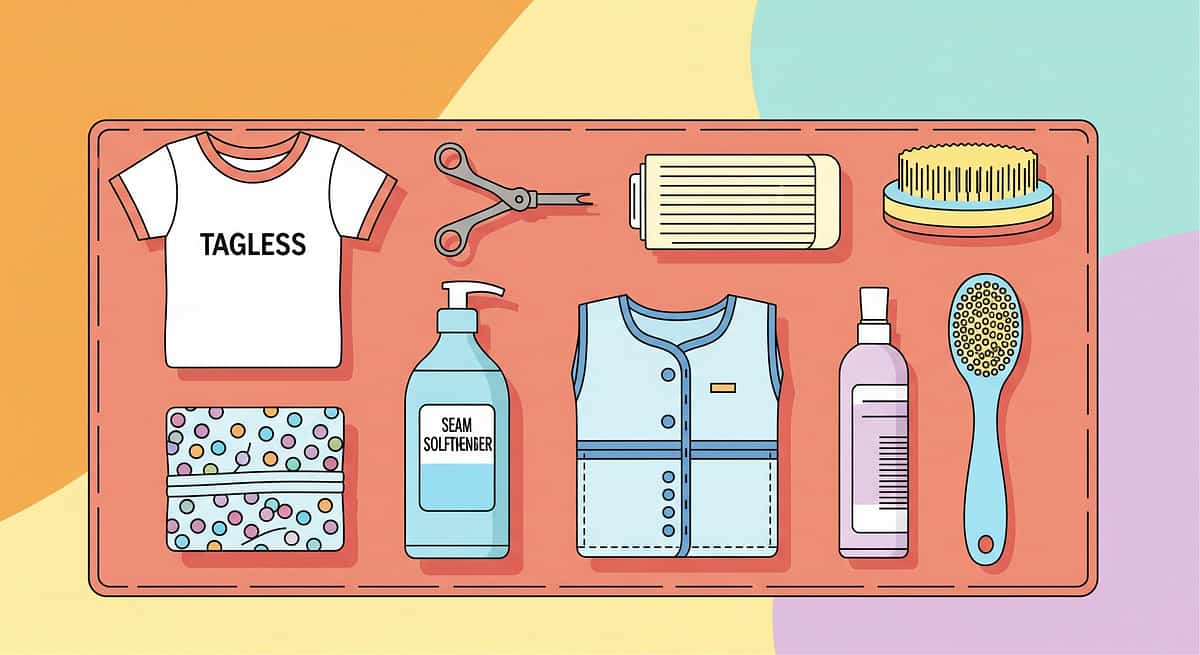
What You Need: The 9 Materials
Nine clinically validated materials, organized into four strategy tiers. You do not need all nine to start. Even Materials 1, 7, and 8 together cost almost nothing and can transform tomorrow morning.
Tier 1: Eliminate
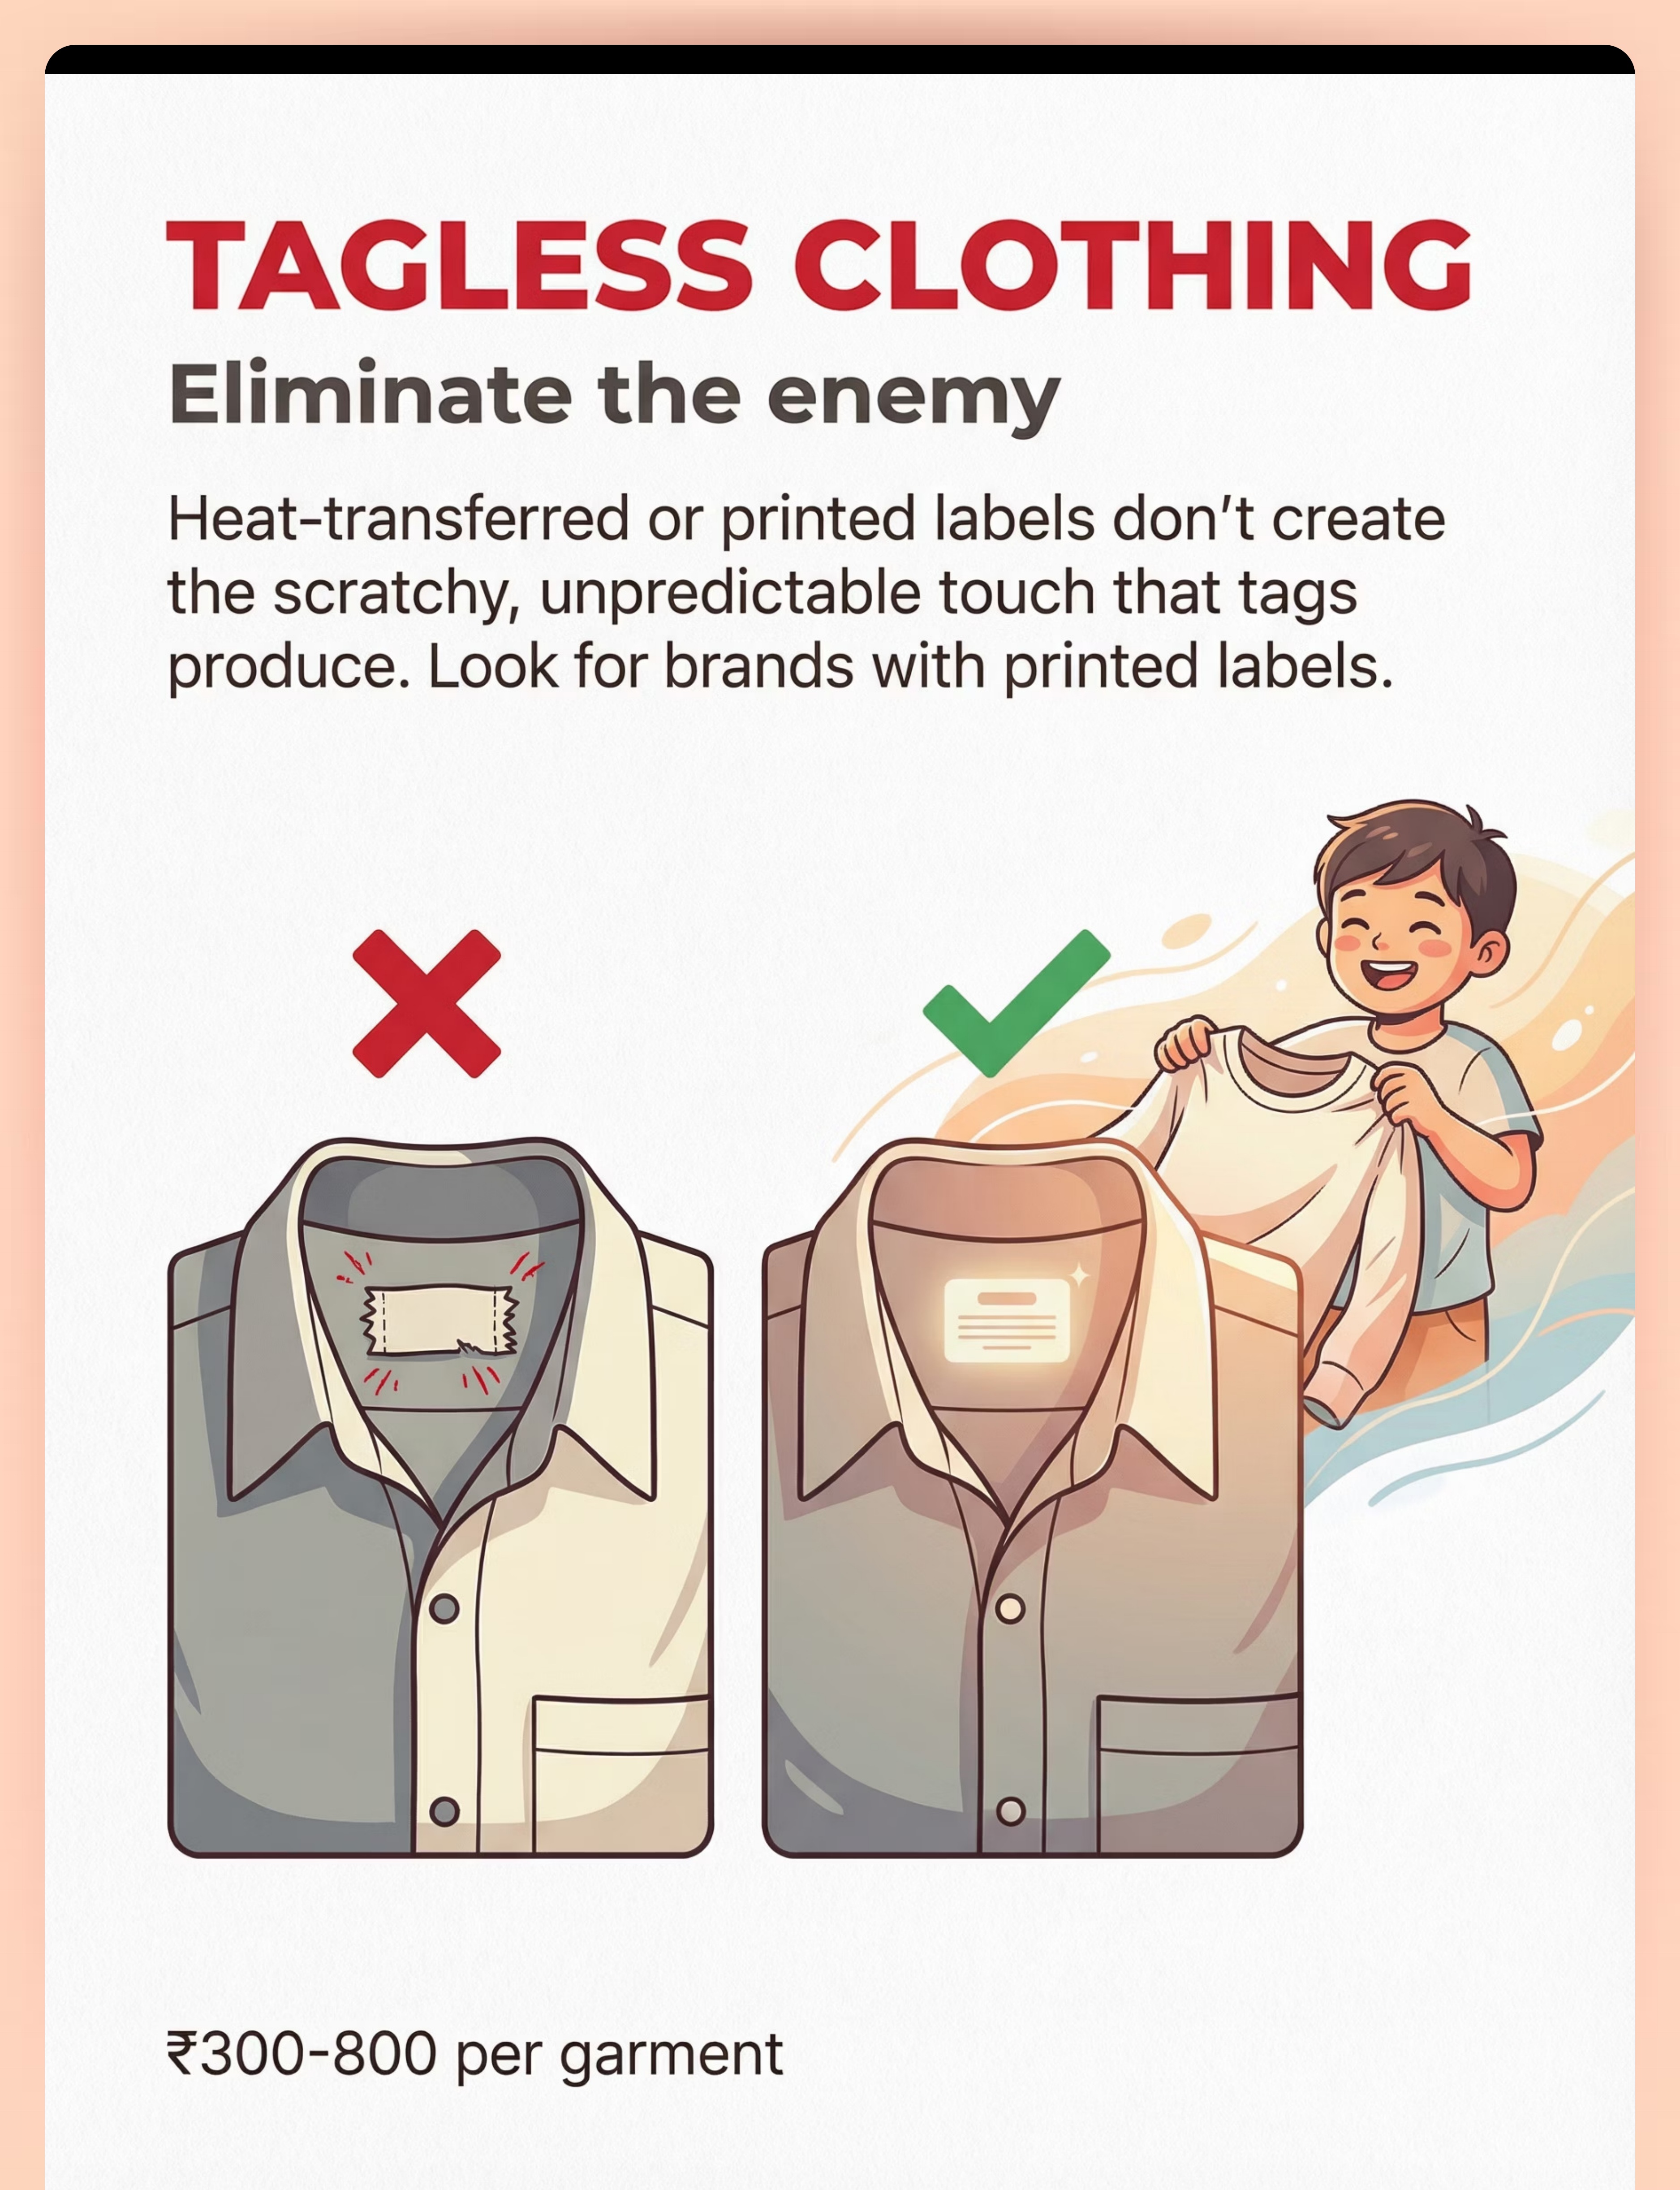
① Tagless Clothing
Brands with heat-transferred or printed labels — no sewn tags at all. The gold standard for immediate relief. Look for "tagless" or "tag-free" labeling on packaging.
② Seam Ripper + Tag Removal Kit
Complete tag removal without garment damage. A seam ripper (not scissors) prevents thread stubs that can be equally irritating. Essential first purchase.
Tier 2: Barrier
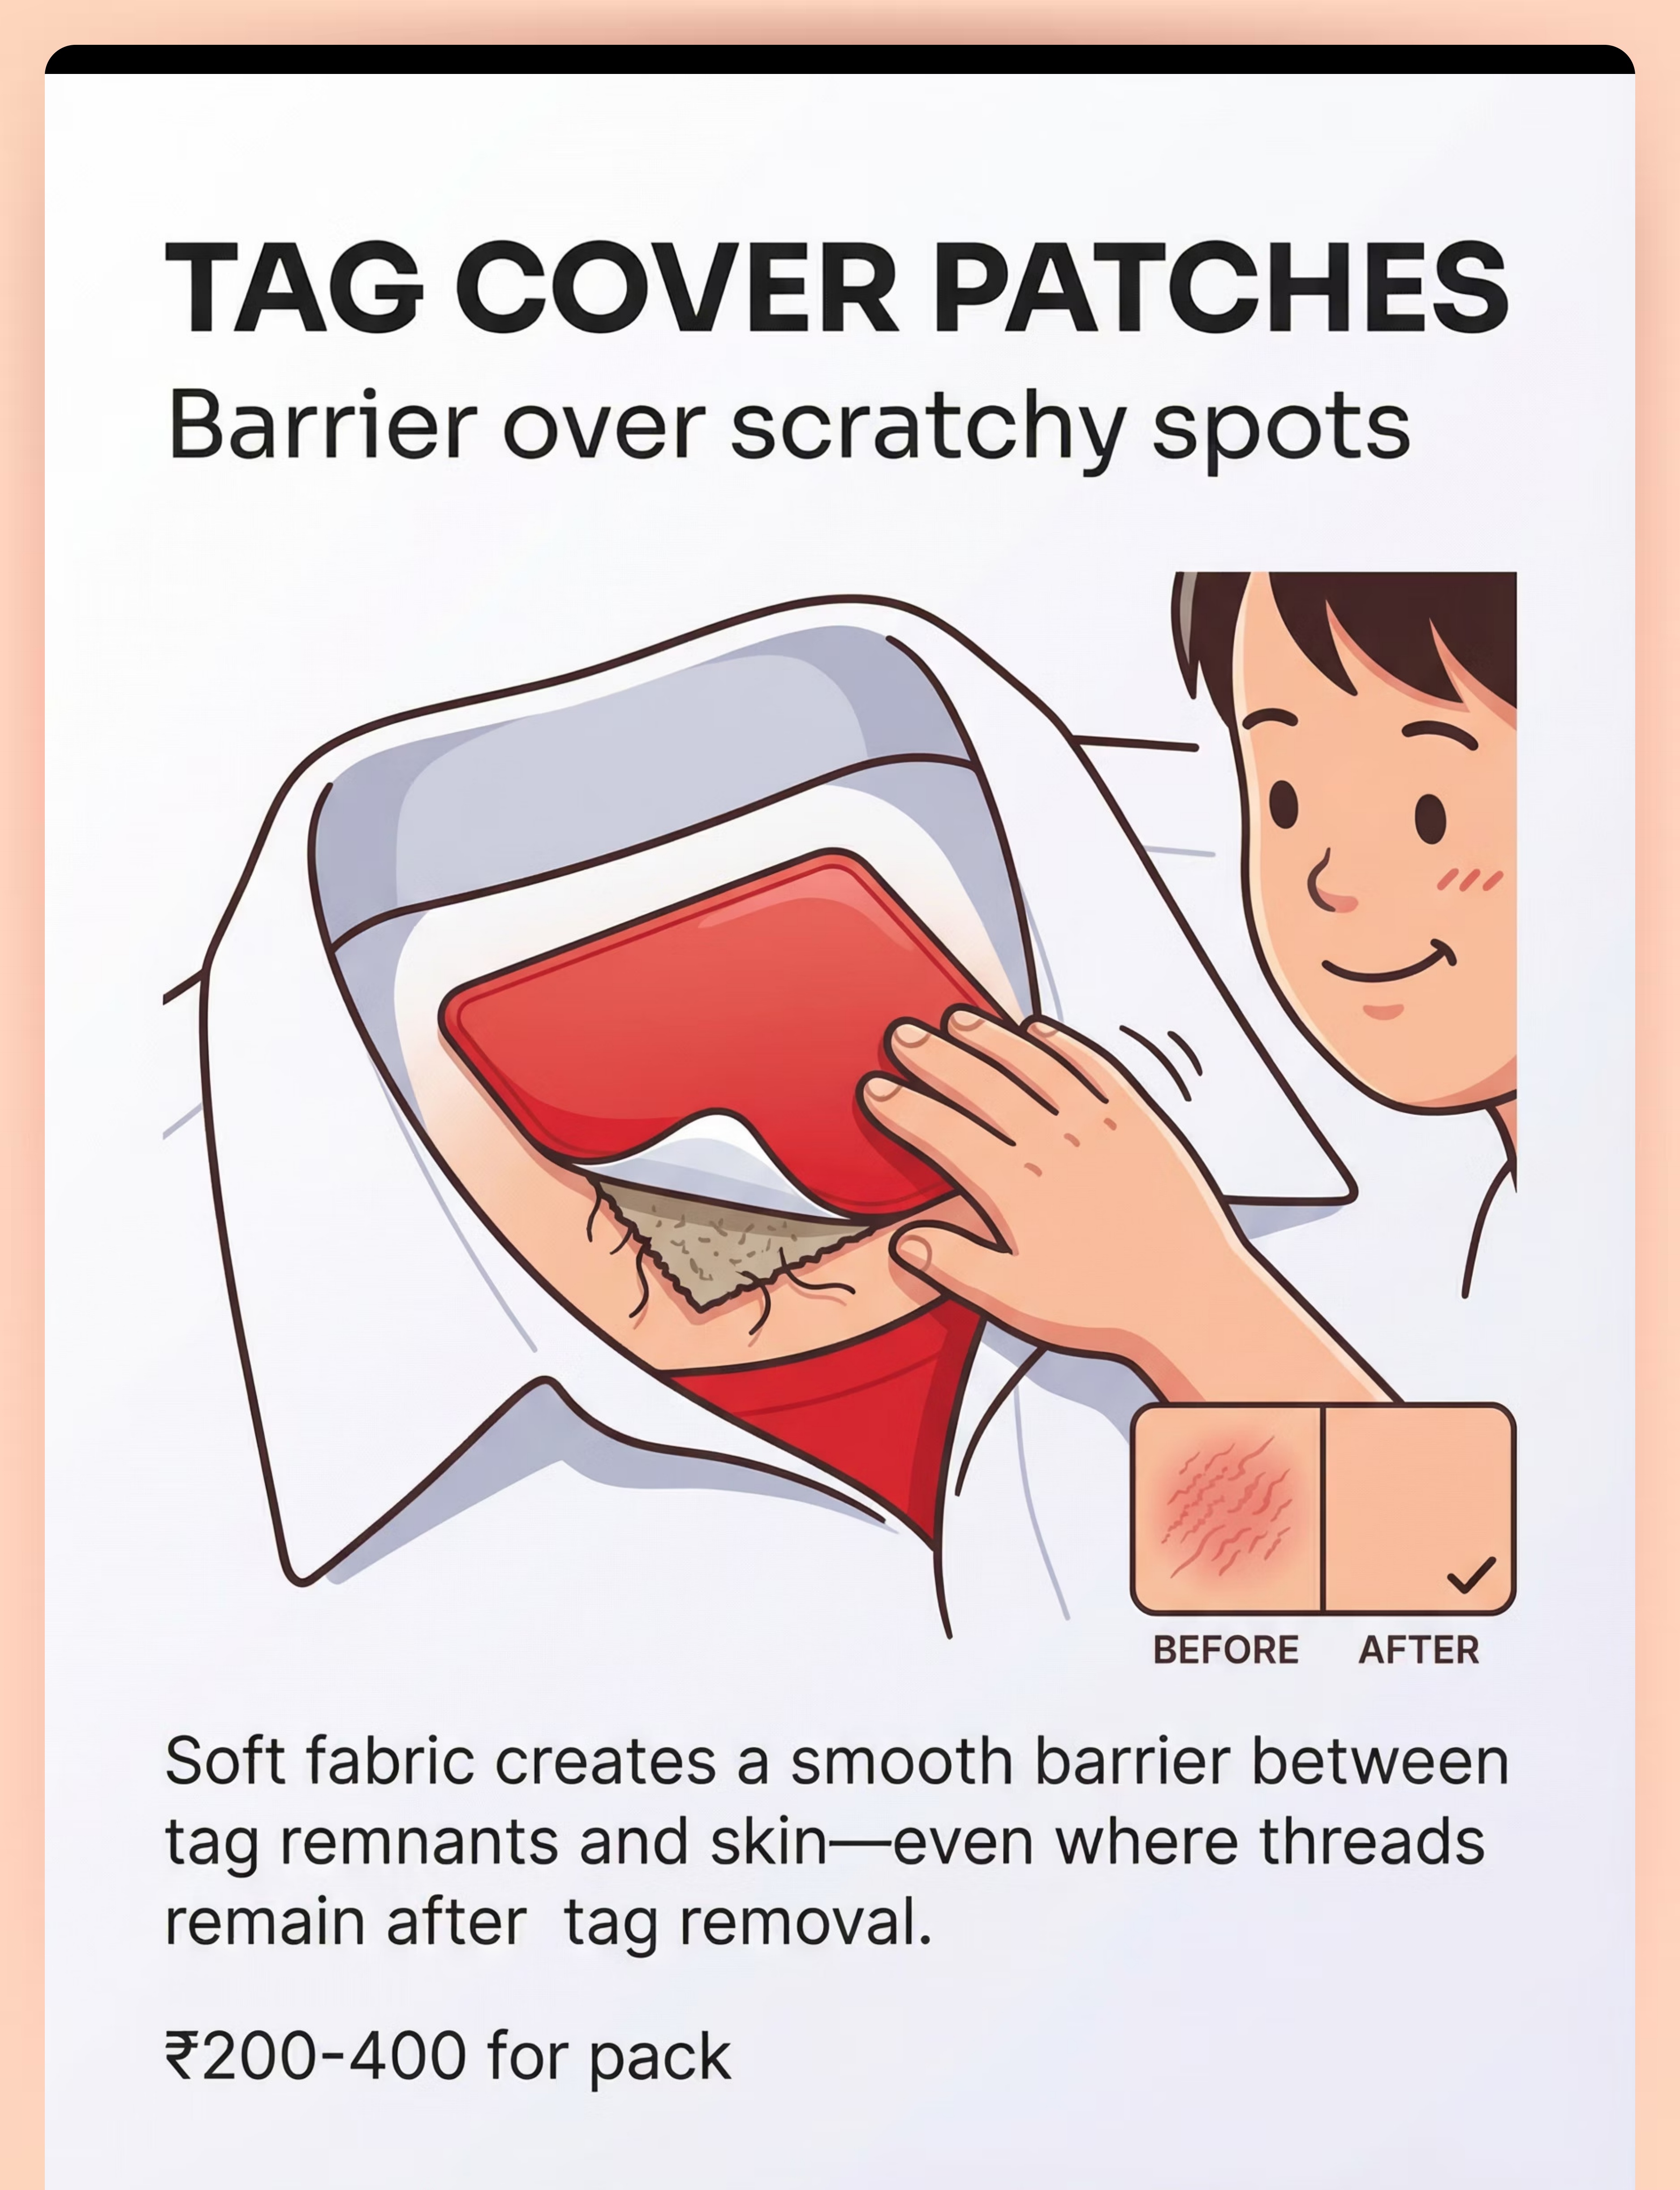
③ Tag Cover Patches
Soft fabric barriers placed over tag remnants or seams. Iron-on versions are more durable than adhesive. Choose jersey or silk — different children prefer different textures.
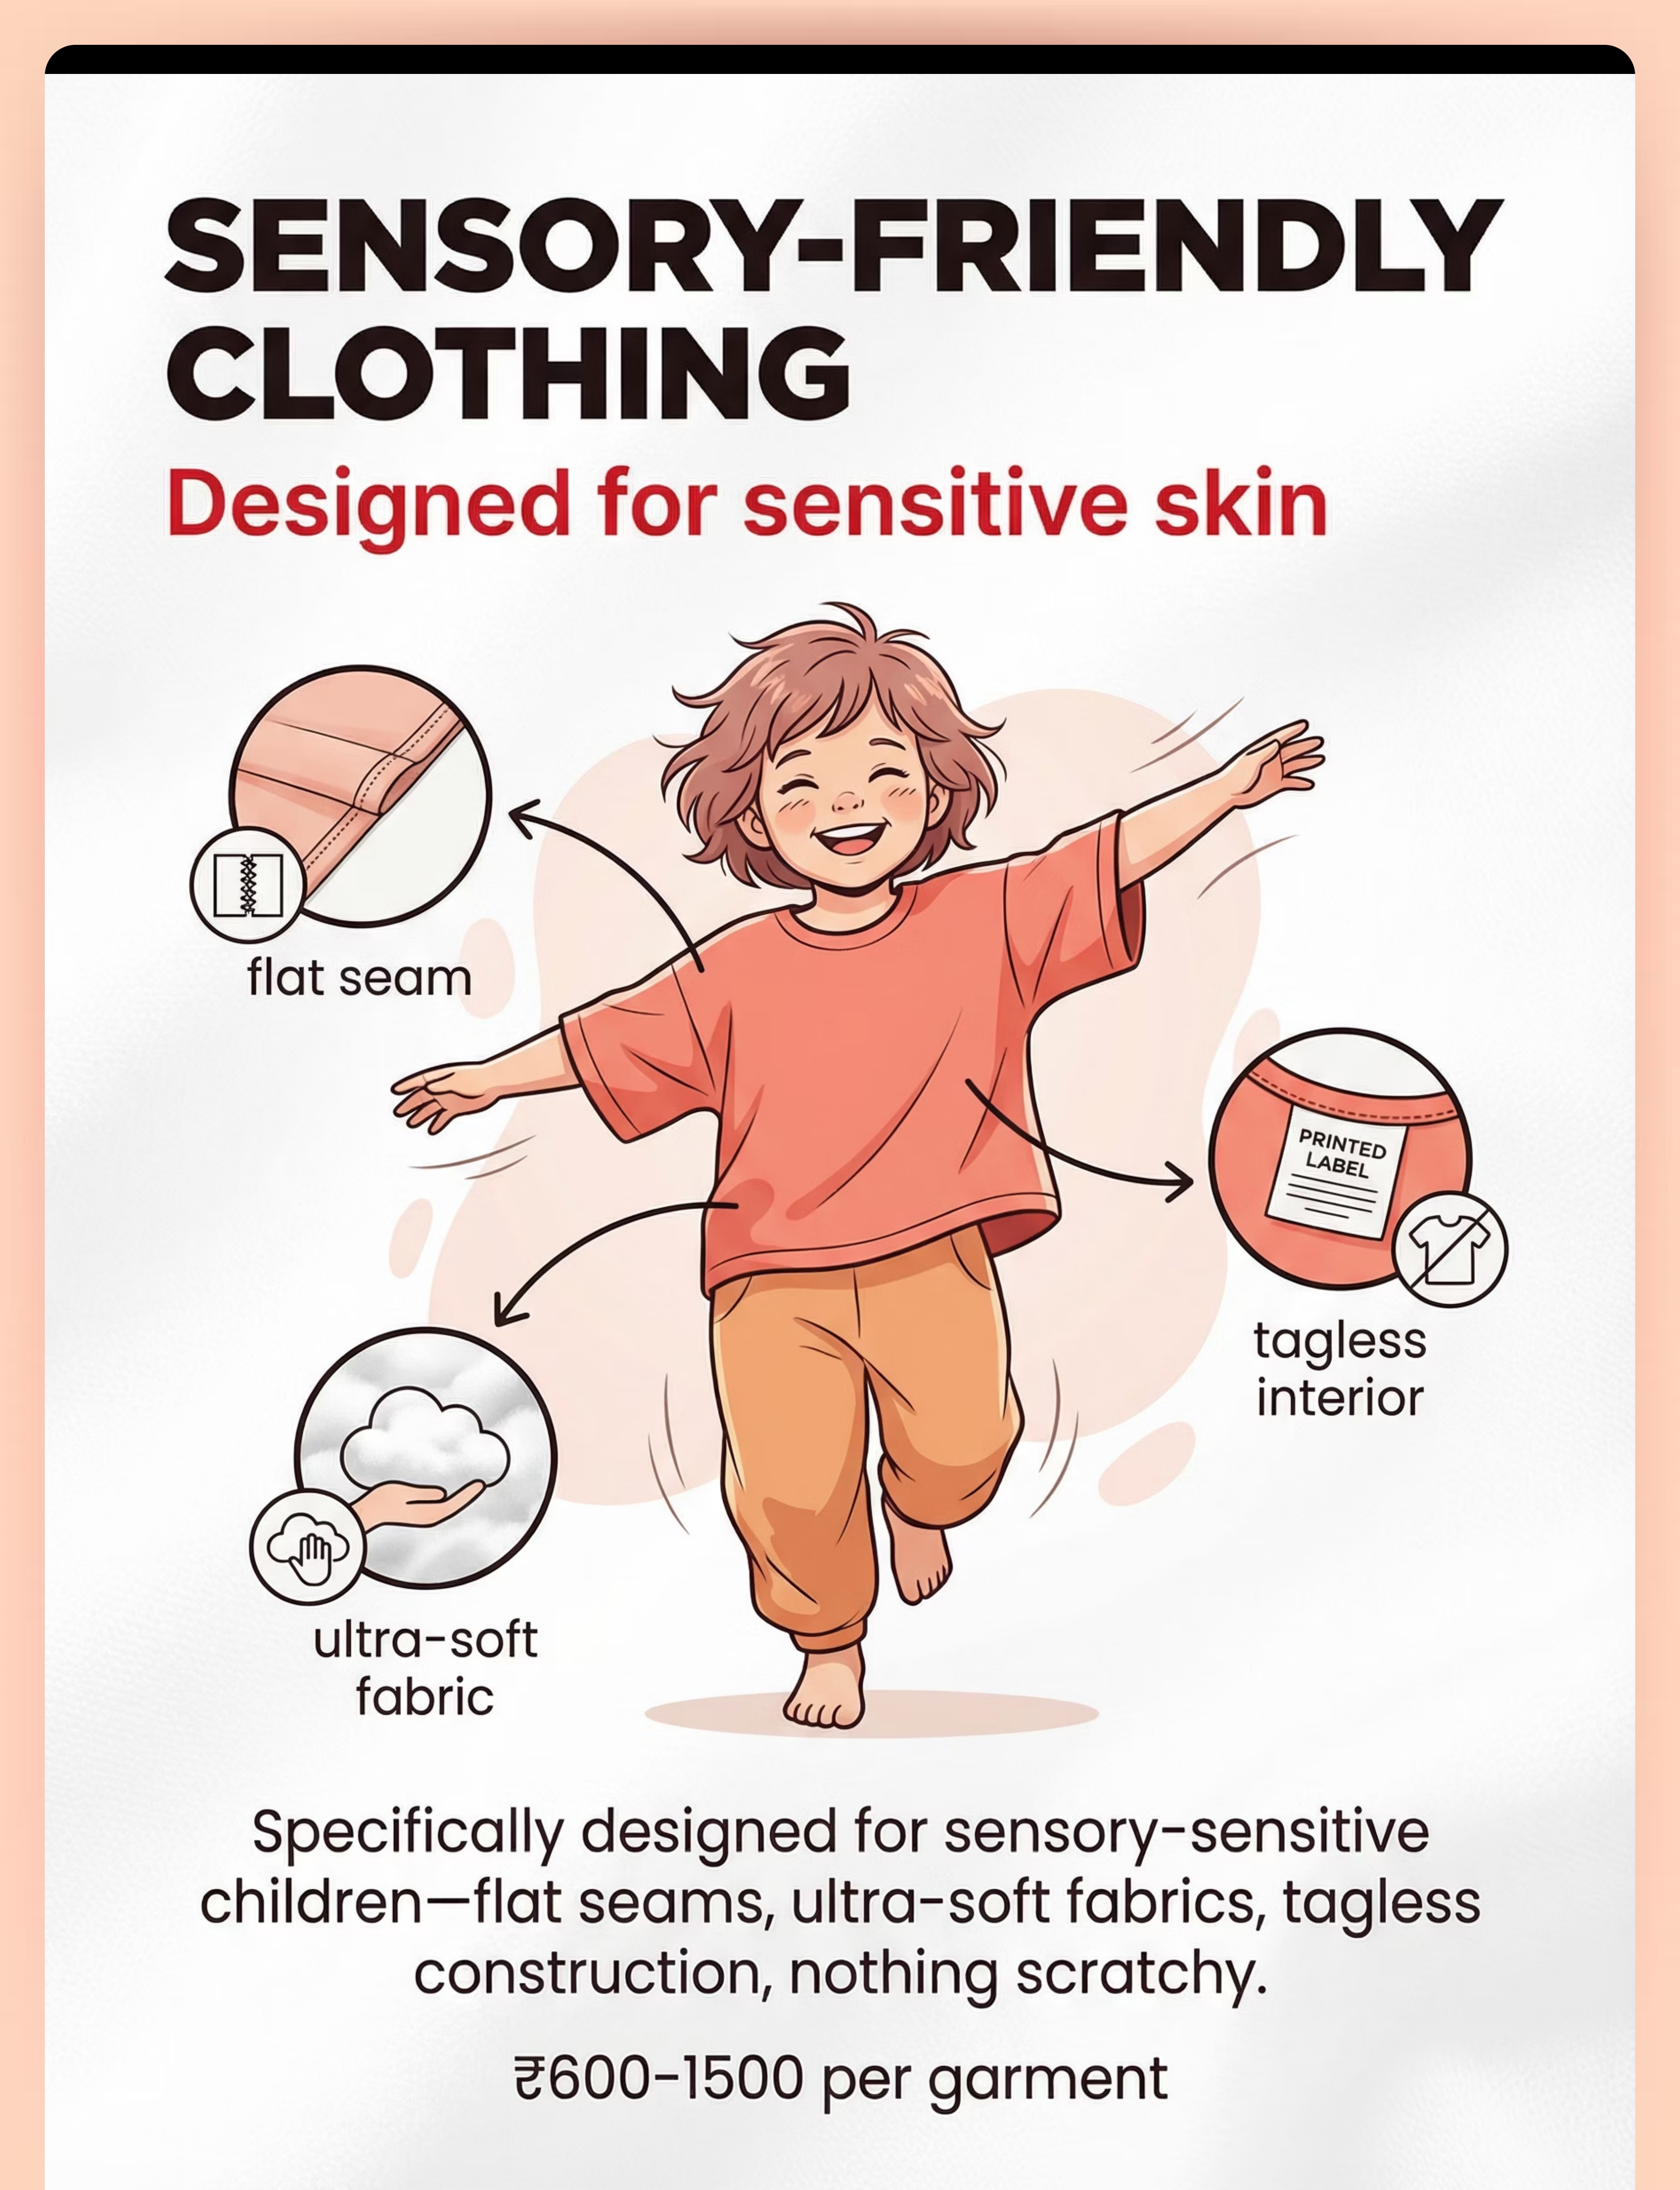
④ Sensory-Friendly Clothing Brands
Flat seams, tagless construction, ultra-soft fabrics throughout. More investment upfront but eliminates multiple sensory challenges simultaneously.
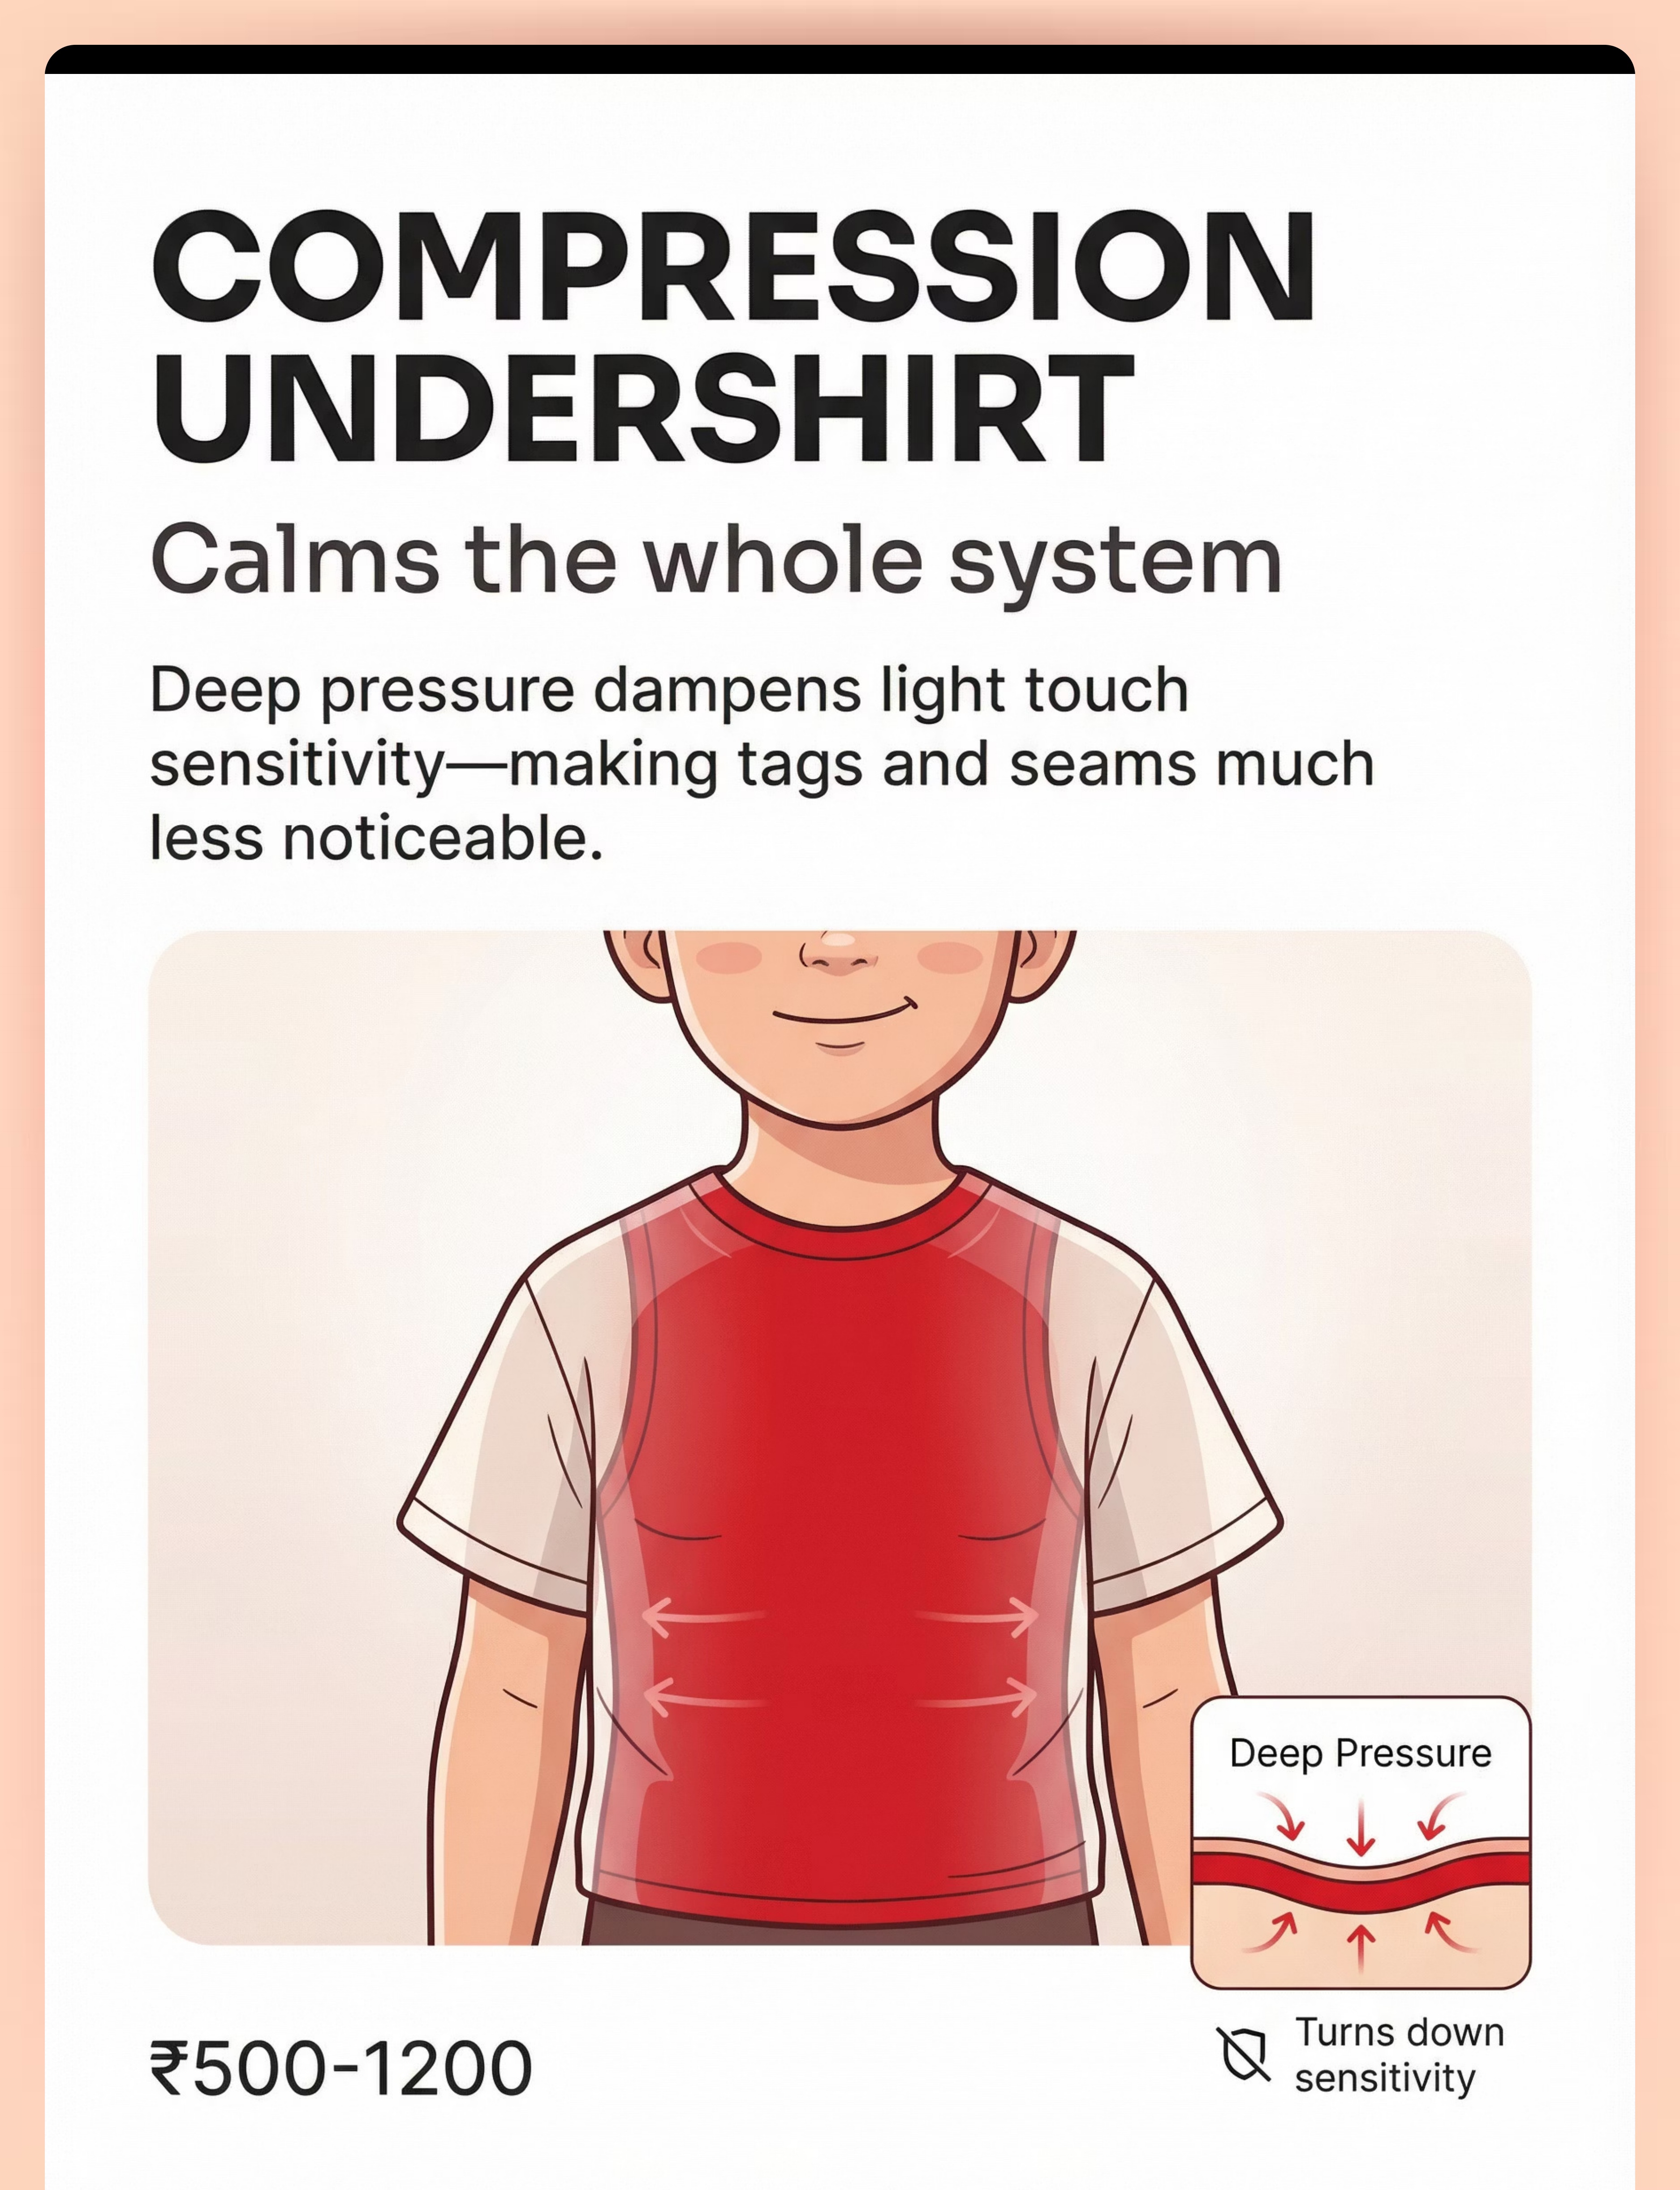
⑤ Compression Undershirts
A deep pressure layer that dampens light touch sensitivity throughout the torso. Worn under regular clothing — a calming "hug" that lasts all day.
Tier 3: Prepare
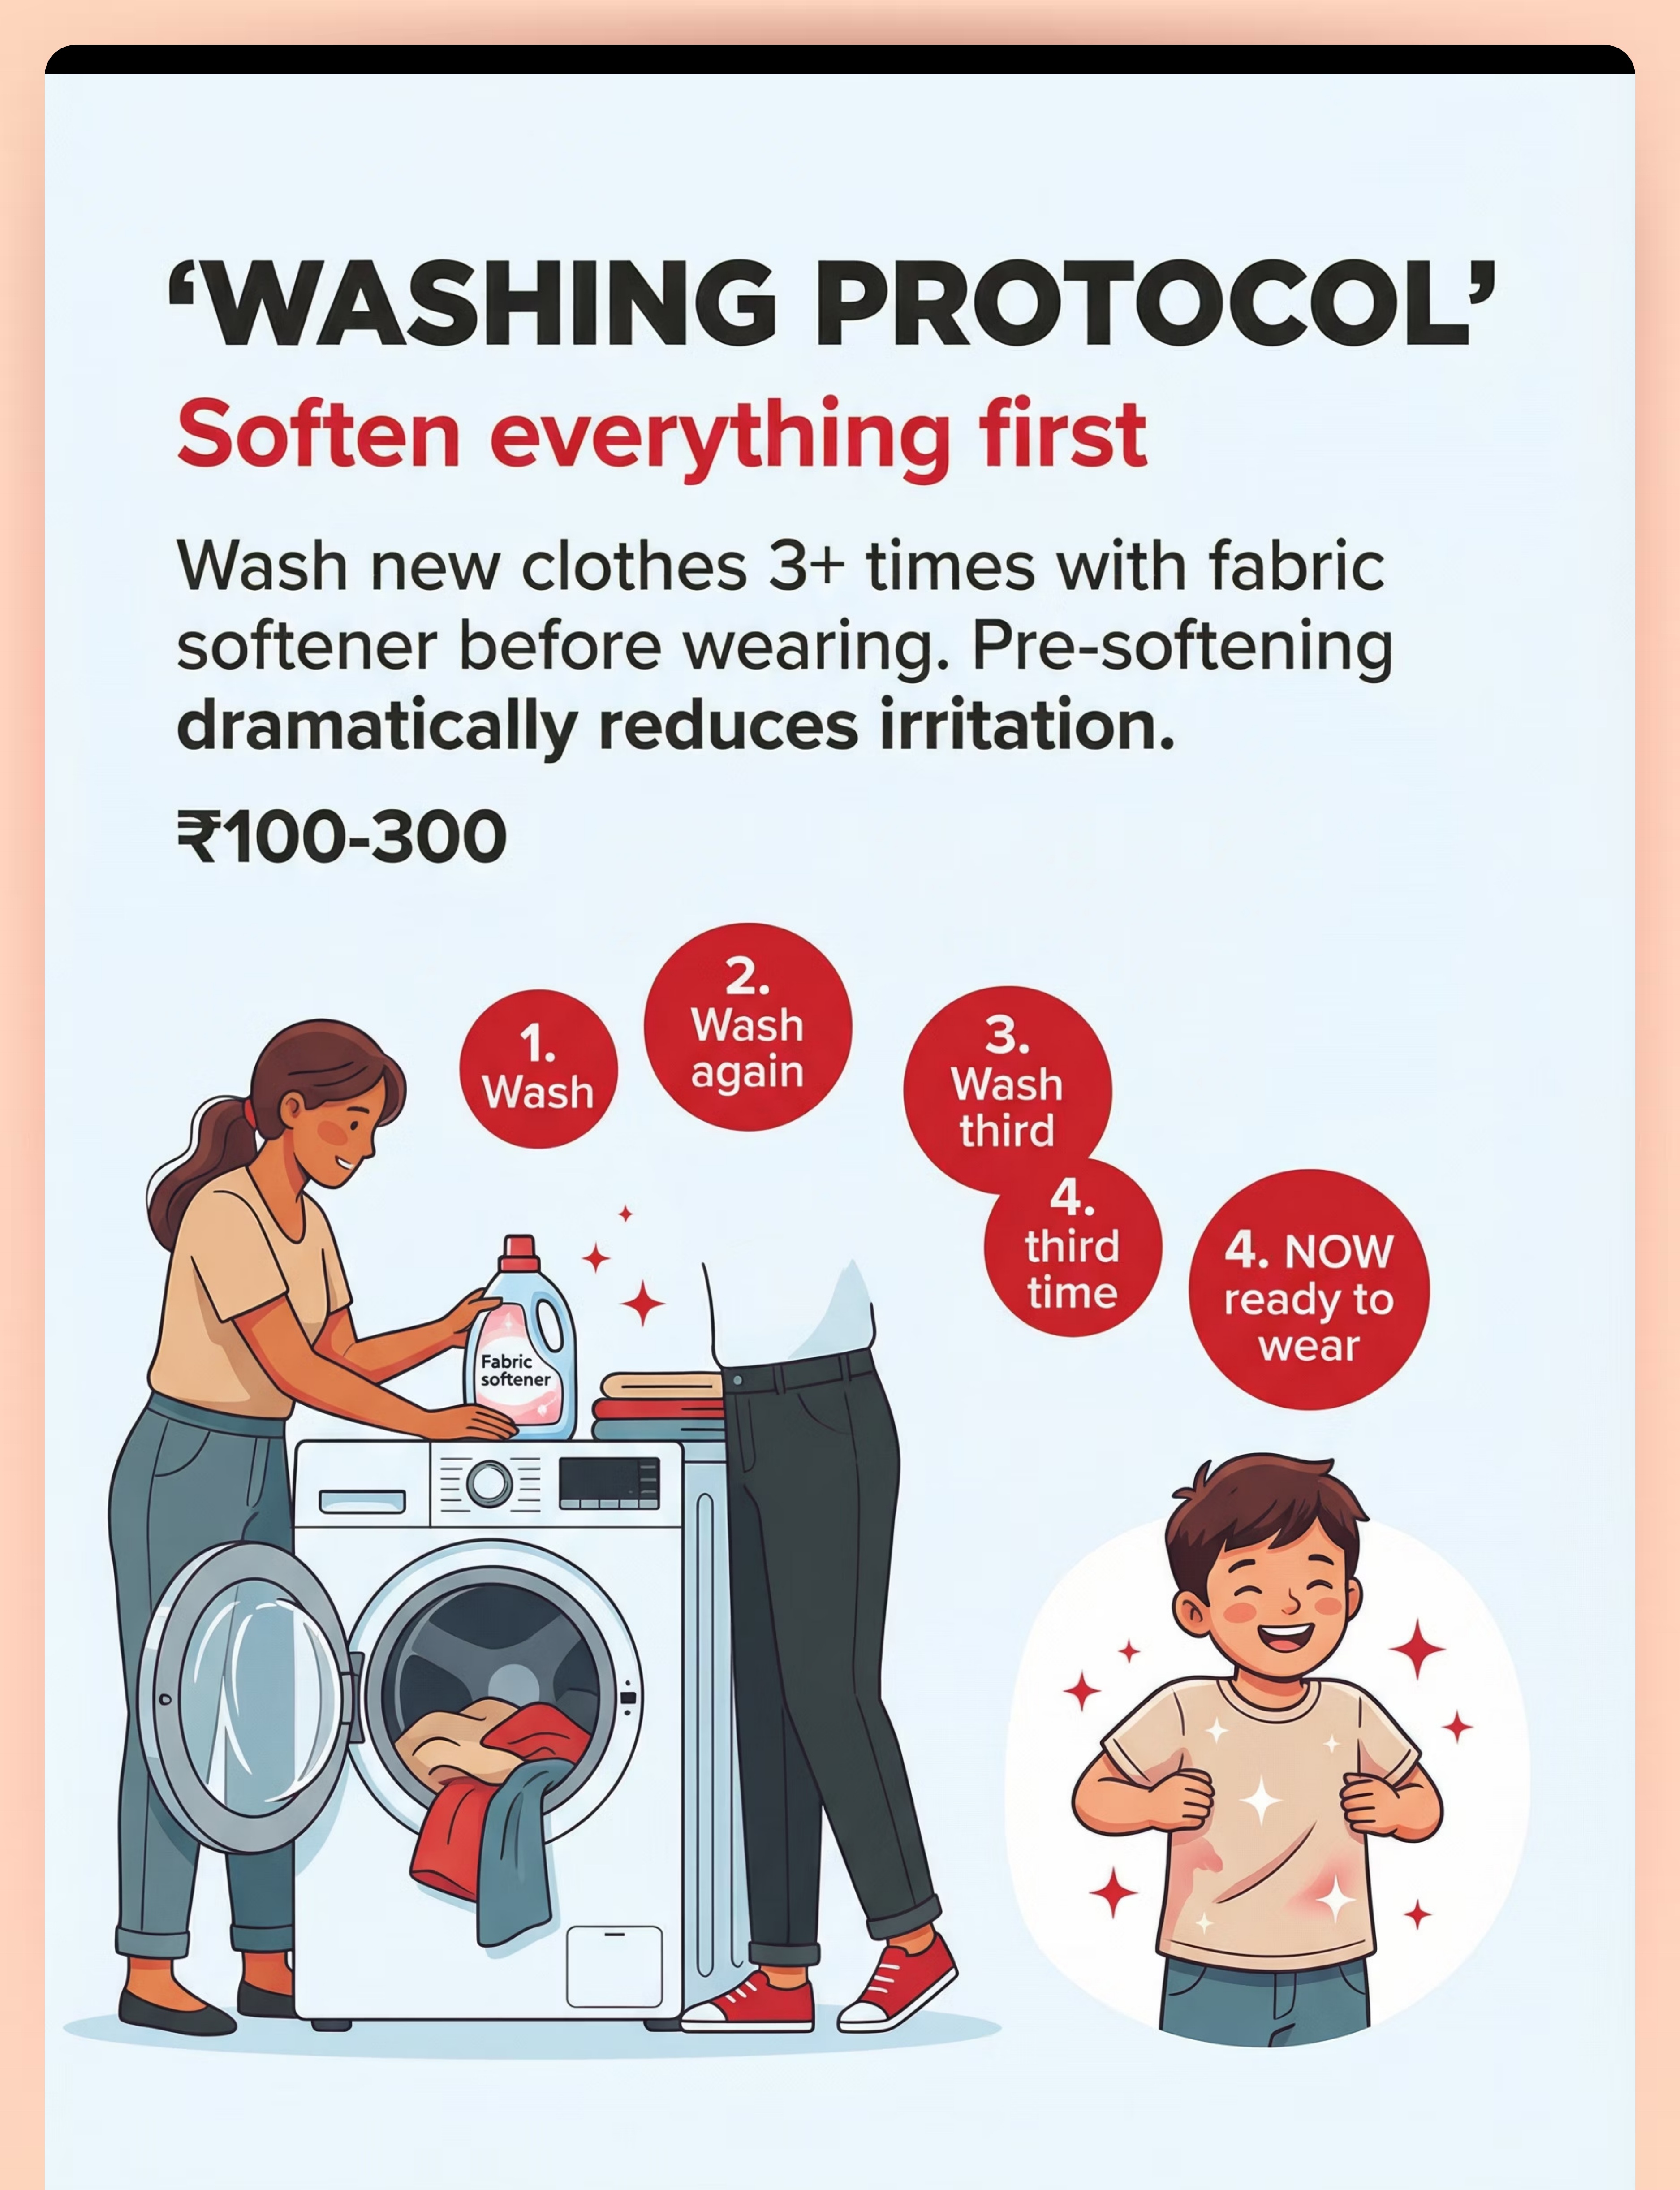
⑥ Fabric Softener / Washing Protocol
Pre-soften all new clothing with 3 washes before first wear. Reduces stiffness and chemical residue that amplify tactile irritation.
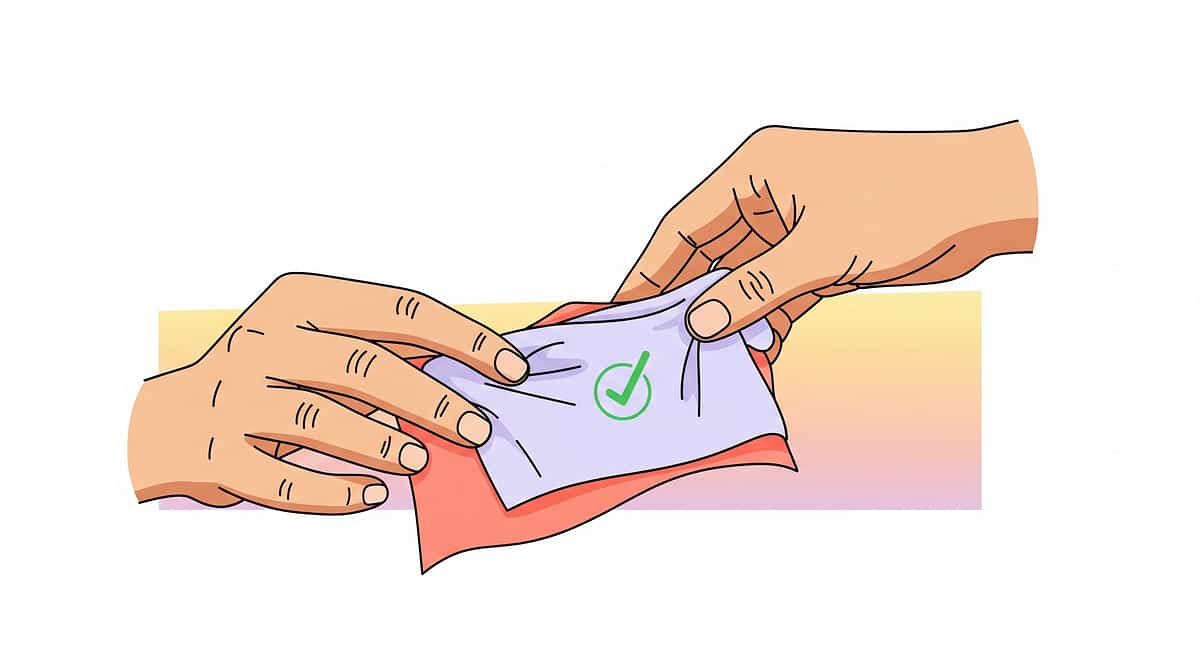
⑦ Inside-Out Clothing System
Smooth inner fabric faces skin; seams face outward. Zero cost. Immediate relief. Often the single most effective free intervention families can implement tonight.
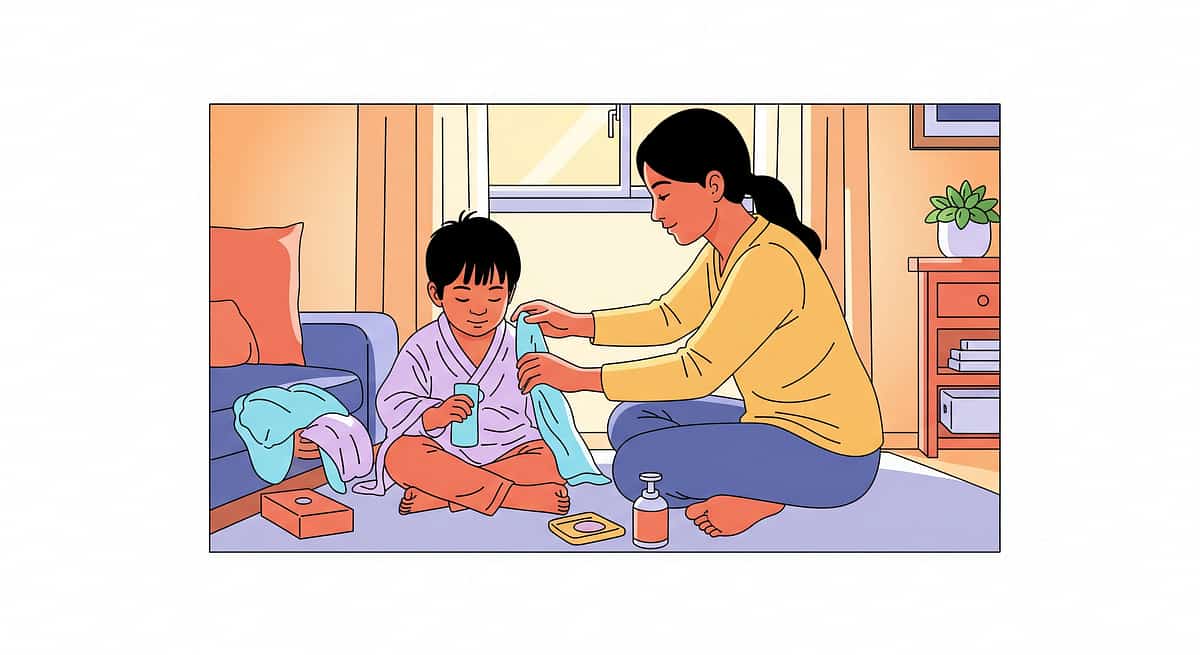
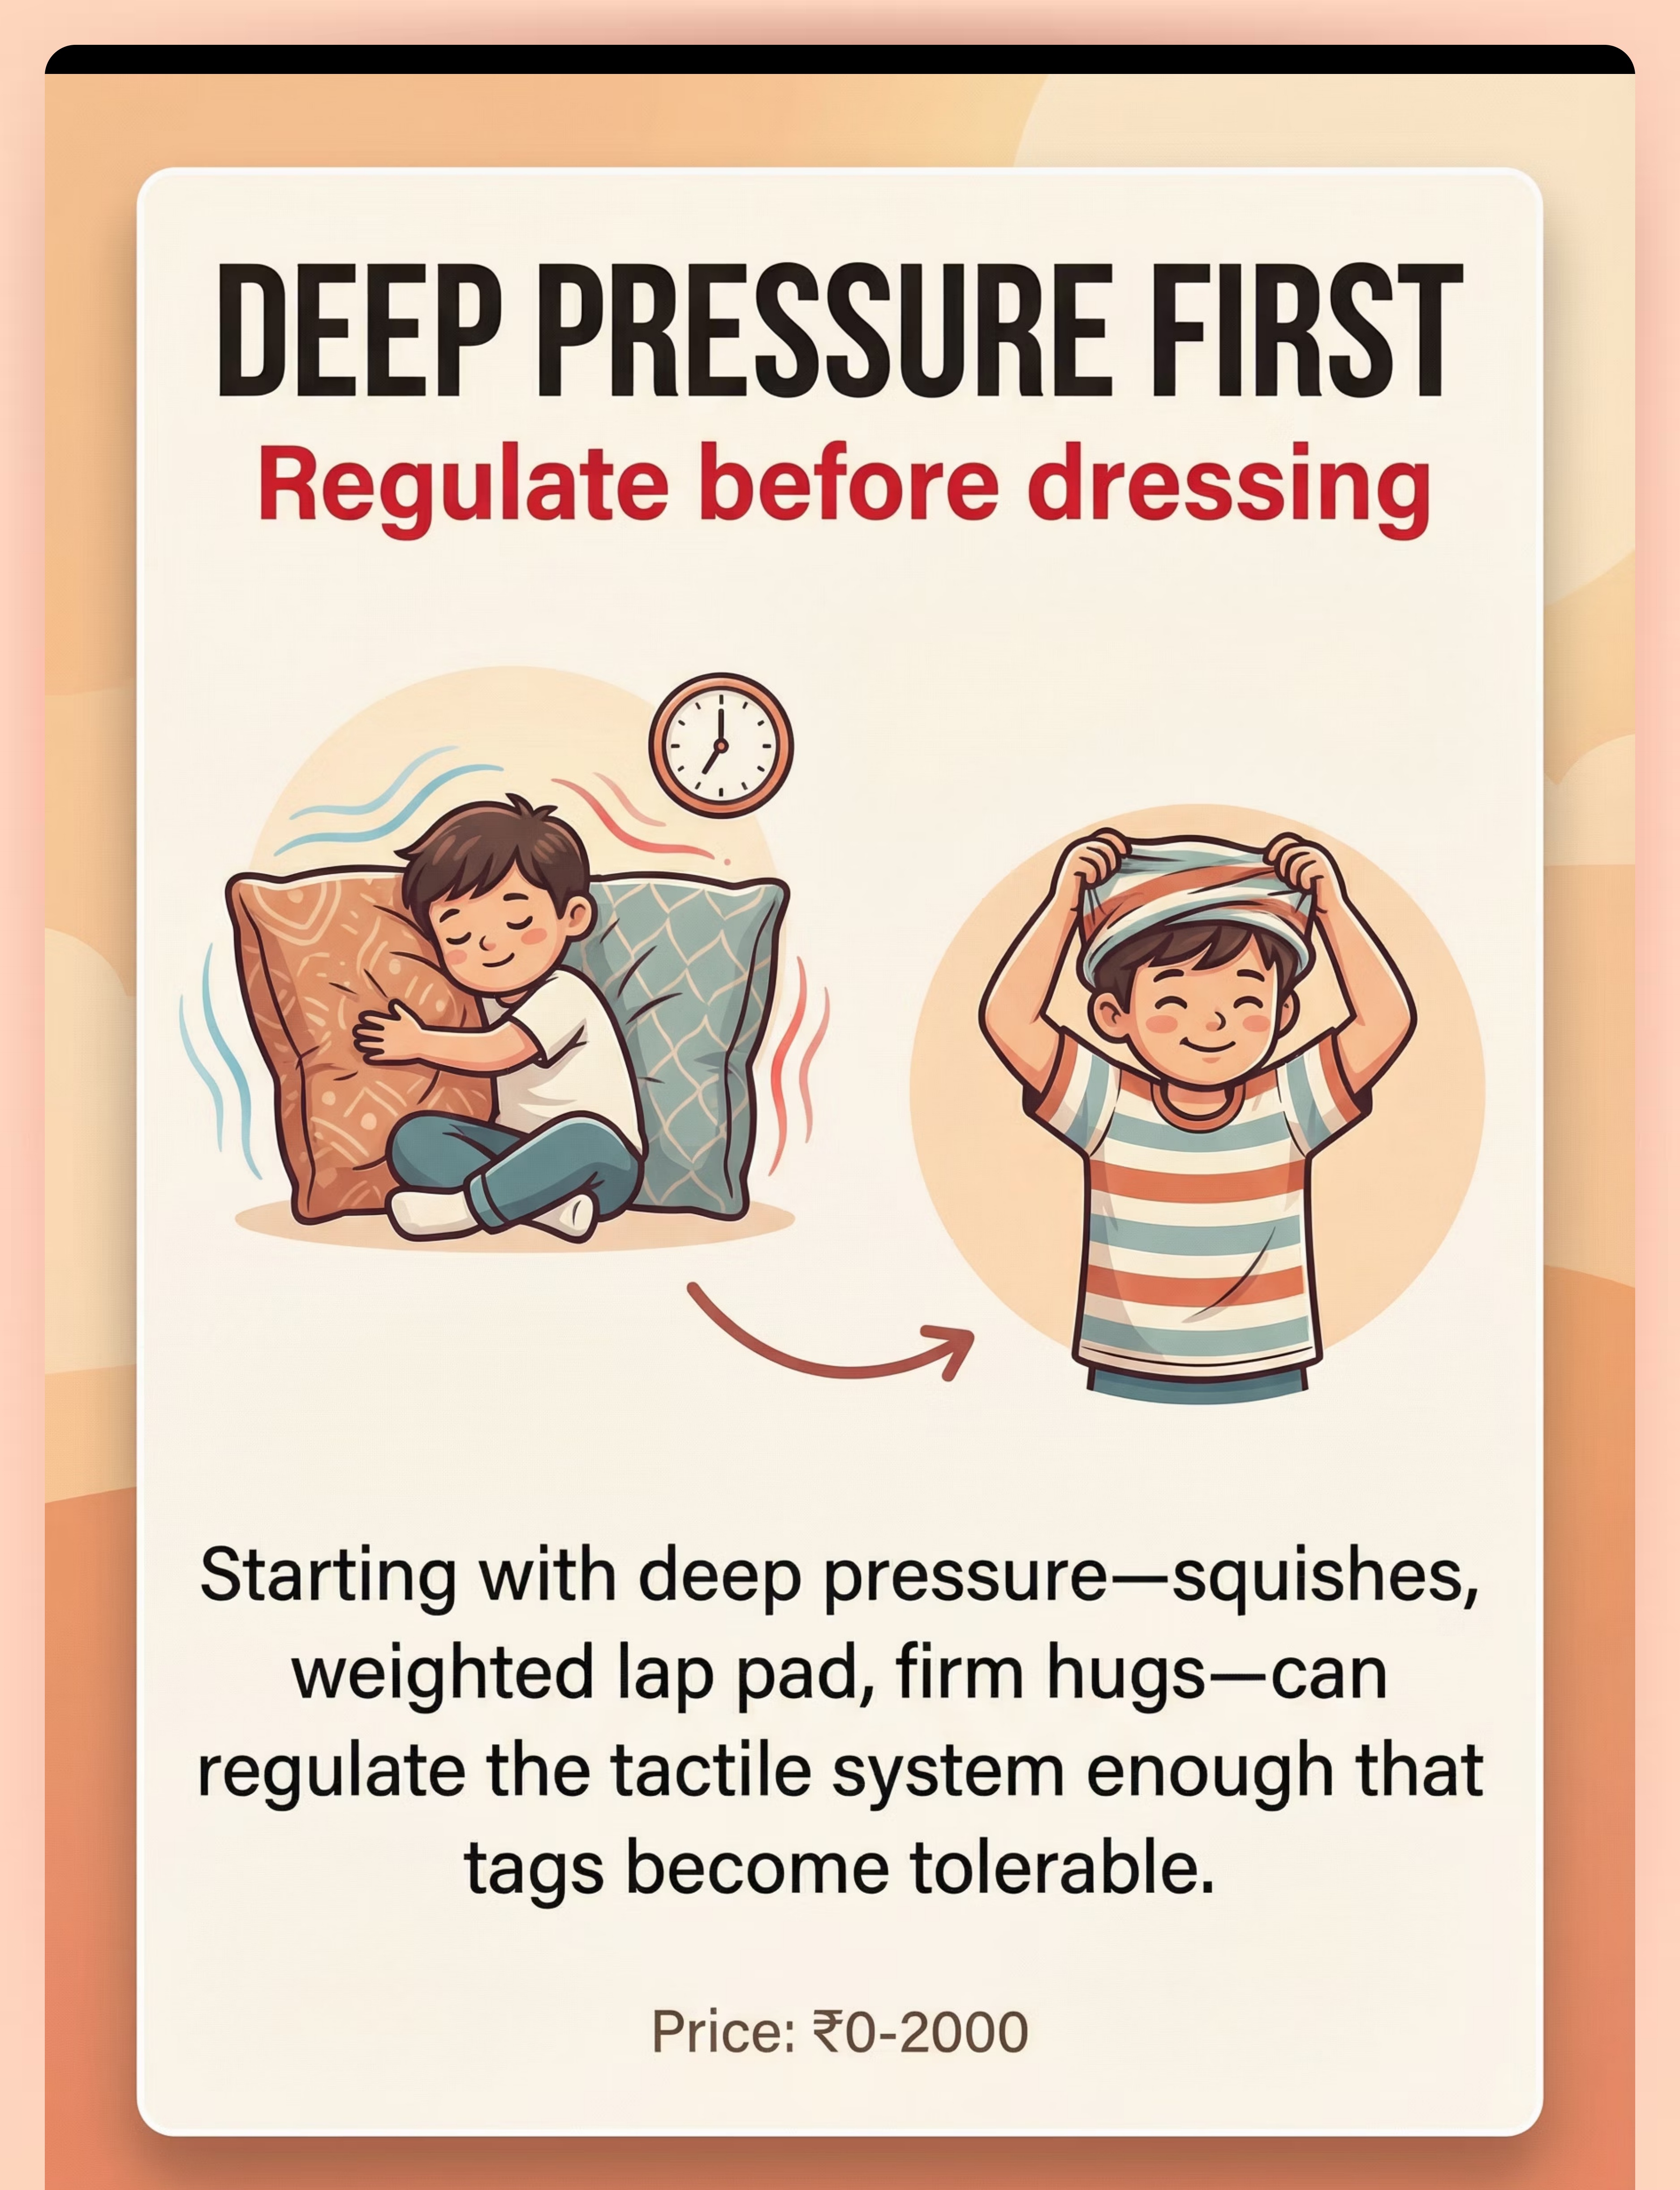
⑧ Morning Deep Pressure Prep
Regulate the tactile system before dressing begins. Bear hugs, cushion squishes, weighted blanket time — 2–3 minutes of deep pressure before the first shirt goes on.
Tier 4: Desensitize
⑨ Tactile Desensitization Brushing
The Wilbarger Protocol — a surgical-type sensory brush used to reduce overall tactile defensiveness over time. ⚠️ Requires OT training. Never self-administer without professional instruction.
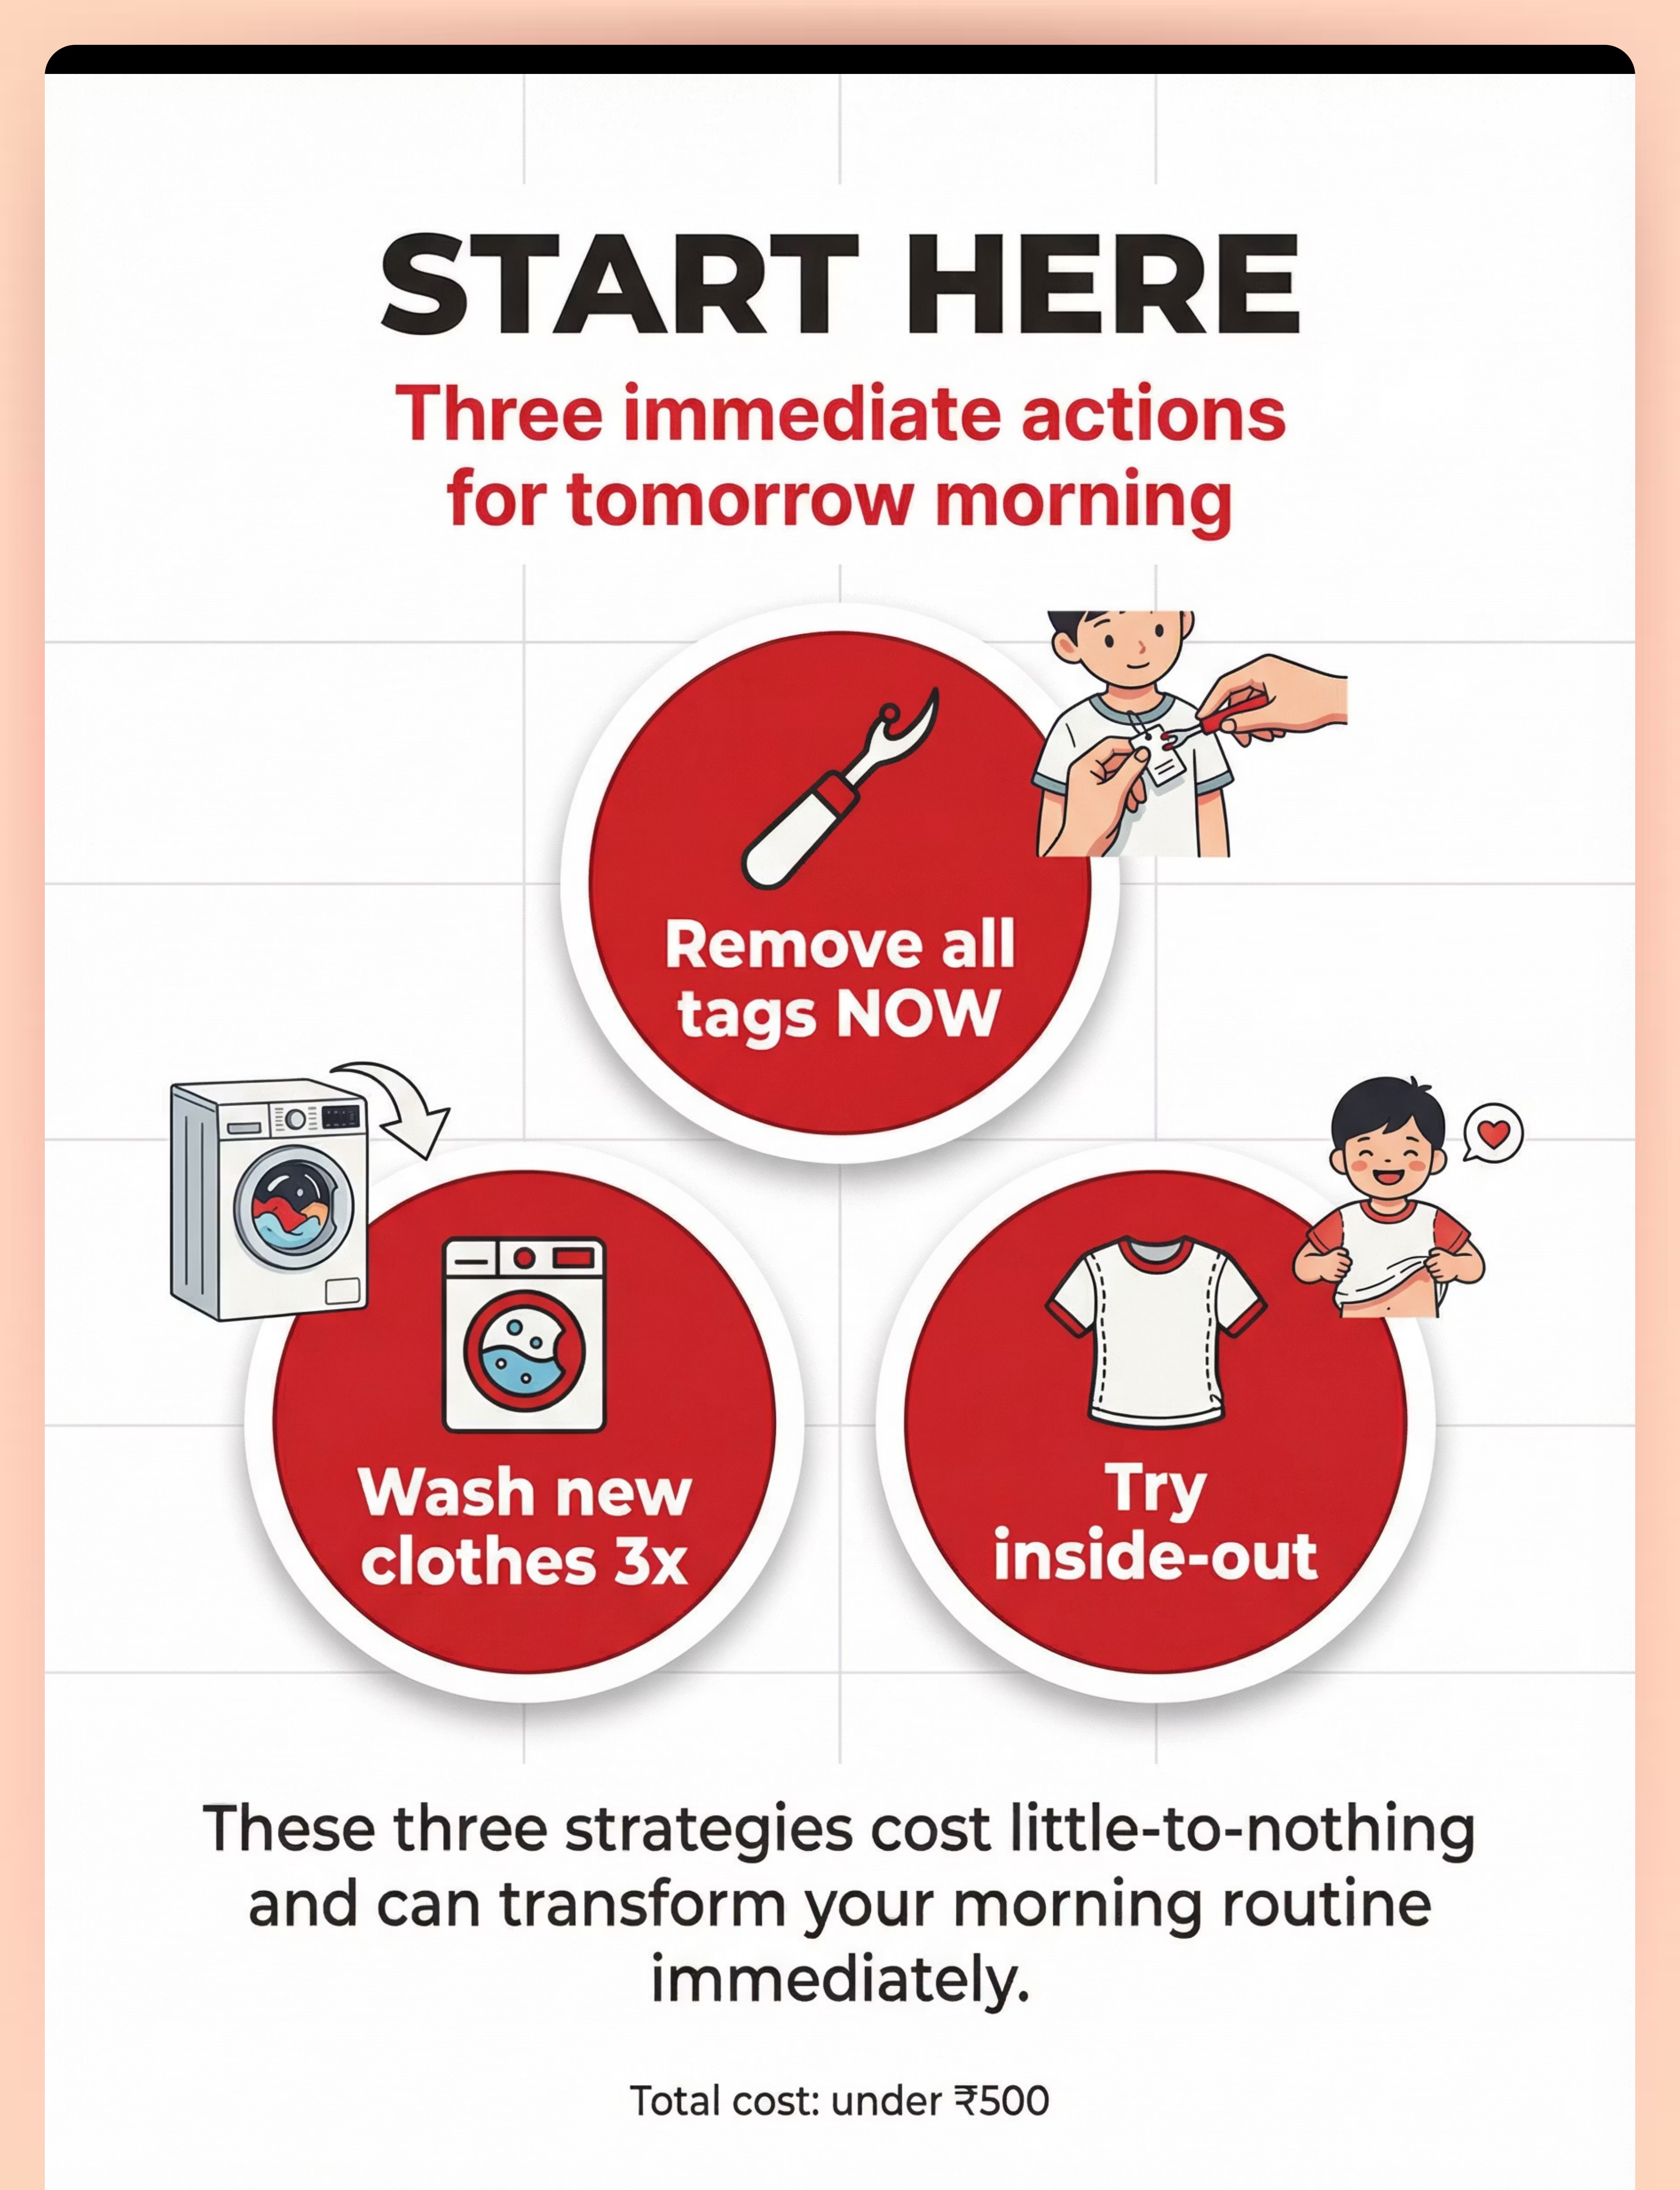
Essential Starter Pack (nearly free): Seam Ripper + Fabric Softener (or white vinegar) + Inside-Out Strategy = immediate relief for tomorrow morning.

DIY & Substitute Options
Because every family deserves access. Not every neighborhood has same-day delivery, and not every budget stretches to clinical-grade materials. Here is how to execute the full protocol at any income level — including zero cost.
Buy This (Clinical Grade)
- Commercial Tag Cover Patches
- Compression Undershirt
- Fabric Softener
- Weighted Lap Pad
- Sensory-Friendly Clothing Brand
Make This (Free or Near-Free)
- Cut soft cotton jersey into small rectangles, attach with fabric glue or iron-on interfacing inside the garment
- Any snug-fitting athletic base layer from the existing wardrobe
- White vinegar in the rinse cycle — a natural fabric softener with no fragrance
- Fill a pillowcase with dried rice or lentils (1–2 lbs) and stitch closed
- Choose the softest, most-worn clothing already owned, combined with the inside-out strategy
Zero-Cost Version of This Technique: Turn existing clothing inside-out ($0) + Remove all tags with household scissors ($0) + Firm bear hugs and cushion squishes before dressing ($0) + Wash new clothes 3+ times before first wear ($0 additional) = Complete protocol execution at no cost.
The substitutes work because they apply the same sensory principle — eliminating unpredictable light touch and replacing it with predictable deep pressure or smooth, constant contact. The neurological mechanism is identical regardless of the price tag.
⚠️ Non-Negotiable: The Wilbarger Brushing Protocol (Material 9) requires a specific surgical-type sensory brush and must be learned from a trained Occupational Therapist. No DIY substitute exists for this material.
Safety First: Before You Begin
Most families can begin this protocol safely at home. Use this traffic-light system to identify whether to proceed, modify, or pause before each session.
🔴 Do NOT Proceed If:
- Child has open wounds, skin infections, or active dermatological conditions at tag contact areas
- Child shows signs of allergic reaction to fabric or detergent (hives, rash beyond tag area)
- Child is in a state of severe dys regulation (full meltdown) — wait until baseline is restored
- Tactile sensitivity appeared SUDDENLY — rule out medical causes first
🟡 MODIFY the Approach If:
- Child has known allergies — use fragrance-free, hypoallergenic fabric softener only
- Child resists compression garments — start with looser fitting, shorter duration
- Child is recovering from illness — reduce session intensity
- Environmental factors are heightened — noisy household, visitors, disrupted routine
🟢 SAFE to Proceed When:
- Child is fed, rested, and in a relatively calm state
- All tag removal is complete (no sharp thread remnants)
- Environment is quiet, familiar, and free from competing sensory demands
- Deep pressure prep completed (2–3 minutes of squishes/hugs)
🚨 STOP IMMEDIATELY IF: Child scratches until bleeding at clothing contact points | Child shows signs of breathing restriction from compression garments | Child exhibits severe panic response (hyperventilation, freezing) | Any sign of skin irritation or allergic response to new materials
⚠️ Special Safety Note — Brushing Protocol (Material 9): The Wilbarger Brushing Protocol REQUIRES professional training from a licensed Occupational Therapist. Never attempt without proper instruction. Incorrect pressure, speed, or body areas can worsen tactile defensiveness. This is the ONLY material that cannot be self-administered from this guide alone.
Source: DOI: 10.1007/s12098-018-2747-4 — Indian Journal of Pediatrics RCT safety protocols
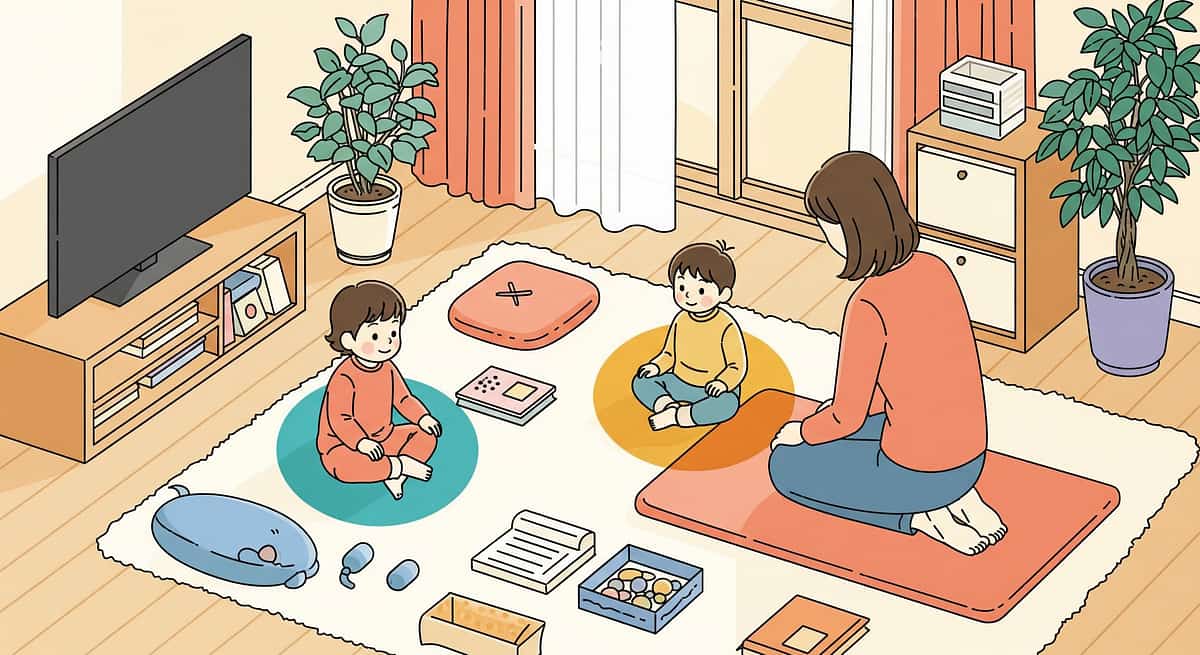
Set Up Your Space
The environment is not background noise — it is part of the intervention. A well-designed dressing space reduces sensory competition before the first shirt even appears. This setup takes five minutes and dramatically changes outcomes.
① Clothing Station (Child's Eye Level)
Pre-prepared, tag-removed, pre-washed outfits hung or folded where child can see and reach. Maximum 3 choices to prevent decision overload.
② Deep Pressure Zone
Beside the bed or on the floor — cushions for "sandwich squishes," weighted blanket, or a designated spot for bear hugs. Regulate BEFORE dressing begins.
③ Parent Position
Beside child, at eye level — kneel or sit, not standing over. Calm, unhurried posture even when the clock is ticking.
④ Mirror (Optional But Powerful)
A child-height mirror increases body awareness and self-monitoring during dressing, making the process more predictable and less anxious.
Remove From the Space
- Scratchy clothing (put it away — not visible)
- Clock or timer (visible time pressure increases anxiety)
- Screens and toys (compete with the task)
- Siblings (if they trigger competition or teasing)
Environmental Optimization
- Lighting: Natural or warm light — harsh fluorescent light can compound sensory overload
- Sound: Quiet — no TV, no music unless specifically calming for your child
- Temperature: Comfortable for undressing — cold rooms increase tactile sensitivity

Is Your Child Ready? The Readiness Check
Starting the dressing routine when a child is already dysregulated guarantees a harder session. This 60-second check saves 20 minutes of recovery time.
60-Second Pre-Dressing Assessment
Child has been awake for at least 15 minutes
Waking directly into a dressing task spikes sensory reactivity. Give the nervous system time to come online.
Child has eaten or is not hungry
Hunger increases irritability and lowers sensory thresholds — never attempt the protocol on an empty stomach.
No meltdown in the last 30 minutes
The nervous system needs recovery time after dysregulation. Stacking a dressing challenge directly after another stressor compounds the difficulty.
Deep pressure prep completed (2–3 minutes)
Squishes, hugs, and cushion sandwiches before clothing is introduced. This is the single most important preparatory step.
Clothing choices are pre-prepared and tag-free
All tag removal and washing must happen the night before, not in the moment.
✅ All Green → GO
Proceed to the invitation.
🟡 1–2 Amber → MODIFY
Use the simplest, most familiar outfit. Skip choice-giving. Shorten the routine.
🔴 Any Red → POSTPONE
Use a calming activity. Try again in 30 minutes, or use the "safe outfit" default without the full protocol.
"The best session is one that starts right."
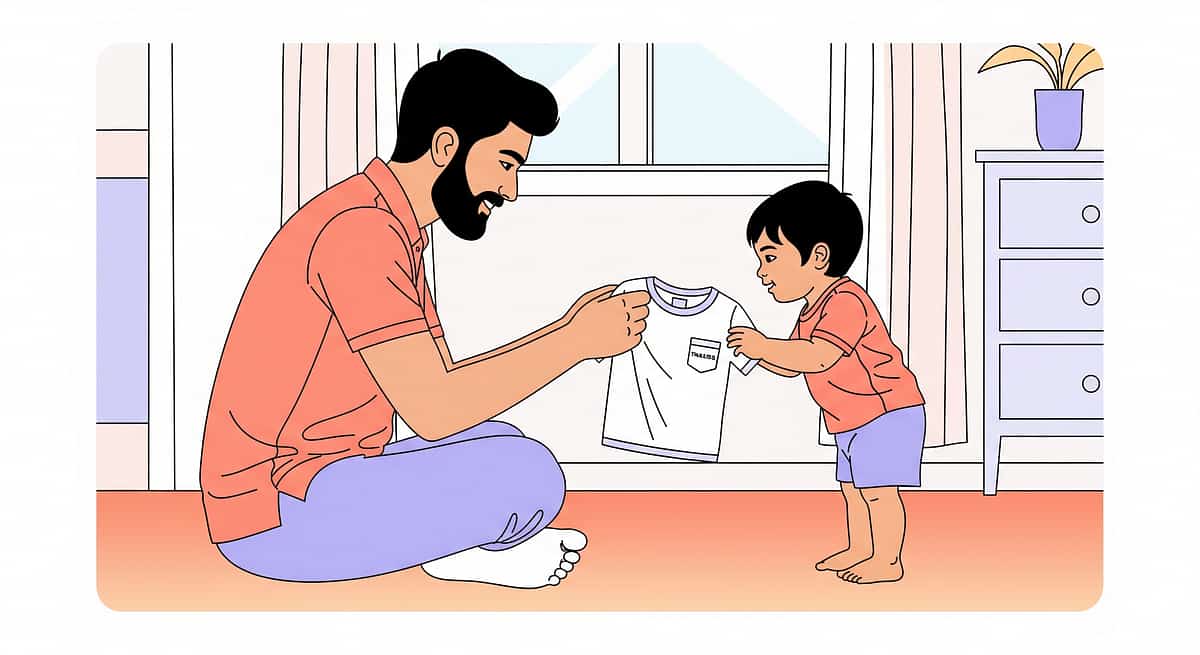
Step 1: The Invitation
⏱️ 30–60 Seconds
The Foundation Step
The way dressing begins determines how it ends. The invitation is not a command — it is an offer. Your body language and words communicate safety before the clothing even touches skin.
"Good morning! Let's pick something comfy to wear today. I've made sure everything feels good — no scratchy tags. Want to feel how soft this one is?"
Body Language That Works
- Kneel to child's eye level — never stand over
- Offer the clothing loosely, not pushing it toward the child
- Smile and stay relaxed even when the clock is ticking
- Let the child approach the clothing — not the other way around
Reading the Response
Acceptance looks like: Child reaches for the clothing, touches the fabric, nods, says "this one," or moves toward dressing.
Resistance looks like: Child turns away, pushes fabric away, starts whimpering, or covers body. This is information, not defiance.
If resistance: "That's okay. Let's try the blue one. Or would you like to feel this one first?" Offer the inside-out option. Never force. The invitation is the foundation.
Step 2: The Engagement
⏱️ 1–3 Minutes
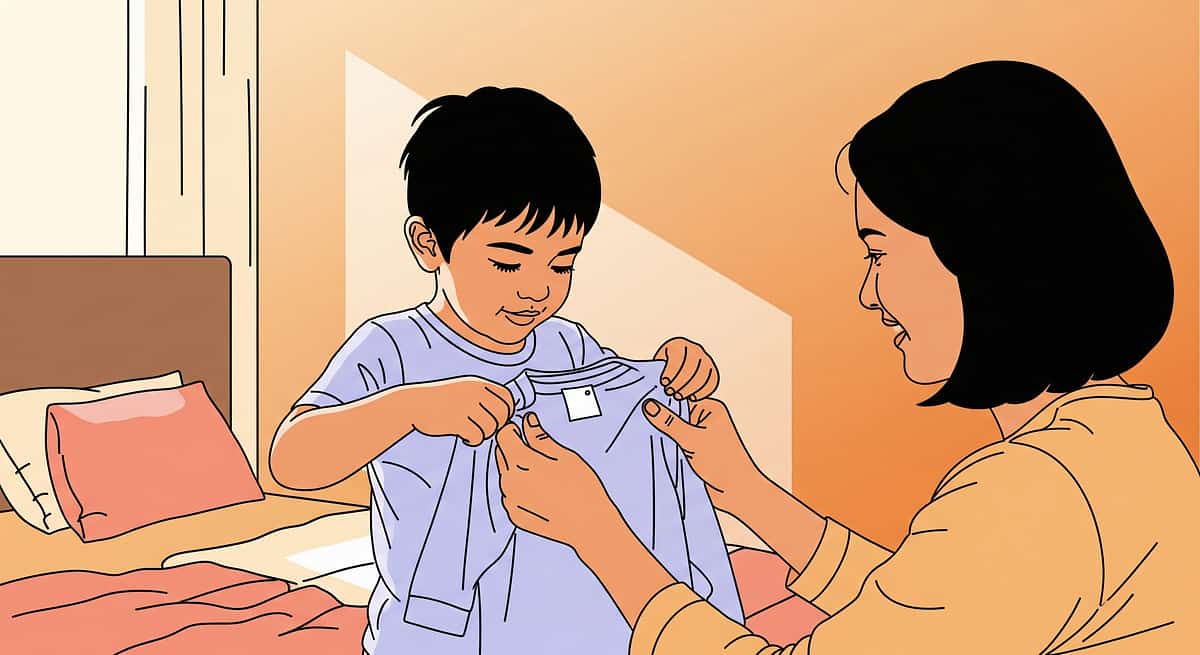
Material Introduction
Before the garment goes on the body, the child's hands and eyes confirm it is safe. This step is not optional — it is the nervous system's "threat assessment" running in real time.
"Feel inside — see? No tag. It's all smooth. Want to try it on, or should I hold it while you feel it more?"
Hold the garment loosely, from the front where the child can see it. Let the child's hands explore the interior where the tag used to be. Present slowly — never from behind.
🟢 Engagement
Child touches, explores, pulls garment closer → proceed to dressing
🟡 Tolerance
Child allows proximity but doesn't engage → stay here, don't rush. Wait for the child to make the next move.
🔴 Avoidance
Child pushes away, turns, or whimpers → return to deep pressure prep, try again in 2 minutes with a different garment.
"Great job checking it out! You're so smart to make sure it feels good."
Narrate what you observe, not what you want. "You're touching the shirt" reinforces engagement without pressure. The child needs to feel that their pace is respected at every step.
Step 3: The Therapeutic Action
⏱️ 2–5 Minutes
The Core Dressing Protocol
Execution technique matters. The way a shirt goes on can mean the difference between a successful morning and a meltdown. These precise, therapist-tested steps minimize light touch exposure at the most sensitive points.
For Shirts and Tops
- Child puts arms through first — most children prefer sleeves before head
- Parent holds the collar OPEN so it doesn't drag against the neck (the most sensitive area)
- Quick, smooth pull over head — minimize light touch duration against neck and collar
- Immediately provide a firm, brief hug or shoulder squeeze once the shirt is on
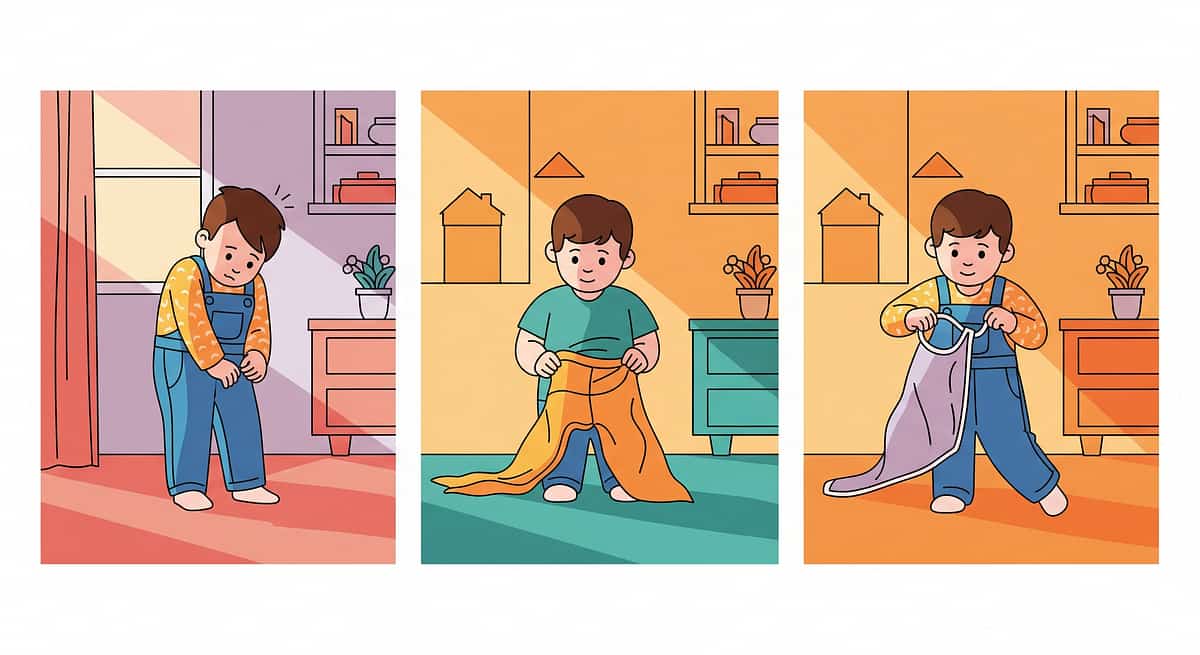
For Bottoms
- If waistband is a concern, use the inside-out approach
- Child sits for stability and pulls up themselves if able
- Parent assists at the end with a firm, confident tug-up (deep pressure input)
❌ Avoid
- Pulling the shirt slowly over the head — this prolongs light touch
- Letting the collar bunch at the neck — maximum irritation point
- Rushing and ignoring the child's "pause" signals
✅ Do This
- Quick, smooth, controlled — minimize contact duration at sensitive points
- Follow immediately with deep pressure (hug, squeeze, or shoulder press)
- Pause when child signals and resume with consent
If escalating distress occurs: STOP. Remove the garment. Return to deep pressure. Try a different garment, or postpone. A session that ends calmly — even without a fully dressed child — is better than one that ends in crisis.
Step 4: Repeat and Vary
⏱️ Ongoing Across Days and Weeks
This is not about repeating dressing multiple times in one session. This is about the daily repetition across days and weeks — building neural pathways of "clothing = safe" through consistent, positive experience.
Weeks 1–2: Safe Outfit Rotation
Same 3–5 "safe" outfits, rotated daily. All tags removed, all pre-washed. No new introductions. Consistency is the medicine.
Weeks 3–4: One New Garment Per Week
Introduce ONE new garment per week — tag removed, pre-washed 3 times. Always pair it with a known safe favorite. No more than one new challenge per week.
Weeks 5–6: Printed Labels
Try a garment with a soft, flat printed label (NOT a sewn tag). Start with shortest duration — 30 minutes, then build across days.
Weeks 7–8: Brief Tag Exposure
If tolerating printed labels, try a very soft, small tag for brief periods during preferred activities. Only when the child is well-regulated and willing.
Satiation Indicator: If the child begins choosing clothes independently, commenting on fabric positively, or not mentioning tags at all — the tolerance is building. This is the goal.
"3 good mornings are worth more than 10 forced ones."
"3 good mornings are worth more than 10 forced ones."

Step 5: Reinforce and Celebrate
⏱️ Within 3 Seconds of Successful Dressing
Reinforcement is not a reward — it is neurological signal-setting. The brain encodes experiences that are followed immediately by positive feedback. Three seconds is not a suggestion; it is the biological window.
"You DID it! You got dressed all by yourself and you look AMAZING! That was so brave — high five!"
⚡ Immediate
Within 3 seconds of dressing completion — the neurological encoding window
🎯 Specific
Name exactly what they did: "You put on the blue shirt even though it was new!"
🎉 Enthusiastic
Match the child's energy level — big for big kids, gentle for sensory-sensitive children
🔄 Consistent
Every successful dressing routine gets acknowledged, especially in weeks 1–4
Reinforcement Menu — Choose What Fits Your Child
Verbal Praise
Always primary — specific, enthusiastic, immediate. Never skip this even when other reinforcers are also used.
Physical Gesture
High-five, fist bump, or the child's preferred physical celebration — check sensory preferences first.
Token Economy
Sticker on a morning routine chart — visible progress that builds motivation across weeks.
Preferred Activity
5 minutes of a favorite activity before school — a meaningful, time-limited reward that doesn't disrupt the morning schedule.
"Celebrate the attempt, not just the success."
Step 6: The Cool-Down
⏱️ 1–2 Minutes
The Transition Bridge
The transition out of dressing is as important as the transition into it. How the morning ends shapes how the child remembers dressing — and what they expect the next day.
"All done getting dressed! You're ready. Let's go have breakfast — what sounds good today?"
Immediately direct attention to the NEXT positive activity. Don't linger on dressing — whether it went well or poorly. Forward momentum is the goal.
If Dressing Was Difficult
"Getting dressed is hard sometimes. You did your best. Let's go do something you like."
No post-mortem. No "see, that wasn't so bad." The child needs to move forward, not relive the challenge. Save the reflection for your data log — not for the child.
If Still Dysregulated After Dressing
Offer 2 minutes of deep pressure before transitioning — a bear hug, weighted lap pad during breakfast, or cushion squishes. This bridges the nervous system back to calm before the next activity begins.
Material Put-Away Ritual: If compression garments or weighted items were used, the child helps return them to their place (if able). This builds routine predictability and ownership.
"The cool-down is the bookend to the invitation. A morning routine that starts and ends with warmth — regardless of what happened in the middle — builds the child's positive association with dressing over time."

Capture the Data — Right Now
⏱️ 60 Seconds
Do This While the Memory Is Fresh
You don't need a spreadsheet. Three data points per morning, captured immediately, give your OT and the GPT-OS® system exactly what is needed to adapt the protocol to YOUR child's actual response — not a generic template.
1
Distress Level (1–5)
1 = No distress | 2 = Mild fussing | 3 = Moderate protest | 4 = Significant meltdown | 5 = Unable to dress. Circle one number. That's it.
2
Time to Dress (Minutes)
From "let's get dressed" to fully clothed. Record the actual number — not an estimate. This is your most objective progress measure.
3
Materials Used Today
Check which materials were used: tagless clothing, tag removed, cover patch, compression undershirt, inside-out strategy, deep pressure prep, other. Takes 10 seconds.
GPT-OS® In-App Tracker
Log directly from your phone — data feeds into your child's longitudinal developmental profile automatically. pinnacleblooms.org/tracker
Downloadable PDF Sheet
Print and stick on the fridge — a simple one-page tracking sheet that requires nothing beyond a pencil.
Simple Notebook
Write the 3 numbers daily. Date, distress, time, materials. That's genuinely all you need to show progress over weeks.
"60 seconds of data now saves hours of guessing later."

What If It Didn't Go as Planned?
Every challenge in this protocol has a neurological explanation and a practical fix. Session difficulties are not failures — they are data points that sharpen your approach for tomorrow.
Problem 1: Child Refused All Clothing Options
Why: Likely in a heightened sensory state before dressing began. Deep pressure prep may have been insufficient or skipped.
Fix: Double the deep pressure prep time tomorrow. Offer only ONE choice (the safest outfit). Let the child participate in choosing the night before.
Fix: Double the deep pressure prep time tomorrow. Offer only ONE choice (the safest outfit). Let the child participate in choosing the night before.
Problem 2: Tags Removed but Child Still Says "Scratchy"
Why: Thread stubs remain — even 1mm of remaining thread can trigger a defensive response.
Fix: Re-examine under bright light. Use a seam ripper (not scissors) to remove ALL remnants. Apply a tag cover patch over the area. Wash 3 more times.
Fix: Re-examine under bright light. Use a seam ripper (not scissors) to remove ALL remnants. Apply a tag cover patch over the area. Wash 3 more times.
Problem 3: Fine at Home, Meltdown at School
Why: School uniform has tags or seams not addressed. Different clothing, different environment, compounding stressors.
Fix: Request an accommodation letter from school. Pre-prepare school uniforms with the same tag removal and barrier protocol. Consider sending a compression undershirt for school wear.
Fix: Request an accommodation letter from school. Pre-prepare school uniforms with the same tag removal and barrier protocol. Consider sending a compression undershirt for school wear.
Problem 4: Compression Undershirt Made It Worse
Why: Some children are also sensitive to snug clothing, or the garment itself has irritating seams.
Fix: Try a size up. Ensure the garment is tagless and seamless. Try it inside-out. If it still doesn't work, skip it — not every material works for every child, and that's expected.
Fix: Try a size up. Ensure the garment is tagless and seamless. Try it inside-out. If it still doesn't work, skip it — not every material works for every child, and that's expected.
Problem 5: Child Pulled the Tag Cover Patch Off
Why: Adhesion failed, or the patch itself created a new sensory disturbance.
Fix: Switch to iron-on patches. Ensure edges are fully sealed. Try a different patch fabric — some children prefer jersey, others prefer silk or smooth cotton.
Fix: Switch to iron-on patches. Ensure edges are fully sealed. Try a different patch fabric — some children prefer jersey, others prefer silk or smooth cotton.
Problem 6: Mornings Are Too Chaotic for This Whole Protocol
Why: Time pressure is real. This protocol should save time, not add to it.
Fix: Prep everything the night before. The protocol adds 5 minutes of preparation but saves 20–30 minutes of meltdown recovery.
Fix: Prep everything the night before. The protocol adds 5 minutes of preparation but saves 20–30 minutes of meltdown recovery.
"Session abandonment is not failure — it's data."

Adapt and Personalize
No two children respond identically. This protocol is a starting framework — your child's actual responses tell you exactly how to tailor it. Here are the most important variations by sensory profile, mood state, and age.
For the Sensory AVOIDER
Start with Tier 1 (Eliminate) only. Maximum accommodation: tagless, pre-washed, inside-out, compression layer. Only introduce Tier 4 (desensitization) after 4+ weeks of successful accommodation. Deep pressure prep is ESSENTIAL — don't skip it.
For the Sensory SEEKER (Mixed Profile)
May tolerate compression undershirts immediately — even prefer them. May benefit from a quick firm rub-down before dressing instead of passive squishes. Monitor for seeking rough-fabric stimulation in other contexts.
For BAD DAYS
Default to the ONE safest outfit. No choices, no new garments. Skip desensitization tasks entirely. Double the deep pressure prep. Success = getting dressed at all. Full stop. That is a complete win on a hard day.
For BREAKTHROUGHS
Introduce one new challenge per week — not more. If the child handles 3 consecutive successful days with a new challenge, it becomes part of the baseline. Don't rush it; consolidation is as important as progression.
Age-Based Adaptations
1
Ages 2–3
Parent-led. Maximum accommodation. Focus entirely on building a positive association with dressing.
2
Ages 4–5
Child participates in clothing choices. Introduce self-dressing with pre-prepared, fully accommodated garments.
3
Ages 6+
Self-advocacy focus. Child learns to check clothing for tags, request accommodations, and communicate needs to teachers and other adults.

Week 1–2: What to Expect
Progress: ~15%
The Accommodation Phase
Week 1 and 2 are about relief — not transformation. You are removing the immediate source of pain, establishing the routine, and building the child's first experiences of dressing as non-threatening. That alone is significant neurological work.
✅ What You MAY See
- Morning dressing time reduces by 5–10 minutes (from meltdown savings)
- Child stops fighting the "safe" outfits with tags removed and pre-washed
- Fewer morning meltdowns related specifically to clothing
- Child begins cooperating with the deep pressure prep routine
- You feel less dread about the morning
⏳ What Is NOT Progress Yet
- Child does not magically tolerate tags — this takes weeks
- Child may still refuse new or unfamiliar garments
- The wardrobe remains limited to "safe" items for now
- Deep pressure prep still feels like an extra step, not yet natural
"If your child tolerates the tag-free clothing without distress for 3 seconds longer than last week — that's real progress. If morning dressing drops from 45 minutes to 35 minutes — that's real progress."
Parent Emotional Preparation: Patience is a metric. You are rewiring neural pathways. The neuroscience is clear — repeated positive sensory experiences restructure the somatosensory cortex's threat assessment. Every calm morning is a deposit in that neural bank.

Week 3–4: Consolidation Signs
Progress: ~40%
The Consolidation Phase
By weeks 3 and 4, you are beginning to see the nervous system organize around the new routine. These are the signs that neural pathways are forming — not just behavior changing, but brain architecture shifting.
Child Anticipates the Routine
Goes to the dressing station without prompting. This is neurological — the routine has become predictable and therefore less threatening.
Shows Preferences and Can Name Them
Child selects specific "safe" outfits and can say why: "this one is soft." Language around clothing comfort is emerging.
Reduced Anxiety About Dressing
Child may even look forward to choosing their outfit. Deep pressure prep takes effect faster — the nervous system is learning to regulate more efficiently.
First Successful New Garment
A new tag-removed, pre-washed item is worn without significant distress. This is the first proof of generalization — the skill is not tied to just one shirt.
The Morning Has a Rhythm
You notice the routine unfolding predictably. Child stops scratching at the collar during the day. May spontaneously comment that clothing "feels nice."
When to Increase the Challenge: If 5+ consecutive mornings are distress-free with fully accommodated clothing → introduce ONE new challenge: a slightly different fabric, a garment worn right-side-out, or a soft printed label for a short duration. One new challenge per week, maximum.
"You may notice you're more confident too."
"You may notice you're more confident too."

Week 5–8: Mastery Indicators
Progress: ~75%
🏆 Mastery Zone
Mastery is specific, observable, and measurable. This is not "doing better" — these are concrete criteria that tell you the neural pathways have genuinely shifted.
Dresses in Under 10 Minutes
Independently or with age-appropriate assistance, without clothing-related distress triggering the delay.
Tolerates 5+ Outfits
Including at least 2 newer garments — evidence that tolerance has generalized beyond the original "safe" set.
2+ Consecutive Meltdown-Free Weeks
Morning routine does not include clothing-related meltdowns for two or more consecutive weeks.
Wears Occasion Clothing
Can wear school or occasion clothing with minimal accommodation — the skill generalizes to new environments.
Generalization Indicators
Tolerates clothing in different environments
School, outings, relatives' homes — not just the home dressing station.
Selects clothing independently
Without checking for tags first — the checking behavior has extinguished naturally.
Verbalizes preferences constructively
"I don't like this one, can I wear that one?" — self-advocacy replacing meltdown as the communication strategy.
🎖️ Mastery Unlocked: When the child dresses independently with minimal accommodation for 14+ consecutive days → this technique is mastered. Proceed to the Progression Pathway (Card 28).

Celebrate This Win
To the parent reading this at Week 5, 6, 7, or 8:
You did this. Your child's nervous system reorganized because of YOUR commitment to showing up every morning with patience, preparation, and love.
Remember Card 1? That 7:45 AM panic? The three shirt changes? The tears — yours and your child's? Look at your child now. Getting dressed. Choosing clothes. Maybe even smiling about it. This is not a small thing. You took a neurological challenge and built a bridge across it. Morning by morning. Tag by tag. Hug by hug.
⬜ Morning Dressing Time
From ___ minutes → to ___ minutes
⬜ Wardrobe Options
From ___ outfits → to ___ outfits
⬜ Meltdown Frequency
From ___/week → to ___/week
Celebrate this with your family: Take a photo of your child confidently getting dressed. Write the date. This is a developmental milestone — just as real as a first word or first step. Other parents in the Pinnacle community need to see that this journey works. Your story could be the one that gives another exhausted parent hope.

Red Flags: When to Pause
This home protocol is powerful — but it has boundaries. Trust your instincts. The following signs indicate that the situation requires professional clinical assessment, not more home repetition.
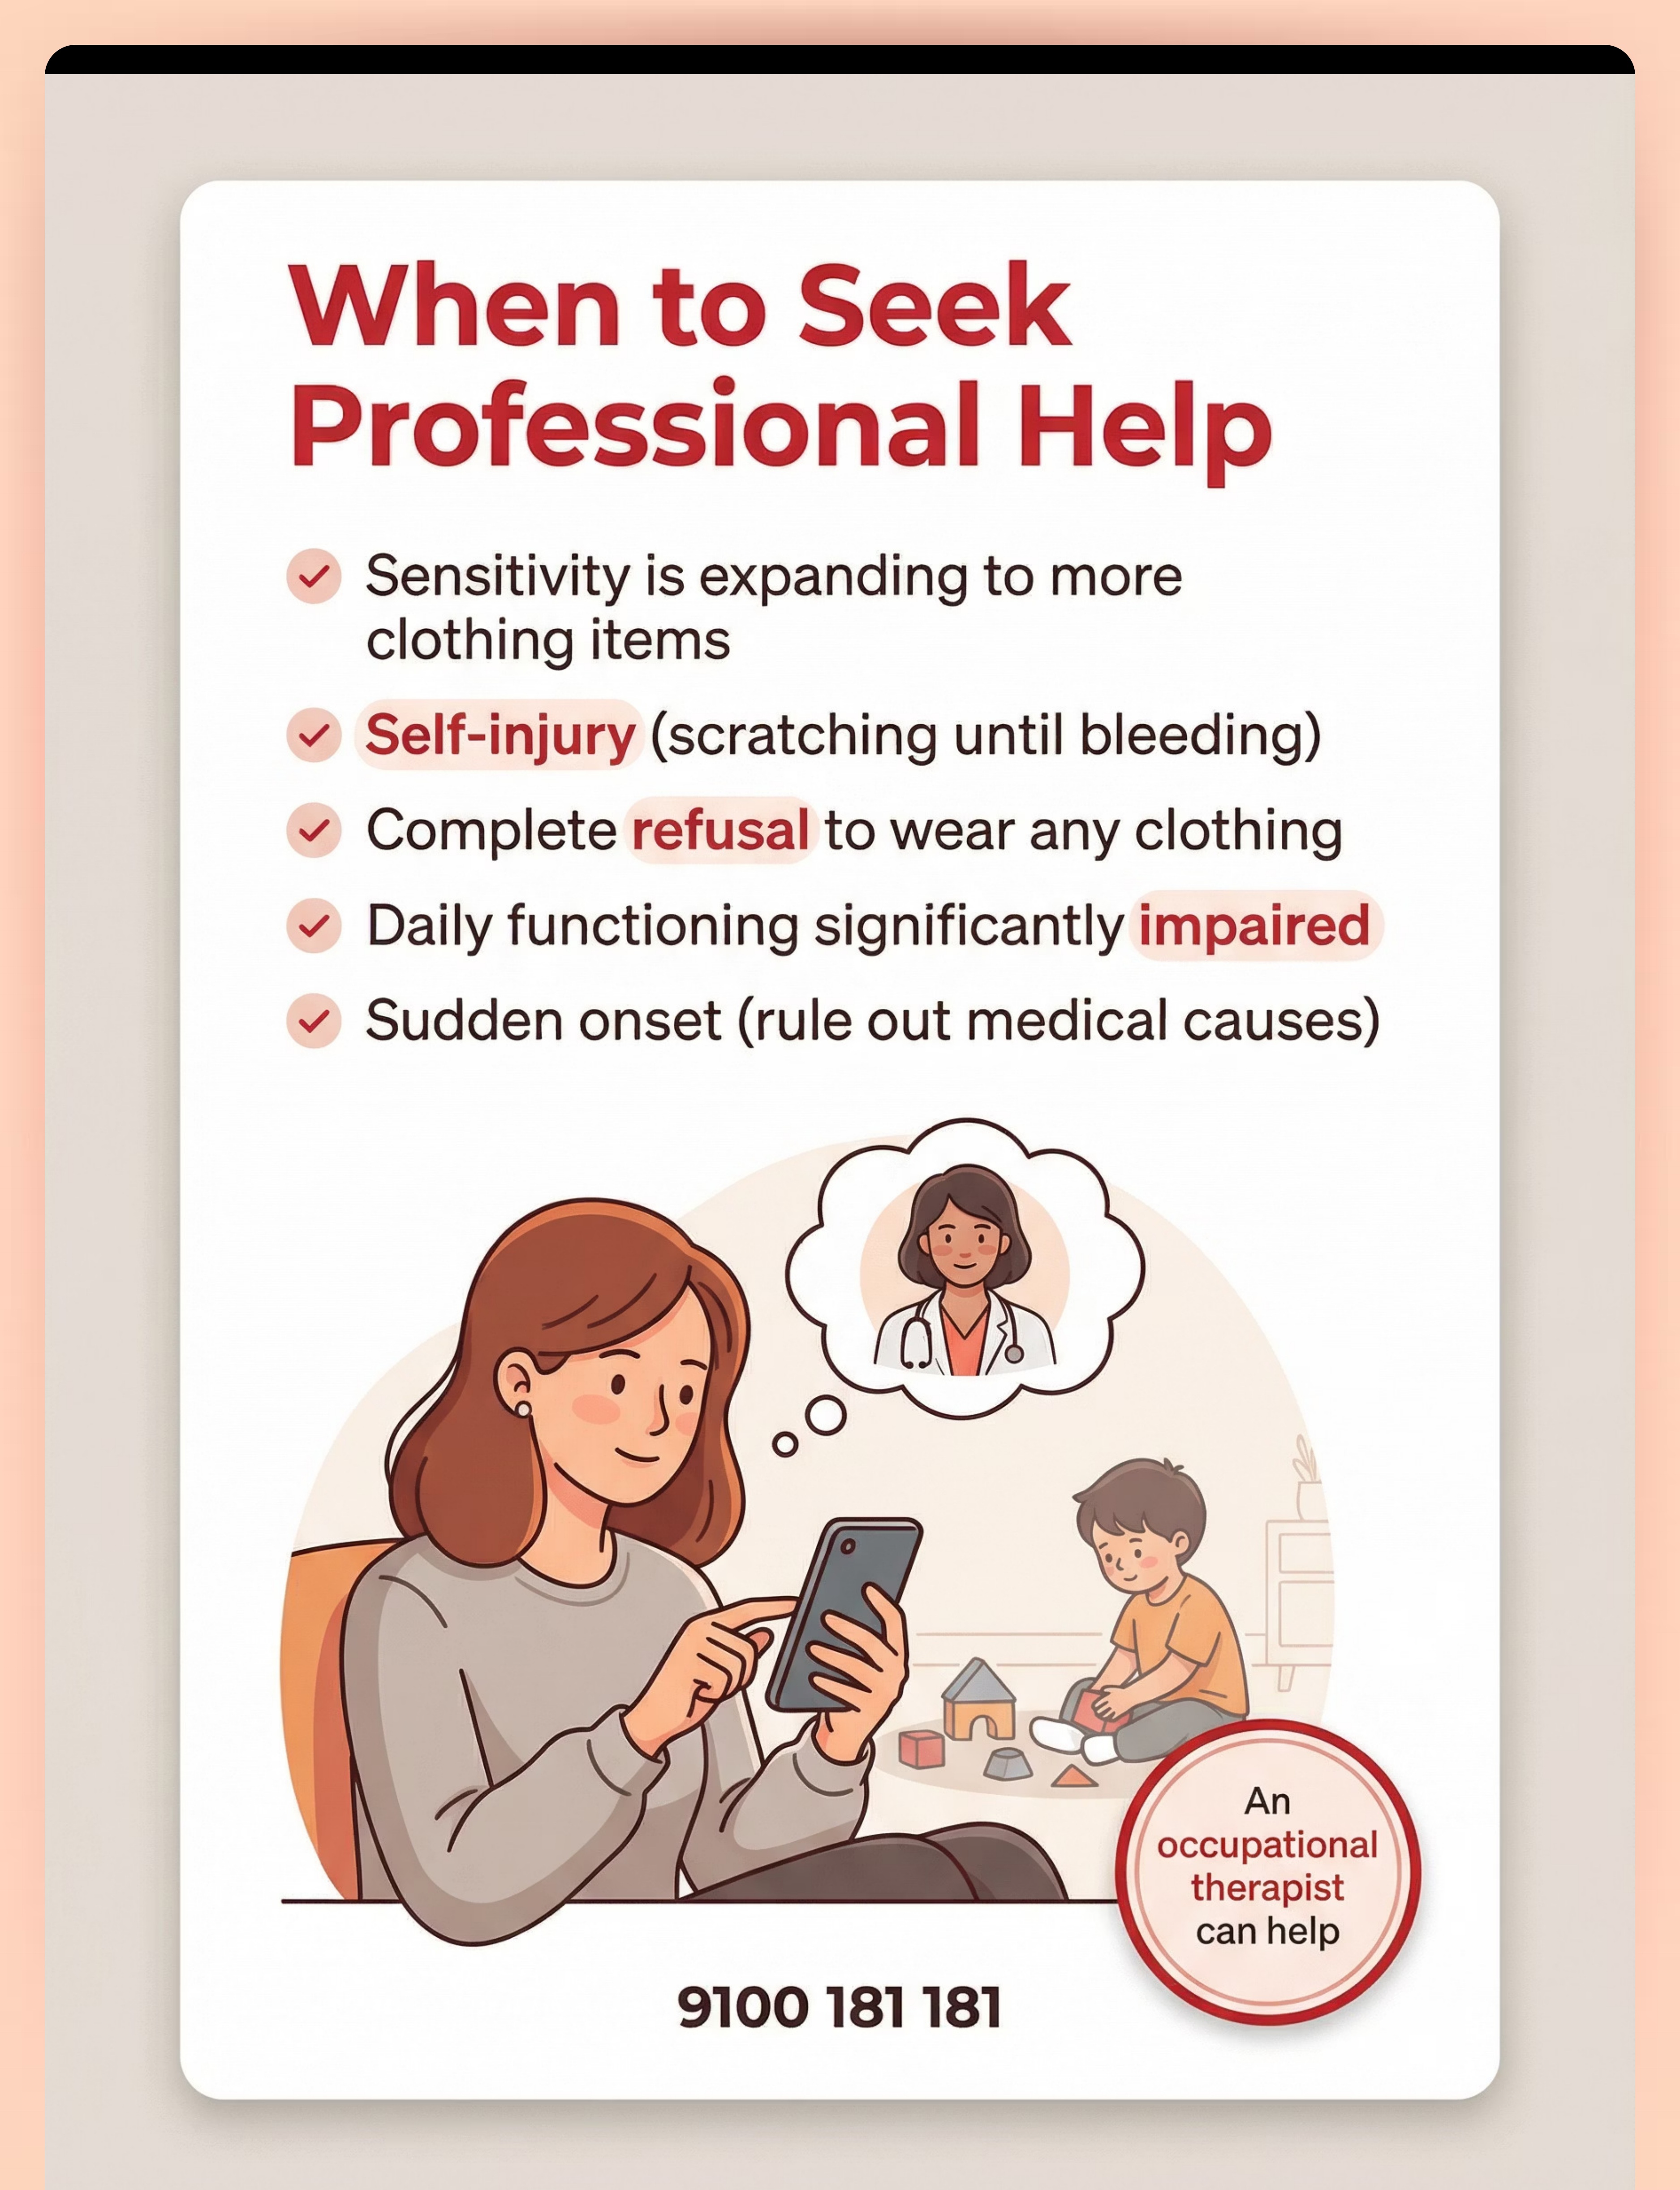
🚩 Sensitivity Is Expanding, Not Reducing
What it looks like: Child now refuses socks, pants, underwear, or ALL clothing — not just tags.
Why it matters: May indicate a broader sensory processing disorder requiring comprehensive OT assessment. The scope has exceeded what A-003 is designed to address alone.
Why it matters: May indicate a broader sensory processing disorder requiring comprehensive OT assessment. The scope has exceeded what A-003 is designed to address alone.
🚩 Self-Injury Related to Clothing
What it looks like: Child scratches until bleeding, bites at skin, or causes injury at clothing contact points.
Why it matters: Self-injurious behavior requires immediate professional intervention — do not attempt to manage this with home protocol modifications.
Why it matters: Self-injurious behavior requires immediate professional intervention — do not attempt to manage this with home protocol modifications.
🚩 Complete Refusal to Wear Any Clothing
What it looks like: Child will not wear anything, even fully safe and accommodated garments.
Why it matters: May indicate sensory overload beyond the scope of this home protocol. A full sensory profile assessment is needed.
Why it matters: May indicate sensory overload beyond the scope of this home protocol. A full sensory profile assessment is needed.
🚩 Tag Sensitivity Appeared Suddenly
What it looks like: Child previously had no clothing issues, then suddenly cannot tolerate tags.
Why it matters: Rule out dermatological conditions, allergic reactions, or new-onset sensory changes before proceeding with intervention.
Why it matters: Rule out dermatological conditions, allergic reactions, or new-onset sensory changes before proceeding with intervention.
🚩 Daily Functioning Is Significantly Impaired
What it looks like: Child cannot attend school, cannot leave the house, or clothing issues dominate the entire day beyond just mornings.
Why it matters: The severity requires clinical-level intervention beyond what this home protocol provides.
Why it matters: The severity requires clinical-level intervention beyond what this home protocol provides.
"Trust your instincts — if something feels wrong, pause and ask." Call the FREE National Autism Helpline: 9100 181 181

The Progression Pathway
A-003 does not exist in isolation. It sits within a carefully sequenced network of techniques, each building on the last. Here is exactly where you've been, where you are, and where this journey leads.
Prerequisites: Where You Were
A-001: Touch Sensitivity (General) — Overall tactile awareness
A-002: Hates Being Touched — Human touch tolerance
A-002: Hates Being Touched — Human touch tolerance
⬤ Current: A-003 — Clothing Tag Sensitivity
YOU ARE HERE — Tackling the most commonly reported and most disruptive tactile challenge in the early years dressing routine.
Next Level: Where You're Going
Path A — A-004: Fabric Refusal → If child tolerates tags but rejects certain fabric types
Path B — A-005: Seam Sensitivity in Socks → If socks and seams remain challenging
Path C — A-006: Waistband Sensitivity → If lower body dressing challenges emerge
Path B — A-005: Seam Sensitivity in Socks → If socks and seams remain challenging
Path C — A-006: Waistband Sensitivity → If lower body dressing challenges emerge
Long-Term Developmental Goal
Independent, distress-free daily dressing across all clothing types and environments — feeding into self-care independence, school readiness, and social participation.
Lateral Alternatives: If A-003 didn't fully resonate for your child — A-007 (Can't Tolerate Certain Fabrics), R-101 (Morning Routine for Sensory Kids), or R-102 (Getting Dressed Without Meltdowns) may be better entry points. Your OT can help identify the right path.

Related Techniques in This Domain
You already own materials for most of these techniques — your seam ripper, fabric softener, compression garment, and deep pressure tools carry across the entire Tactile Sensitivity Series.
Domain A — Sensory (Tactile)
Tactile Sensitivity Series
1
A-001: Touch Sensitivity (General)
Difficulty: Introductory
Materials You Already Own: Weighted items, deep pressure tools
The foundational technique — overall tactile awareness and tolerance.
Materials You Already Own: Weighted items, deep pressure tools
The foundational technique — overall tactile awareness and tolerance.
2
A-002: Hates Being Touched
Difficulty: Introductory
Materials You Already Own: Deep pressure tools, gradual exposure approach
Human touch aversion — prerequisite for clothing tolerance work.
Materials You Already Own: Deep pressure tools, gradual exposure approach
Human touch aversion — prerequisite for clothing tolerance work.
3
⬤ A-003: Clothing Tag Sensitivity
Difficulty: Introductory → Core
CURRENT TECHNIQUE — You are here.
CURRENT TECHNIQUE — You are here.
4
A-004: Fabric Refusal
Difficulty: Core
Materials: Sensory-friendly clothing, seam ripper
Broader fabric-specific approach when tag tolerance is achieved but fabrics remain an issue.
Materials: Sensory-friendly clothing, seam ripper
Broader fabric-specific approach when tag tolerance is achieved but fabrics remain an issue.
5
A-005: Seam Sensitivity in Socks
Difficulty: Core
Materials: Seamless socks, compression
One of the most commonly reported challenges alongside tag sensitivity.
Materials: Seamless socks, compression
One of the most commonly reported challenges alongside tag sensitivity.
6
A-006: Waistband Sensitivity
Difficulty: Core
Materials: Compression, tag covers, adapted waistbands
Lower body dressing challenges — often emerges after tag tolerance is established.
Materials: Compression, tag covers, adapted waistbands
Lower body dressing challenges — often emerges after tag tolerance is established.
"You already own materials for 4 of these 6 techniques." The investment you've made in A-003 is an investment in the entire Tactile Sensitivity Series.

Your Child's Full Developmental Map
A-003 is one technique. There are 12 developmental domains — and tag sensitivity resolution creates ripples across all of them. Here is where clothing tolerance sits in the larger picture of your child's growth.
This technique sits within the Sensory domain, but its resolution directly impacts Self-Care (independent dressing), Emotional (reduced morning anxiety), Social (wearing school and social clothing), and Adaptive (daily routine independence). When you solve the tag problem, you are not solving one small thing — you are unlocking pieces of four developmental domains simultaneously.
The data you capture in Card 20 feeds directly into your child's GPT-OS® developmental map, showing exactly where your child is growing and where the next intervention should focus.
Source: WHO/UNICEF Nurturing Care Framework (2018) | UNICEF 2025 Country Profiles

Families Who've Been Here
These are not outliers. These are typical outcomes when families apply this protocol consistently, even imperfectly, even on hard days.
Family 1: "The Tag War Ended in Week 3"
Before: 4-year-old Aarav would only wear 2 shirts. Every morning involved 30+ minutes of crying, 3–4 shirt changes, and the whole family running late. His mother had cut tags from every garment but the stubs still bothered him.
After (6 weeks): Using the seam ripper + cover patch + compression undershirt combination, Aarav now dresses in under 8 minutes and wears 10+ different outfits. His mother introduced one new garment per week starting at week 4.
"I thought it was just him being difficult. When I understood it was his nervous system, everything changed. The seam ripper was the first thing I bought. The bear hugs before dressing were free. And now mornings are peaceful."
Family 2: "A Small Tool Changed Our Mornings"
Before: 3-year-old Mira refused to wear her school uniform. The school was concerned. Parents felt helpless and embarrassed at pickup and drop-off.
After (4 weeks): A seam ripper, the inside-out strategy, and 3x washing of the uniform solved the immediate crisis. OT consultation then added the brushing protocol for long-term tolerance.
"Mira's case is textbook — the uniform tag was delivering intermittent light touch exactly at one of the highest-sensitivity zones on the body. Tag removal alone reduced distress by 60%. The compression undershirt eliminated the remaining 40%." — Pinnacle Occupational Therapist

Connect With Other Parents
You are not navigating this alone. Thousands of families are working through the same morning battles — and many of them are on the other side, ready to share what worked. Community is part of the protocol.
Tactile Sensitivity Parent Community Group
Connect with families working through the same morning battles. Share wins, ask questions, and get real-time support from parents who've been exactly where you are. Join the Tactile Sensitivity Group →
Pinnacle Parent Community Forum
Discuss strategies, share adaptations, find DIY solutions, and celebrate milestones with parents across the country and beyond. Visit the Forum →
Local Pinnacle Parent Meetups
Monthly gatherings at your nearest Pinnacle center. Bring your child. Meet therapists. Learn from other families face-to-face. Find Your Nearest Center →
Peer Mentoring
Connect with an experienced parent who has completed this technique's journey and can offer 1:1 guidance through the hard weeks. Request a Peer Mentor →
"Your experience helps others — consider sharing your journey." The parent who shares their Week 6 success story is the reason the parent struggling in Week 2 keeps going.

Your Professional Support Team
Home implementation is powerful. Clinical support makes it transformative. The combination of daily home practice and professional guidance produces the fastest, most durable outcomes.
🗺️ Find Your Nearest Center
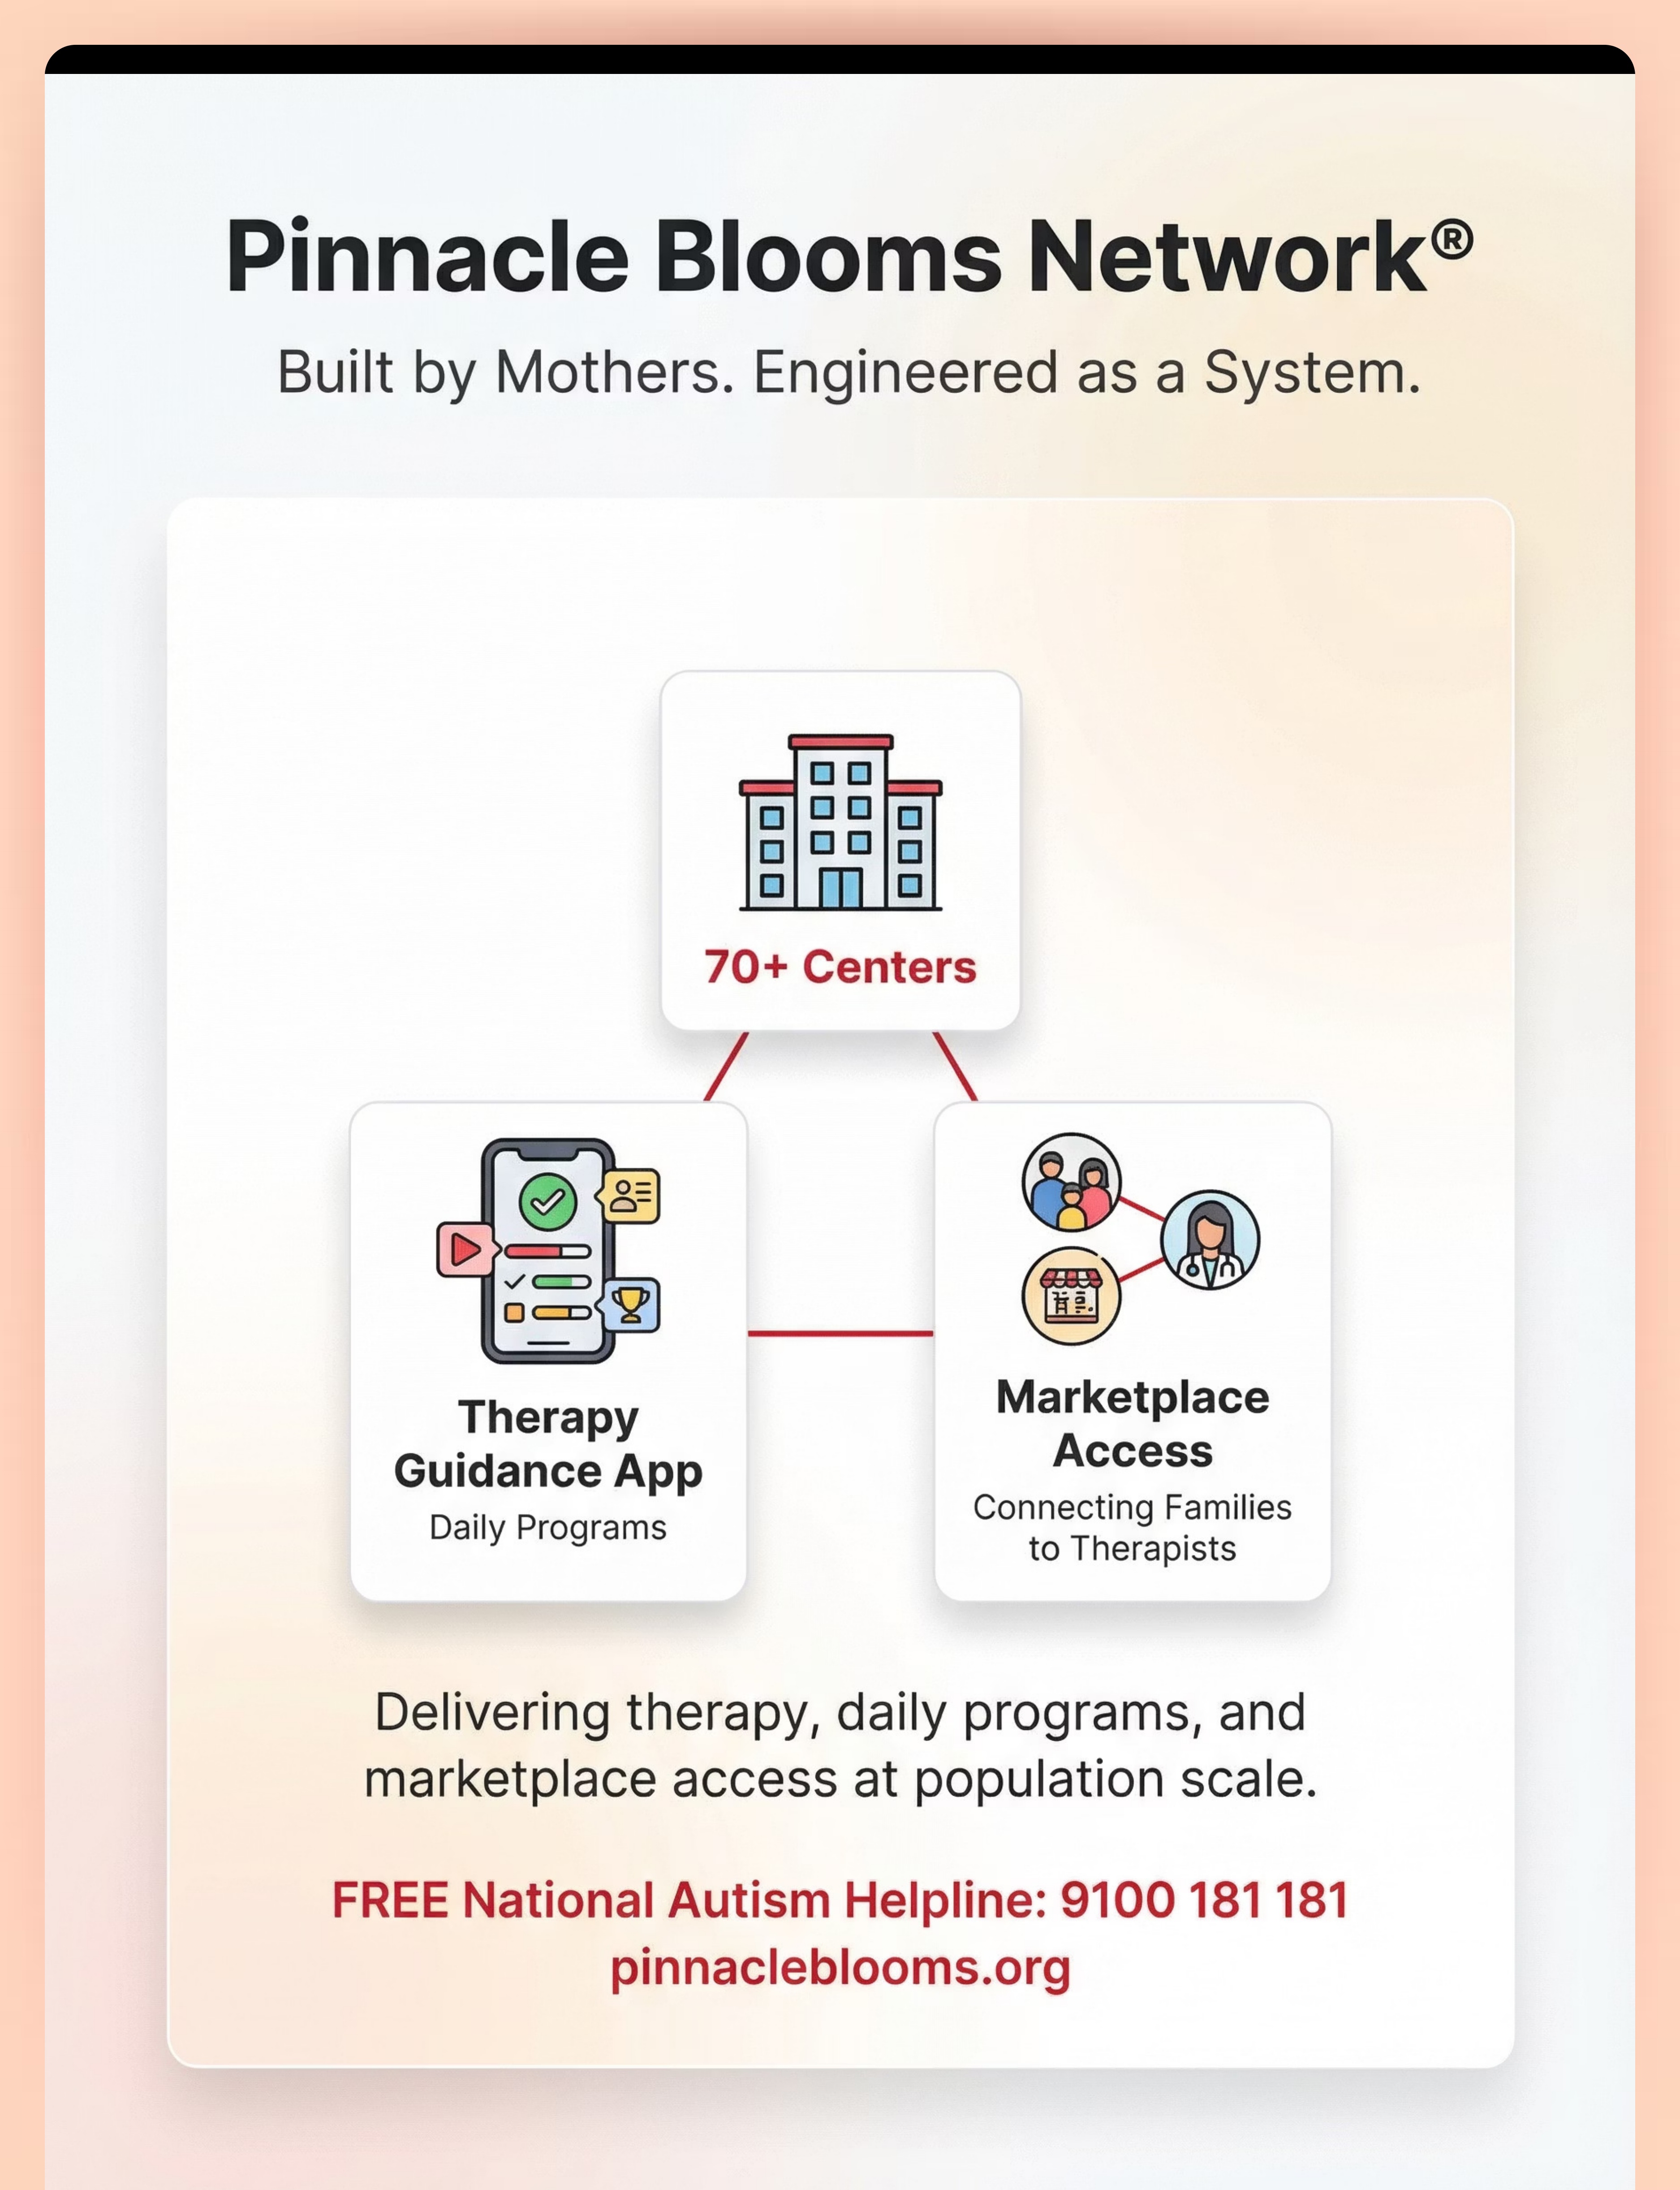
70+ centers across the country with center details, available therapists, and direct booking. Your nearest center has an OT specializing in sensory processing ready to guide A-003 implementation. Pinnacle Center Locator →
👩⚕️ Therapist Matching
For A-003, your primary match is an Occupational Therapist (OT) specializing in sensory processing. Pinnacle matches you to the right specialist for your child's specific sensory profile — not a generic referral.
📱 Teleconsultation
For families not near a center — video consultation with Pinnacle OTs available nationally. Full assessment, personalized protocol design, and ongoing support via screen. Book a Teleconsultation →
📞 FREE National Helpline
Call for guidance, referral, or simply to speak with someone who understands your child's experience. No appointment needed. 9100 181 181 — available to all families.
Financial Access: Ask about Pinnacle's therapy access programs, insurance partnerships, and government scheme eligibility at your nearest center. Financial barriers should never be the reason a child doesn't receive support.
The Research Library
Everything in this guide is grounded in peer-reviewed evidence. These are the five core studies and foundational texts supporting A-003 — accessible to any parent who wants to go deeper.
1. PRISMA Systematic Review (2024) — PMC11506176
"Sensory integration intervention meets criteria to be considered evidence-based practice for children with ASD." 16 articles from 2013–2023 analyzed. The highest level of evidence available. View on PubMed →
2. Meta-Analysis: Sensory Integration Therapy (2024) — PMC10955541
"Effectively promotes social skills, adaptive behavior, sensory processing, and motor skills." 24 studies, World Journal of Clinical Cases. View on PubMed →
3. Home-Based RCT (2019) — DOI: 10.1007/s12098-018-2747-4
Padmanabha et al. — Demonstrated significant outcomes for parent-administered sensory protocols, confirming home implementation works. View DOI →
4. WHO Care for Child Development (CCD) Package — PMC9978394
Implemented across 54 countries. Evidence-based caregiver recommendations for early childhood development. View on PubMed →
5. Foundational Texts
Ayres, A.J. — Sensory Integration and the Child (25th Anniversary Edition) | Dunn, W. — Sensory Profile 2 Manual (2014) | Miller, L.J. — Sensational Kids: Hope and Help for Children with SPD
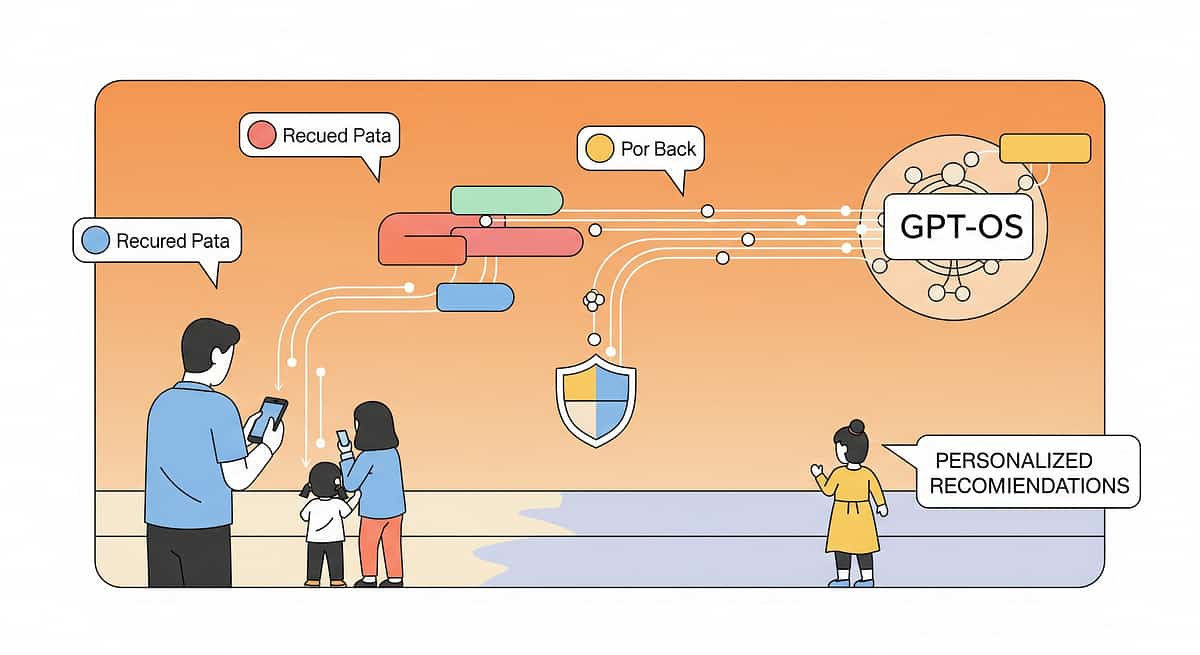
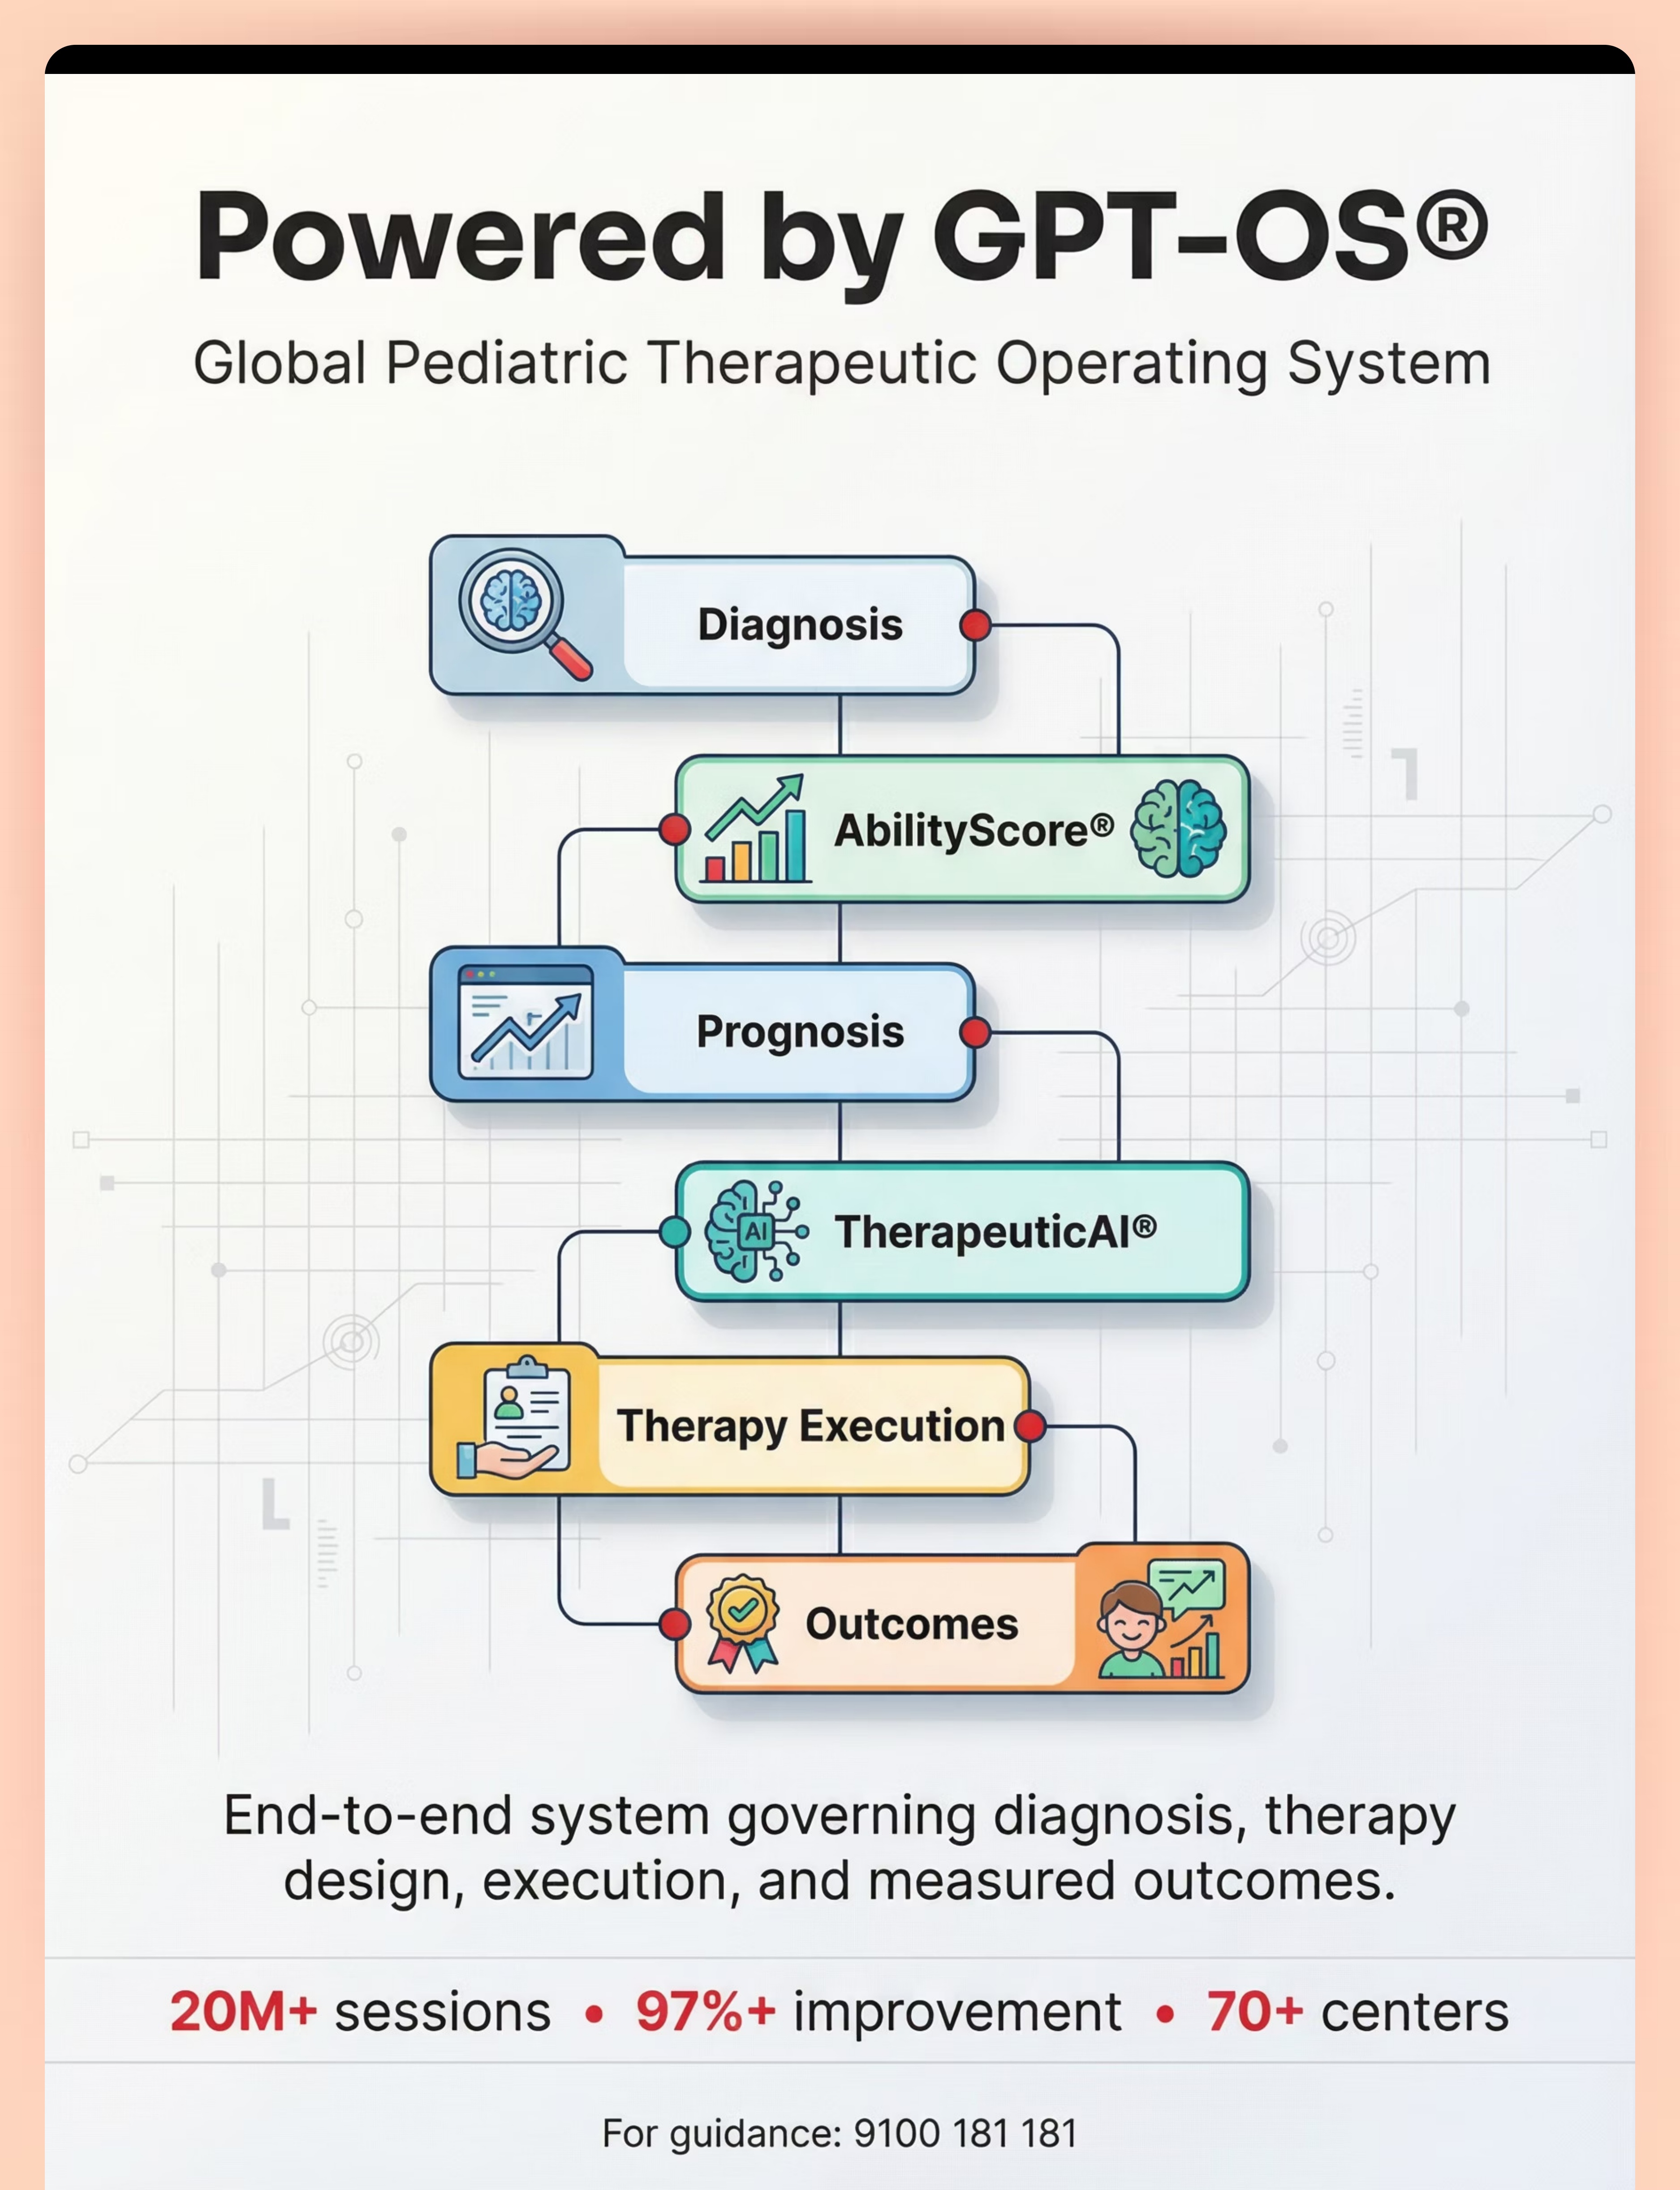
How GPT-OS® Uses Your Data
The 60 seconds you spend logging each morning (Card 20) does something remarkable — it turns your individual child's experience into a continuously improving, personalized therapeutic protocol.
What GPT-OS® Learns from A-003
- Which material combinations work fastest for tag-specific sensitivity
- Optimal deep pressure prep duration for different sensory profiles
- Progression timing: when to challenge versus when to consolidate
- Population-level patterns across 70+ centers that inform YOUR child's plan
🔒 Privacy and Data Protection
- All personal data encrypted end-to-end
- No child data shared with third parties
- Parent controls all data visibility and sharing settings
- Compliant with data protection legislation and international GDPR equivalents
- Data used only for YOUR child's therapeutic improvement and anonymized research
"Your data helps every child like yours." When 21 million sessions inform a single recommendation, that recommendation is extraordinarily accurate for your specific child.

Watch the Reel
Reading about these techniques is powerful. Watching a therapist demonstrate them is transformative. Video modeling is classified as an evidence-based practice — and it improves your skill acquisition by up to 40% compared to text-only instructions.
📺 Reel A-003
Sensory Solutions Series — Episode 3
Domain A — Sensory (Tactile)
In This Reel, You'll See
- How to use the seam ripper correctly without leaving thread stubs
- How to apply tag cover patches that stay put all day
- How to size and fit compression undershirts for different body types
- The morning deep pressure prep routine demonstrated in real time with a child
- A full dressing sequence — invitation through cool-down — in under 8 minutes
Series Navigation
Previous in Series:
A-002 — "9 Materials for When Your Child Hates Being Touched"
A-002 — "9 Materials for When Your Child Hates Being Touched"
Current:
A-003 — "9 Materials for Clothing Tag Sensitivity"
A-003 — "9 Materials for Clothing Tag Sensitivity"
Next in Series:
A-004 — "9 Materials for Fabric Refusal"
A-004 — "9 Materials for Fabric Refusal"
Video modeling is classified as an evidence-based practice for autism (NCAEP, 2020). Watch once for understanding. Watch again while practicing.

Share This With Your Family
If only one caregiver uses this protocol, dressing will be smooth with them and a battle with everyone else. Consistency across caregivers multiplies impact. Every adult in your child's life needs this knowledge — in a format they can actually use.
"Explain to Grandparents" Version
"Your grandchild's brain processes the feeling of clothing tags differently than yours does. It actually feels painful — like a constant scratch or poke. It's not stubbornness. Here's what you can do: (1) Never force a tagged garment. (2) Give a firm bear hug before dressing. (3) Let them wear the inside-out version."
Teacher and School Communication Template
A pre-written letter requesting sensory accommodations for school uniforms — tag removal, sensory-friendly alternatives, compression garment permission. Download and customize with your child's name. Download School Letter Template →
1-Page Family Guide (PDF)
A simplified, printable summary of the 9 materials and the morning protocol — designed for grandparents, nannies, and babysitters who care for your child but don't have time to read 40 cards. Download Family Guide →
Caregiver consistency is not a "nice to have" — it is a clinical requirement. The nervous system learns from patterns across ALL environments and ALL caregivers. One inconsistent caregiver can reset progress made across an entire week.
Source: PMC9978394 — WHO CCD Package emphasizes multi-caregiver training as core to intervention efficacy

Frequently Asked Questions
These are the questions the Pinnacle Consortium hears most often — answered with the same clinical honesty and parental warmth that guides every card in this guide.
Q1: How long until my child can tolerate tags again?
Most children show significant improvement in tag-free dressing within 2–4 weeks using accommodation strategies. Full tag tolerance typically takes 6–12 weeks of systematic desensitization. Some children may always prefer tagless clothing — and that is a perfectly valid, easily accommodated outcome.
Q2: Should I force my child to wear tagged clothing to "get over it"?
Absolutely not. Forced exposure to aversive tactile input worsens defensiveness. The neurological mechanism is clear — repeated threat signals strengthen the threat pathway, not weaken it. Accommodation first, gradual desensitization second, always with the child's consent and readiness.
Q3: Is tag sensitivity a sign of autism?
Tag sensitivity alone is not diagnostic. It is one of many possible indicators of sensory processing differences, which are present in approximately 80% of children with autism. If tag sensitivity exists alongside other sensory, communication, or behavioral differences, a comprehensive developmental assessment is recommended.
Q4: My child's school says the tag must stay in for uniform compliance. What do I do?
Request a sensory accommodation in writing using the School Letter Template (Card 37). Under disability rights legislation in most jurisdictions, schools are required to provide reasonable accommodations. Tag removal does not alter the uniform — it removes a barrier to the child wearing it at all.
Q5: Will my child need these accommodations forever?
Many children outgrow the most severe tag sensitivity between ages 6–8 as neural pathways mature. Some retain a preference for tagless or soft clothing into adulthood — which is easily accommodated with widely available tagless brands at every price point.
Q6: Can I do the brushing protocol (Material 9) myself from online videos?
No. The Wilbarger Brushing Protocol must be learned in person from a trained Occupational Therapist who can assess your child's specific sensory profile, teach correct pressure and speed, identify which body areas to include or exclude, and monitor your child's response. Incorrect brushing can worsen defensiveness. This is non-negotiable.
Q7: My child only wears the same 3 outfits. Is that okay for now?
Yes. Three comfortable outfits is a perfectly acceptable starting point. The goal is not an unlimited wardrobe — it is distress-free dressing and gradual, sustainable expansion. Introduce one new garment per week starting at weeks 3–4.
Q8: Does this work for children without autism?
Yes. Tactile defensiveness occurs in neurotypical children as well. The materials and strategies are based on neurological principles that apply to any child whose tactile system over-processes light touch input, regardless of diagnosis.

Your Next Step: Start Now
The morning can be different tomorrow. Not because the problem disappeared — but because you now have the knowledge, the materials, and the protocol to meet your child's nervous system where it is. Here is exactly how to begin.
Validated by the Pinnacle Blooms Consortium
OT • SLP • ABA • SpEd • NeuroDev • CRO
🔴 Primary Action: Start This Technique Tonight
Launch a GPT-OS® guided session that walks you through Material 1 (Seam Ripper) + Material 7 (Inside-Out Strategy) + Material 8 (Deep Pressure Prep) — all executable tonight, before tomorrow's morning routine begins.
🔵 Secondary Action: Book a Consultation
Connect with a Pinnacle Occupational Therapist for a personalized sensory assessment and guided protocol design. Available at 70+ centers or via teleconsult nationally — meet the therapist who will walk this journey with your family.
⚪ Tertiary Action: Explore Next Technique
If your child's sensitivity extends beyond tags to specific fabrics, A-004 is the logical next step in the Tactile Sensitivity Series. Start building the full picture now.
Preview of 9 materials that help when child cant tolerate clothing tags Therapy Material
Below is a visual preview of 9 materials that help when child cant tolerate clothing tags therapy material. The pages shown help educators, therapists, and caregivers understand the structure and content of the resource before use. Materials should be used under appropriate professional guidance.


Link copied!

The Pinnacle Promise
Pinnacle Blooms Network®
Built by Mothers. Engineered as a System.
From fear to mastery. One technique at a time.
A parent arrives on this page scared, confused, and exhausted by a tiny piece of fabric that has held their morning hostage. They leave knowing the neuroscience, equipped with 9 clinically validated materials, armed with a daily protocol, and connected to a network of 70+ centers, thousands of therapists, and millions of families walking the same path.
This is one technique. There are 70,000+ more. Each as detailed. Each as evidence-based. Each as parent-focused. Together, they form the largest structured pediatric intervention knowledge base on Earth.
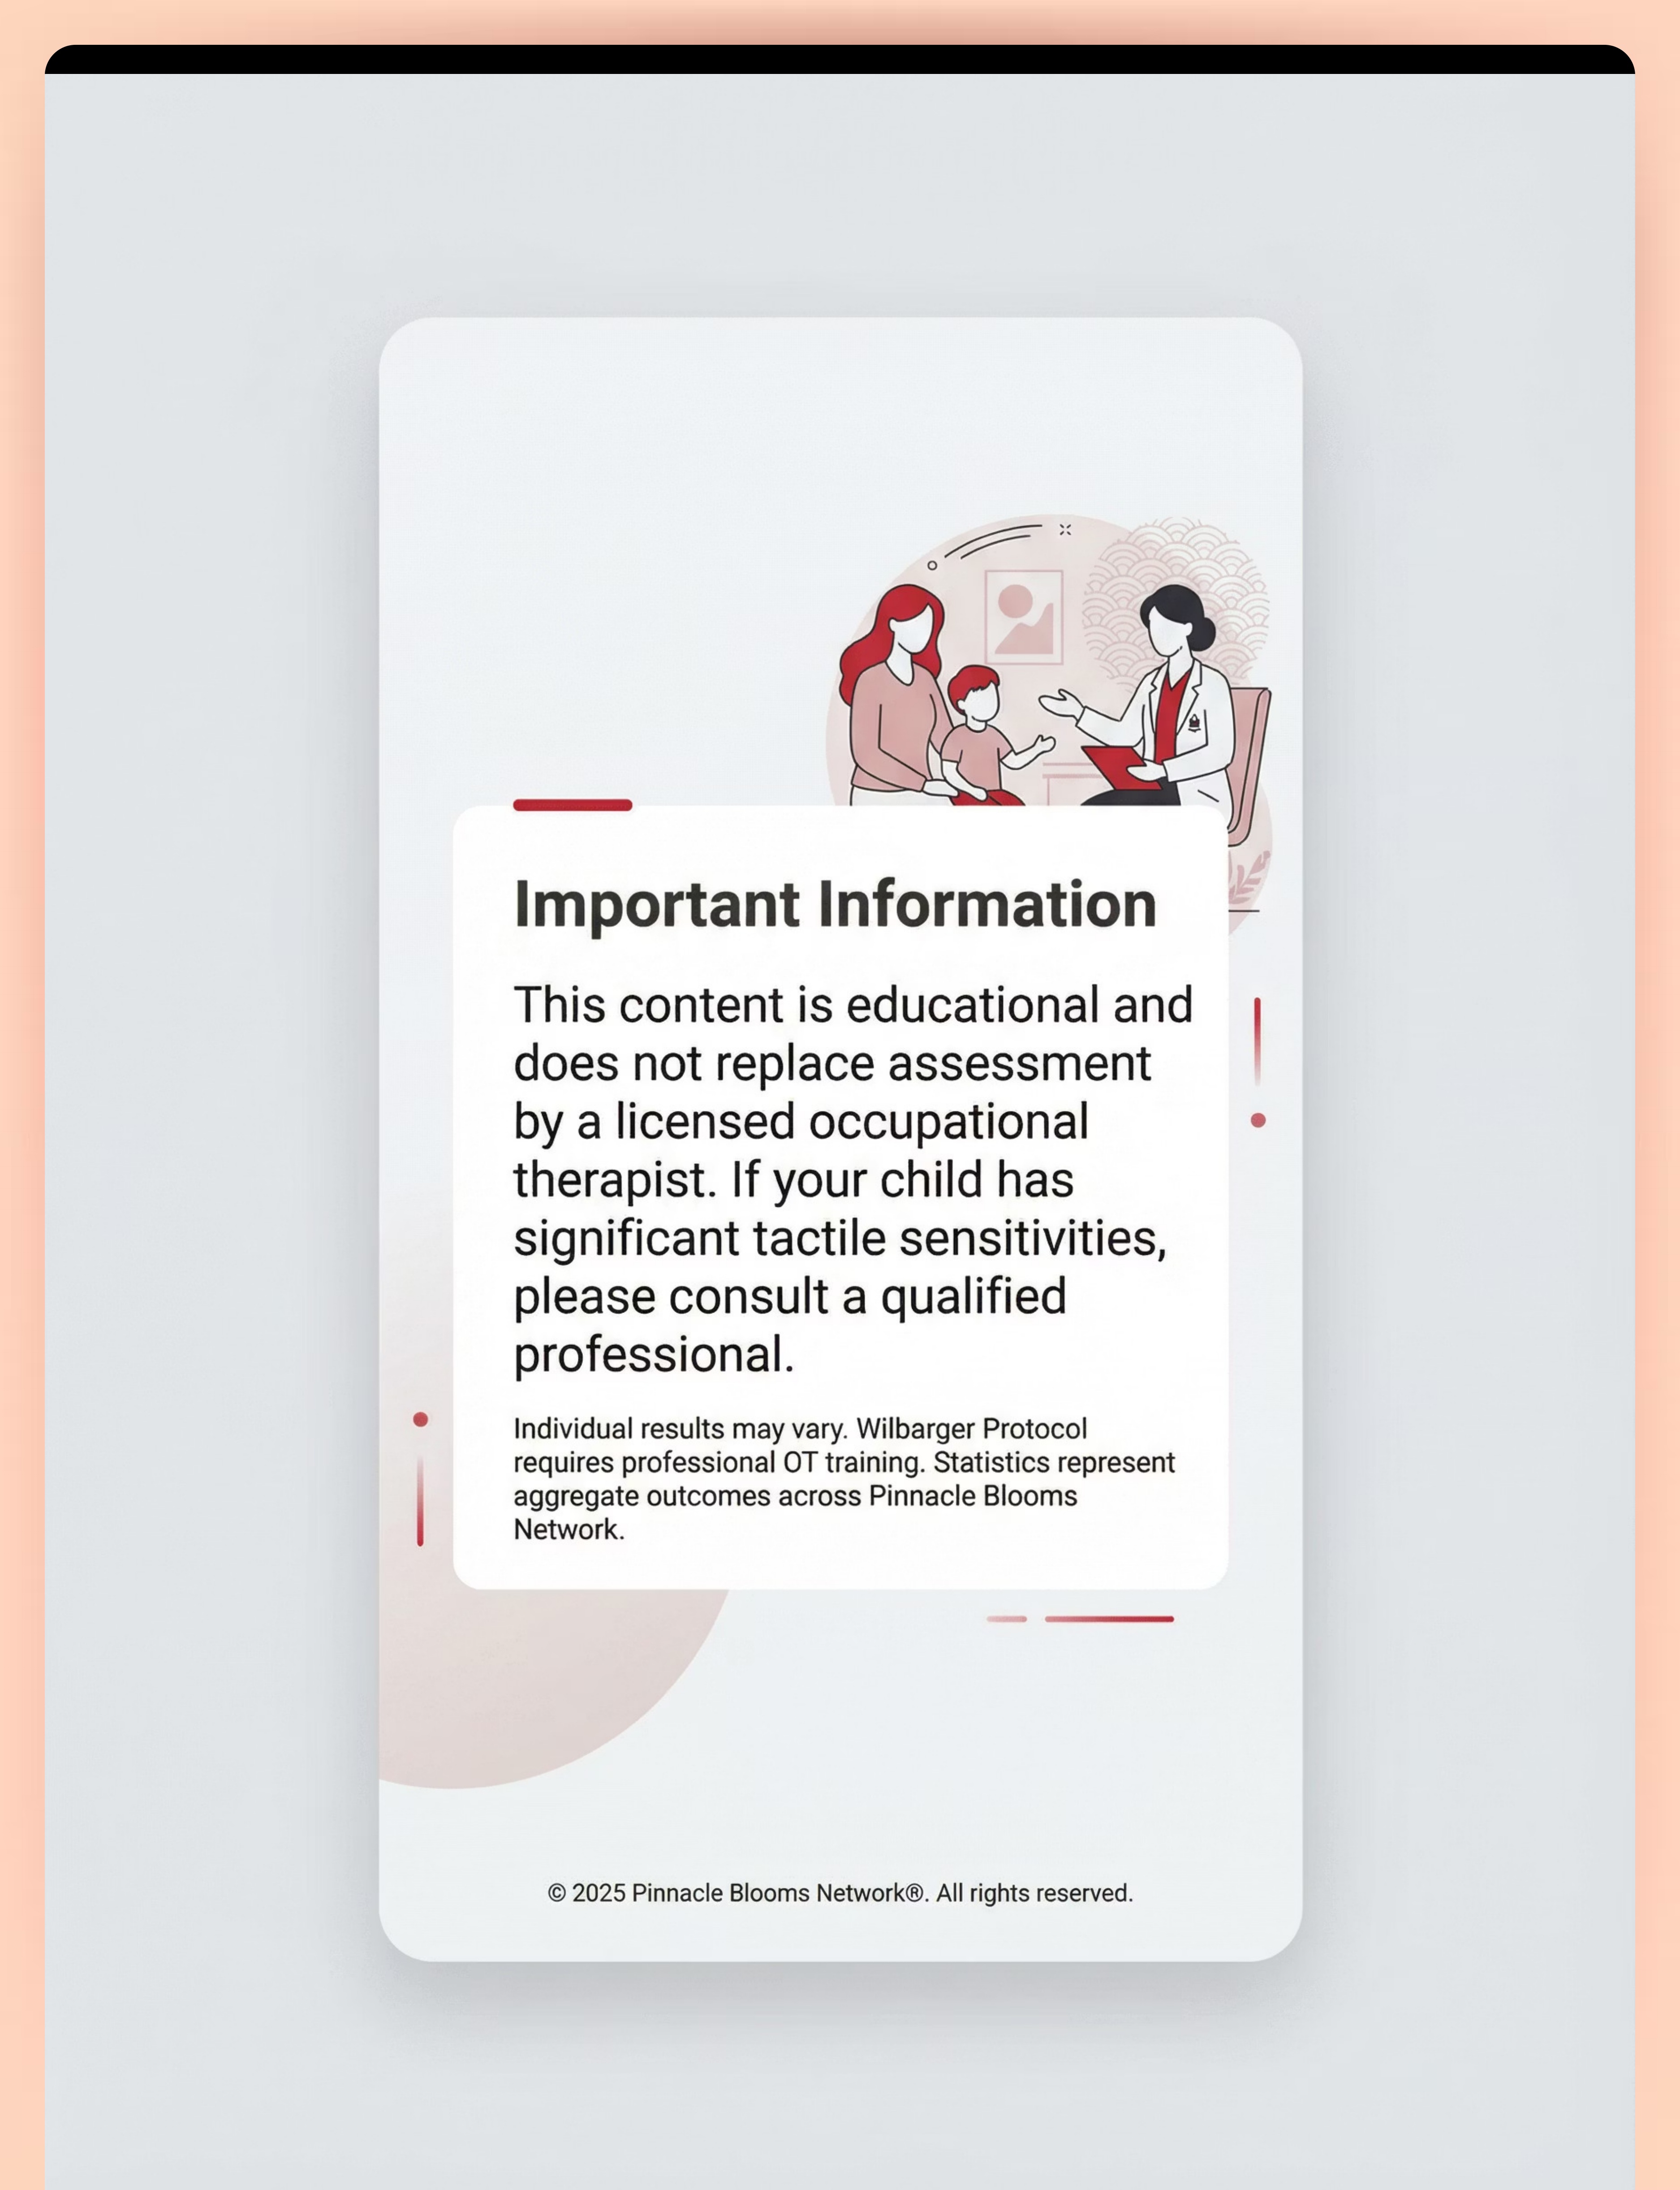
Medical Disclaimer: This content is educational and does not replace assessment by a licensed occupational therapist. If your child has significant tactile sensitivities, please consult a qualified professional. Individual results may vary. The Wilbarger Brushing Protocol requires professional OT training. Statistics represent aggregate outcomes across Pinnacle Blooms Network. Always prioritize your child's safety and comfort.
© 2025 Pinnacle Blooms Network®. All rights reserved. GPT-OS® | AbilityScore® | TherapeuticAI® | EverydayTherapyProgramme™ | FusionModule™ — Registered trademarks of Koti Group.